dranders208: Hey thanks man, but the anatomy is still really bad its got a long way to go… As for exporting the textures, you can read about it on the zbrush wiki. But it’s really easy, if your tool in zbrush has uv’s then you have polypainted him, then go to the highest res and click on col->tex in the Tool pallette. That will produce a colour texture from you polypainting that can be used in bender. Just remember to use textures in blender from zbrush they need to be vertically flipped, you can set this to happen automatically in zbrush in the export settings or just do it yourself. If you like I can explain normal and displacement mapping but I’m not sure f you where only after the colour one…
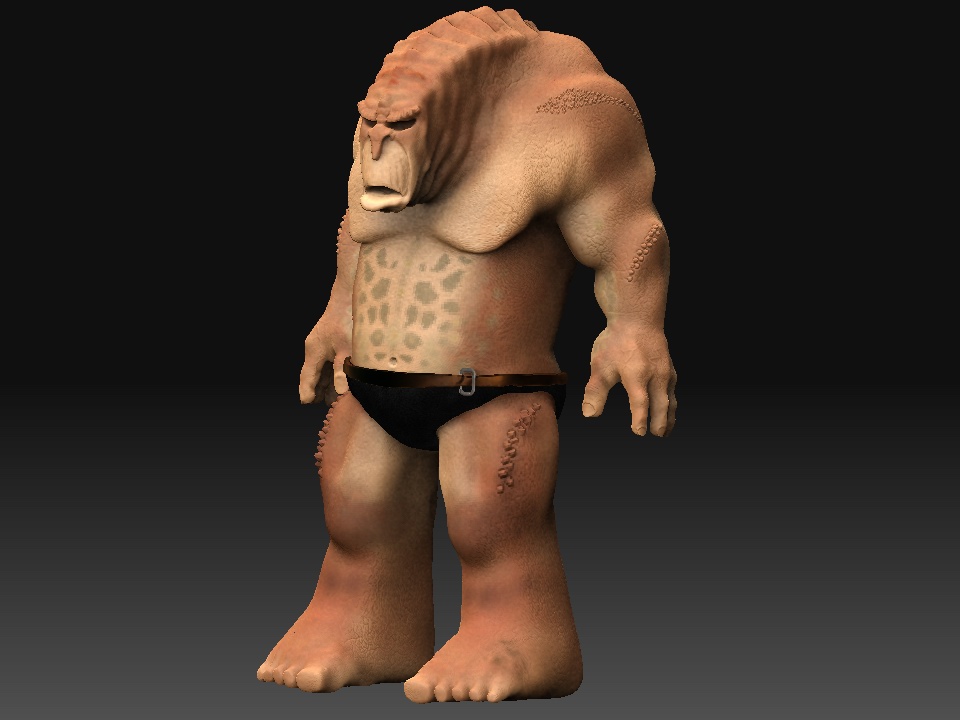
Hurdy Gurdy Man: You nailed it completely, I’ve actually smoothed away alot of the details (not quite finished doing this yet), did a retopo to get more polys in critical areas like the nail edges etc… and chucked the texture work to try and do exactly what you are saying, here’s a small update. Any advice is most welcome as I have a loooonnnggggg way to go on anatomy!
Just looking at what I uploaded, I think I will try and completely smooth away the skin detail before I carry on with the anatomy work.

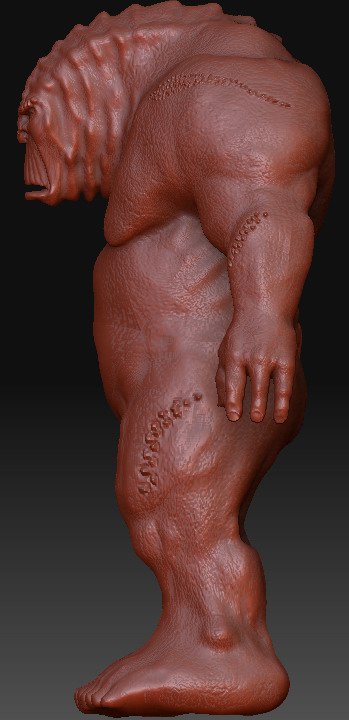
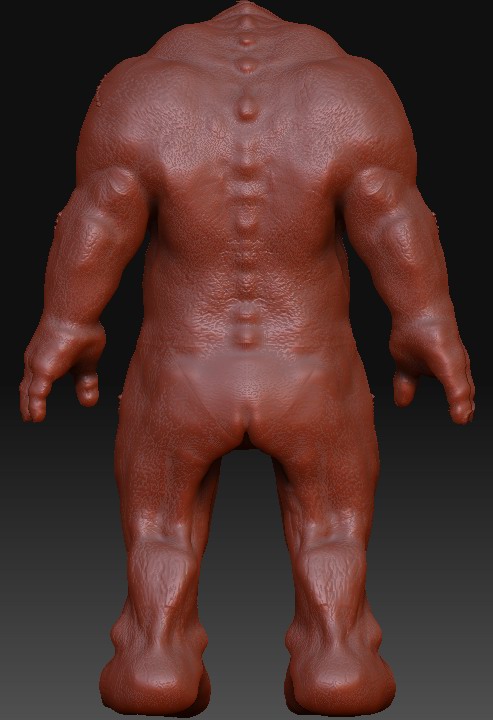
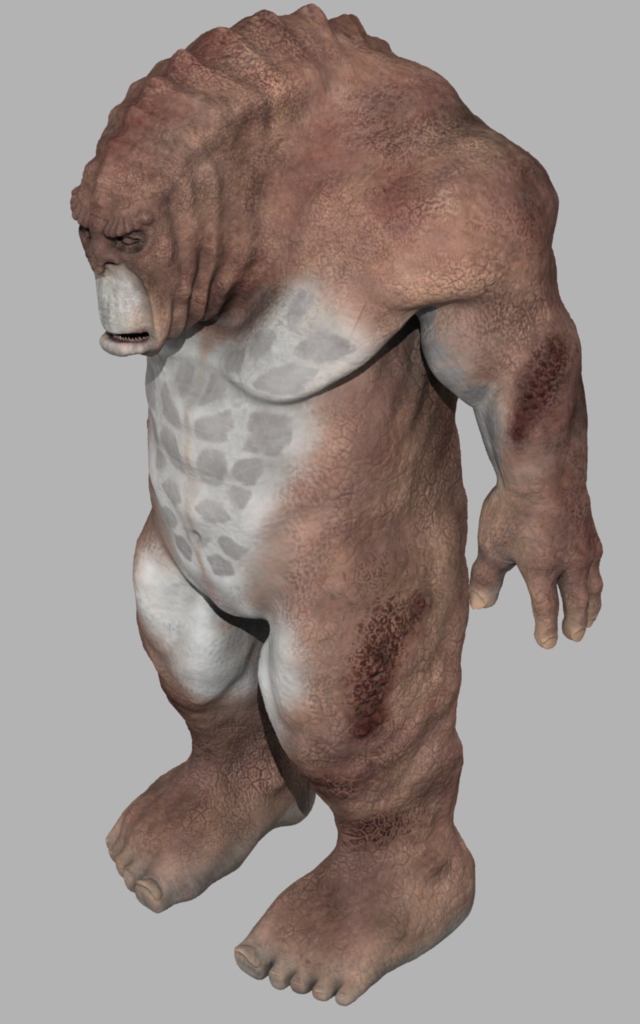
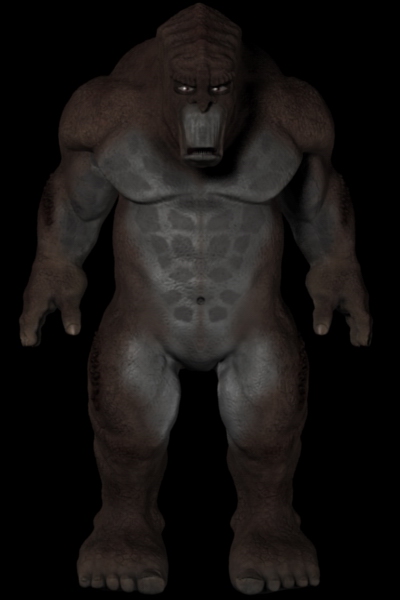
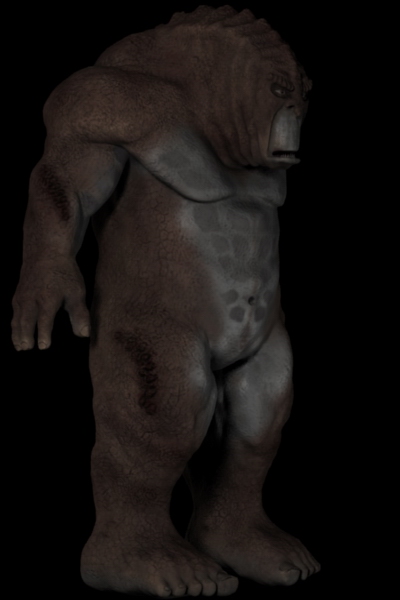
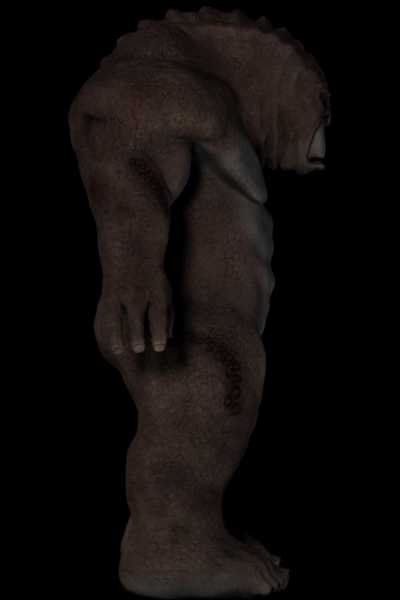
 The work is still very much a WIP. Created from concept art for the LOTR: Battle for Middle Earth game. Started with ZShperes and used adaptive skin… only got to sub-d 7 and machine dies…
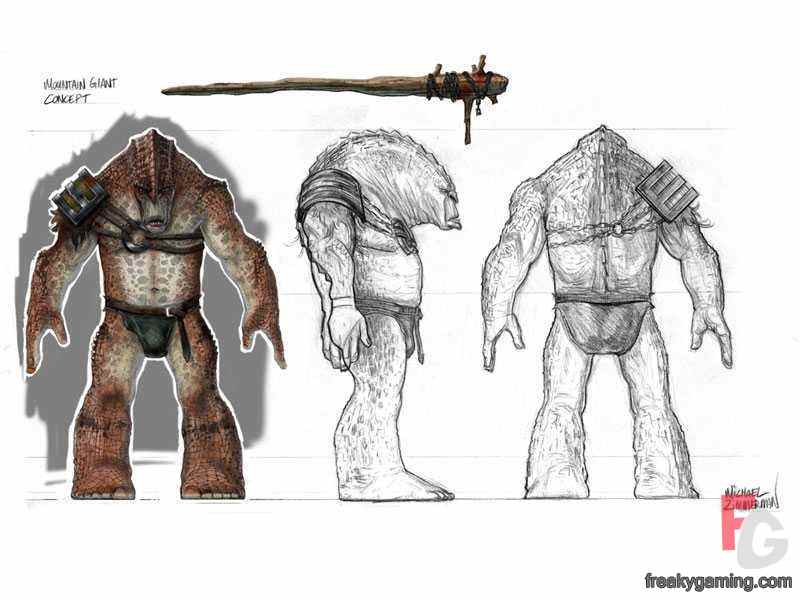


 ]
]

 How do you get the textures you paint in Zbrush to export to Blender? I can’t get it to work…are there tutorials out there…I’m sure there are, but I can’t find any good ones??? Please help!