ZBrushCentral

morrisCowboys sketchbook

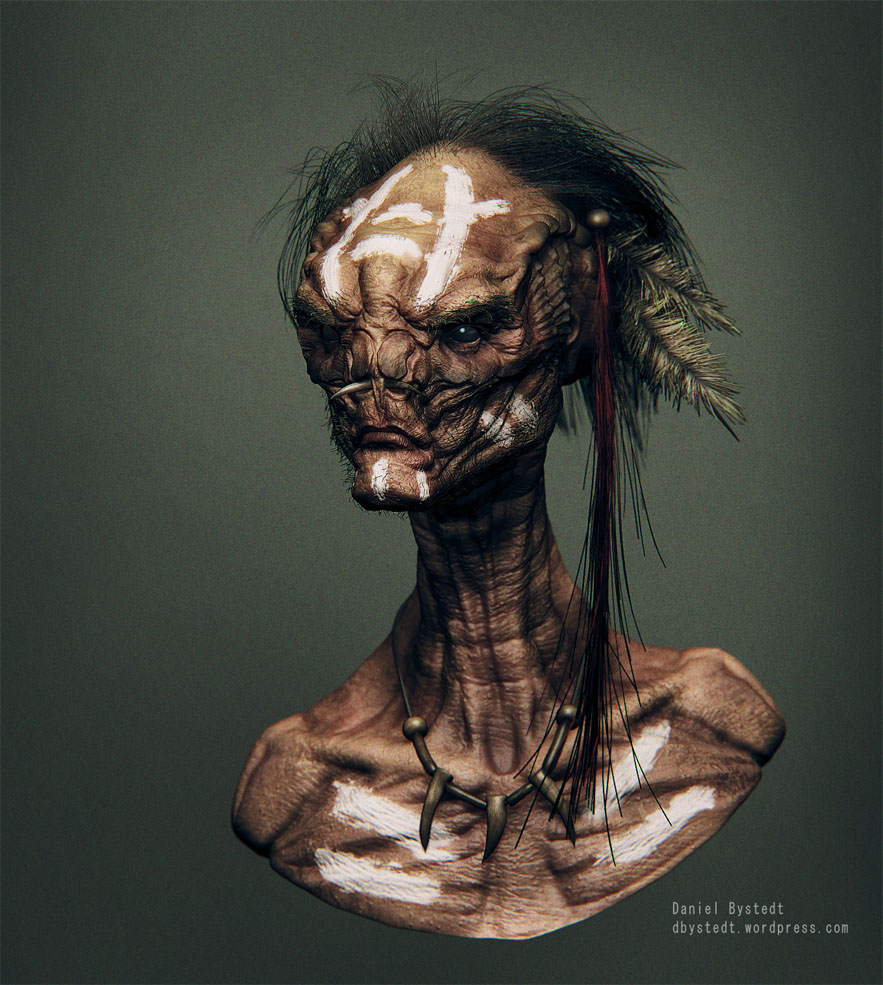
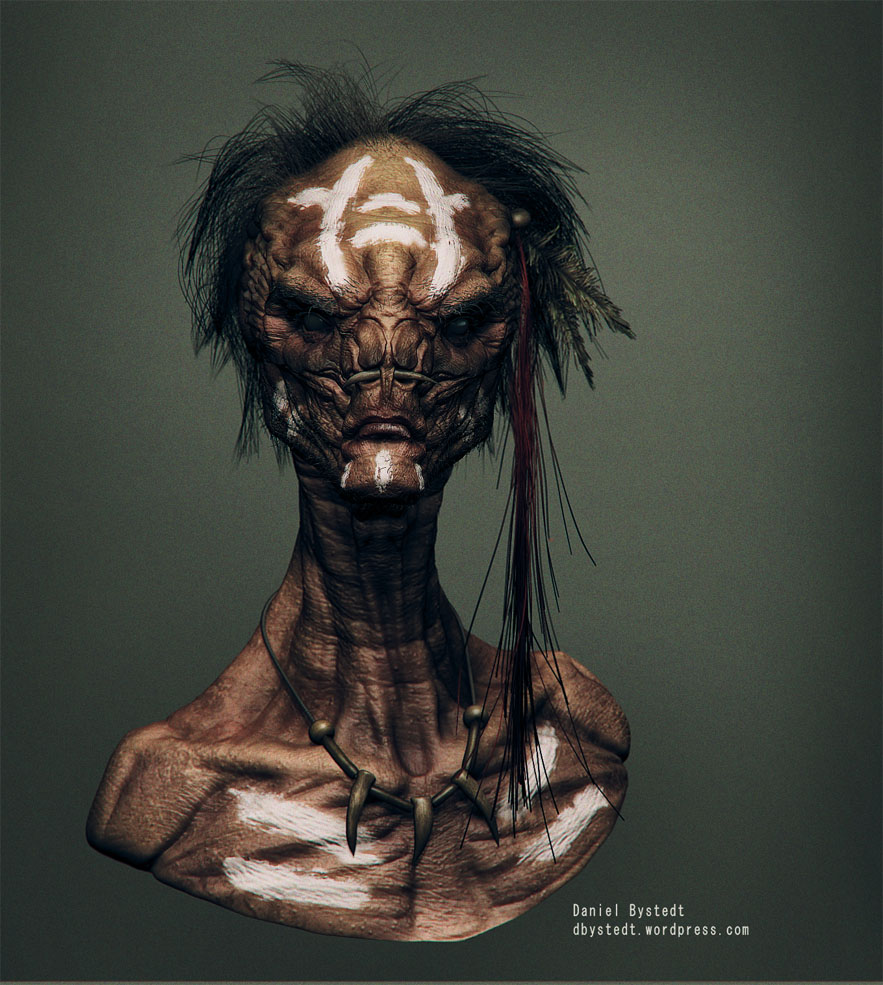
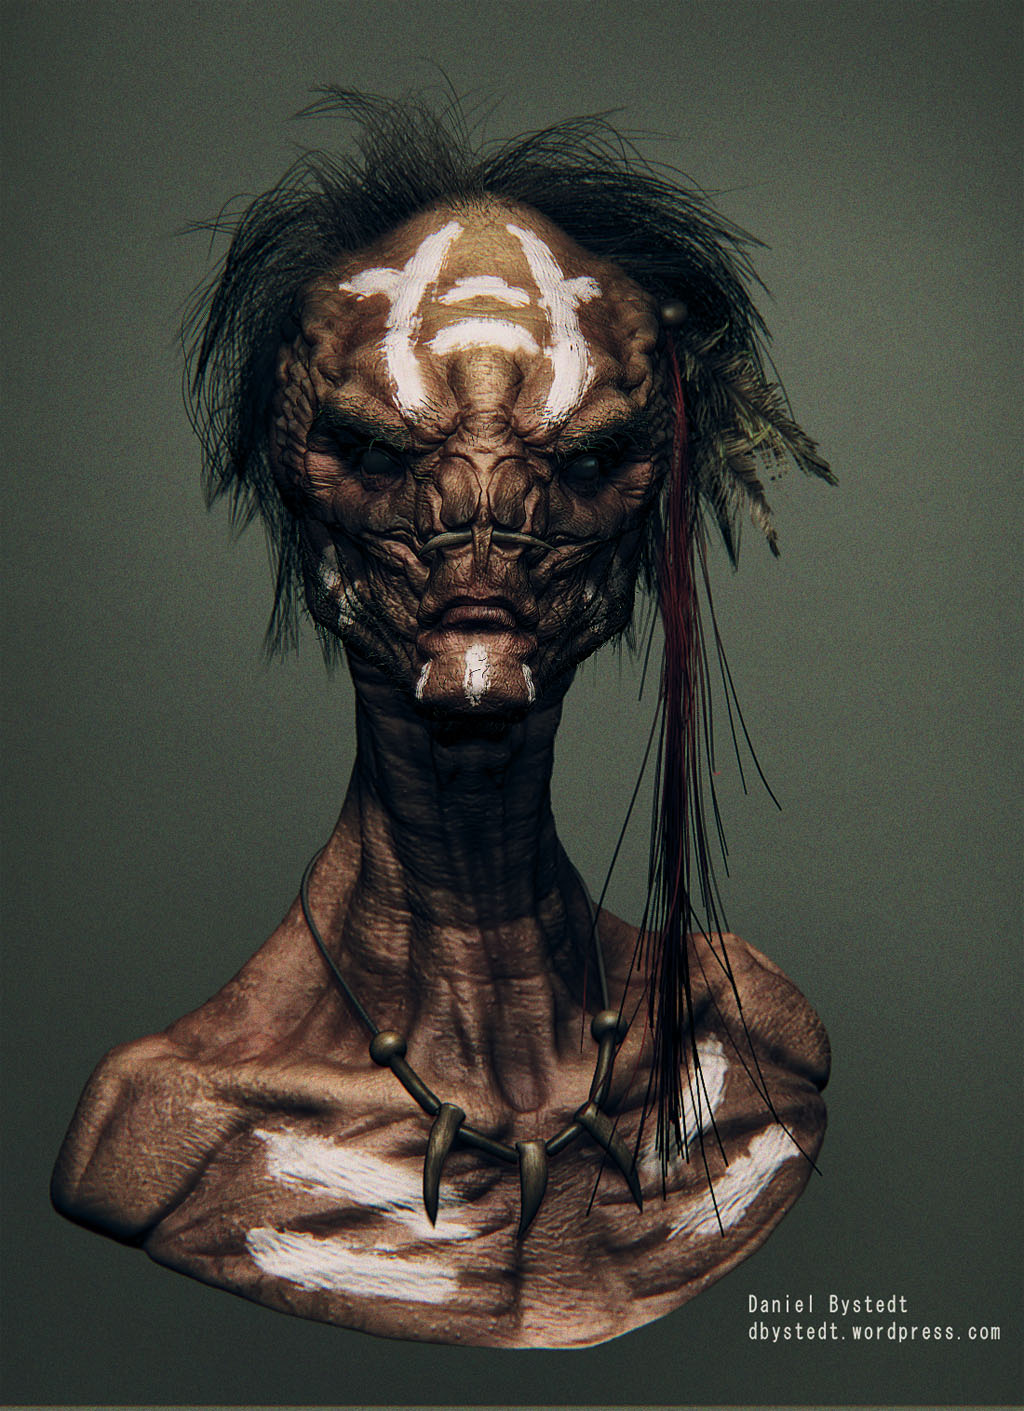
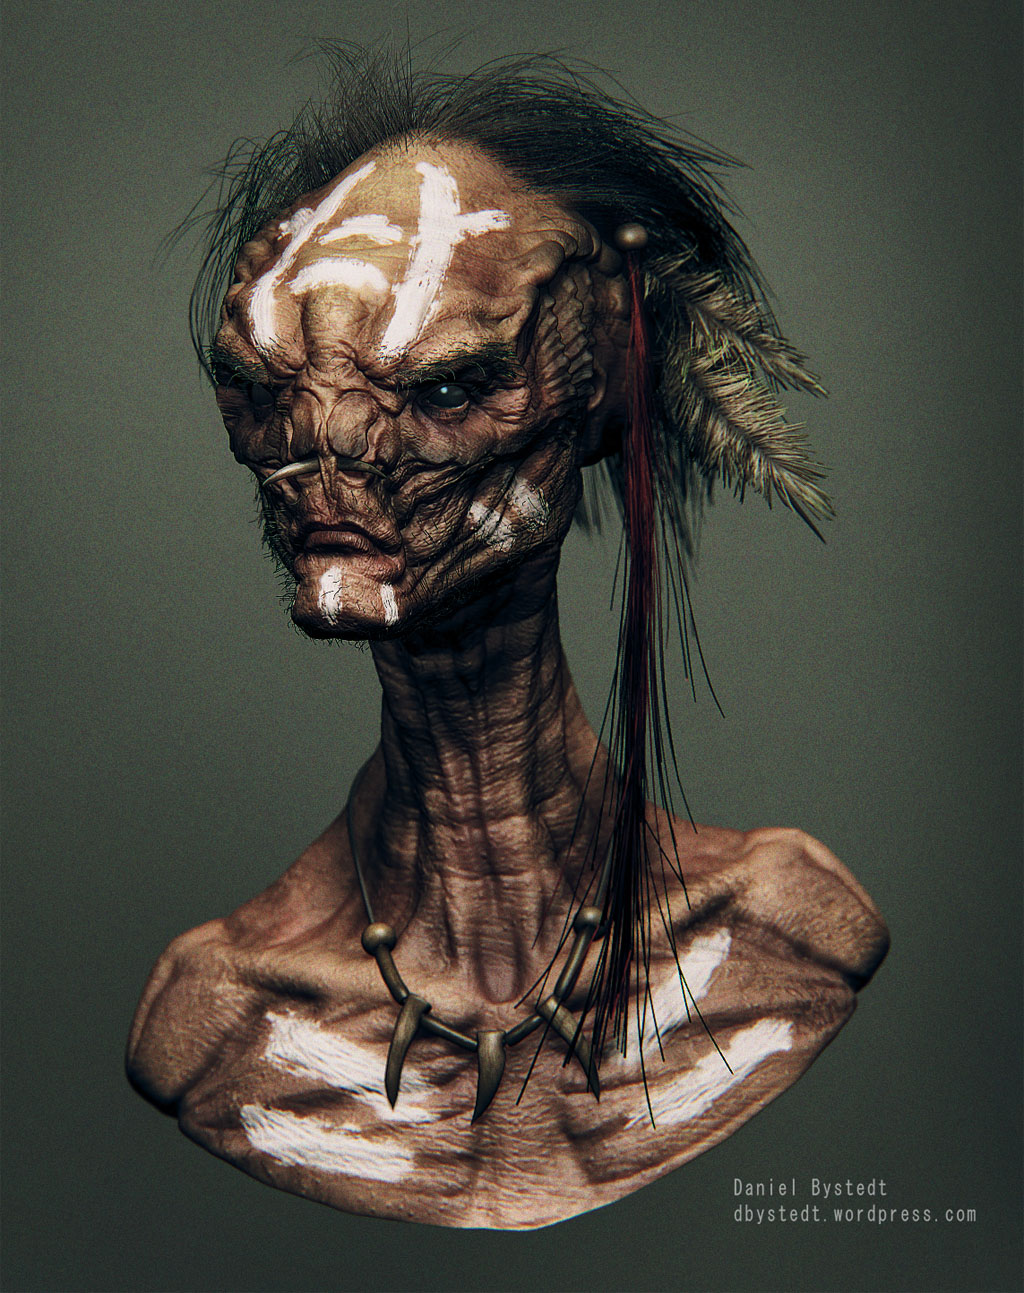
Thanks man. Check out this tutorial. I used that sort of workflow.

http://eat3d.com/zbrush_hardsurface

  1. Sculpt a sketch/concept mesh
  2. Create a layer and smooth/polish it
  3. mask a piece out when smooth layer is off.
  4. turn on smooth layer and exctract the piece. Use polish and clip brushes for further refinement.
  5. repeat steps 3-4 for all pieces.
  6. Divide subtools if you need to and sculpt the small details.

I have attached the brushes I have created for hard surface modeling in this message. You have to rename the “.txt” to “.rar” before you open the file since the uploader did not accept rar files.

nope. Just ZBrush render turntable.

You have to press render once before pressing movie/turntable to get a proper rendered turntable.

Thens for the brushes!
They are really good, I plan to use them in a future model along with more brushes I will make!

I found a nice spider-man/venom image online by Blaz Porenta. No symmetri was used while modeling. Rendered in ZBrush and comp in photoshop

venom & spider-man front render 1k width.jpgvenom & spider-man side matcap render.jpg

SO rad! Love it

Wow, Morriscowboy! Stunning work!

that is awesome, looks cool! Great work :slight_smile:

This is very good!

:+1:

WOW, that scene is AWESOME!

fantastic models and a great render!!

great image, very dynamic.

any specially smart technique to model the web or just zspheres/curvetubes + tons of patience?

Really great model!! congrats!!

Great job on your sculpt. I remember seeing the original image and thought that it would make a nice Zbrush model. You’ve definitely done the original justice, great job!:+1:

Totally wicked sculpt love this very much, has a really great feel to the work and the painting is fantastic as well. One of my favourites. Could i ask did you render this as a complete scene in Zbrush as I am doing a sculpt of a spider versus a bulldog ant and as it is one of my first projects not sure how to compile it all at the end and render it. Can I have 2 models with there own sub tools in a scene and then can I pose them, this is my next step and a little lost at minute. Thanks, truly amazing piece of work.

No smart techniques really. If I would do it again I might try paint effects in Maya. I started out with curve tubes, wich I later converted to dynamesh to make them look like they were “melted together” so to speak. I used the inflate brush, masked by cavity and used deform/inflate to get it a bit more sharp.

The render was done completely in ZBrush. I started off with a hdri and created a lightcap with samples = 3. After that I put in 2 “normal” lights. One “sun” as a rim from the top back and a warm “point” from the front. After that there were some tweaks in photoshop.

you can check out a lighting tutorial that I posted on my homepage here

WOW this is ridicilious mate, totally awesome and inspiring!:+1:
Thanks for sharing the BPR render tutorial, will check it out right now!:slight_smile:
All the best to you mate and happy sculpting,

  • Kenny :slight_smile:

I wanted to do a sculpt real quick, but I became sort of fond with it and wanted to try out fibermesh so it took a little longer than expected. Rendered in ZBrush as usual

alien native side small.jpgalien native front small.jpg

Attachments

alien native front 1k.jpg

alien native side 1k.jpg

alien native front small.jpg

Really dig this sculpt. Love the different styles in your sculpting.

love the hair. are the feathers utilizing fibermesh?