ZBrushCentral

Monster Job Hunter

I’d just like to say that this is an awesome display of work.
Congratulations on Top Row. . .Well deserved.

Thanks for all your insight into the other world (compositing renders).
Much appreciated. Absolutely loved the 5min short (even with the sound issues). Thought the animatic was kinda long. Are you going to keep the first mention of throwing up in an interview (animatic) in the long version?
I think this would tie in better as to why he throws up in the plant (first mention wasn’t in the 5min short).

Just my 2 cents worth.

Great job. . .can’t wait to see the full version.

Keep em coming.

jaja, i wanna see more :lol:

WoW! Too cool!

Is the drool a separate mesh, or fluid sim of some kind? And is that base mesh got enough res to displace all that dispmap? (I usually go about one level higher than that)

Too cool! :wink:

Nice monster.

Your render looks very sharp from the edges, and yet it looks very smooth in the final shot. How is that done? Did you use somekind of an edge smooth in the composition program, or how is it done?
Thanks.

-Pete

Once again, thanks for all the great comments! Good to hear. I work from home these days, so it sometimes feels a bit like working in a vacuum.

He will still throw up in his mouth and then go for the mints. Then, he will see the first gun under the desk when picking up the mints. The whole fish part is cut to speed things up and to avoid a cg fish (thank goodness).

The drool is a seperate mesh that has Maya’s soft body dynamics applied to it. It works fairly well and is fast, but sometimes looks a little rubbery. In the attached image, you can see the base drool mesh (left) and then what it looks like during the simulation.

That screenshot of the base mesh on page 1 is the one I’m using for displacement. Having a higher rez mesh as a starting point would have helped the displacement, but I wanted to keep things running really fast for rigging and animation. That 3,500 poly mesh is really easy to work with and I was able to just do standard smooth bind weighting without adding any sort of deformers or blendshape corrections to it. It’s basically just a game character before displacement it applied. A jiggle deformer was added to the mesh and that gives it some nice secondary motion. Besides all that, my final displacement map for the whole body was on one 4000x4000 image and the displacements were not all that detailed to begin with (again, trying to keep it all running fast). The busy texturing hides a lot as well.

![MJH_Drool.jpg|900x482](upload://5a4qyJ7sdb94HNjpBT3JOQgMgPH.jpeg)

Yeah, I used some gaussian blur on the edges to soften it a little. Also used some diffusion filtering to get the monster to closer match the black pro mist filter that was used on the HD footage.

thats great man, I can’t wait to see more of it. :slight_smile:

Yuk, he’s Ewwy-Gooey-Ugliness…but in a good way. Great Job :smiley:

Cool guy, fantastic images

looks great!!!:+1:

Holy crap this is awesome work, great work fella… :sunglasses: :+1:

First and foremost I must say this is an amzing piece of work. I can’t imagine the amount of time that goes into working on this project on your own machine.

Do you mind if I ask how you went through your UV mapping and texturing process integrated with Zbrush? I am primarily a Maya user and am still very confused on how to properly texture my characters with a major displacement map on a lower mesh such as the one you are doing.

Thanks! A lot of work indeed. My poor computer is constantly rendering, even while I work. I’ll be glad to be through at the end of this week!

I’m not really the best person to ask about texture/displacements in Maya. The displacements and texturing for this project are all done in Lightwave. I have rendered the displacement maps in Maya before, but it’s a been a while and I’m pretty rusty on the details. A good reference is the ‘Zbrush to Maya 32-bit displacement guide’ written by Scott Spencer and available on the Pixologic site. Full of golden nuggets of wisdom concerning Maya and displacements.

I did do something a little strange for the image maps on this character, and will share it so everyone can point and laugh. :confused:
Instead of painting a texture image, I rendered out a couple of image maps of the displacement with different materials (cavity, Jantim’s red paint, plaster, etc.) then, in Lightwave, used gradients to change the color/contrast and blend modes to combine the different images.

Here’s a confusing image to help (text numbers correspond to image numbers)

  1. Cavity map image set as base layer
  2. coloring/contrast changed using gradient
  3. Displacment rendered with Jantim’s red paint material used in layer set to Photoshop Hardlight blend mode
  4. procedural blood (rendered with image maps turned off)

I know it seems like a pain to manipulate the images using gradients, but using FPrime’s interactive preview window, feedback on the changes is immediate.
Would a painted texture have looked better? Probably…but this was fastMonsterColorChannelExample.jpg

very cool, you know your stuff, and i loved the short, fantastic work.

OMG so all you did was use the cavity map as a base and created your UV map using the Zbrush UV mapper?! Then Photoshoped variations using layer blending.
I have never used lightwave before. What made you lean in that direction for rendering when you modeled it in Maya? Is this a workflow you just adapted over time?

gota be the most impressive 3d creature i’ve ever seen! sorry to see him go more to the cartoony side but meh, thanks for sharing!!!

Yes, that’s mostly correct. The model is using AUV or GUV (can’t remember) mapping from Zbrush. I did a alpha crop and fill on the displacement, then rendered a cavity map, followed by other variations using other materials (red paint, plaster, etc.) Lightwave, not Photoshop, is where I blended these different versions together. There are blend modes in Lightwave that mimic the Photoshop ones and are named similarly (ie. photoshop hardlight)

Oh, I have a few reasons for using Lightwave to render. Mostly, it’s the app I first used at work and I’ve spent a lot of time rendering with it. In the last couple of years, I have used Maya at work, but mostly to model, rig, and animate game characters/environments, so I’m not as familar with Maya’s rendering. Now that I work freelance, I can use them both.:smiley:
I’m also completely addicted to FPrime, the interactive render preview only available for Lightwave. It gives you a very accurate representation of what the final render will look like as you work. I feel lost without it. I think the Maya to Lightwave pipeline is a fairly common workflow as evidenced by the many plugins available to transport the anim data between the two apps.

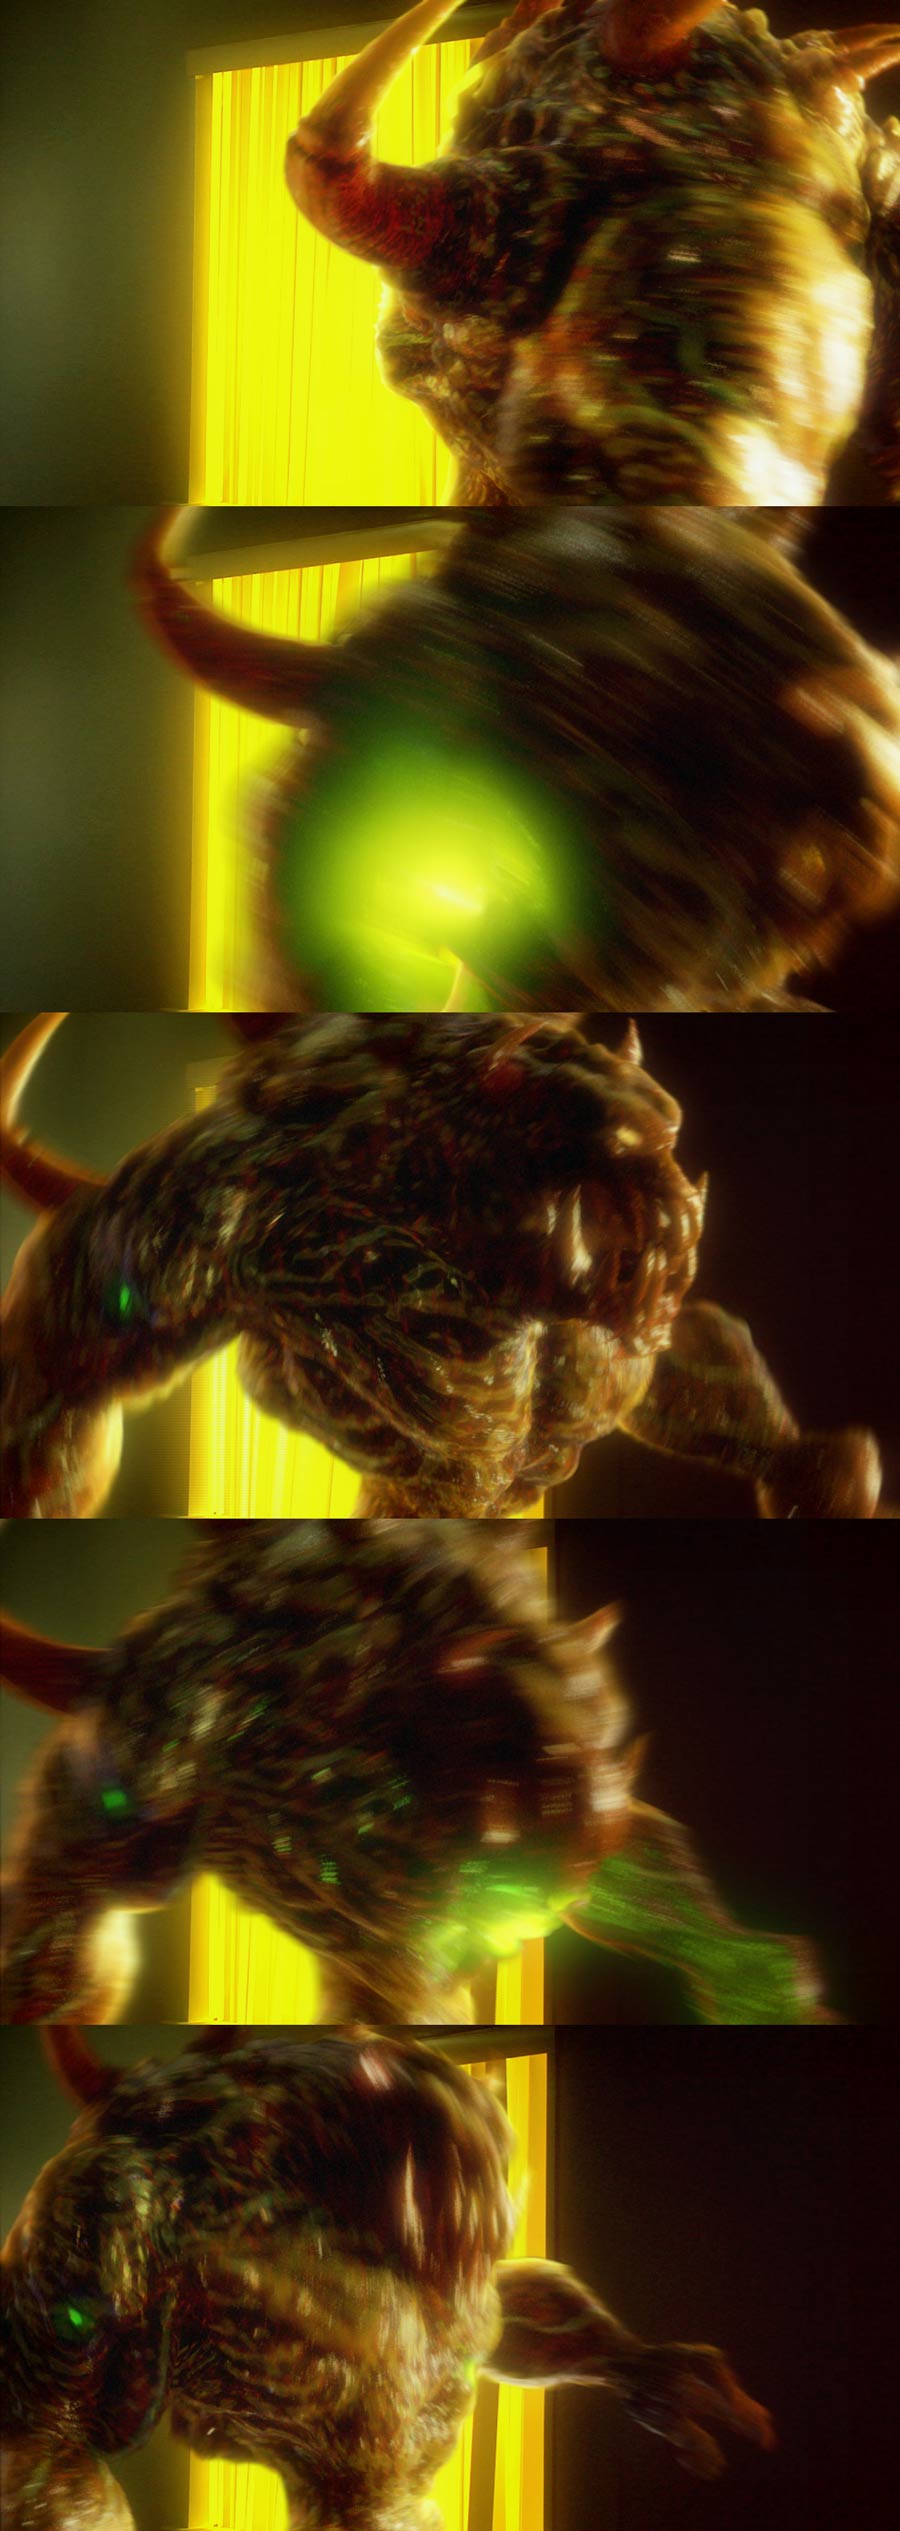
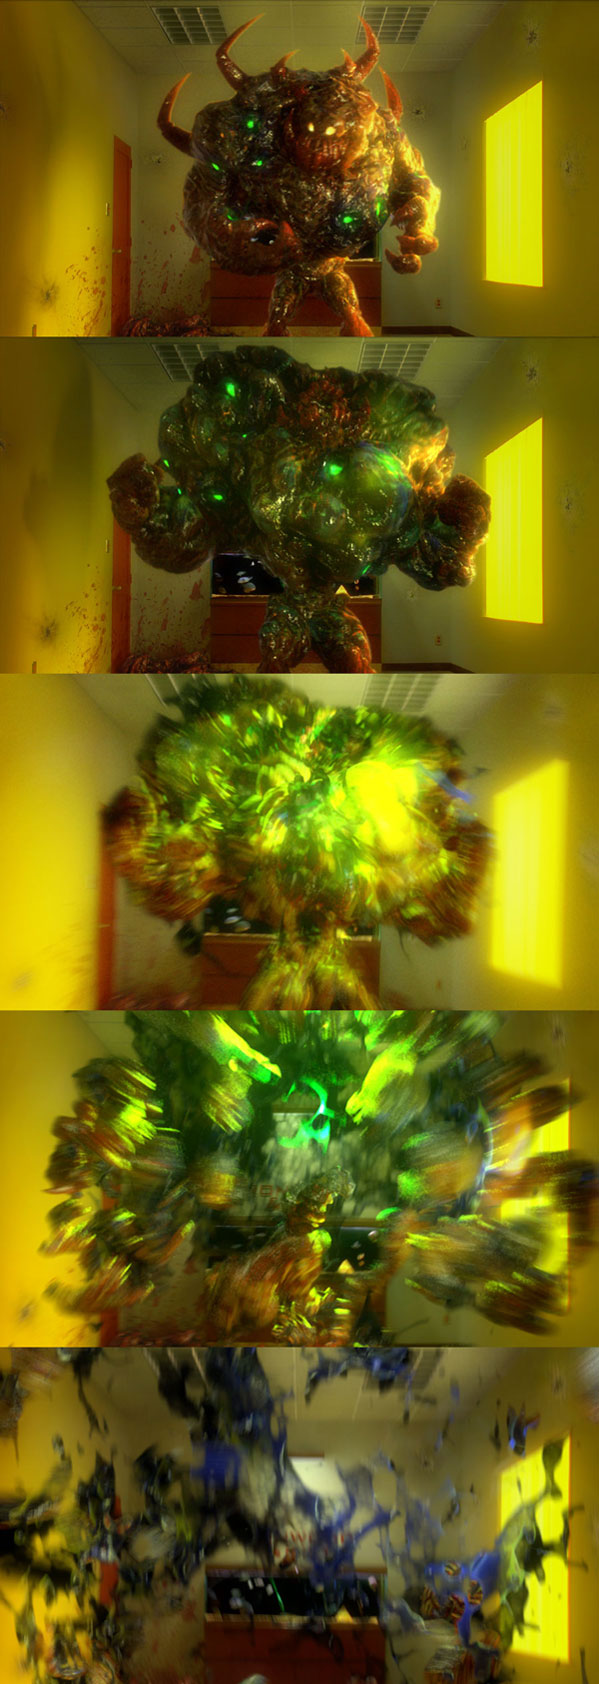
Finally finished work on this project. Here’s a few images from the rest of the short.
I’m setting up a website right now and will post some quicktime movies of the finished shots on it.

Approaching the desk

Getting Shot. Someone else will be putting in the laser bolts.

Exploding! Hoyt Lindley from Horseback Salad did the blue liquid simulation in this shot.

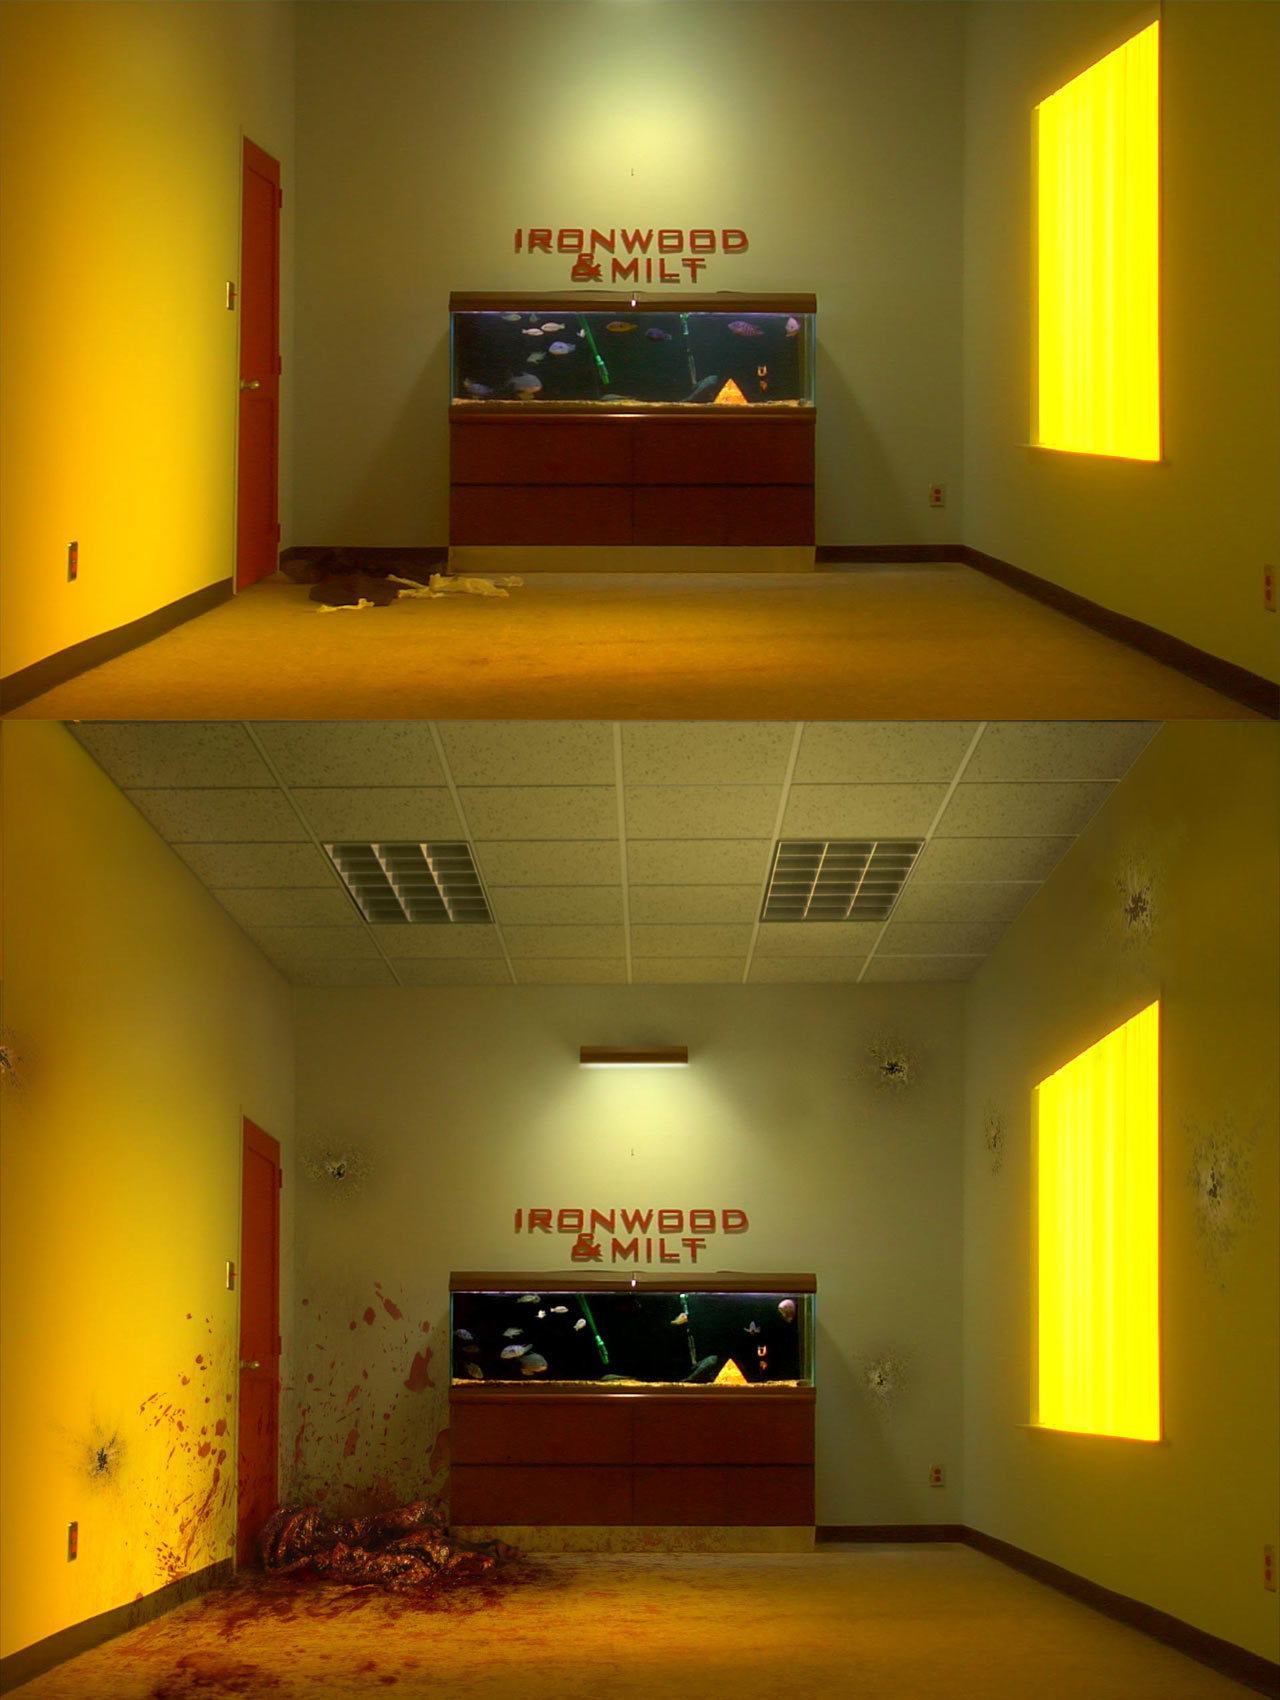
Needed more explosion goo than what was in the original shot. Might still add some animated chunkier stuff running down the walls.

A little set extension work since the set did not have a ceiling.

![DeskShotFramesSM.jpg|900x1519](upload://weT9dD5wkW9Lkp74WzMEuN6K6ev.jpeg)![TakeHitFramesSM.jpg|900x1600](upload://827BwMEckPGCnJkBjpvuCOunDli.jpeg)![ExplodeFramesSM.jpg|599x1600](upload://sDlZ4tm6gL5jrPIy3UfHeY70mbt.jpeg)![PostExplosionGutsCompareSM.jpg|900x1013](upload://fCn1XtbkQLYi3sW1Roya1XLz1fZ.jpeg)![ExplodeBackdropCompareSM.jpg|1100x1600](upload://tnBomzGeijrMMtLENsbb8JBhQ83.jpeg)

Attachments

TakeHitFramesSM.jpg

ExplodeFramesSM.jpg

ExplodeBackdropCompareSM.jpg

Delightfully disgusting!!!Again my compliements,look forward to more movies from you,cal

incredible, amazing
very very very nice, congrats
wonderfull