ZBrushCentral

Monkey Render Challenge

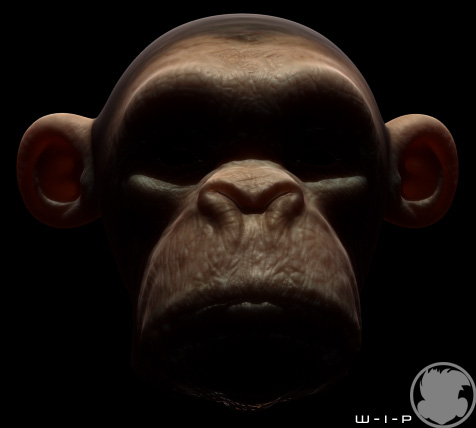
Hi I though I would share some of the stuff I’ve been messing around with for this little rendering challenge over at Subdivision Modeling forum The objective is to Produce a stylized-realistic rendering of a monkey’s head using the supplied mesh, texture. You could also add addtional maps as needed or improve on the supplied assets to acheive your objective.

Here is the Default head supplied
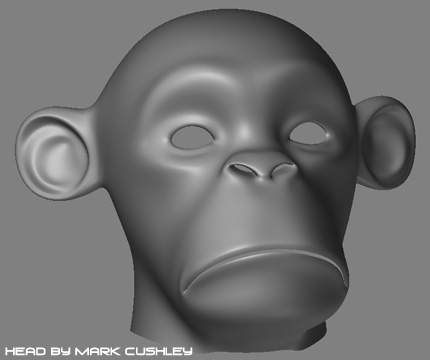
defaultHead.jpg

Attachments

monkeyZbrush.jpg

Here is some work on painting a bump map for the monkey using the bump viewer in zbrush.

monkeyBumpStart.jpg

Looks like a fun challenge. I was unaware of that site and joined immediately.:+1:

The primer is great. I’m learning this stuff as a hobby and it is very helpful.

Blaine91555 that site is very great for subdivision modeling.

Here is a little more work done on the bump map of the face. I’ll soon be done with the bump so I can really start work on the rendering.

[attach=32540]monkeyBumpMid.jpg[/attach]

Attachments

monkeyBumpMid.jpg

Here is a quick render test to see how the bump is working on the skin shader. so far there is only the default color map and the bump map, I still hope to add SSS maps, specular maps, and diffuse map.

monkeyTest.jpg

Hey cool monkey, coming along nicely. If you don’t mind me asking, how do you go ahead and paint in bump maps and are there any good tutorials out there?

cheers

hi :slight_smile: 
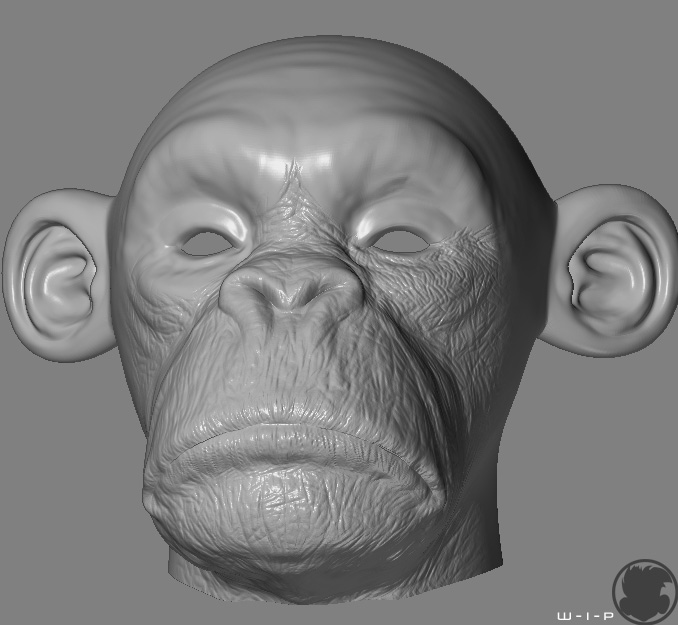
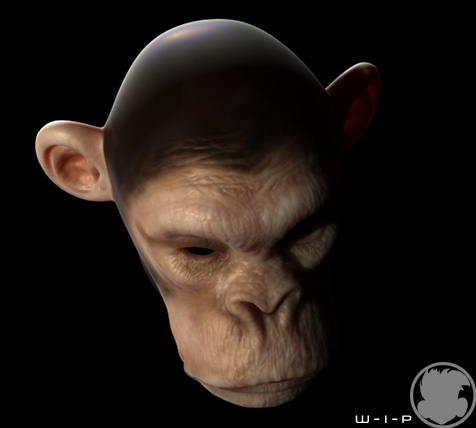
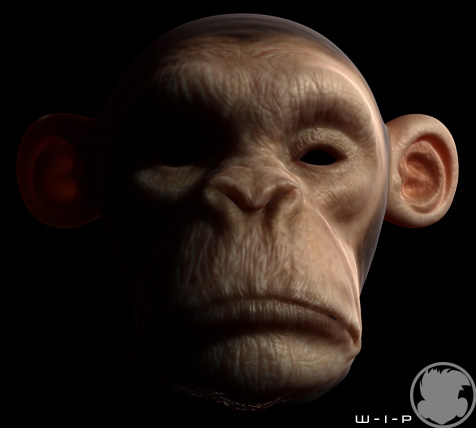
The ears aren’t they too large and a little strange ?
I like his expression =)

SpiderMonkey I usually just paint them in zbrush using the bumpViewerMaterial which is great to see feedback of your bump map painting in near real-time on your model so you don’t end up with odd stretching as you would if you guessed at it by painting the map in photoshop. As far as tutorials I’ve never really seen any. :cry:

lacrevette Yea I would agree the ears look strange prob due to there still to thick I’ll prob go back and tweak it up some more when I get a chance. They kinda look to teddy bearish right now.

by the way finished up the bump map here is what it looks like.
monkeyBumpFinal.jpg

here is some more render tests with the new bump map and diffuse and roughness map. Just turning the light to see how the bump is reacting in the subsurface scattering.

monkeyLightUp.jpg

Attachments

monkeyLightSide2.jpg

monkeyLightSide.jpg

Here is some work on the color map for the monkey’s skin color.

monkeyColorWrk.jpg

Here is a test rendering with all the maps in place with some touch up on the lighting as well.

monkeyTestNw.jpg

Looking good.