Using the shadowbox with the grid applied as a texture should be fine. It’s the masking that matters. But if you don’t like the texture just go into the texture sub palette of the tools pallette on the right of your workspace and remove the texture from the mesh to get a blank shadowbox.
To get your pictures into lightbox you need to place them in the correct folder for Lightbox. That folder is called Ztextures and it is at the top hierachy of the Zbrush file structure. If you make note of the names of some of the textures that are there by default and check for the same names in the folder you are looking for, you will know you have the right one.
You do not have to put them in this folder however. If you import the texture(s) right in the texture palette on the left side of the workspace and click the lower left button “add to spotlight” you will load it into spotlight.
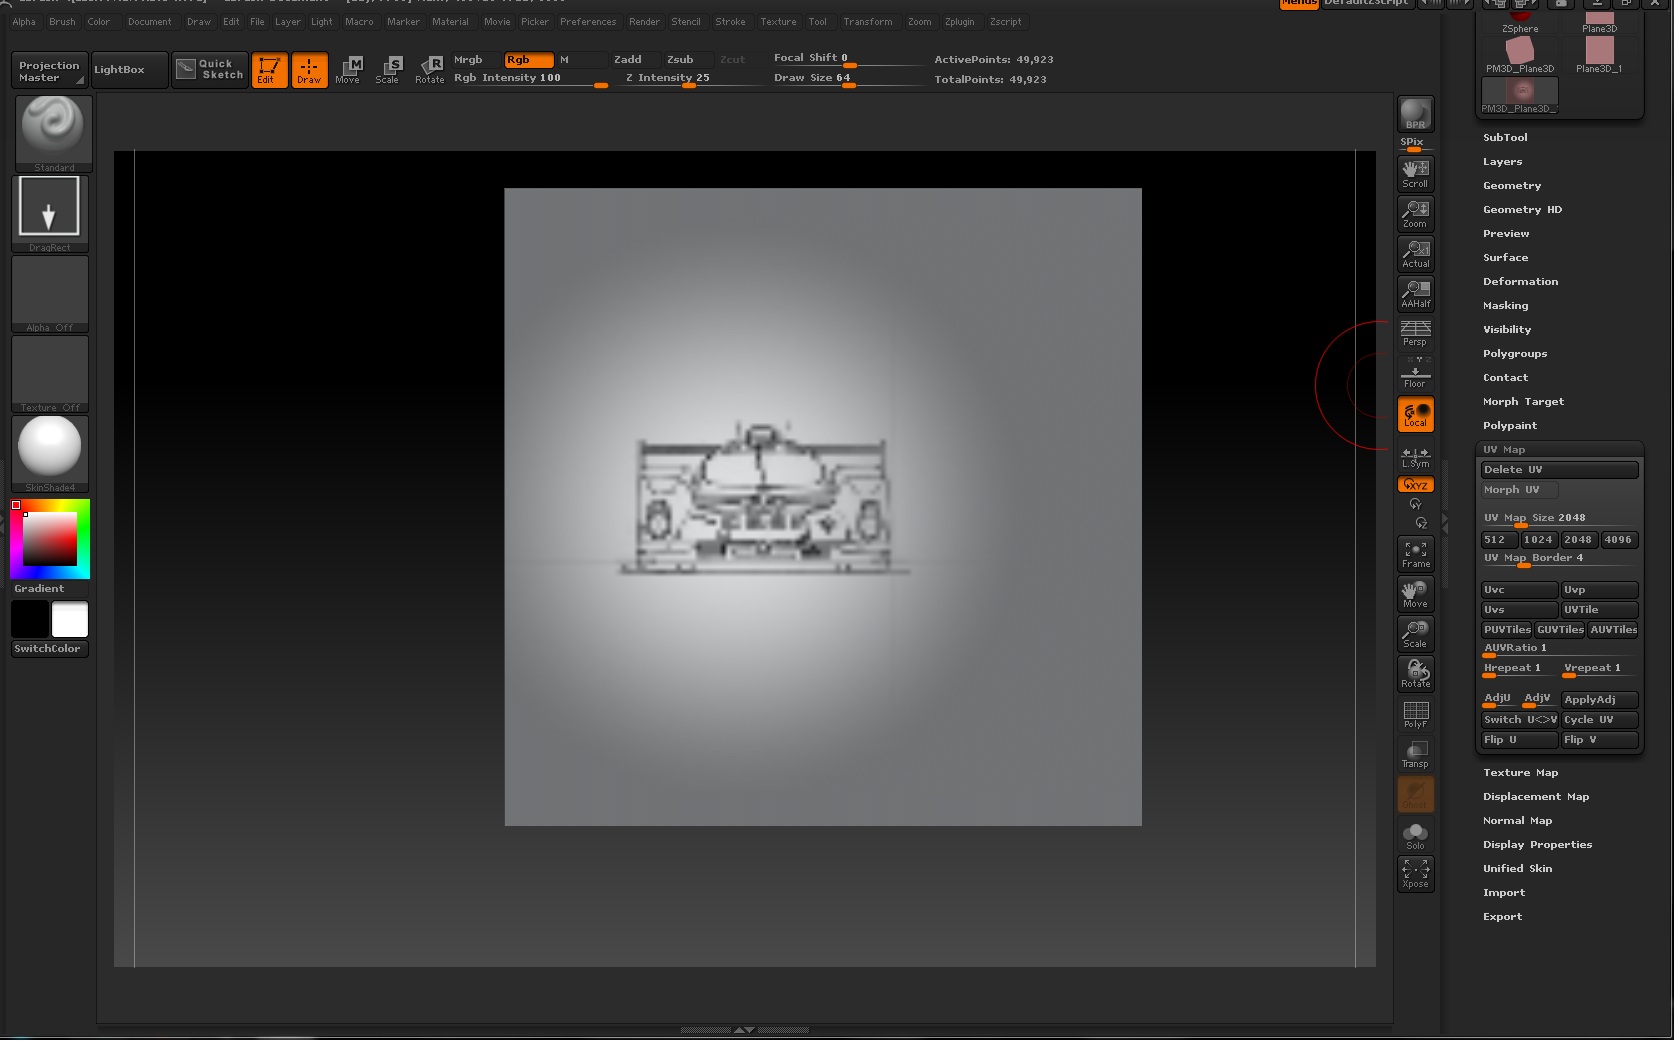
Morph Flatten your shadow box via the Morph feature in the UV sub pallette and with subz off and rgb on, click z to hide the spotlight widget and paint the image down on the flattened box with the standard brush. There is no clicking and dragging at this point. The image is only a reference.
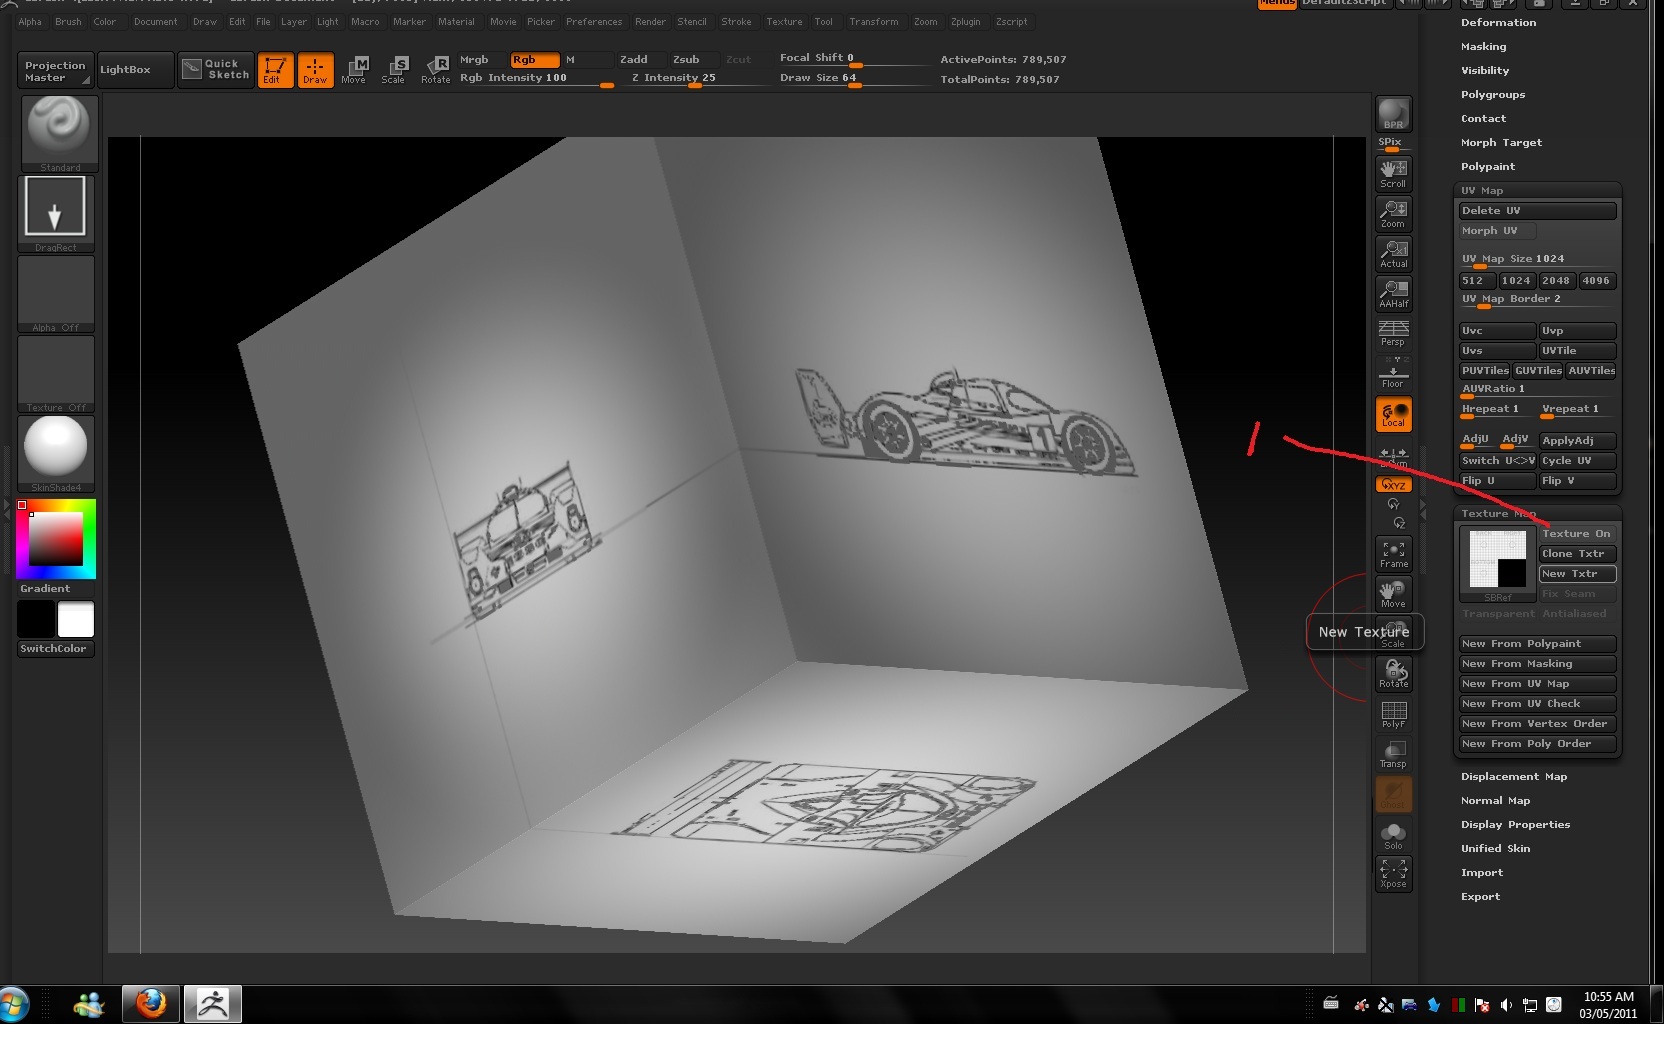
Once you have transferred/painted the image on to the flattened shadow box you can use the mask tools, clicking and dragging around the reference picture to build up your form.
I understand your frustration. If you are a beginner to 3d modeling or just a beginner to Zbrush the sheer number of steps you have to go thru to do a single task can be daunting, but on a positive note, the program is so feature-rich, it’s usually worth it!