In the image I would like the right side polygroups be mirrored to the other side. Is this possible?
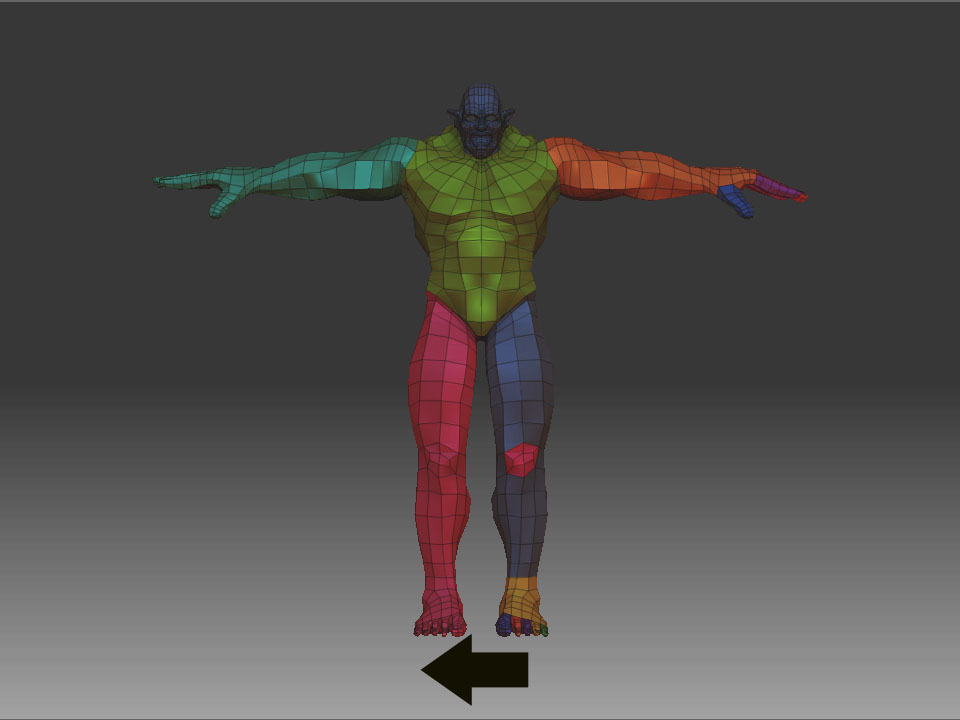
In the image I would like the right side polygroups be mirrored to the other side. Is this possible?
i really don’t think so outside of using uv’s for polygrouping.
but you don’t really have complex groups there anyway and could just make the other side in a few minutes.
yeah there kind of is but not very practical
the only way i can think of doing this is by hiding the half that you want to have the polygroups on. and then press make polymesh on the other half then clone that half and attach it to its clone in the subtool palette then mirror that half on its corresponding axis that was just appended then clone that half and go back to your main subtool then go to geometry insert mesh then make a poly mesh 3d of that combined mesh then export it as a object then go to the import in the tool pallet turn weld all the way up then import that recently exported object then you should have a mesh that is mirrored like you want. but also when you do this keep in mind there the same polygroups but different colors for each one.
but then again like space said there is really no practical no way of doing this that’s not convoluted. but i hope they do add something like this in future updates…
interesting troy, personally i wouldn’t risk dealing with the weld, also if you wanted to add polygroups once your model has multiple divisions, and layers that would be very problematic.
grouping is really easy if you use transpose masking and hidepts then group visible.
It took me close to an hour to mask out each of the groups on the one side. The fingers, and toes were especially tricky. How would I do this in minutes?
Also when I use the use UV’s in polygroups, it only gives me one color over the whole mesh. And my model does have UV’s.
Ages ago I wrote a Mask2Group plugin that still works with the latest ZBrush. It speeds up polygroup making a little.
Also you might experiment with the Masking>Create Alpha and Masking>Mask by Alpha features . With Planar UV mapping, or some other symmetrical UVs, it should be possible to mirror masks by flipping in the Alpha palette.
to use UV’s in the polygroup panel it doesn’t break them by each UV element/island it breaks them up by UV space. 0-1 = group one, 1-2 is group two…etc.
I’m not sure how to go outside of the bounds0 1 in Blender. From a texturing perspective does that give you more leeway with texturing?
Isn’t the mask and group visible one of the tools in zbrush?
Also if there is a way of hiding everything but a masked area, I think that could speed things up a bit.
try marcus’s plugin, or as i said, mask and hit the hidepts button in the masking palette, you may have to invert the mask first.
really though with the lasso and just selecting you could do this in under 5 min, practice.