ZBrushCentral

Mirror and weld

Hi,

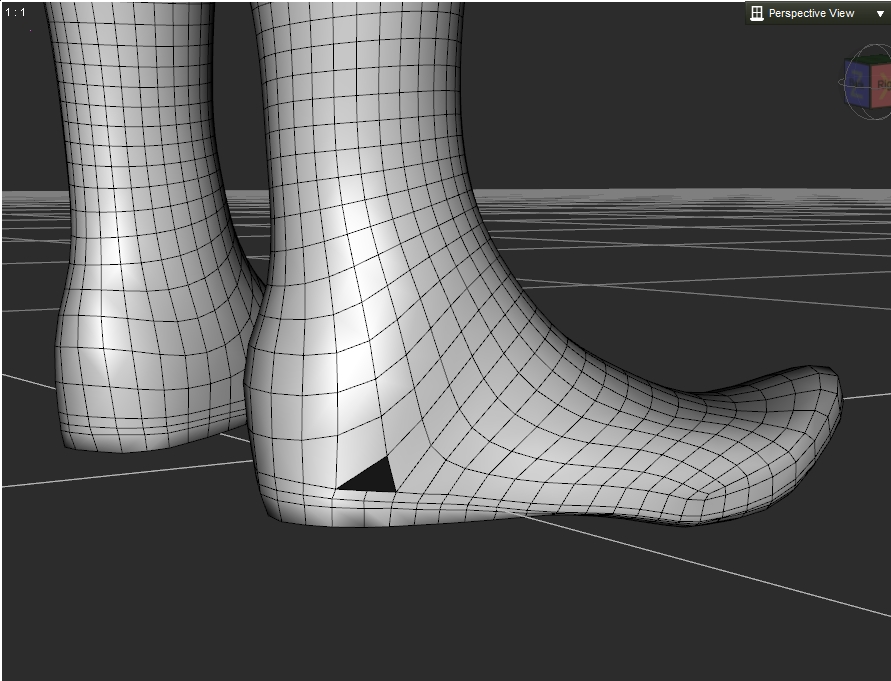
I made a boot following a tutorial a friend wrote for me. I then needed to create an exact mirror of that boot but when I did so, part of the tutorial, the offset was … well as you can see below… not what I’m after.

I tried duplicating the boot in the Subtools area and then mirroring it in the Deformations section but when I merged the two together and had symmetry on the cursor dots were more focused on the original boot and when I put the cursor on the newly mirrored boot the symmetry dot was way on the other side of the original boot.

Here is an excerpt from the tutorial:

  1. Export out your boot if you haven’t yet
  2. Close zbrush
  3. Open zbrush
  4. Import in genesis
  5. Select that goofy star subtool thing, import your boot in
  6. Go back to your genesis subtool
  7. Append the boot
  8. In the geometry tab, find mirror and weld
  9. You now have two boots

Thanks for the help folks!

Richard

Attachments

MirrorAndWeldFunkyOutcome.jpg

grab your boot subtool

zplugin
subtool master
mirror

give that a try and see if it is what you’re looking for.

Thanks so much. I might give that a try.

Joe got back in touch about this and said that ZB’s default “side” is the left side. SO he instructed me to go to Deformations and Mirror and then back to Geometries and Mirror & Weld.

That did the trick but taking it into another program to start rigging I noticed what looks to be a flipped vert. Not sure. In ZB it looks just fine but not in the other program. Any help for this?

Attachments

ChamBootsVertFlip.jpg

the normal on your polygon is facing the wrong direction. Triangulate that face or invert the normal direction on it to fix the problem.

Hi,

Yea, what it was was when I created the sole of the bootie there were “steps” as I was new to creating stuff like that and it was suggested that I use the Polish under the Deformation area and while it seemed to smooth out everything, removing the steps it made it APPEAR to created an inverted Poly but really it was just smooshed up. When I hid the rest of the bootie and found the point and dragged it back down (there were three such poly’s with this going on, all right next to each other at the back and three others in the front of the bootie) I could find no way to remove the extra Vertices to actually create a triangle for those 6 poly’s so took the boot into Silo and did it there.

Now I have one other issue. Perhaps you can shed some light on it for me. In the tutorial it suggested that once I created the sole area of the bootie that it would look best if I created an edge loop around that seamed area so I did that. It looked OK and I thought I had a more professional looking object but when I rendered it in the other program the edge looped area became invisible. Yea, I did not have that area hidden and yes, I did re do the UV mapping to a flat map. So the edge loop was included in that.

I took the bootie back into Silo and even thought about subdividing it in there since the boot was fairly low poly count. That went well but the edge loop … all the corners rounded up, which is really weird. Perhaps something in doing that creates a different sort of poly that I just don’t know much about. :o I like the boot more sub divided but that is a deal breaker.

SO really need to figure out those two areas:
1 - Invisible edge loops when rendering
2 - Sub division of the bootie causing the edge loop to come out with all rounded corners.

Rich

I’m not sure what an invisible edge loop is.

As for your rounding of edges, is this from the mesh in Zbrush that you’re exporting, or is this only in Silo?

Didn’t seem to happen in ZBrush but in Silo, yes. I tried it in Hexagon too, same thing. So not sure what’s up with that.