ZBrushCentral

mental ray daylight system sample file!

hello everyone. here is a file that is setup for you to render your decimated zbrush models in maya with mental ray. the file is too large to upload here, so it has been uploaded to another site.

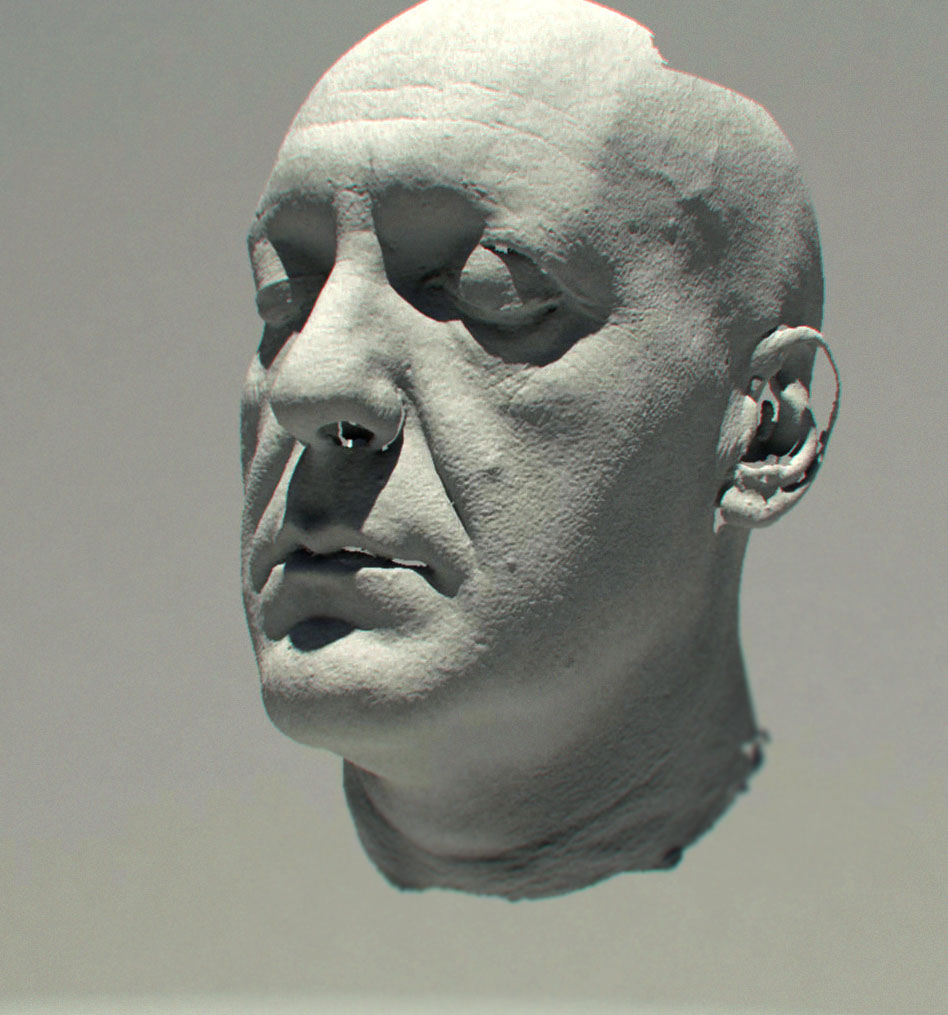
here are some test renders i made with this file, they have been color corrected in photoshop so youll have to do some ps stuff to get the same effect. these are not my models… they are 3d scans you can find online. just look up the term “3d scan data” in any search engine.

enjoy!

http://www.sharecg.com/v/39642/Material-and-Shader/mental-ray-daylight-system.

testrender2 copy.jpg

Attachments

render test.jpg

Wow, thanks! I’ll be sure to check it out as I’m currently just getting started with rendering in maya :+1:

btw those models look great, when’s the portfolio gonna be done?

EDIT: sorry just saw they’re not yours :wink:

I love that bust that you created. Beard looks awesome! Very nice forms!

thanks for sharing your preset !

Very nice clay render!!, but I do not own Maya. Is it possibel to convert the ma. file to a FBX file that can be used inside 3ds max?:confused:

The warrior bust is outstanding…what type of brushes/strokes did you use for the beard, it looks great not to mention the helmet

I tried to download the file but the geo isn’t coming thorugh, they are all empty transform nodes no shape nodes.

I did however look through your setup (the settings, physical sun, and shaders came through).

How long did it take to render?

Also I’m noticing red and blue edges on the render…is this a stereoscopic image? If so I have seen tests with the stereo camera render in maya and it really pushes the focus more so than the old photoshop trick.

anyways really dig sculpt.

thanks for sharing

EDIT:

Skaale

Although maya and max both use mental ray the way it is integrated is different, meaning its probly not possible to directly convert this setup.

However the setup is from what I could see, a default physical sun.

it is three nodes, one for the physical sky (controls the colour of the light dependant on rotation…think day time night time), a lens for the camera (to control the gamma), and a physical light (for photon emission).

It is a preset in maya and probly got something in max like that.
This is used with final gather and global illumination.

nerveink, you’ve made my day!, my week! A big Thanks to you!, from the beginning, i always want to know how can i do those clay randers in maya, now i know and now im happy!:lol:, seriously thank you so much for this.

It’s just a daylight system lighting setup. Easy to replicate in Max. It’s just a few button clicks really.

hey nerveink, thanks for this. i’ve been checking the sketchbook for the tut and just realized you’d probably drop it in here instead.

look forward to seeing what i can do with it.

appreciate it.

Thanks a ton. I’ve always wondered how people get these type of renders, though I’m still not exactly sure how you set this up?

Hii! :D, once again thank you very much for sharing this file for us, i render a couple of models with this file, and looks awesome!, and just have one only noob question since im new in the world of rendering in Maya, and mostly, with mental ray, how can i change the values for the shadows? just to get a shadow like the second example here, well sorry for this question but anyway, really really grateful with this thanks :slight_smile: !