ZBrushCentral

Male Anatomy Study: Nudity

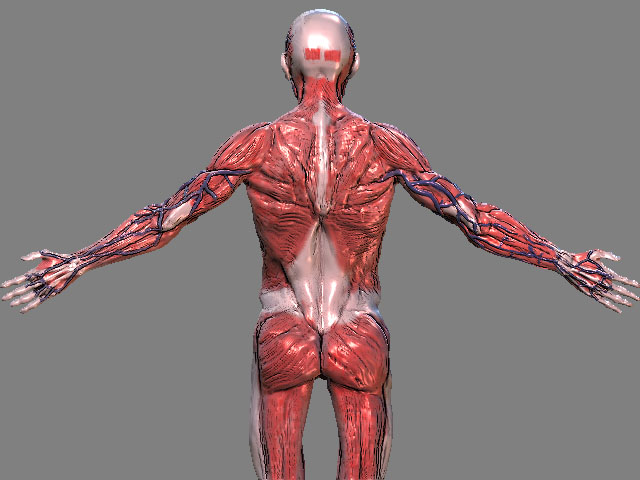
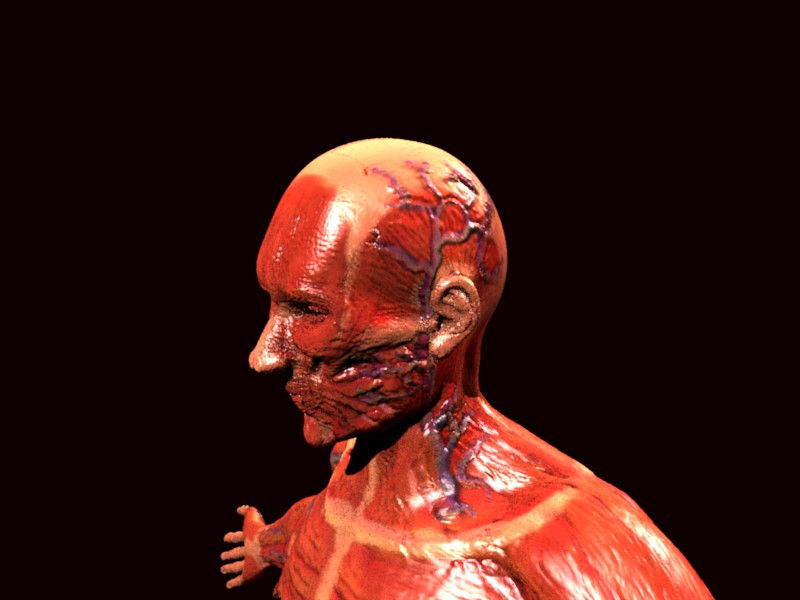
modiulus? Is this the term for The Node (the attachment point at the edge of the mouth, forms a bulge there) (That’s what my teacher called it, sounded like something out of a horror movie!)? I modeled the muscles individually here, should they be that defined at the corners of the mouth too? They

http://forums.cgsociety.org/showthread.php?p=3349046#post3349046

The attachment point of a lot of the facial muscles to the lips? I was thinking for the SSS to either be orangish red, or more pinkish. If everything is wet, that means that there is a slight reflection on all of the body… Hmmm, that will mean that choosing the right HDR will be important later on.

The modiolus is what most of the facial muscles end in----- what’s called a syncitium— which is, guess? a convergence into a common tendon. So, no they are not as distinct there. Try to imagine what each muscle does and its shape and attachments will become fairly straightforward.
SSS has to be hot for most of these tissues.

Some more progress. However I have had a big problem with a stray vertice at the mouth. As a result I had to take the base mesh out and fix the vertice in blender. Upon reentering zbrush it would not allow me to add the corrected base mesh to my ztool. So I am trying to reconstruct the mesh with a rendered out displacement map and normal map. Here’s some tests of the displacement plus normal map in blender. I will try to get back to finishing up the veins and textures very soon.

These are 3 minute renders.

muscledisplacementtestback.jpg

Attachments

muscledisplacementtestfront.jpg

Great work mate. Somehow i missed this thread, I see Art4Med is offering his valid anatomy Knowledge. keep posting :+1: :+1: :+1: :+1:

womball

Its confirmed-- the flayed look is “in”-- and this is really looking gruesome!

you may want to check the hamstring muscles’ origins; they are mostly medial (iscium) to lateral (upper portion of lower leg), and they seem here to mimic the calf muscles a bit much.

just my 0.02.

Great goings---- mebbe you are done?

Very close to it! Not sure if I should try to fix a missing poly error I have. The back of the right hand, one of the tips of the fingers is missing polys. I was hoping to print this so that would be really visible on the 3d print. The problem with repairing the base mesh is that its very tricky to add UVS to already mapped uv islands. I’m not quite sure how to do it, and if the overlapped polys will pose an issue in zbrush. The other option I have is to just complete the model (finish up the feet, correct the one insertion in the leg, and finish the striations of the tiny muscles) than take that into xsi and repair the UVS in it if possible. On the other hand its not very visible and can be hidden. :confused:

There is a game technique where you use half of a texture twice, this might be good for the tip of the finger! My UV wrap I’m really happy with so I don’t want to start from the beginning.

I’m going to pose him so some crits on the pose will be in order. :wink: 
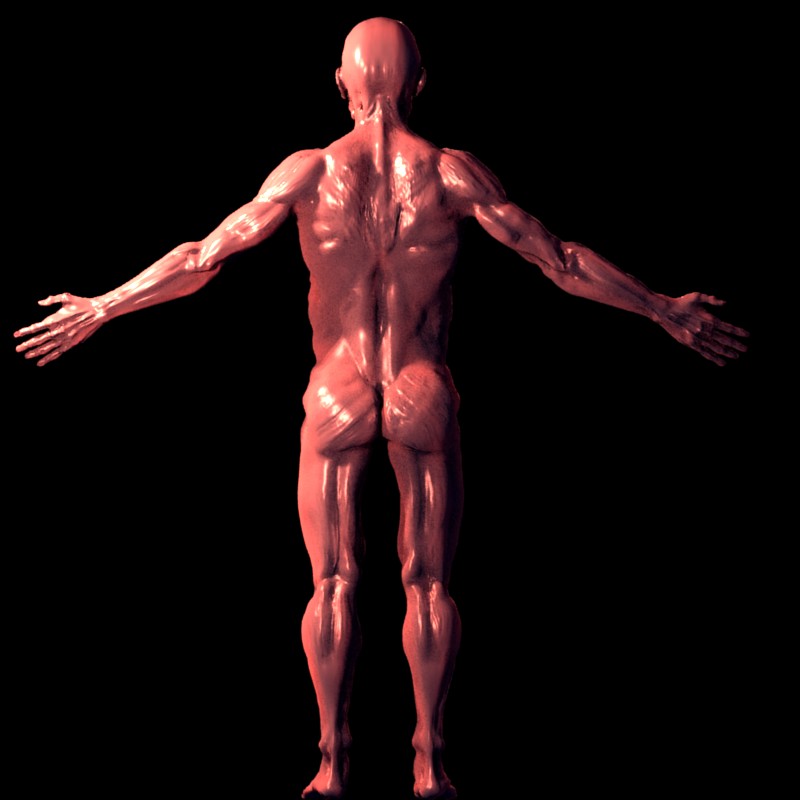
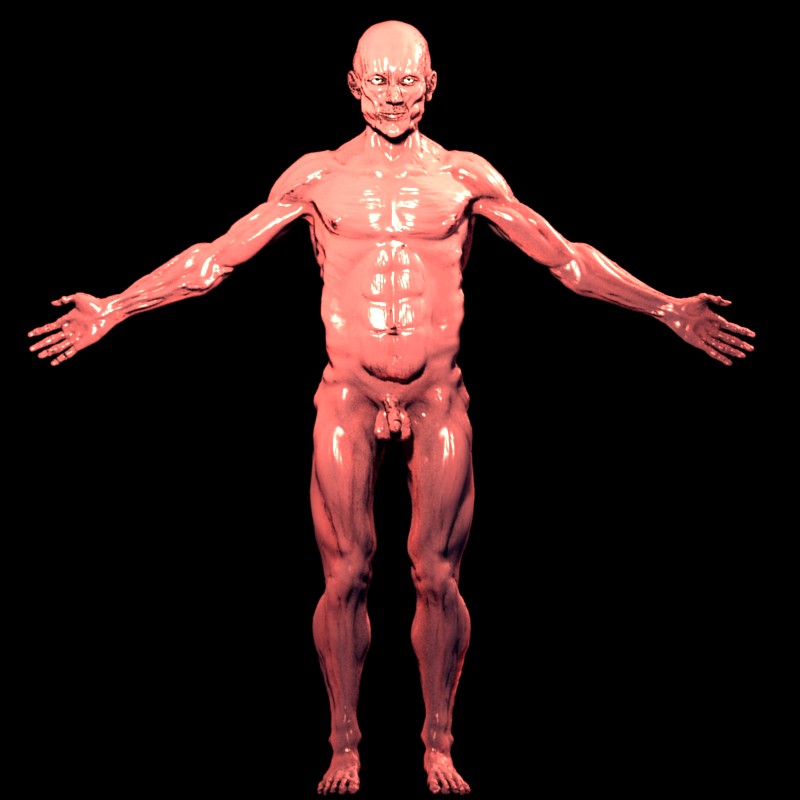
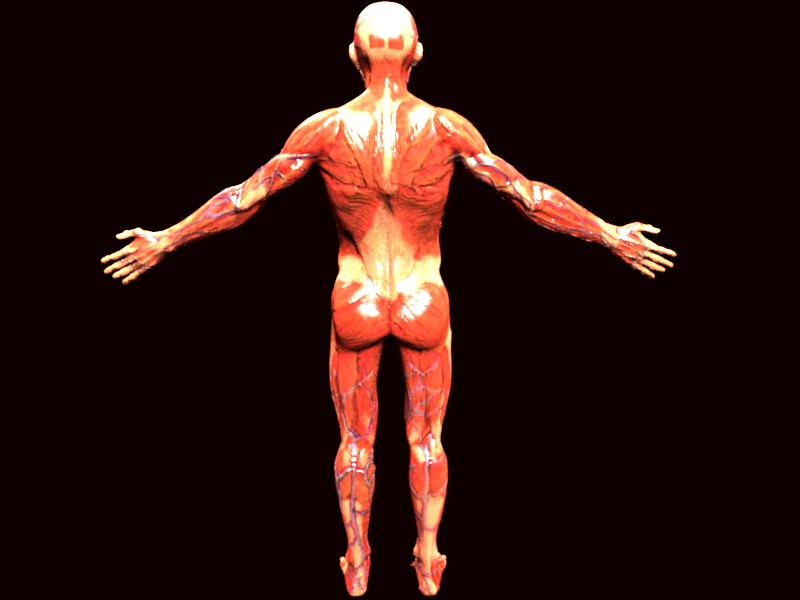
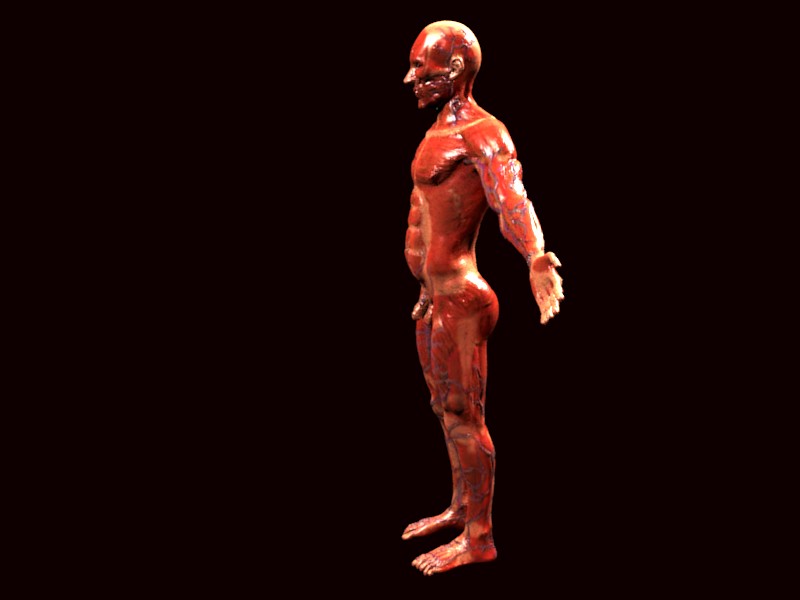
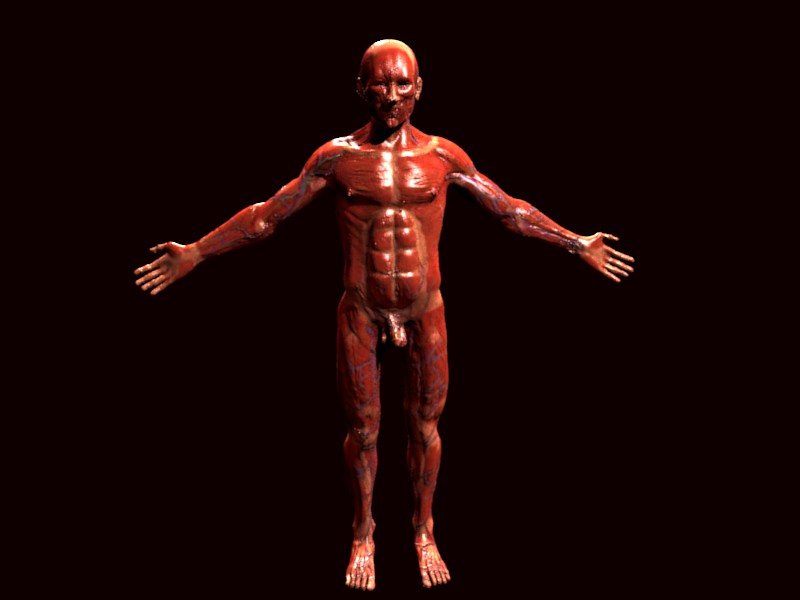
I want him to look alive! This pose is kind of boring, I think.
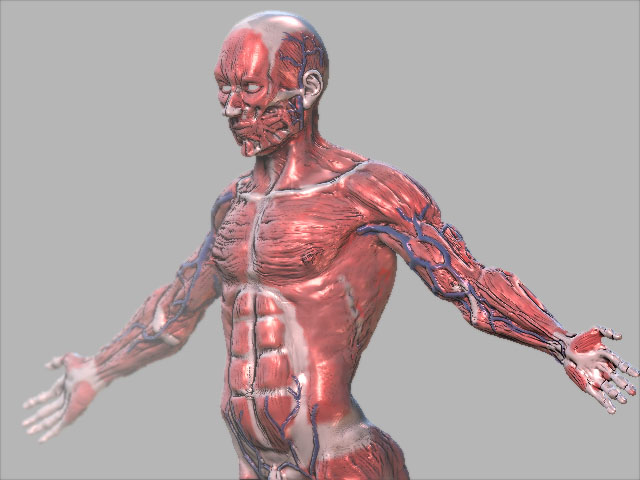
Thanks for the rating panstar! I hope to have him finished by next week.

Here is some work on the color map (long way to go!) and the upper body veins. I’m not doing that many torso veins though.

muscleveinspart1.jpg

Attachments

backveinsupperhalf.jpg

This is really coming along, the textures look great. Have you tried it with a skin shader material yet. I think it could really set it off and give that fleshy look.

I found that 3 skin shaders set at low medium and high Speculare, sprayed over randomly. Really helps to make the muscles look wet and freshly stripped.

HEya :slight_smile:

this is nice topic! i am not into anatomy, (lately only
modeling architecture) so i dont want do comment
on that part of ya model.

“And tweak the body a lot more.”

when i began zbrushing i only had access to the
demo, which wasn*t able to save toools. (feb2004)
moreover over i wasnt able to go down in subD lvl.
this forced me to get the shape out as exact as
possible_beginning from the first lvl…i remeber my
pc runnning for four days in a row until i finished
that skull.

tweaking two K poly is much more fun than dragging
around millions :> anyway you creat model!

IN zbrush? How do you spray a shader on? I thought it was an aspect of a material that affected light? I do like the randomness that would provide though. I may use additional maps to control SSS shading in XSI though. I haven’t gotten to that point though. The fingers, and ears should have strong SSS shading (look like they glow) since they are very thin. The feet may be the same too. Don’t know yet.

Womball, you asked awhile back what color tendons are…

They look a bit like white fiberglas cloth before the epoxy---- IOW, they are transparent/opaque white with light refractions inside— you could use them as a white fading into the muscle in your texture map. Glints of blue and purple deep… even [rare] greens!

But, since the “flayed” look is your espoused goal, you need not do much with them; same with ligaments. BTW, the arteries often seem to go in and out of the muscle [of course, there are defined foramina and sheaths involved], only the superficial veins [as of a body-builder] are skin-deep. Every muscle is [either enveloped-in or] covered-by a thin fascia which also refracts light into blue and purple.

The amazing thing is— there really is every color imaginable within the body. It ain’t just red, but that’ll do for your uses.

Also, a flayed human would have SOME fat bits evident. Even though its mostly liquid at body temperature, that, too, is different colors depending where it is found, often a transparent butter-yellow in the highlights, varying to a whitish pale yellow. See this [photoshop painting in progress at the time]: http://medical-illustration.com/Clients/DissectSMASflapUp.jpg

maybe use this, Womball— and tweak it? More red of several kinds.
http://www.zbrushcentral.com/zbc/showpost.php?p=259747&postcount=92

Do you have any drawings where the fat deposits are? I would like to see this sheath multicolor look, sounds really cool! I have also seen blue plastic looking sheaths on tendons some models and a real preserve foot. I wasn’t planning on sculpting though. I realise you would probably see the artieries too, but they don’t stand out as nicely as the veins against the muscles. So I should make the veins slightly smaller essentially though? On thin people I notice the veins are really prominent in these areas.

I do have images of fat deposits, but you can fake that.
No worries.

I guess I could use some fat like textures for the bump mapping, and a variation in the sss shader in that area. I’m going to use the textures outside of zbrush, since I think it would be nice to have more control. I think Mental Ray is more appropiate for the type of renders I would like to achieve. Plus XSI has bones! Need to get some expression into this boring pose. If you do have images could you send me them? I would like to study them. The glass shader is a bit hard to manipulate, not sure how to get normal lighting to happen. I have a red wax shader I could try in the meantime while I finish up the model and a fleshier type of shader. Experimenting is fun

finalmusclesperhaps.jpg

All of the veins are done, and I fixed up a lot of areas. I will take it in to XSI when I clean up the face a tad bit more. Its a little lumpy still. I might try to combine the cavity map and color map and see what happens, it worked well for xxxeb. Keep in mind its still a temporary material.

great job. :+1: :+1: :+1: :+1:

Thank you Doron!

headupdate.jpg

A close up of his expression using a default zbrush shader. I think I can smooth out the map even more in photoshop or Gimp.

head34skinned.jpg

A few blender renders with a color composite map (the map is a blend of the normal, cavity and color map generated in zbrush). I still have to iron out some details and smooth out poly mistakes. These are blender renders btw, not sure how to get displacement maps to work in XSI, how to get it to look really shiny (not sure what settings are required there) and the enevelops still need a lot of work.

The lighting is temporary too, and the grainess will be taken care of. :smiley:

Attachments

backskinned.jpg

sideskinned.jpg

frontskinned.jpg