Ok, just another question in a long list of questions but… the technique used for making the air filter out cone/tube, what masking tool/tools did you use to get the extruded look? i am a patient man and will wait my turn in line for a response.
Hey Beholder … he use this:
- Make Cone (Zylinder - Initialize - raise HDivide)
- Go to Masking - ViewMask - MaskAll
- Set “Sel” to 2
- Press “Col”
There you go!!! Masking complete!
- Go to Deformation and play with “Size” … finish!!
LetoAtrell, Thank You
@window1: Since I am a beginner, it is important for me to share new knowledge with other entrants! In the hope that others do the same 
Thanks again Leto
Confederate P120 Fighter Combat motorcycle is insanely awesome
You can Mesh Extract… from thin air?
Somebody help me here.

The mesh that the reference is placed on?
The bike reference image wasn’t on a mesh, it was an image plane, wasn’t it?
Just wondering how that magical, Photoshop-like selection / mesh-extraction behavior in thin-air was accomplished. Magnificent!
Thanks.
Apparently, if I’m right the image has been “paint” like a stencil with Spotlight on a Plane 3D tool made then as a Polymesh3D tool. I made it : it works. Different workflow and smarter, because you can then adjust the size of the plane according to the size of the image, by selecting the part you need and deleting the “empty” part.
Cool, I get it. Thanks.
An excellent Master Class!
Guau…50/50 process easy methodology and effective results!
An excellent Master Class. Zbrush for ever!
Michel, I don’t get it (or maybe I do??) I know your correct on the 3Dplane and image projection part, but are you saying that for each part Ofer (Pixolator) made a 3Dplane for each part (for the “floating” parts that everyone is talking about)? Also, do you or anyone here know how Ofer made the “Spring” for the bike at marker 26:50? I know he used the spiral3D tool, but how’d he get it to stretch and conform the way he did? I zoomed in 200% in IE, but could not read the palette he was using (looked like the palette had a ramp he was adjusting).
Michel (and everyone else), never mind on the Spring. I found how to do it (Ofer is actually using the Helix3D tool and not the Spiral3D tool). Found the info in the old ZBrush 2 Practical Manual on pages 207 and 208. ‘IF’ anyone else wants to know, use the Helix3D tool>go to the Initialize menu>click on the RADIUS CURVE and remove the center point (to remove the bulge in the center). Then the rest is just playing around in the ramp window like Ofer is doing in his video.
This is always the same 3DPlane. But each time you mask a part, you inverse it and you “extract” this non masked part. Do you understand the worflow ? It’s quite easy and very time’s savy.
each time you extract a part your basic 3DPlane is still there untouched.
Don’t forget you have paint your model on this 3DPlane.
Wow the vid was outstanding. Taught me a great deal
Thanks!!
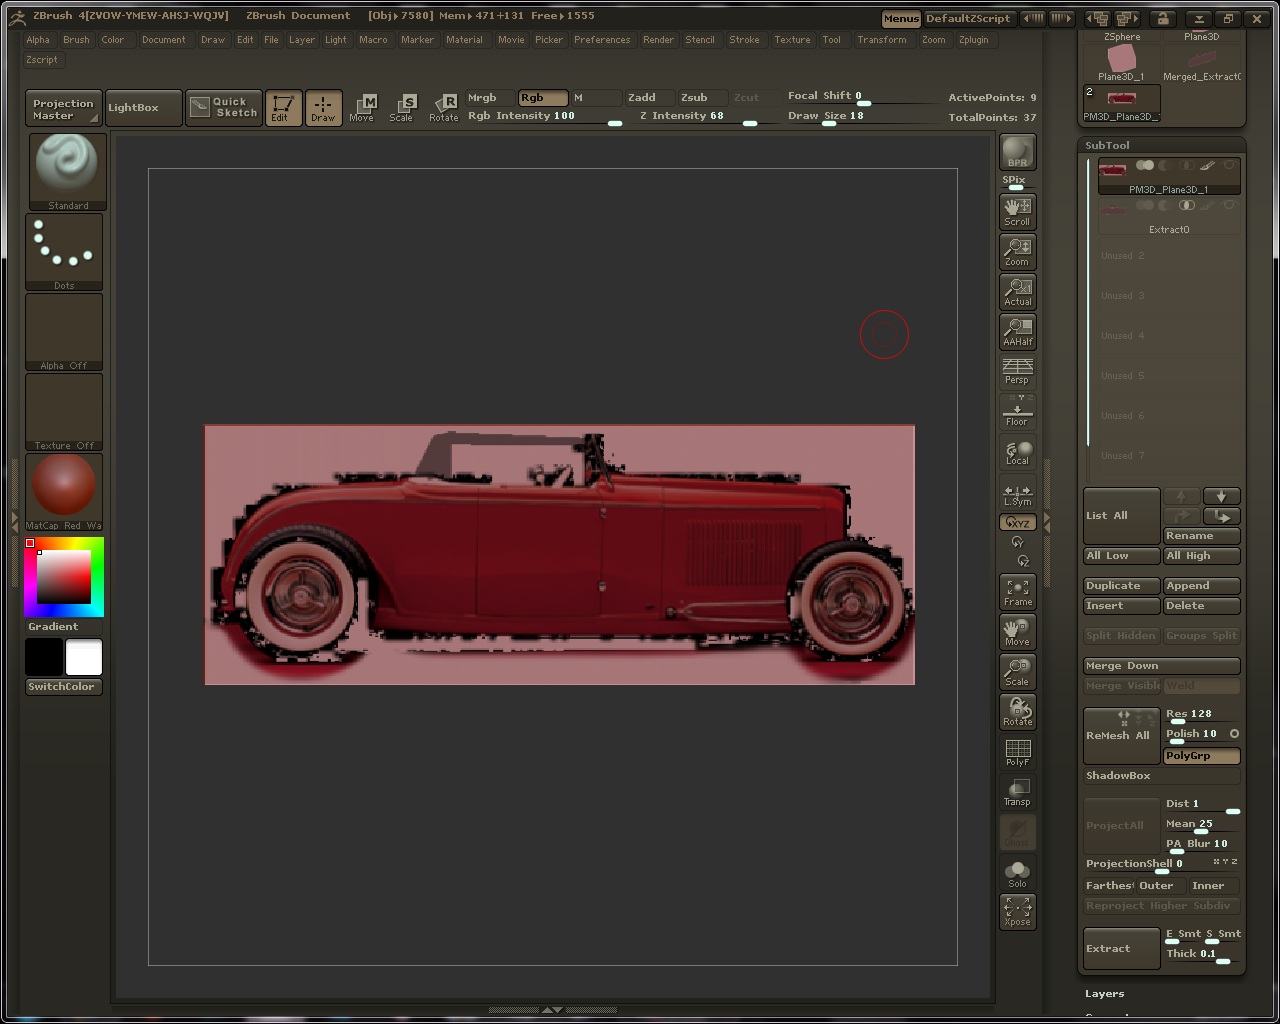
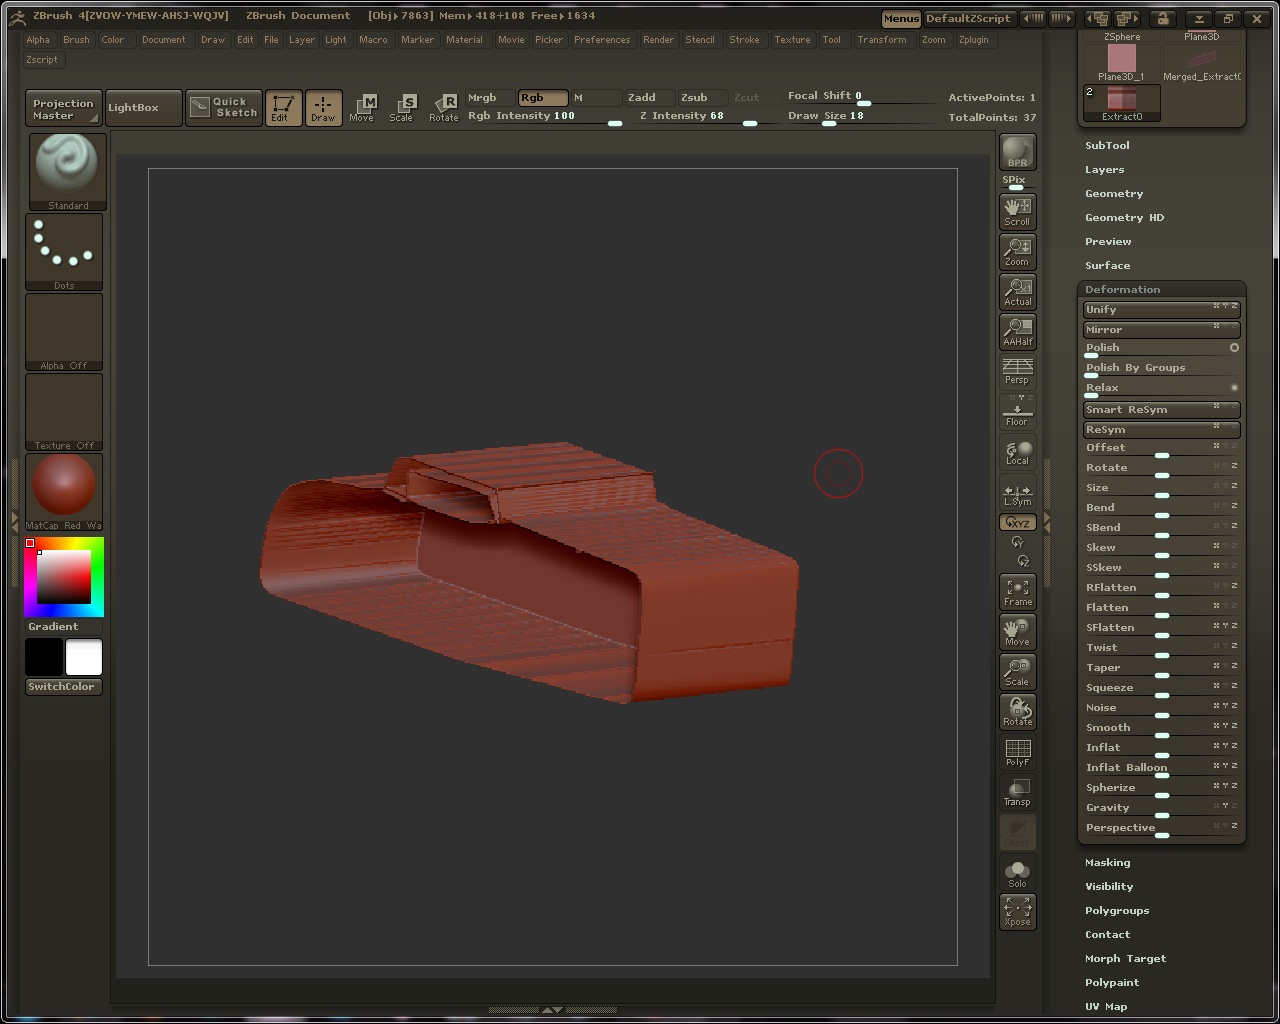
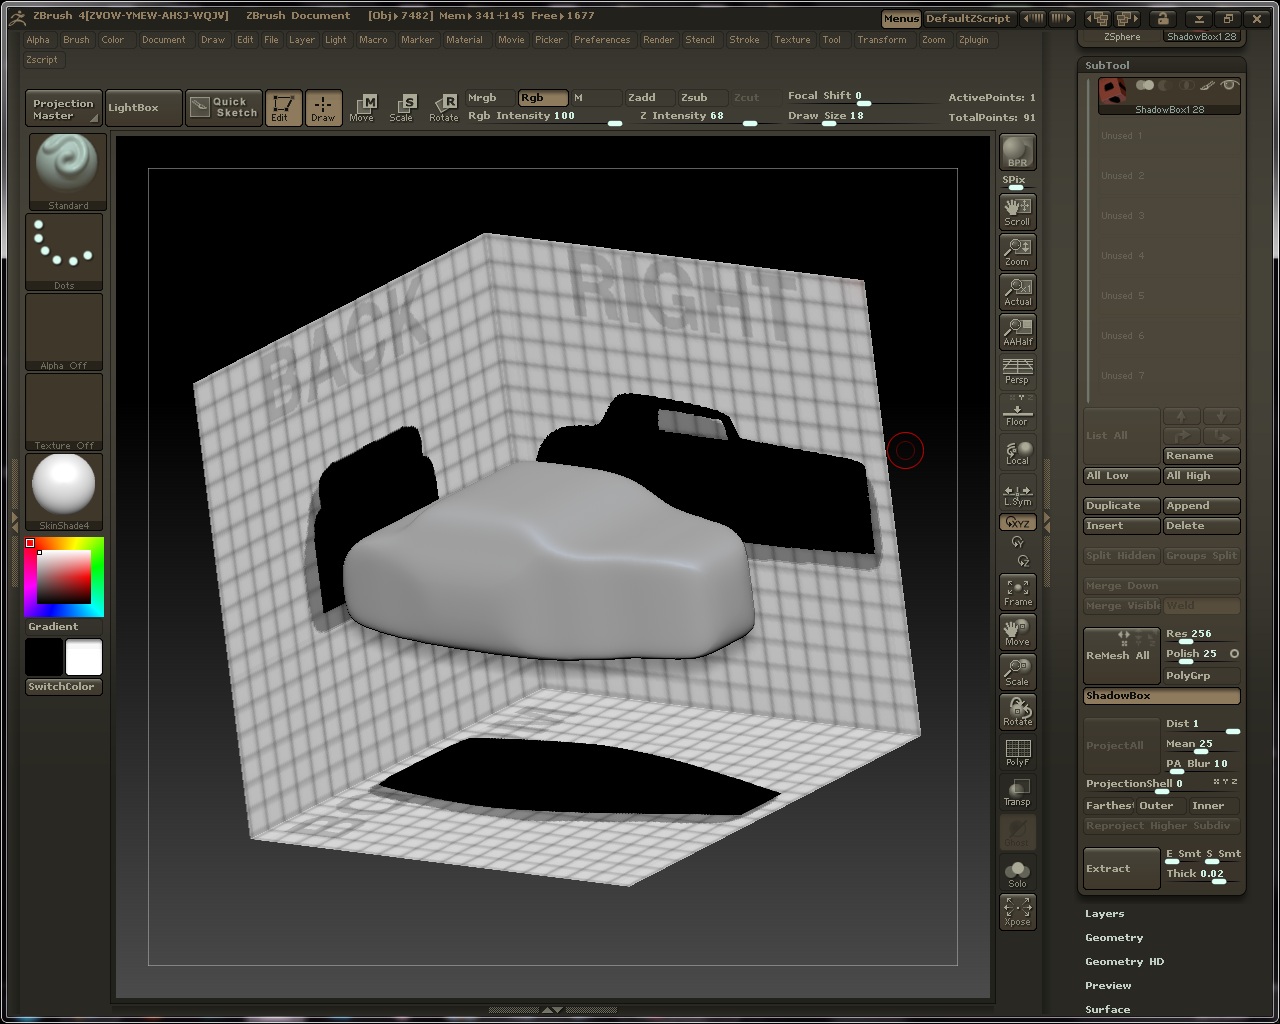
Thanks a million Michel. I tried it, works like a charm. That’s a great way to make parts quickly. Listen, can I ask ya another question (or anyone esle), below are some images of what I am working on, it’s a 32’ Ford Lowboy. I am going to recreate an image I digitally painted some years ago (see below) in 3D. The first image is the 3DPlane with the ref image. The second image is the extracted version of it but, as I attempted to ‘move’ it with Tranpose, I get an ‘open box’ like effect. My question is, how can I get the same result using the 3Dplane method as I get using Shadow Box? (no hole) i.e. how can I thicken the width without getting the ‘hole’? Thanks a million.
- The refernce image painted on the 3Dplane using Spotlight .
- The extracted car using Transpose with the ‘hole’ issue.
- The same car but using Shadowbox (using my custom texture) and masking brush.
- The ref image I am using for this 3D project of mine (painted using Painter).
Attachments
And yes Michel, I am just trying to see what is going to be the best working method for me (Shadowbox, 3Dplane, Polgroups, Zspheres, Zsketch, etc) . I want to just get all the ‘tech’ stuff out of the way so I can just get to creating. I know I am probably going to be using all of them but, I just want to see what is going to get me going the quickest then use the rest for ‘detailing’.
At about 6:22 in the video, he starts penning masks with what looks like the Mask Circle brush but there’s a 2-point restraint system active, like on the PlanarLine tool (in order to get straight lines). Anyone know how do this?