ZBrushCentral

Make it look real (With mental ray)

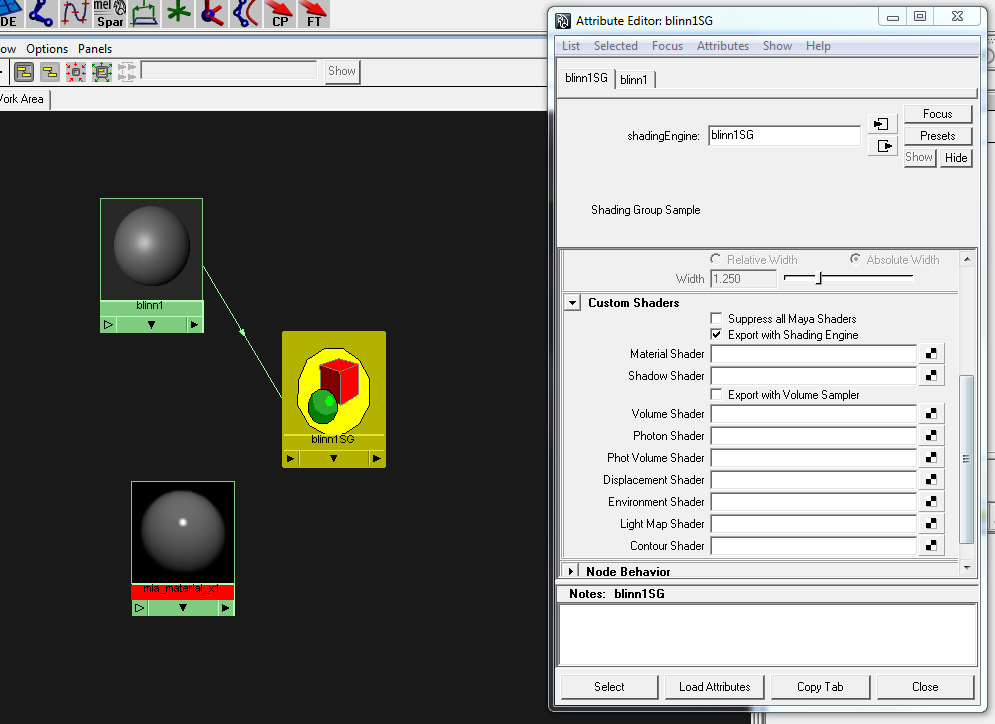
Withstrengthenedwings: Use mia_material_x, the only difference between the mia and the mia_x is the bump (mia_x can get straightforward bump).

For the displacement just plug your mia material into the shading group of the blinn that is created from zBrush, there are some mental ray slots, plug it in the material and the shadow shader.

Attachments

Shader.jpg

So many answers to questions I wasn’t sure how to ask- thank you! I can’t wait to try it out.

ISK-86, you are the man! Thank you so much! Thanks for the fast reply and well explained answer, I appreciate very much. :D:D:D

I would post what I did, but it’s such a simplistic model compared to the others. When I do a more complex one I’ll make sure to post it on here, as you were the one who taught me how to do it!

Thanks again!

This is a great thread, I learned a lot. Recently I changed my mind though. When we have to use SSS for a skin then a supernatural amount of details is needed. In this case normals should be adopted from a lower level than displacement subdivisions. What do you think about this?

@ michalis: That’s a great idea— but mental ray’s aproximation editor is really great to represent millions of polygons, there almost no performance loss when using SSS shaders aside of the lightmap calculation. :smiley:

The setup would be the same for plugging the displacement for the mia material.

Right ISK-86, the reason is that SSS in mentalray is great. Try blender (a fine sss here) but be aware of this blurred effect there. In most cases I need to edit the amount of displacement there. Thanks anyway, a five stars thread IMO

Hey guys,

Has anyone used the physical light shader in maya 2011?

I cannot seem to over drive the HSV settings to get a brighter light for it.

Could someone shed some light on this for me?

@kpamir: Plug a light temperature shader there (mib_blackbody) The maya 2011 color swatches do not allow values higher than 10000

Thanks for the reply ISK.

Does that mean I would have to use the blackbodys intensity setting to control the physical lights intensity then?

you think you can provide a vid for that render setup? that would be the best

thanks for this, I am going to try it out!

My work!
http://www.zbrushcentral.com/showthread.php?t=133440

Thanks for all the replys… someone necromanced this thread so I think that I will continue giving feedback.

Some things have changed in maya 2012, the issue kpamir had about the light intensity value being clamped at 10000, is no longer there; now we can freely change the intensity of a light without plugging there a light temperature shader.

There is also a nice color managment scheme for mental ray, pretty straightforward but it’s nice to be able to gamma correct the overall render.

@SSTRiKERR: I have no plans (in a near future) of making a video-tutorial out of that setup, but I think that a .ma scene would be really useful, would you mind if I upload a “Sample scene” ?

@Sindo: It would be really nice if you post an image of your rendered piece :smiley:

Thanks for the render tips! Very nice work! :slight_smile:

Hi ISK-86
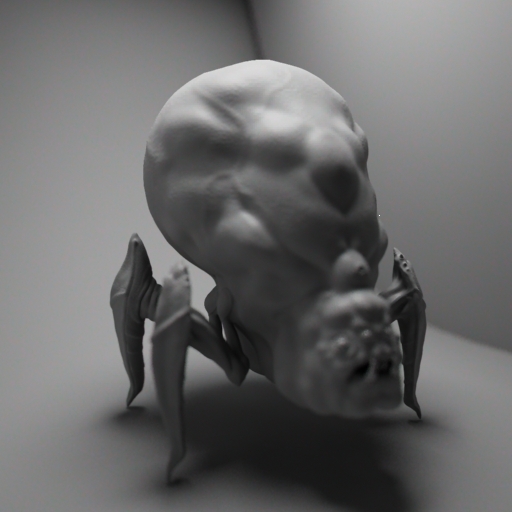
Thanks for the Tut,But my render has a problem.please help me take a look.
The creature head part very very blur.I do know what is cost this problem.
Thanks

Attachments

render01.jpg

some awesome stuff here. I just wish there was a translation for us ignorant max users(me):rolleyes:

we wouldnt mind at all to see a sample .ma scene. lookin forward to it

Tremendo tutorial amigo!!! Felicitaciones!
Sería grandioso que subas una escene .ma de ejemplo con los materiales y todo!!! puede ser?
Trabajaste en alguna actualización de este tutorial u otro tip para mejorar los renders?

muchas gracias amigo!!!

[Moderator’s Note: ZBC is an English speaking forum. You are welcome to post in your native language but please always provide an English translation. Thank you.]

Tremendous tutorial friend! Congratulations!
It would be great if you upload a escene. ma sample with the materials and everything!! may be?
You worked in an update of this tutorial or other tip to improve renders?

thank you very much friend!

(perdón!,… digo, sorry!:D)

@nickz: Thanks!!! It’s nice to read that from you :smiley:

@zhangchijohn: your focus region is too far, you can create a locator and place it where you want your sculpt to be in focus (you can measure the distance from the locator to the camera using /display/Head ups display/object details.

@BenDstraw: The translation for max is really simple, the settings for mental ray are exactly the same, using max’s area lights, and “A&D” material (the name given in max to mia)

@KonginChains: Looking forward to it also… (been really busy like, for a whole two years)