ZBrushCentral

Low texture quality...

Hello, fellow artists. I have a question about poly-painting and Projection master and it sounds like this: Why does Zbrush export cheesy, blurry textures ?

I am using projection master and ZApplink to paint textures onto my model using Photoshop. So far so good, in projection master the textures look the way they should BUT, when i pick up the model, the textures blur out and lose their initial quality. Any solutions/suggestions ?

Thank you !
Best Regards,
Andrei T.

First off, you shouldn’t use PM together with ZAppLink. Just use ZAppLink, which will handle the Projection Master stuff automatically.

Second, make sure that Draw>Perspective is off when doing this work.

Third, make sure that your model has enough points to support the detail that you’re painting.

Not having any images for us to see of your problem makes it difficult
for us to know what’s happening but if i had to guess i would say that
you haven’t divided your model to a resolution to support the texture.
Try dividing your model to a hi-poly count.

The model is subdivided up to 4 million poly, though it may be true that it does not have enough points to handle the desired texture detail. I’m new to polypainting and texturing within Zbrush, and my machine tends to freeze often if i subdivide a model past 4 million polys… Any practical solutions besides creating the texture in photoshop ?

Thank you for your attention !

here’s the result of using zapplink for texturing.

Attachments

ZScreenshot.jpg

it looks like you’re using a very small canvas when you use Zapplink.

try to boost the size of the canvas so when you get into PS you’re not looking at a 960x720 or whatever the default res is. That is making you compress whatever image you have to fit the geometry…and that isn’t leaving a lot of resolution.

At least, im guessing that is the problem…at 4mill it should be good.

So I must enlarge the canvas, I will do so. I hope it will keep the details around at least 80 percent of the initial sharpness.

I will be back with the results.

Thank you ! :smiley:

Well, things turned out quit well with the given advice, but I still have the feeling that this texture should be sharper. What is your opinion on this one ?
By the way, the model is supposed to be a “next-gen” character, any advice so I can make it better ?

Thank you in advance !
Best regards,
Andrei T.

Attachments

Untitled-1.jpg

nextgenwip2.jpg

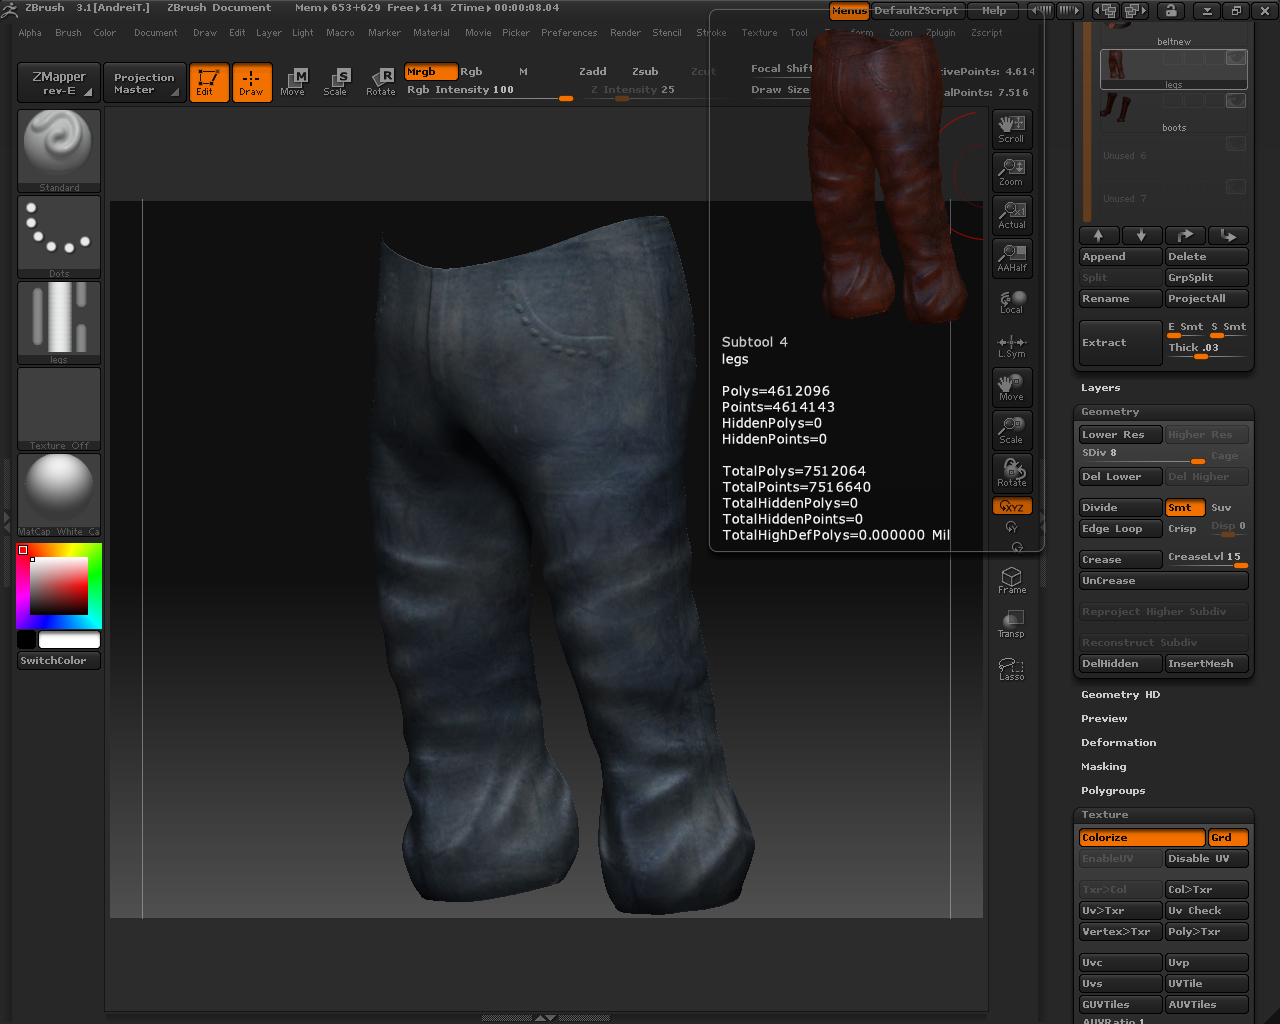
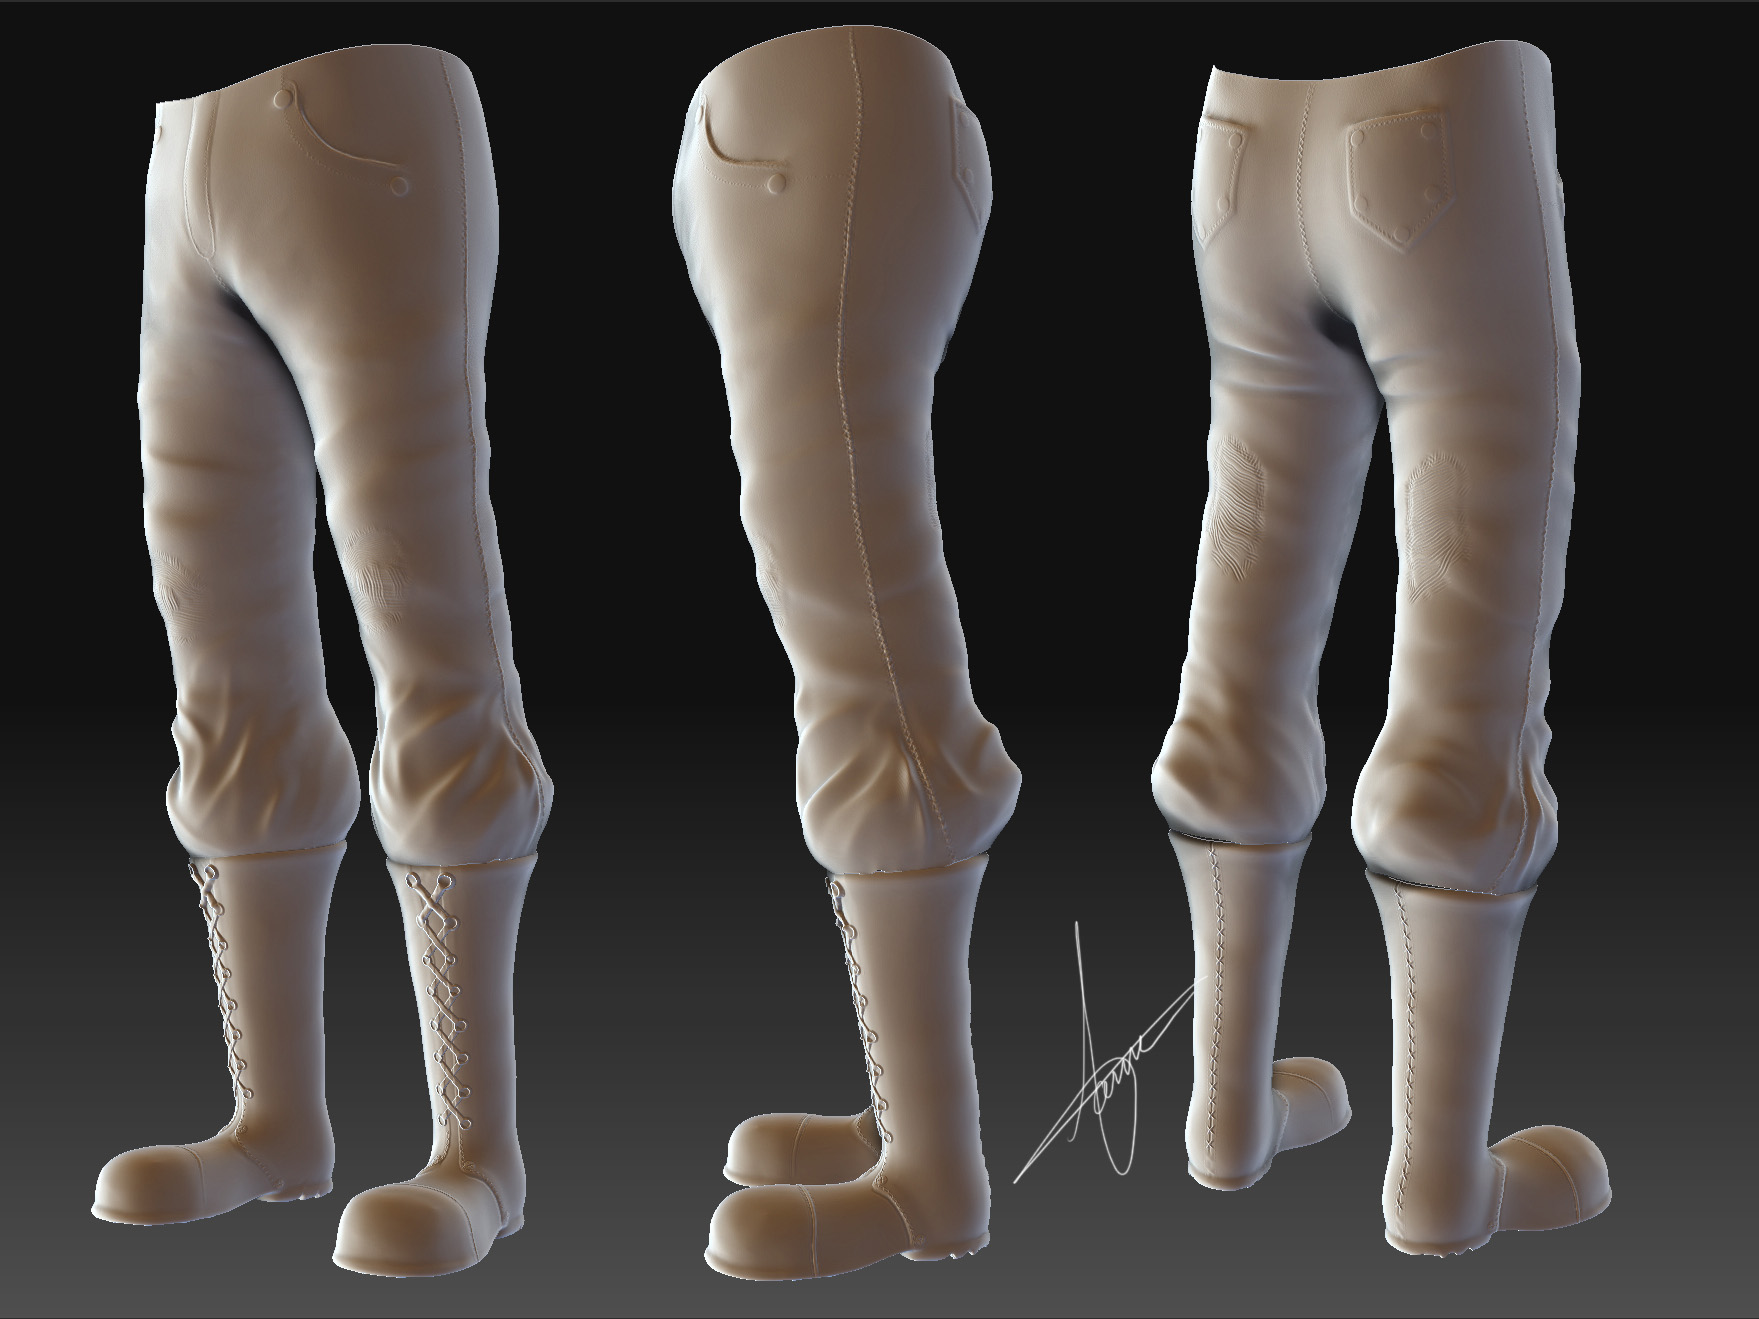
the symmetry is killing me. With the details like tears that pull the eye toward them, you shouldn’t mirror those parts. Also, since you’re not getting the quality of the maps that you want in poly paint you should convert that polypaint to a texture and then use PS to see if it is a map size error (i’m guessing it has to be…since 4million polygons should come out to a single 2k map just for his pants.

Anyway, when I can’t get the details I want out of Zbrush I export out to a map then use that as a base for texture work inside of PS.

Also, what does the wireframe on those pants look like…that might also be causing the problems.

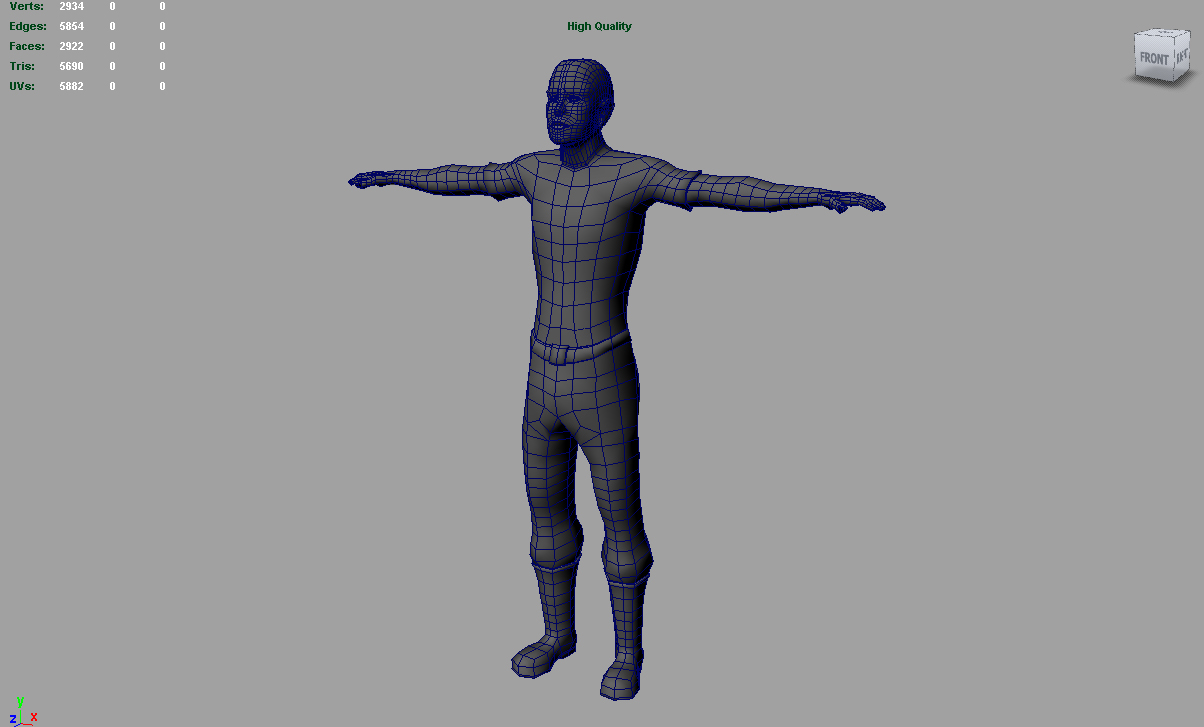
The shirt fold that you have are correct for the pose he is in currently…but unless his “relaxed” neutral pose is with his arms out, i would change it. If you don’t it will look funny when he is just standing there. When he is in motion with his arms up to grab a ledge, or flying or whatever he would be doing. You won’t really notice as the movement will take away from the “error” in the normal map. Also, what does his cage look like? If he’s for a game, what is his tri count, and what is the limit. how are his maps layed out? Does he have proper looping for animation? Anyway…basically what does his construction sheet look like? Highpoly, lowpoly, texture sheets. Granted, with Zbrush you don’t really have to worry about the low or the texture sheets until damn near the end…so you might not be that far yet.

this character is a test so i can work in the games industry… it’s important to me… apparently i can’t lose the symmetry because they have requested stacked UVs for the legs… i have decided to work out the textures in PS so they will look better. I have posted a few sculpting updates of the legs and boots. i have also posted the low poly base mesh and the UV layout of each part. Please add any observation !

Thank you very much for your advice, I appreciate and consider it !
Best regards,
Andrei T.

Attachments

headlow.jpg

punkerlow.jpg

uvlayout.jpg

pantswip.jpg

wip3.jpg