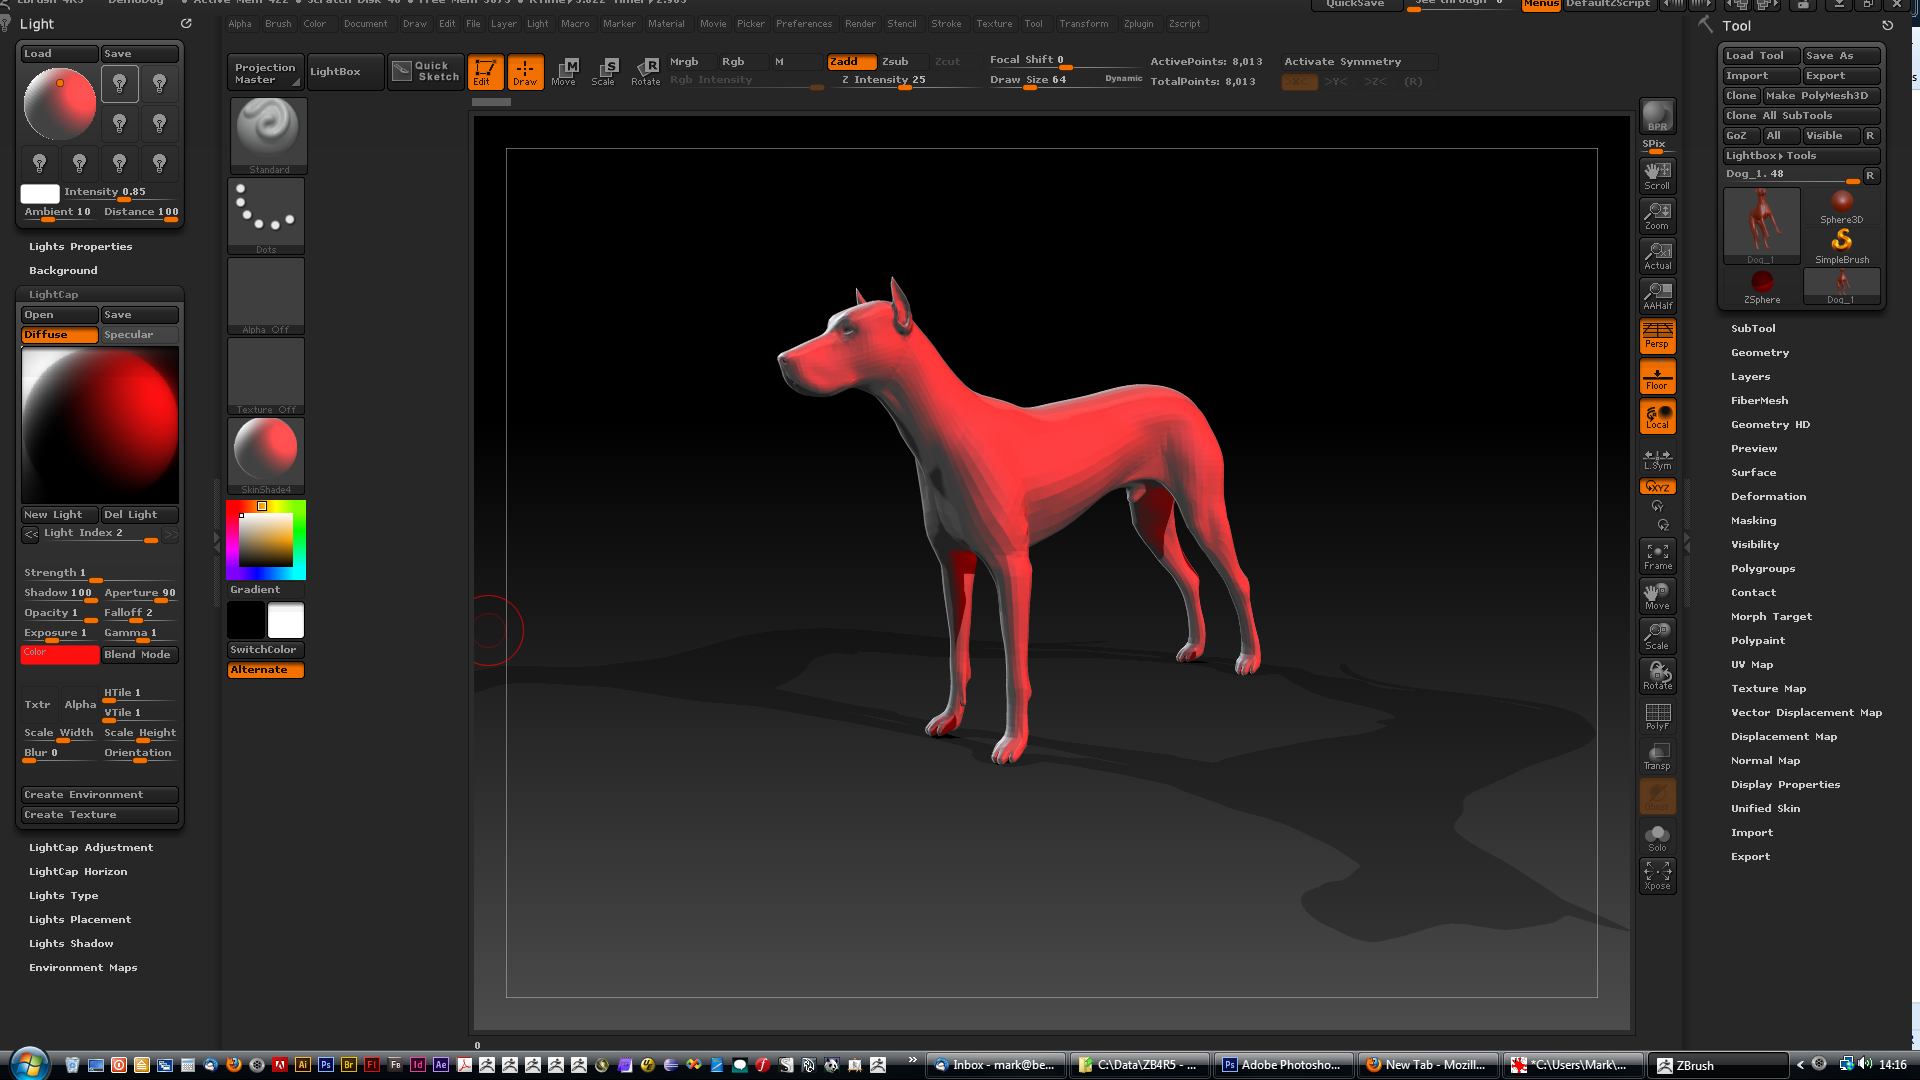
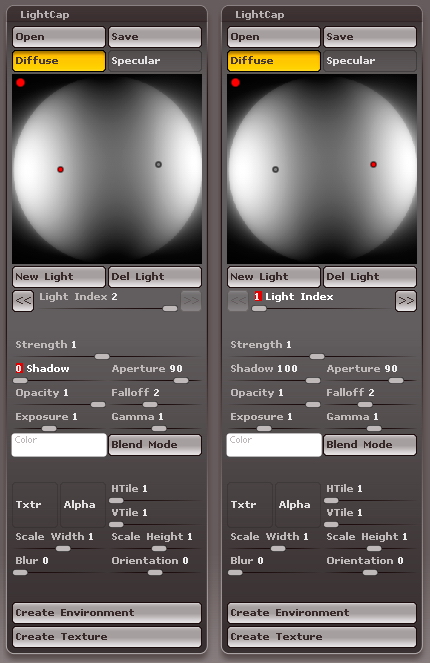
I have all the old type lights and ambient off, I am using only the LightCap lights. So to visualize what I mean, I made a test scene with just two lights left and right both have exactly the same settings like on the attached image. When left light has the shadow set to 0 it barely lightens up the shadow, I mean that you still can see the light contributing to diffuse color but it is not affecting the shadows, they are a little bit brighter just because the surface below them, Diffuse color is brighter. I was expecting this to work more like it does in other 3d packages i.e. 3dsmax. It looks like the shadows are overlaid on top of whatever is underneath at the end so (kind of like a layer in Photoshop) so this is why no matter how much I increase strength on the left light (with the shadows off) it will never be able to remove shadows of the right one. I found out that it kind of works like there is a 100% pool for all lights for shadows and balancing with this I can achieve results I need (I have attached several images showing this on different shadow percent levels)
So I have been tweaking this for a while and I came up with the solution that works it is just something different than I expected. I am tweaking all at the same time light strength, shadow and also I separate my specular from diffuse lights (this helps a lot) and this allows me to get what I am after. It is a bit more laborious than in 3ds max but I can live with that.
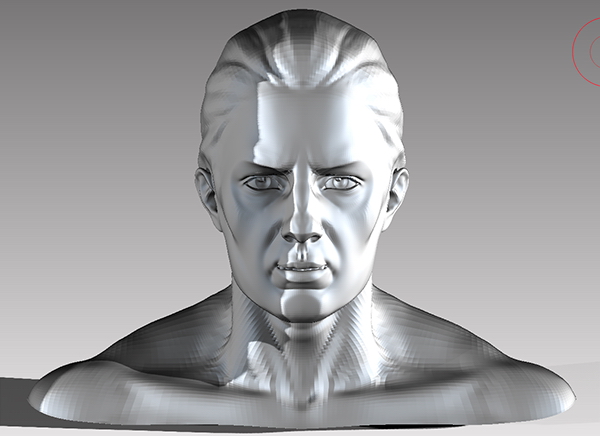
Settings
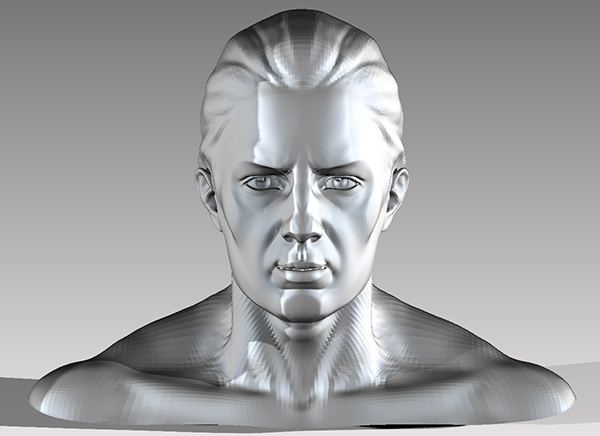
Left light shadow: 0
Left light shadow: 25
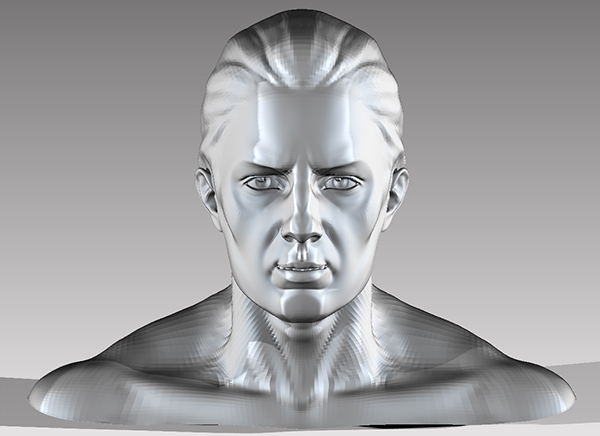
Left light shadow: 50
Left light shadow: 75
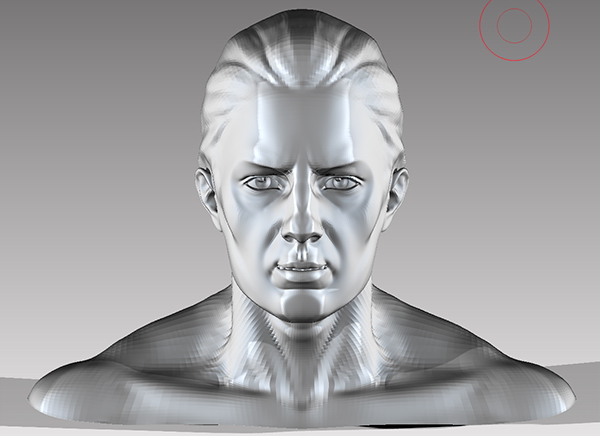
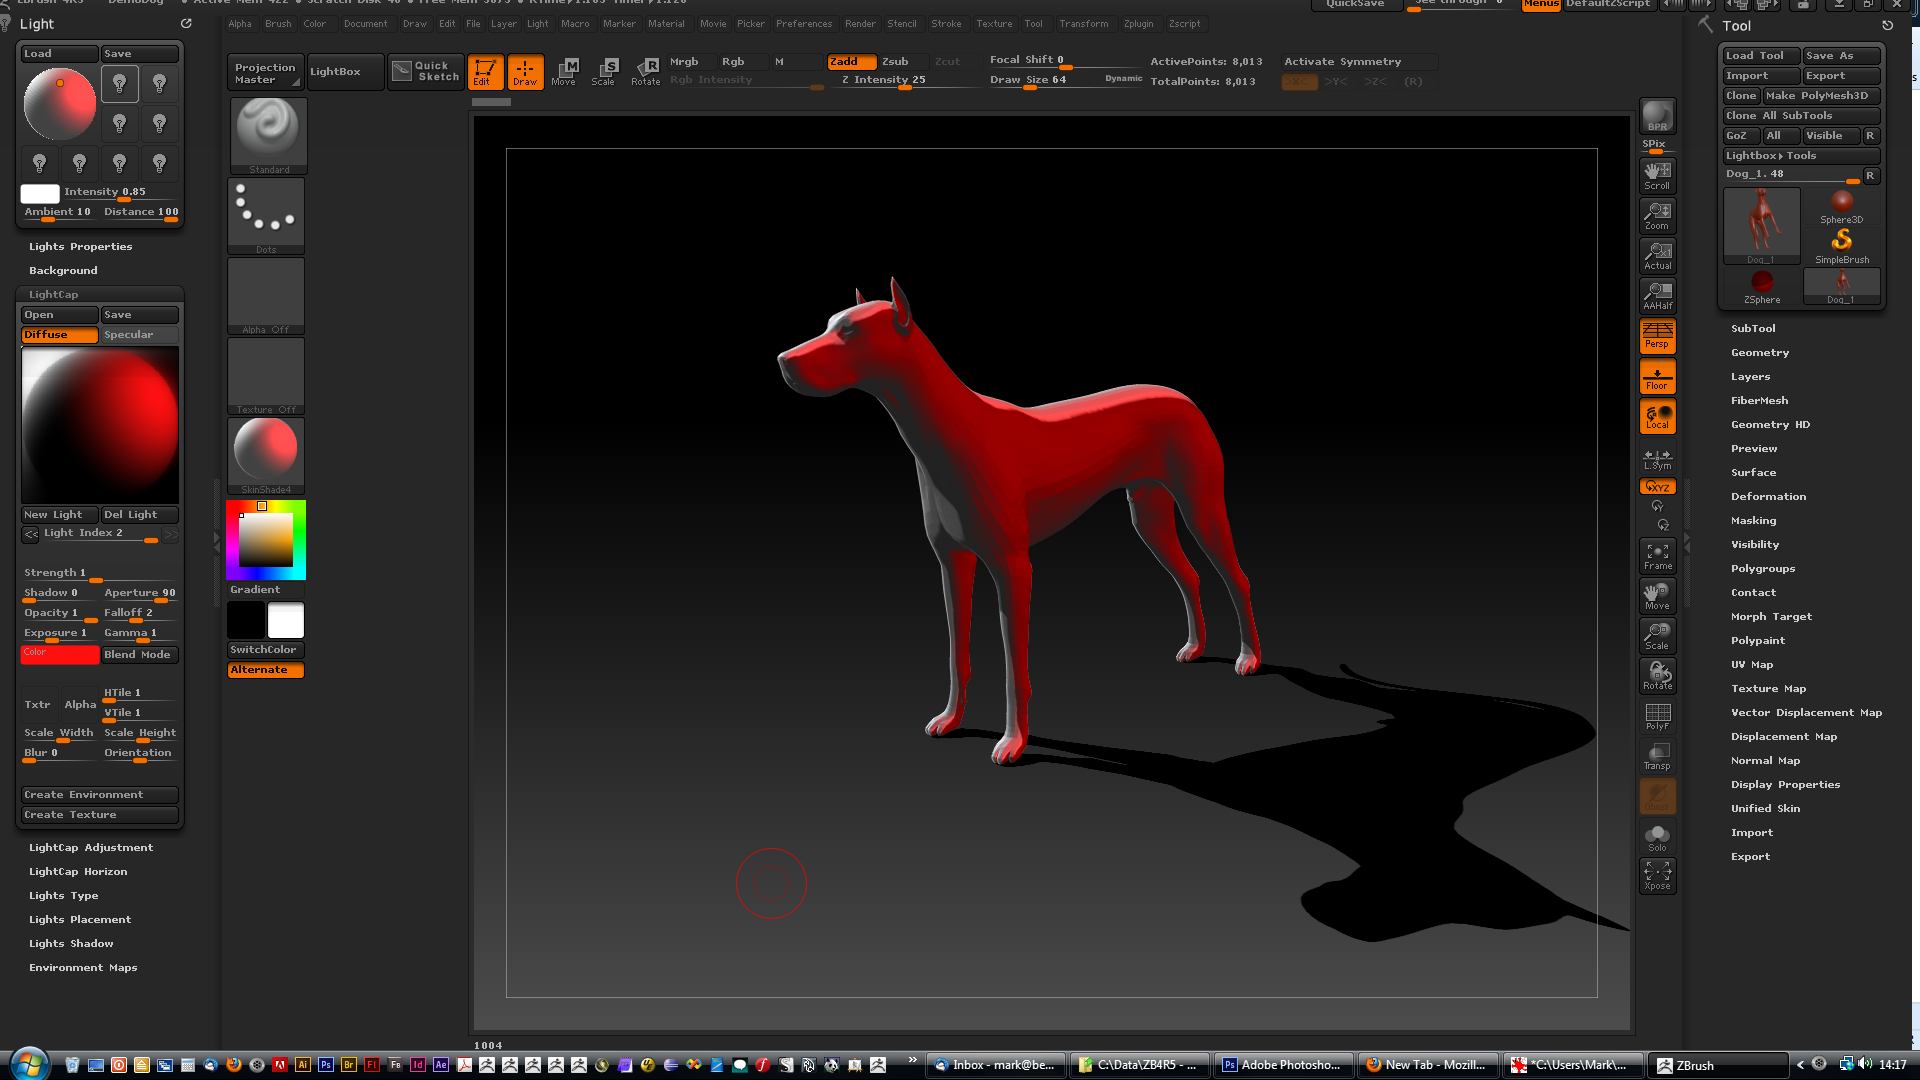
Left light shadow: 100, so as I said when both lights are exactly the same and have both 100 shadow they equally contribute to shadows, kind of like they both are now at 50% each