Hey great work! I love the LOK series and it seems like you’ve done a great job so far! Hope they keep coming.
Thank you. I’m definitely going to keep at it. The 15th anniversary of Soul Reaver is about a month and a half away. In addition to this, I have to get to Raziel definitely at some point 

Progress on human Kain. Just the polypainted diffuse with a trishader material rendered in Zbrush, but no lights, sss, or anything yet. The only think left to add on the skin are moles, imperfections like red splotches, scars – that type of thing. I’ll get the shader working after that in Marmoset to see what tweaks need to be done. The last thing I’ll then add are pimples and dirt. The other stuff will carry over into his vampire form, but the pimples and dirt will separate further the transformation from human to vampire. It’ll probably be subtle, but I’ll know the difference, at least.


Trying him with and without a little stubble. In the open of Blood Omen 1, when he’s still human, he’s been on the road for however long, so he probably won’t be clean shaven. This look needs tweaking, though.


I find Fibermesh a bit hard to get the exact look I’m after. My plan with it, though, is to export it as Maya curves and then convert the curves to polygon strips/cards. Can anyone tell me if this is the best approach, if I want to get his hair rendered eventually in a game engine like Cryengine? I have to admit, some things are still a bit wonky for me as I go. It’s hard to get hair right, hard to get capes to render right, and I find the rigging thing to still be a bit convoluted. I kind of wish it was as free, all of that, as it is to sculpt. 


Without the polypaint and hair:


I’m putting human Kain on hold for a bit. The 15th anniversary of Soul Reaver 1 is coming up this month, so I’ve gotten started on Lieutenant Raziel for it. I hope to be far enough along on it in the next couple of weeks to make a showing for the anniversary.
Thanks for watching.
It’s been quite a while. I’ve had a lot of things crop up, including health problems due to my sleep apnea. I’ve been also trying to learn rigging and animation, but I don’t know how I’d be able to do that and work on the models. Might as well stick to making them for right now.
First, back in August I was making progress doing Lieutenant Raziel for the 15th anniversary of Soul Reaver. I showed this stage of it in September:


Little more progress on this:

I’ll be moving onto finishing his sculpt next. With human Kain’s skin and hair now finished, I’ll be working to finalize Razie, so I can make his human form and his ruined wraith form. A fan project remaking Soul Reaver, titled Soul Revenant, is going to use these assets.
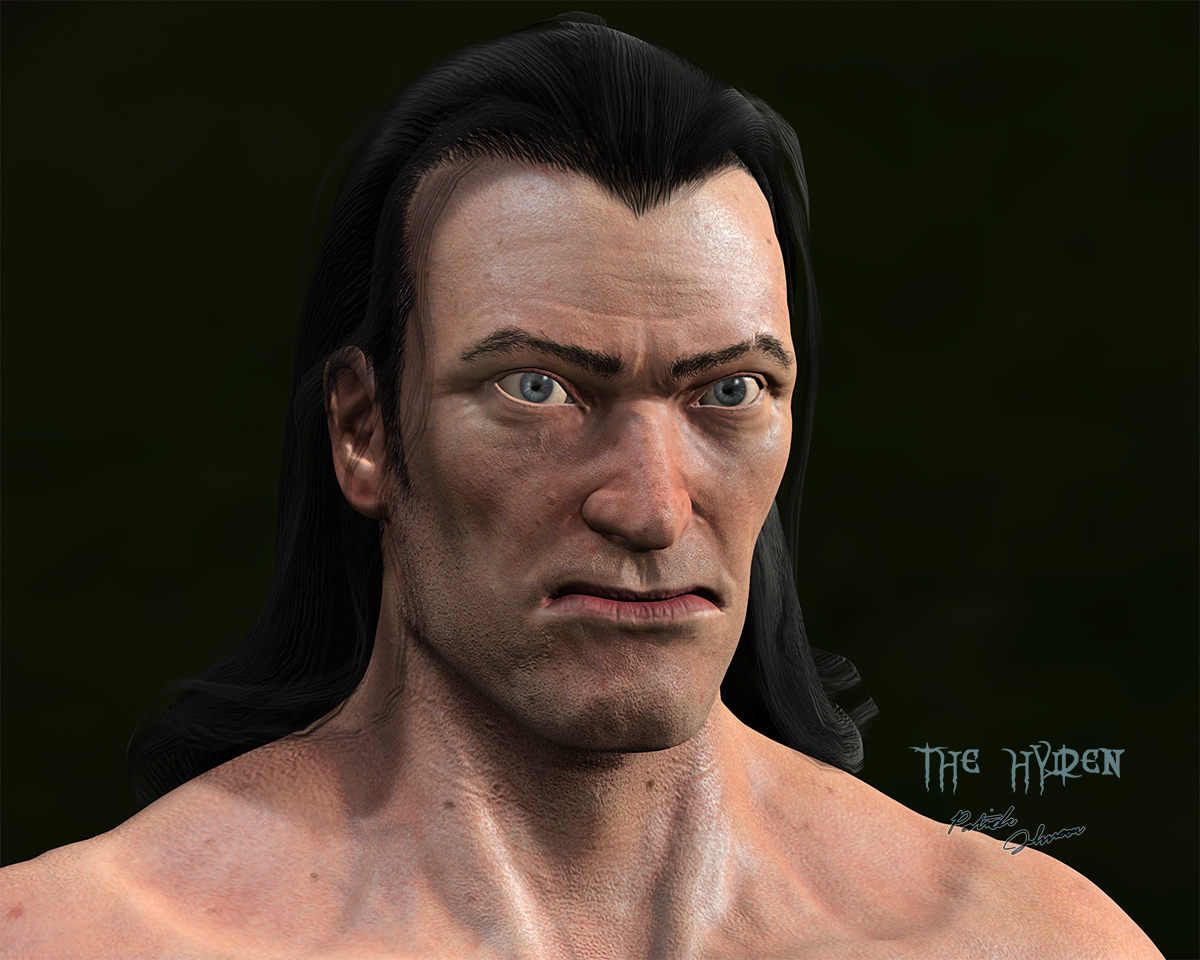
Here is the finished human Kain, skin and hair done, fixes to sculpted details. All hair is made from layered polygon strips. Some polygon card/strips accenting chest hair, side burns, some facial hairs, arms, eyebrows, and nose hairs are also used.
On the model, I used the dan standard and Bad King’s Short Hair brushes to sculpt in the hair detail. I used the hair planes brush out there for creating all added hair planes, and moved them into place in Zbrush, before some modification in Maya.
Rendered in Marmoset Toolbag 2:

More…


I still have the arms separate. I’ll only possibly ever need them in one shot, if ever I get to that point. Every outfit he’ll wear when he becomes a vampire covers the forearms and elbow, though.
Zbrush High Poly sculpt, an early version of the hair planes framing the face:

Incidentily, I much prefer to render using the matcaps, now that I’ve gotten that to work.
Still working on Raziel, actually all three versions of him (human, vampire, wraith forms).
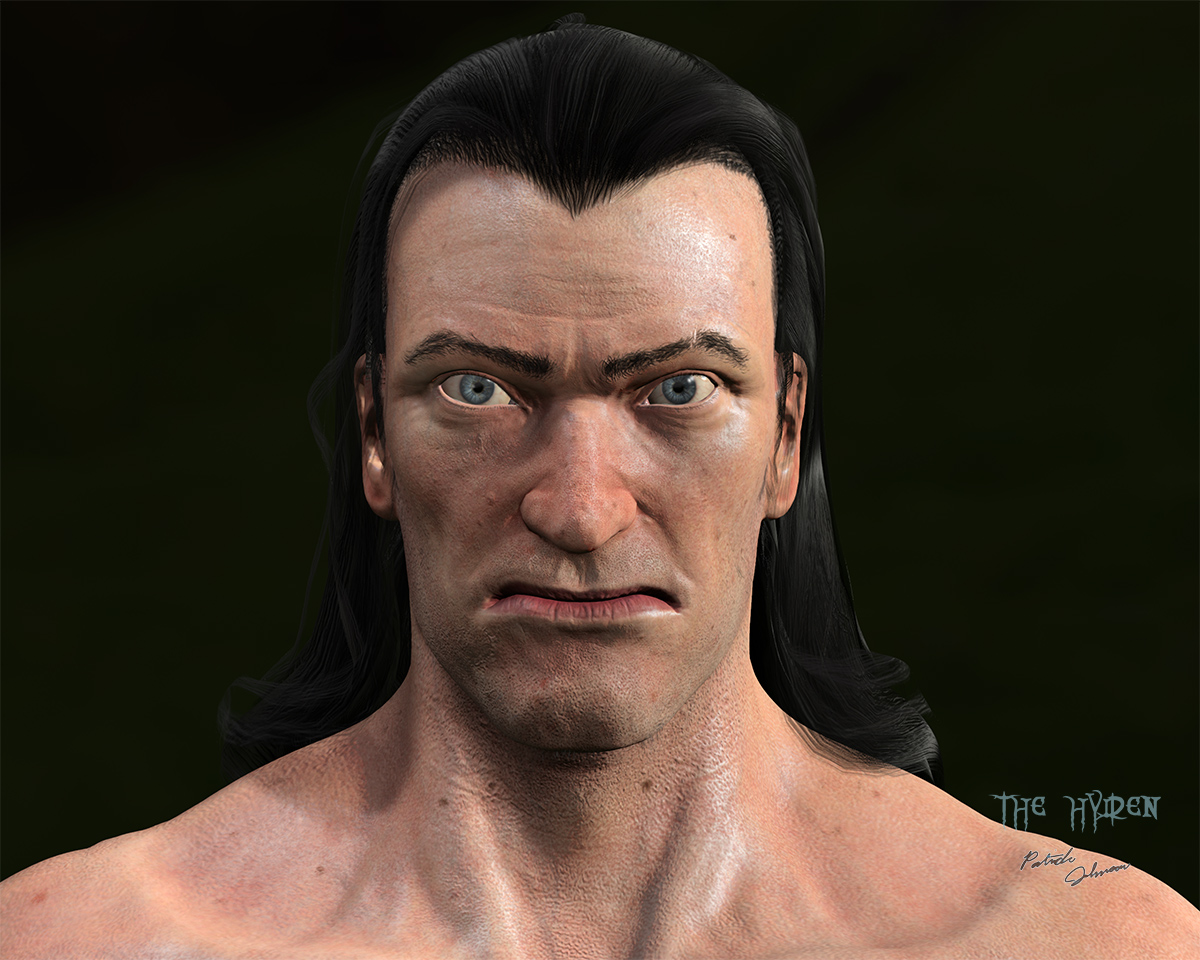
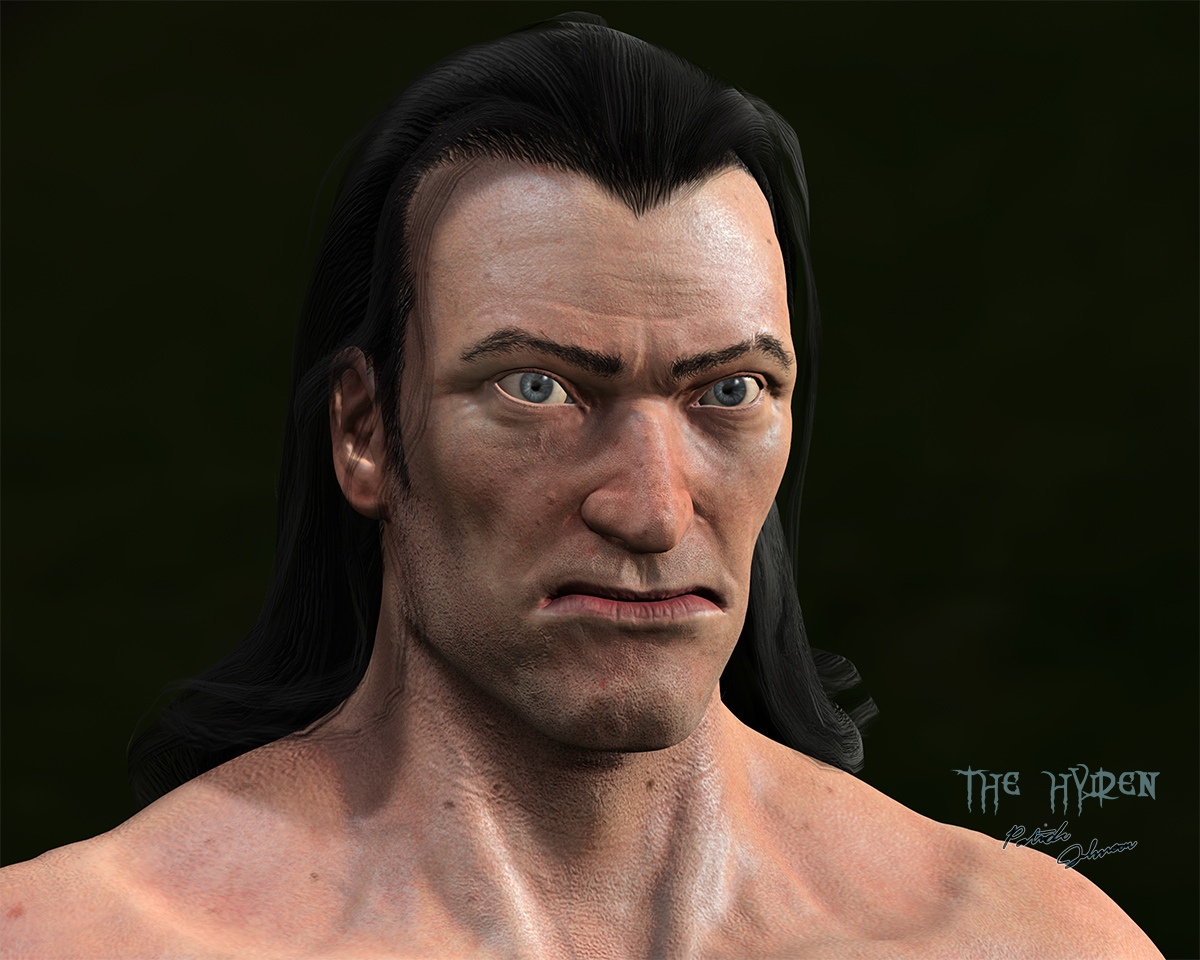
In the meantime, just wanted to update with a better render of human Kain. Making him more human by reducing that chin, nose, etc. I followed a bit too closely his evolved form in that. I also redid his eyes in 3ds Max. Rendered still in Marmoset:
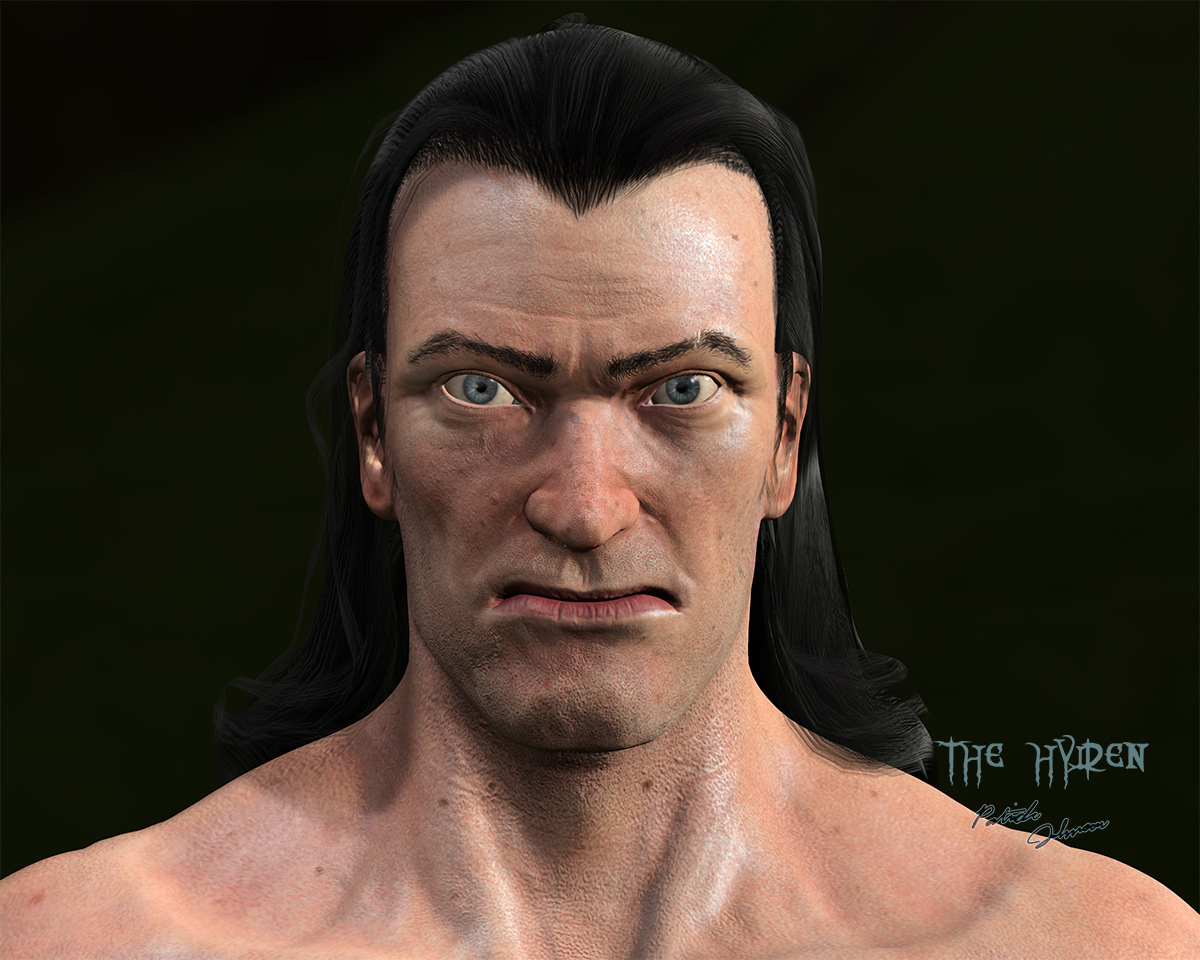
Incidentally, I hope this size render will work better for the site. I keep uploading larger pics, forgetting that they show up without any thumbnail. That’s probably been hard to scroll through for people.
Attachments
Sharing some paid work I’ve done. A client wanted likenesses done of his family, including his father who passed away last year. I was very honored to do something like that. The models are being done for 3D printing, so this is also a break from doing game-type models. Originally, the concept was to do likenesses of his mother and father and the bodies would be modeled after characters from the 1984 Dune movie. I really liked the idea. I think he’s deciding to make it more intimate for his mother, so they’ll be modeled in their wedding attire instead. The heads are complete. 3 day’s to model each (very glad to do something that I could finish a lot easier, too). The bodies will be started up in February. Modeled and rendered in Zbrush.
His dad’s head (the body is temporary; a model of a stillsuit from the movie that he got from another artist):


He wanted to see the models with smiling expressions, so this is the final settled on:


His mother:

He settled on a warm, closed mouth smile for her.


I don’t think I quite did her open mouth smile justice anyway. Her face was a little harder to get down. I didn’t have as many references from the right angles and her face is very expressive. Each picture, she looked different. But, it was good to attempt it.
So, the client wanted some revisions of the proportions to get them just that much closer. The most drastic of alteration was a different haircut for the mother. I had to make a new hair piece, redo a little of the details on her head. I also didn’t realize before that the perspective angle in Zbrush could be changed (oops). Ah, that’s so much better. These are the final renders of the heads (which may only alter slightly when the bodies are made):


And I have his permission to show the reference pics for his mother and father.


Revisions on the father’s model, based on some other pictures and he’s now with the right smiling expression:
And the body is complete, modeled in his wedding suit:


His left middle finger and hand suffered some accident long ago that left it looking like that.


One of the wedding reference pics:

Everything was modeled in Zbrush for blocking. To get the clean shape and edged, each part was then retopologized in 3D Coat, then brought back in and subdivided with creased edges at various parts. I also UVed the suit coat, pants, collar, and tie so that I could apply textures in surface noise for the fabric detail and have it travel along the model as if it were stitched that way. Though I have them, I didn’t use the insert brushes for laces on shoes and for buttons, but I modeled each myself, since I needed a specific look to each (except the end piece of the shoe laces, which I did use from the insert brush). Plus, it wasn’t that hard to do. Thanks to the stitches brush from BadKing on the shoes. I modified the alpha on that for a closer stitch. All of the details are still kept broad enough to hopefully register when the model is printed small. That is something I tried to keep in mind as I worked.
I’m very, very thankful for this business. Not only is it finally money coming in, but with these commissions, I was able to finally afford to give back to Zbrush. I bought Zbrush 4R7 and I’m testing out the 64 bit tonight  I especially am interested to see the Zremesher and modeler parts of it. It already seems super fast.
Great Work! I like it!
Thanks, TariMae
(I didn’t get this notification of a reply until tonight)
hi you […I don´t know your name ],
have a question: how do you made the hair of your characters?
I´m working on a character too and still I´m searching for a good hair solution.
greetings
TariMae
Hi TariMae,
My name’s Patrick. I’m not completely satisfied with the hair on human Kain, but for that I used hair strips/planes. You can create them in different ways. For elder vampire Kain, since it’s all pulled back into a unified form for the pony tail, I found the best way there was to model the hair first, then take the shape and retopo pieces from that. For human Kain, I used the hair strip IMM brush by Johnathan Nascone (JNasconeArt), I think from the IMM thread here. I believe I mentioned that earlier, but if I forgot then a belated thank you to him for the brush. Tutorial for using it here: https://vimeo.com/88618744 Basically, draw each strip, group it and then move it around. Repeat until the entire head’s covered. UV it, I used 3Ds Max to quickly flatten the UVs. Back in Zbrush, I painted in a color code guide to know which side of each strip was the “root” of the hair, and which was the end, and also a different set of colors for inside hair planes vs. the ones on top, so back in Max I could orient the hair planes correctly and group them properly. The final strands were painted in Photoshop and used as an Alpha mask. The hardest part of it all is making sure in whatever renderer you have that intersecting planes don’t happen. When you see part of one bit of hair cut off by another, it really looks bad. Oh, the root of the hairs on human Kain’s head are in Zbrush, polypainted with a little depth on, using the Dam_Standard, and the Short Hair brush by Bad King: http://www.badking.com.au/site/shop/miscellaneous-custom-brushes/short-hair-brush/ I believe I also thanked him for that earlier, but thanks to him either way. For the chest hair, facial hair, eye brows, also just the paint and sculpt with the Dam_Standard used. I then added some plane strips there to accentuate it.
For using hair planes in general:
https://www.youtube.com/watch?v=6Wi4-fdeYyM
http://www.paultosca.com/varga_hair.html
http://wiki.polycount.com/wiki/HairTechnique
Like I said, I’m not entirely happy with the hair yet on human Kain. But, this is the process. Hope that helps
Hi Patrick,
my name is Michaela. Thank you very much for the extensive answer and good links/tutorials.
Sounds a littlebit complicated want you say. I´ve try it with the planes later.
I work on a specific character. It´s “Elsa” from walt disney movie “Frozen”. (hope you can see my picture - current status)
She has a pigtail and some individual strands of hair on the top of the head.
My reflectings to build her hair: I would give the pigtail a solid mesh and build the individual strands of hair with planes. Want do you think? A good strategy?
How would you do the queue?
And now I begin to test the “short hair brush” by Ryan Kittleson. Thank you for the link!
greetings
Michaela
p.s. my english is not so good. hope you understand me

Hi Michaela. Nice model. Sounds like a way to do it. The planes probably will be easier, since her hair is wrapping back to the pony tail.
How would you do the queue?
Do you mean the curl she has in the front? I guess if you’re using the plane method, using one, pr more of those for her hair curl over her forehead should work fine. I hope it works for you. Hair seems to be kind of a pain no matter what method you choose.
Are you rendering in Zbrush, or something else? Fibermesh in Zbrush is another option for hiar, if you are.
Hey Patrick, thank you!
queue ( sry I mean)= pigtail, plait ( the hair located on her chest)
I think planes is a good way for making real hair. But this path is time-consuming and I have to work with autodesk maya (unwrapping planes) and photoshop (draw hair) too. Or?!
For the moment I take this way (look picture).
Yes, fibermesh is another option. I´ve tryed shortly to work with it. But it doesn´t convinced me.
Yes I render with Zbrush. Have you an idea for a good hair-shader and eye-shader?

Hi Michaela,
Had some major issue with my computer, which is why I’m answering you a week later. But yeah, that’s a way to do the workflow that you’ve listed, Zbrush to Maya, Photoshop to paint. (I used 3DS Max for the unwrapping, but whichever) I agree that it is time consuming. I don’t think there’s a method that’s totally easy for hair. I don’t know. Perhaps it might be easier to do hair planes, or hair curves to hair planes, in Maya. I’ve seen a tutorial on that, but I didn’t delve into it too much.
For eye reflection, this guy’s I found pretty nice:
http://www.zbrushcentral.com/showthread.php?43743-Reflective-Eyes-Material
You can play around with the reflection image to adjust that. If you have corneas separately overlapping, you can use the toy plastic, or I believe I used either chrome, or Hair2 modified on a render of human Kain. And make the cornea transparent. Rendering hair planes in Zbrush is another thing. I haven’t found it to do well with alphas. I might just not know of whatever secret it is to do it… If there is one. For Fibermeshed hair, I did find the modified Hair2 material to work well.
Update on John’s parents. The fully posed models, both his mother and father complete. They enjoyed dancing, so placing them in that pose, in their wedding attire, was agreed upon as the best pose for them:


