Great Work! I like it! 
Thanks, TariMae
(I didn’t get this notification of a reply until tonight)
hi you […I don´t know your name ],
have a question: how do you made the hair of your characters?
I´m working on a character too and still I´m searching for a good hair solution.
greetings
TariMae
Hi TariMae,
My name’s Patrick. I’m not completely satisfied with the hair on human Kain, but for that I used hair strips/planes. You can create them in different ways. For elder vampire Kain, since it’s all pulled back into a unified form for the pony tail, I found the best way there was to model the hair first, then take the shape and retopo pieces from that. For human Kain, I used the hair strip IMM brush by Johnathan Nascone (JNasconeArt), I think from the IMM thread here. I believe I mentioned that earlier, but if I forgot then a belated thank you to him for the brush. Tutorial for using it here: https://vimeo.com/88618744 Basically, draw each strip, group it and then move it around. Repeat until the entire head’s covered. UV it, I used 3Ds Max to quickly flatten the UVs. Back in Zbrush, I painted in a color code guide to know which side of each strip was the “root” of the hair, and which was the end, and also a different set of colors for inside hair planes vs. the ones on top, so back in Max I could orient the hair planes correctly and group them properly. The final strands were painted in Photoshop and used as an Alpha mask. The hardest part of it all is making sure in whatever renderer you have that intersecting planes don’t happen. When you see part of one bit of hair cut off by another, it really looks bad. Oh, the root of the hairs on human Kain’s head are in Zbrush, polypainted with a little depth on, using the Dam_Standard, and the Short Hair brush by Bad King: http://www.badking.com.au/site/shop/miscellaneous-custom-brushes/short-hair-brush/ I believe I also thanked him for that earlier, but thanks to him either way. For the chest hair, facial hair, eye brows, also just the paint and sculpt with the Dam_Standard used. I then added some plane strips there to accentuate it.
For using hair planes in general:
https://www.youtube.com/watch?v=6Wi4-fdeYyM
http://www.paultosca.com/varga_hair.html
http://wiki.polycount.com/wiki/HairTechnique
Like I said, I’m not entirely happy with the hair yet on human Kain. But, this is the process. Hope that helps
Hi Patrick,
my name is Michaela. Thank you very much for the extensive answer and good links/tutorials.
Sounds a littlebit complicated want you say.  I´ve try it with the planes later.
I work on a specific character. It´s “Elsa” from walt disney movie “Frozen”. (hope you can see my picture - current status)
She has a pigtail and some individual strands of hair on the top of the head.
My reflectings to build her hair: I would give the pigtail a solid mesh and build the individual strands of hair with planes. Want do you think? A good strategy?
How would you do the queue?
And now I begin to test the “short hair brush” by Ryan Kittleson. Thank you for the link!
greetings
Michaela
p.s. my english is not so good. hope you understand me

Hi Michaela. Nice model. Sounds like a way to do it. The planes probably will be easier, since her hair is wrapping back to the pony tail.
How would you do the queue?
Do you mean the curl she has in the front? I guess if you’re using the plane method, using one, pr more of those for her hair curl over her forehead should work fine. I hope it works for you. Hair seems to be kind of a pain no matter what method you choose.
Are you rendering in Zbrush, or something else? Fibermesh in Zbrush is another option for hiar, if you are.
Hey Patrick, thank you!
queue ( sry I mean)= pigtail, plait ( the hair located on her chest)
I think planes is a good way for making real hair. But this path is time-consuming and I have to work with autodesk maya (unwrapping planes) and photoshop (draw hair) too. Or?!
For the moment I take this way (look picture).
Yes, fibermesh is another option. I´ve tryed shortly to work with it. But it doesn´t convinced me.
Yes I render with Zbrush. Have you an idea for a good hair-shader and eye-shader?

Hi Michaela,
Had some major issue with my computer, which is why I’m answering you a week later. But yeah, that’s a way to do the workflow that you’ve listed, Zbrush to Maya, Photoshop to paint. (I used 3DS Max for the unwrapping, but whichever) I agree that it is time consuming. I don’t think there’s a method that’s totally easy for hair. I don’t know. Perhaps it might be easier to do hair planes, or hair curves to hair planes, in Maya. I’ve seen a tutorial on that, but I didn’t delve into it too much.
For eye reflection, this guy’s I found pretty nice:
http://www.zbrushcentral.com/showthread.php?43743-Reflective-Eyes-Material
You can play around with the reflection image to adjust that. If you have corneas separately overlapping, you can use the toy plastic, or I believe I used either chrome, or Hair2 modified on a render of human Kain. And make the cornea transparent. Rendering hair planes in Zbrush is another thing. I haven’t found it to do well with alphas. I might just not know of whatever secret it is to do it… If there is one. For Fibermeshed hair, I did find the modified Hair2 material to work well.
Update on John’s parents. The fully posed models, both his mother and father complete. They enjoyed dancing, so placing them in that pose, in their wedding attire, was agreed upon as the best pose for them:


The posed models were hollowed out and split into printable pieces for the client. I’m holing all goes well on his end.
In addition to these, I’ve been working on fixing elder Kain’s low poly model. All of that is about done. I’ve transferred most of the texture information over. Some final tweaking is needed. Looking online, I was able to find renewed hope in some scripts that I could use in Maya to rig and animate, taking care of much of that grunt work. I hope it works so I can maybe get back to what I originally intended in animating these Legacy of Kain models. I also am then about to get back to those other models, since that’s been back-burned for a time now.
Hey Patrick,
sorry I´m answering later too ( in my life gives some little problems - c´est la vie…^^)
Really nice good new work from you I like the dancing pose! Keep it up!
You work with Maya and 3ds max together? Wow, two great 3D-tools!
Witch program take you to rendering?
And yes I think similary, it gives no easy way to make good hair. But in the future I would try different ways to make fine hair.
So Patrick, I wish you a fine weekend and a good new start in the next week.
best greetings
from Michaela
Hi Michaela,
Thanks, yes I mainly have been using Maya for some retopology work, 3Ds for some UV cleanup.
I’m trying to get rigging down in Maya. I thank those out there that have scripts available to help with this, because this is not my strong suit at all. When I started out making the Legacy of Kain models, it was with the intent to remake scenes from the series, with my models animated. I lament on how convoluted much of the processes for this all is. Maybe one day, it will seem intuitive.
For renders: for the models I’ve just made with the couple dancing, it’s just using Zbrush and matcaps with lightcaps; for the Legacy of Kain models that have been textured, which is just the human and elder vampire Kain so far, I used Marmoset Toolbag 2. I’m looking into using perhaps Vray, or Mental Ray, for any animations I might ever wind up finishing. Or regular beauty shots.
If I can figure out what I am doing wrong on the facial rig, perhaps I can get something animated to show before I grow old and/or the world blows up  I really hope so…
Not sure I’m qualified to comment on these but I’ll do it anyway, I find the details destracting. It’s like you sculpted detail that could fit within 1 million polygons then subdivided the model up to 30 million to add a tiled skin pattern or some little dots here and there, which makes it look more realistic in the final render. But I think spending less time on that and more time on the 1 million would make your sculpts look stronger.
Hm, I know this is a really, really old comment here. Life issues prevented me from really getting to much of this sooner, but if you were referring to the skin details on the husband and wife models shown on the last page, those bump details were only added using noisemaker to add to the model for the client’s viewing, and it turns out for helping paint the model later (which wasn’t something I was asked to do initially). However, the models were intended to be 3D printed small, so I was not going to spend time adding accurate skin pore data that would never come across in the end anyway. I explained that on a previous page, but didn’t mention it on the last one.
I finished those models before last Christmas for the client. He printed them as a present for his mother. His father, her husband, died of an illness a couple of years prior, I think. He went me a video of her unpacking the present and very happy, some crying. It was very nice to be a part of bringing her, hopefully, some good.
In addition to the above, I have done a lot more on the Legacy of Kain models. My dad’s had some health issues and the past few months have been pretty hectic. I had to shelve this for a good while. I never showed the Lieutenant Raziel I completed, so I might as well start there.
Marmoset Renders:


1 Like
More:


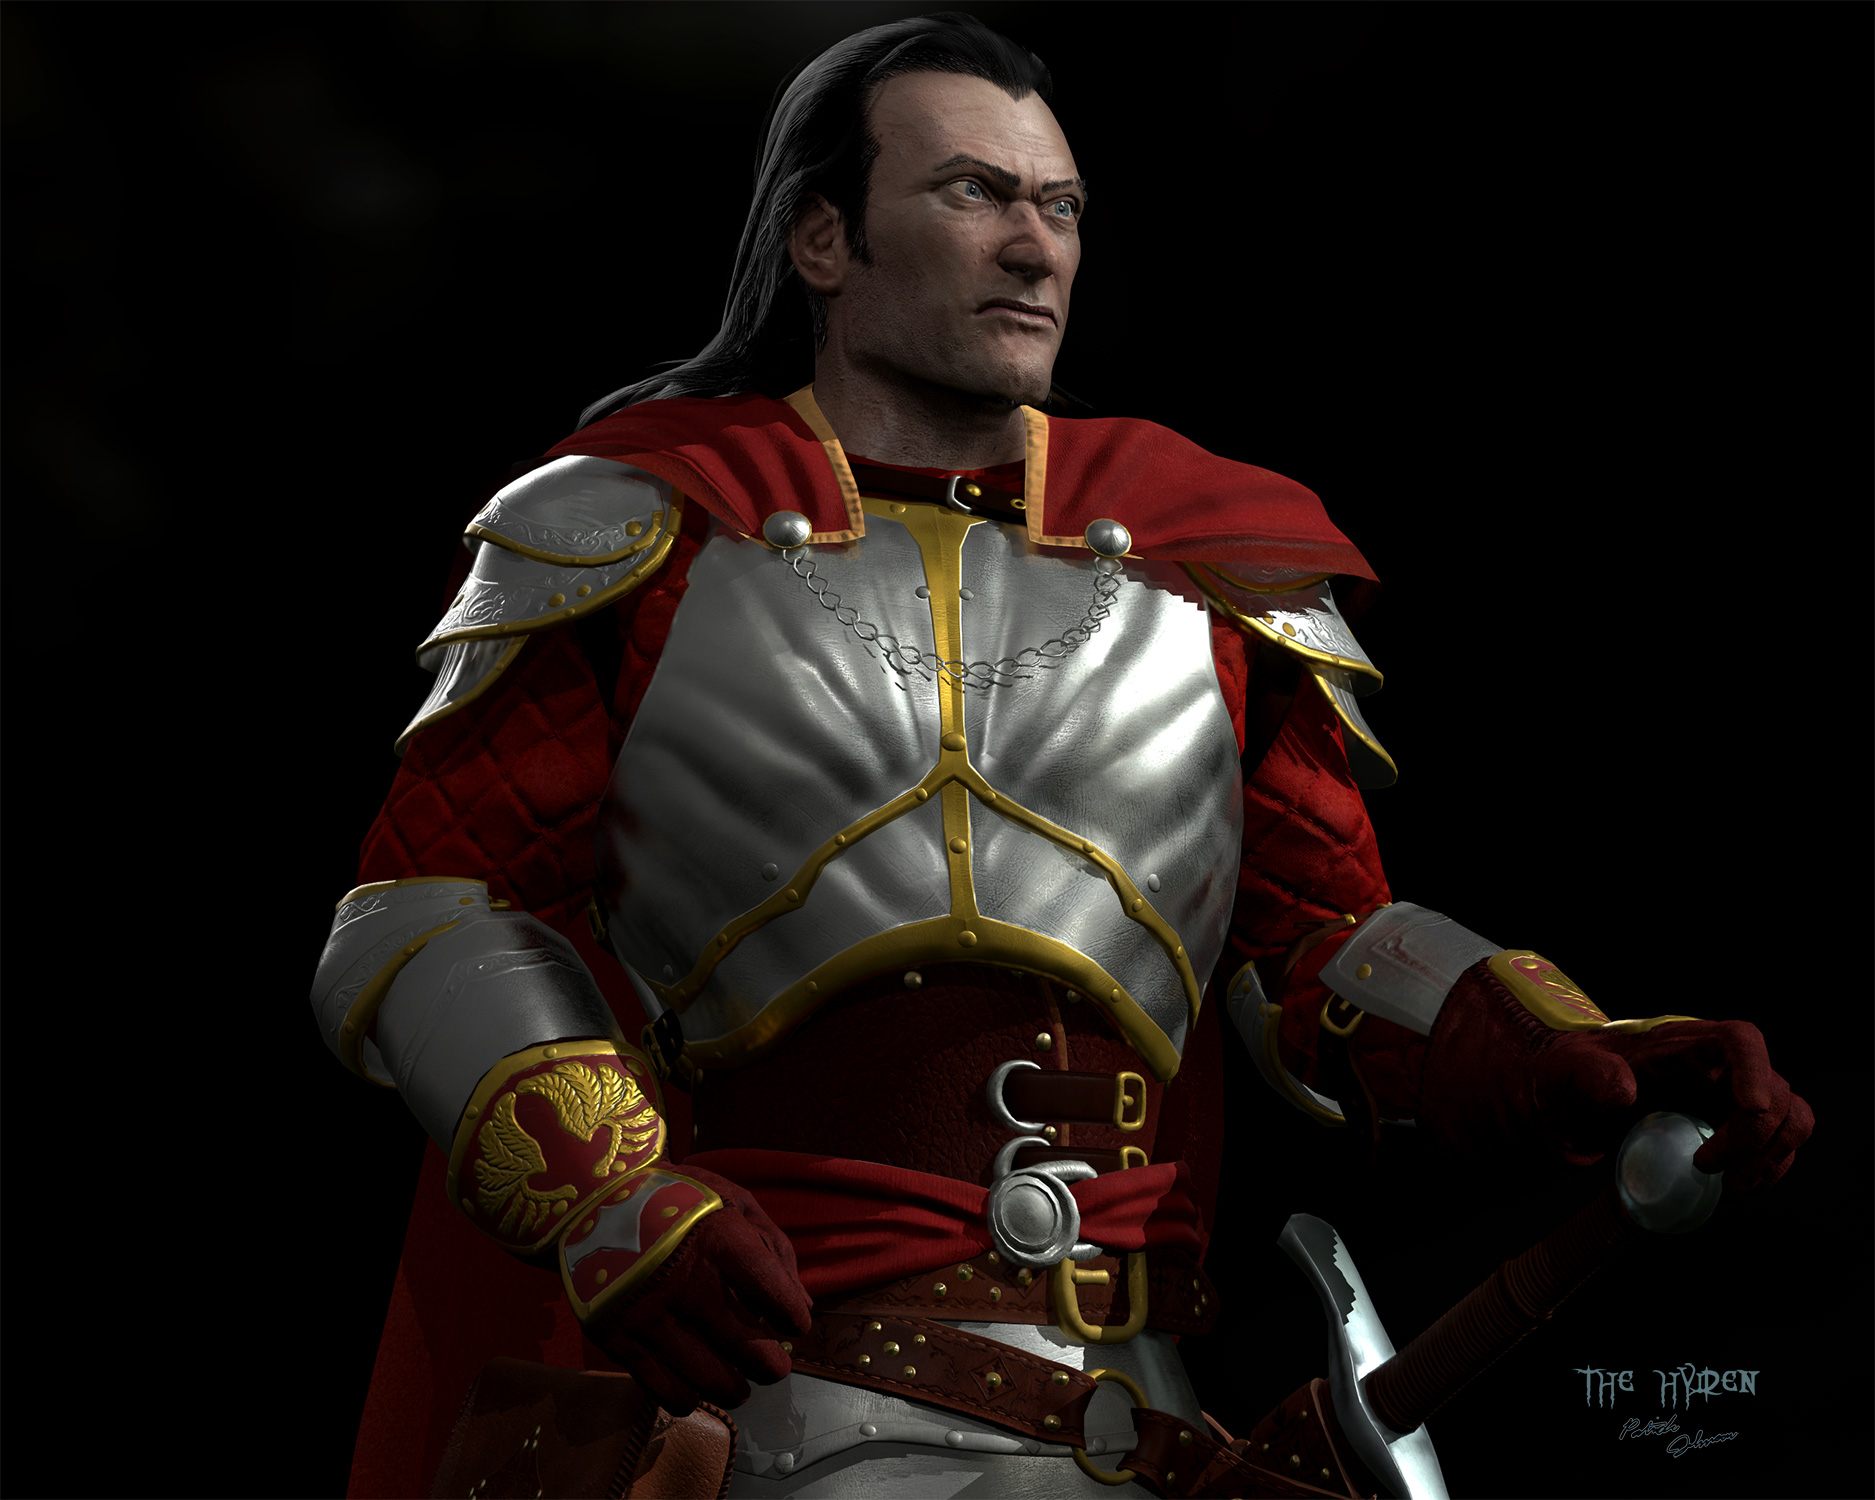
Specularity is a little hot. I’ve modified the spec and gloss a bit since this, along with a little saturation change. Raziel as a human:


Renders in Zbrush:


The Raziel model was a reworking of the Lieutenant Raziel model from Soul Reaver:
http://legacyofkain.wikia.com/wiki/Raziel
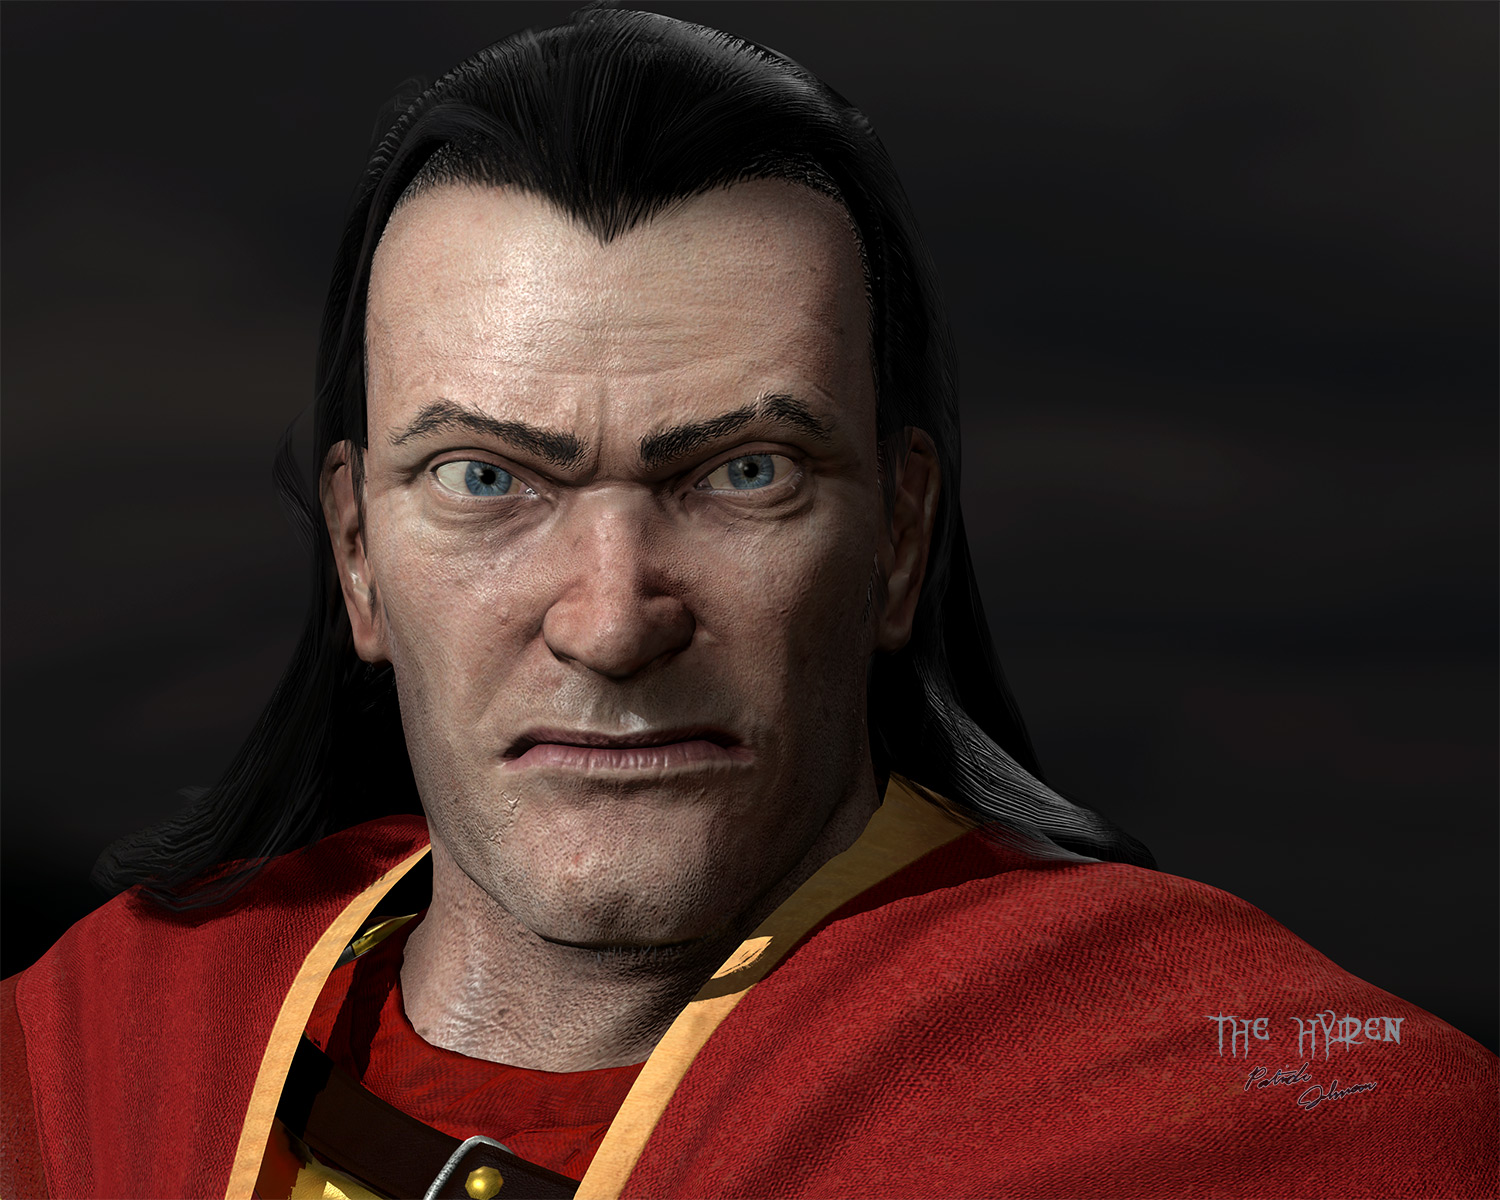
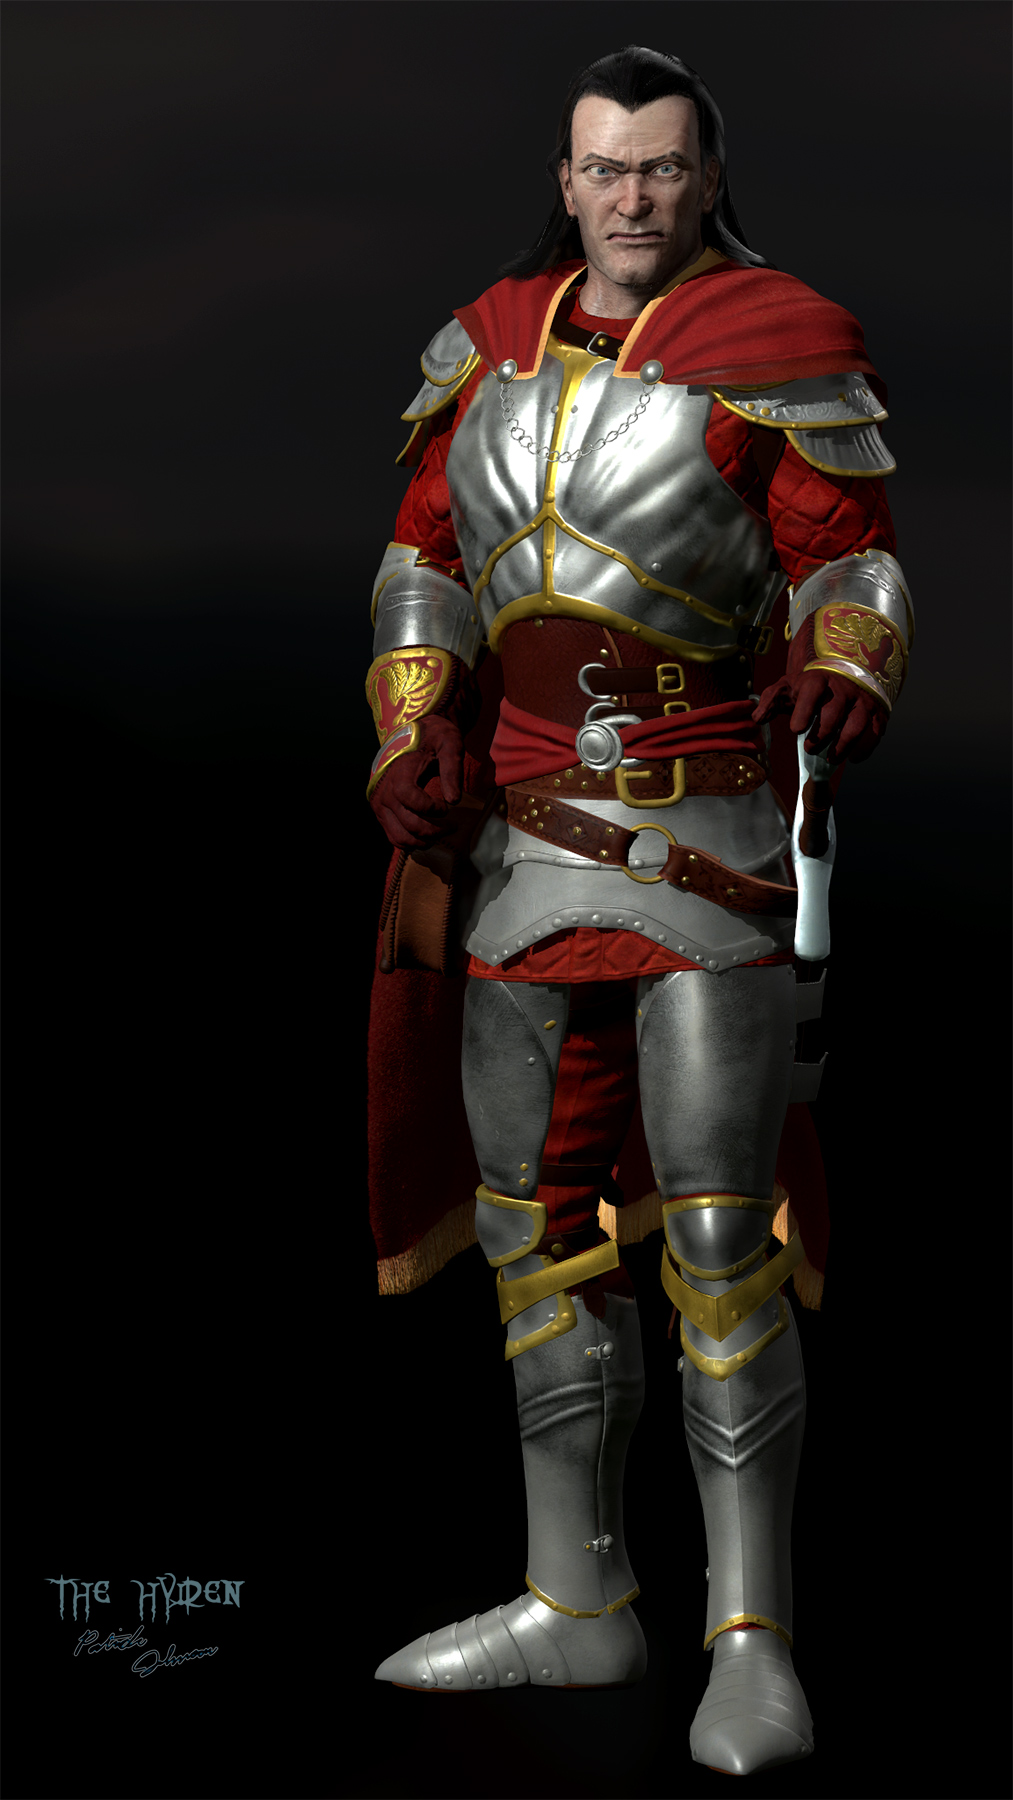
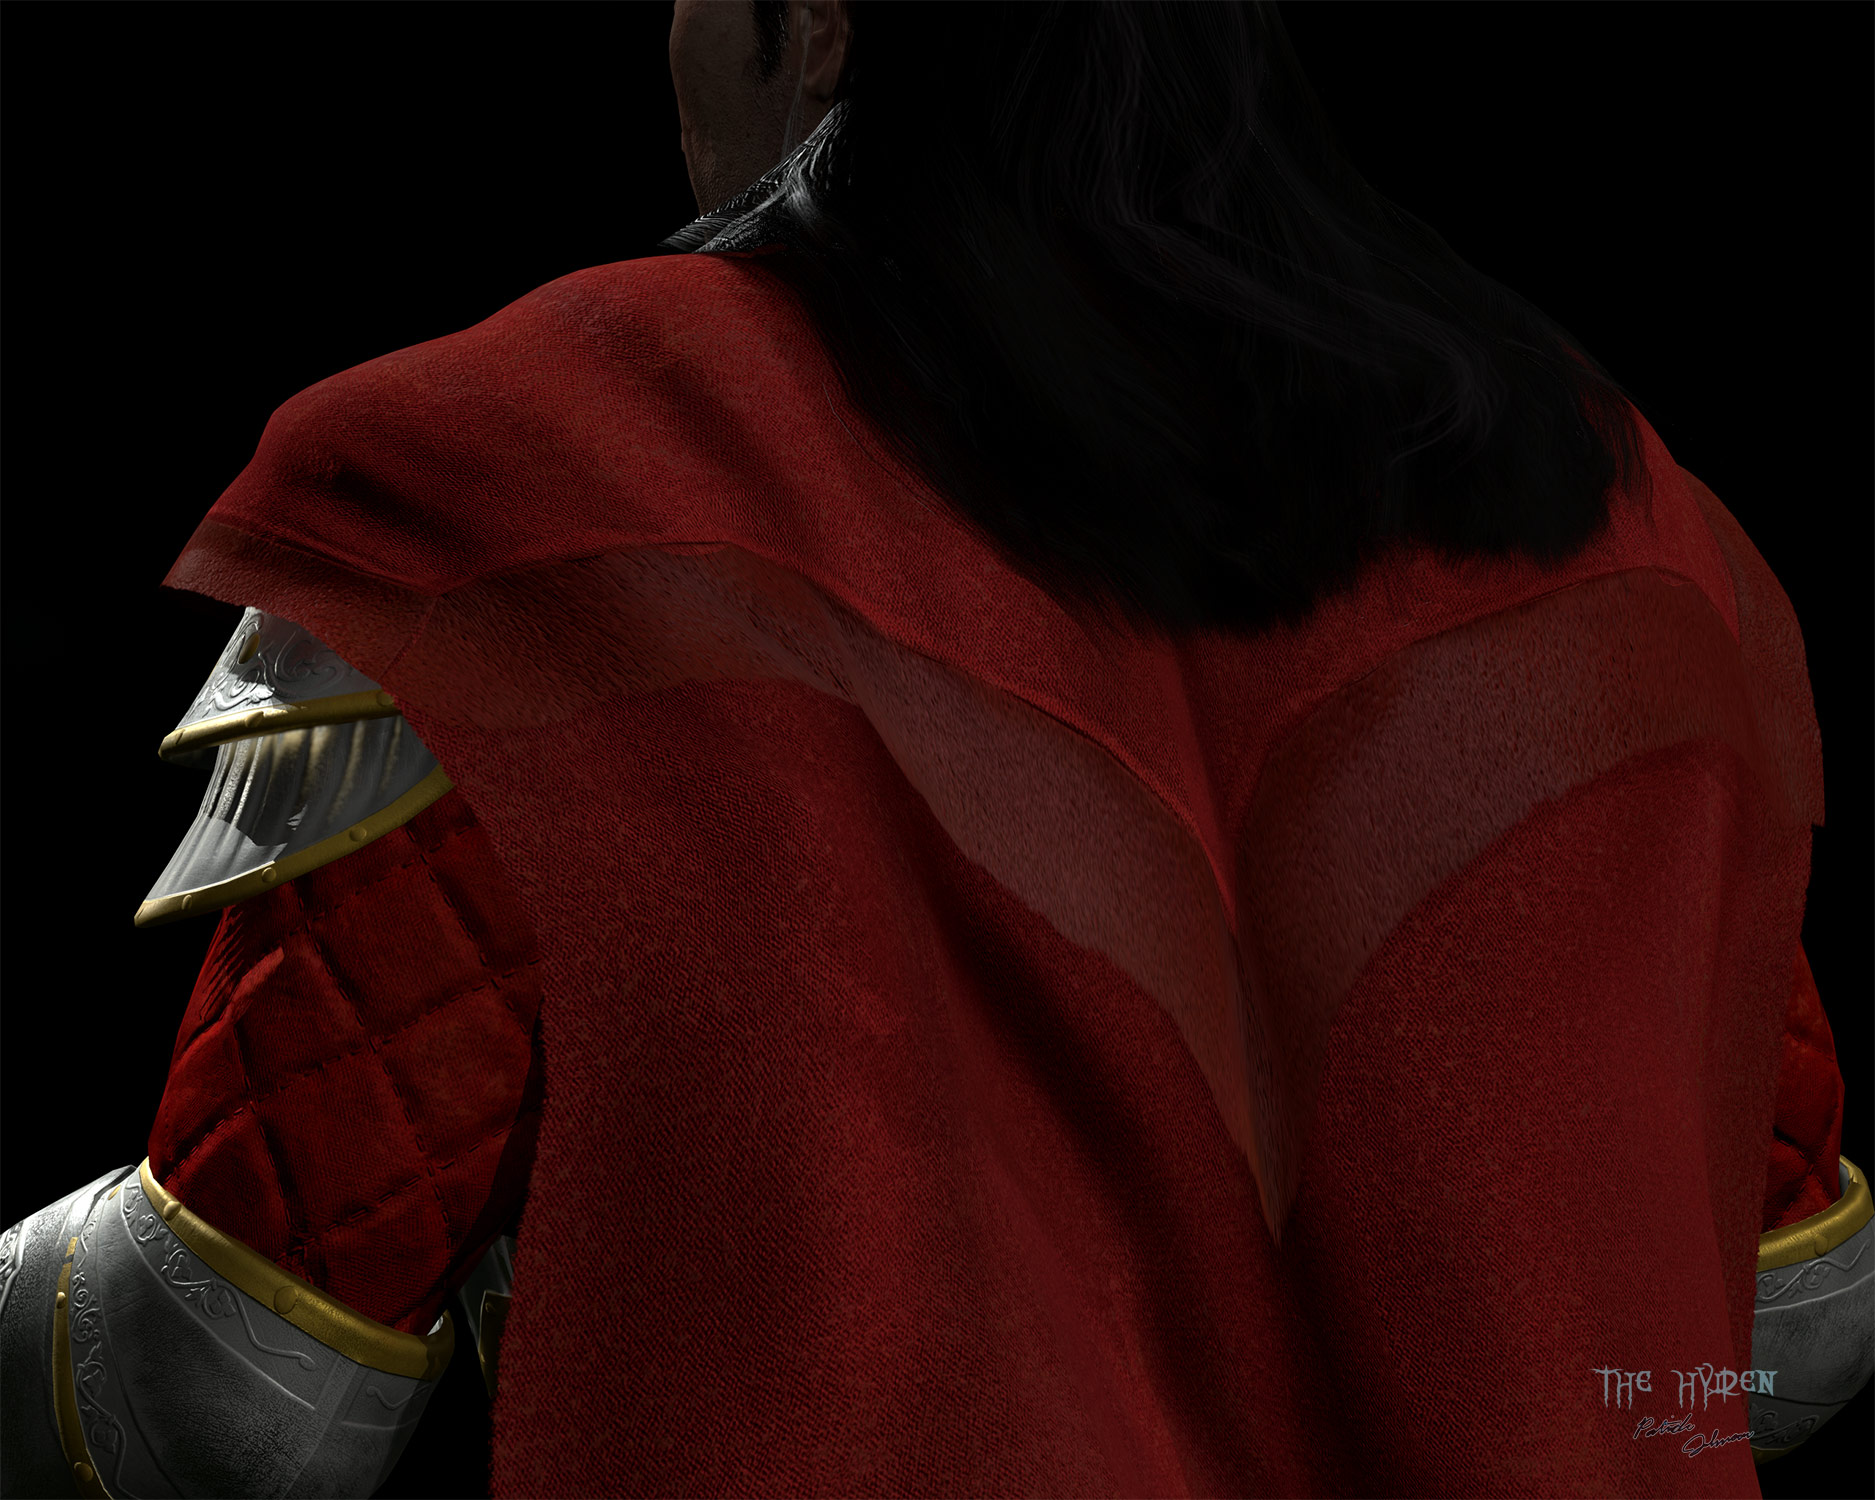
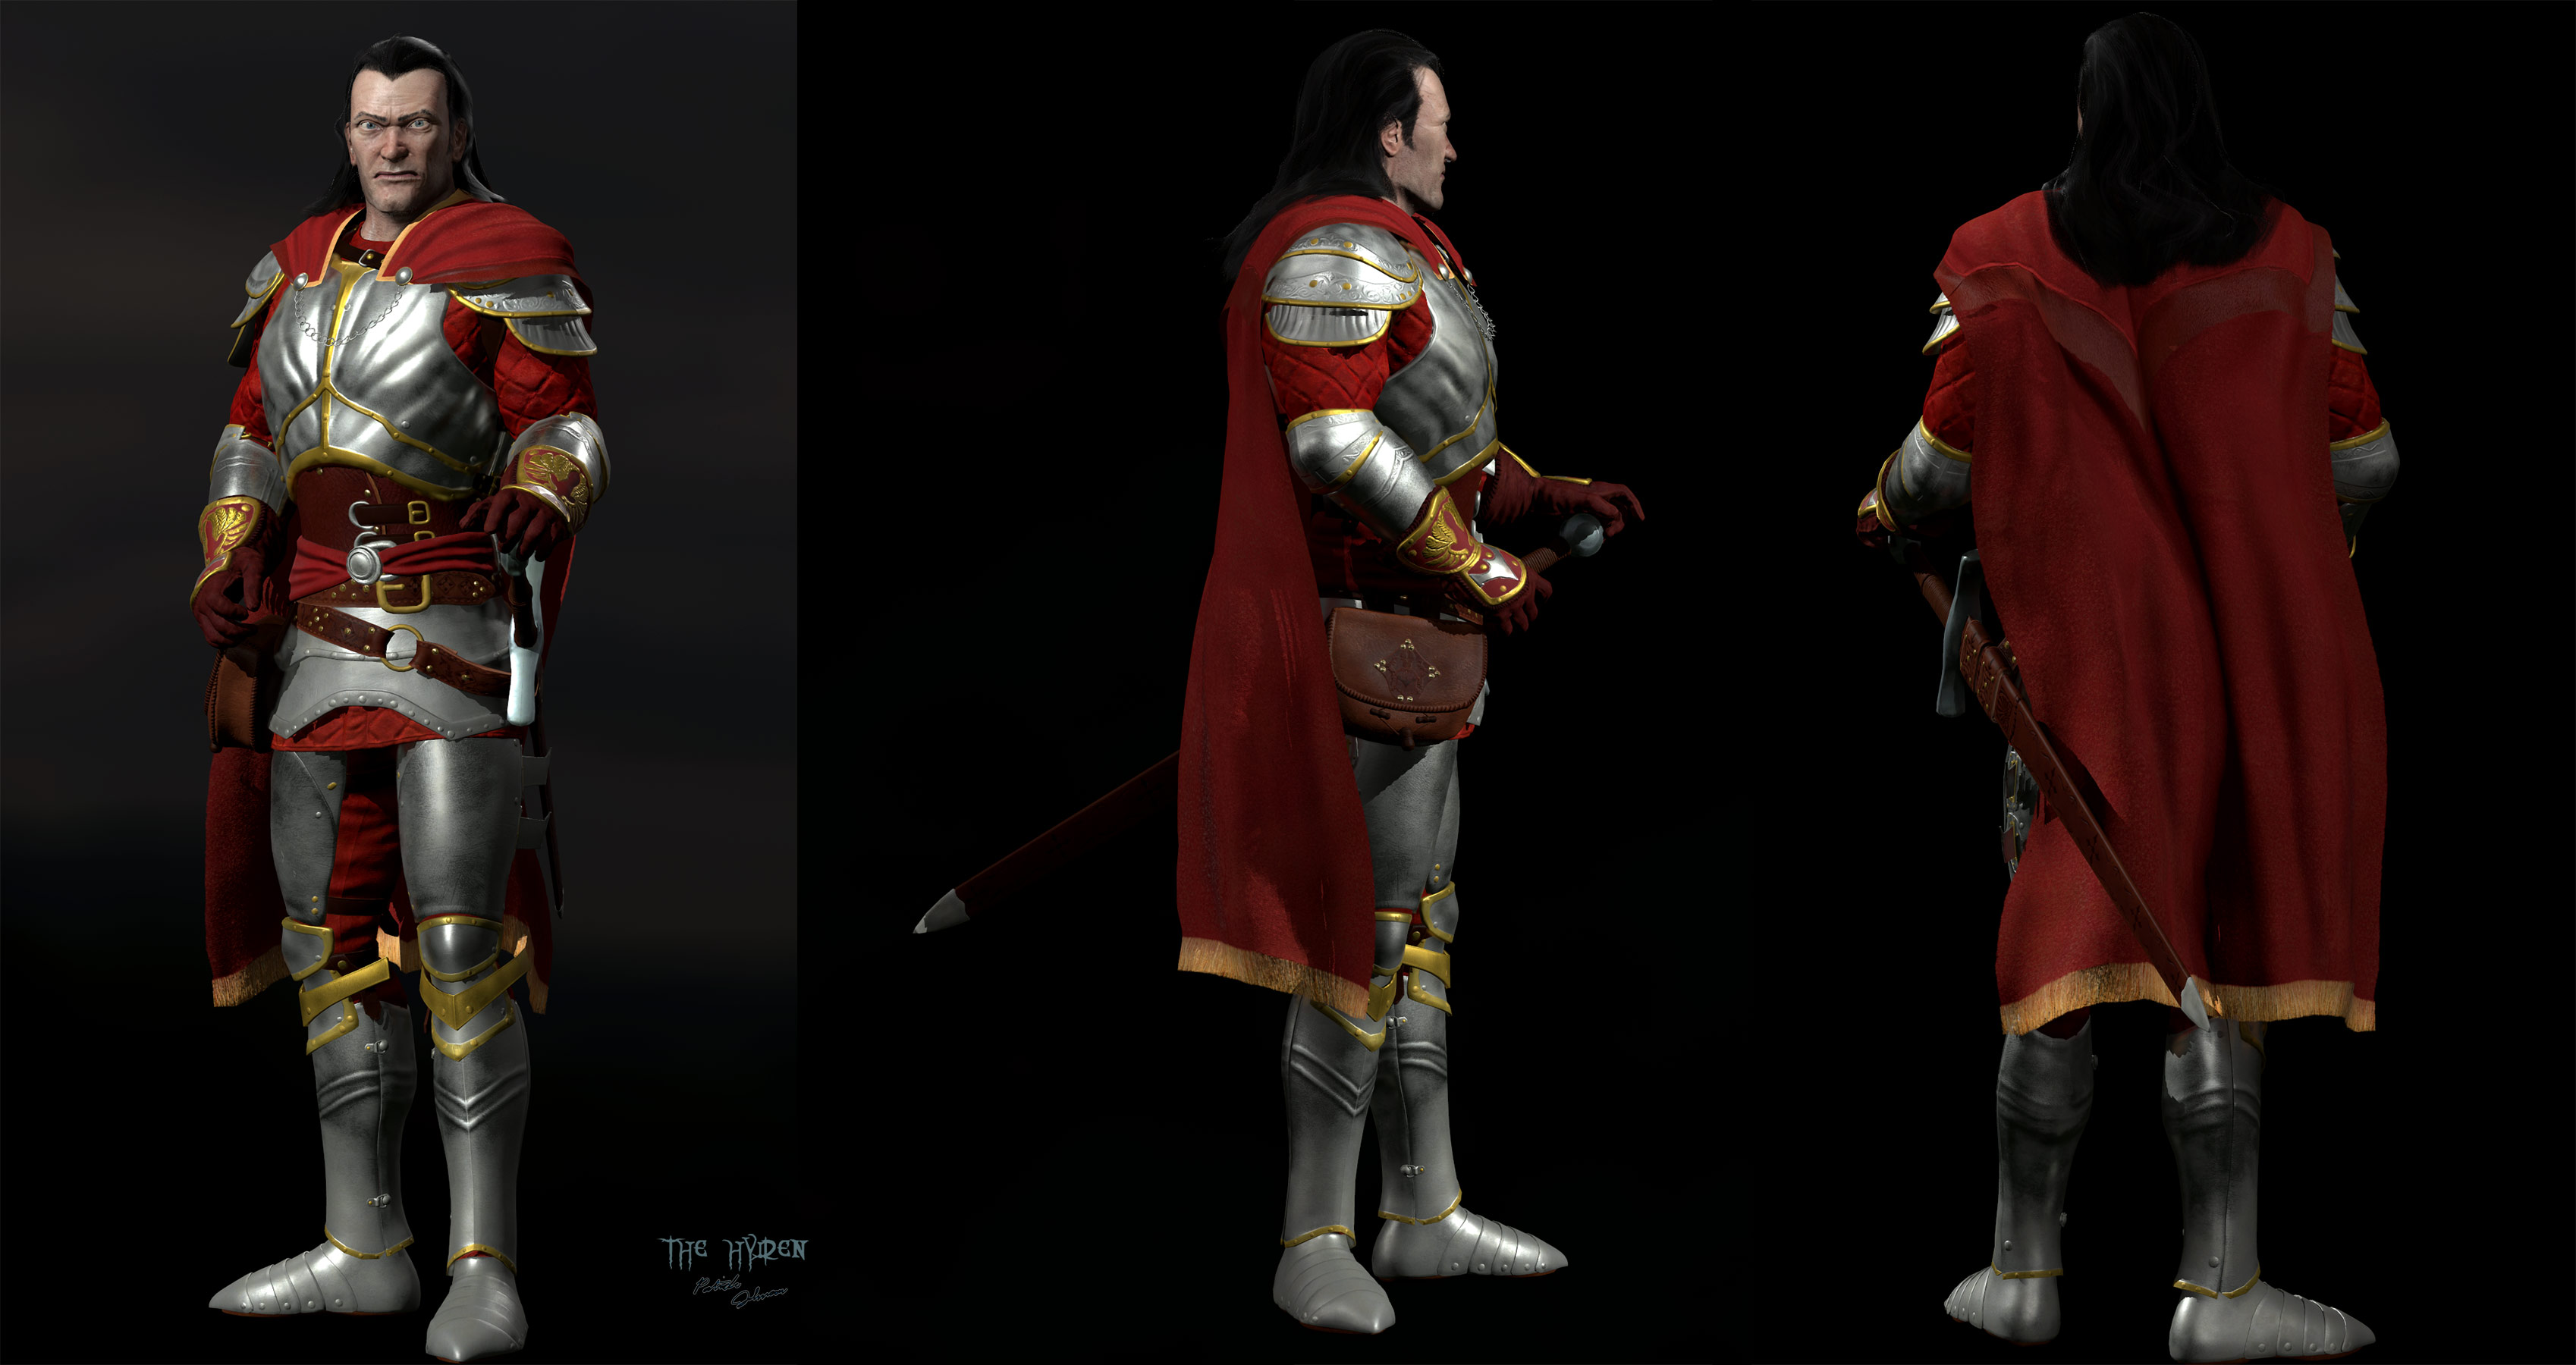
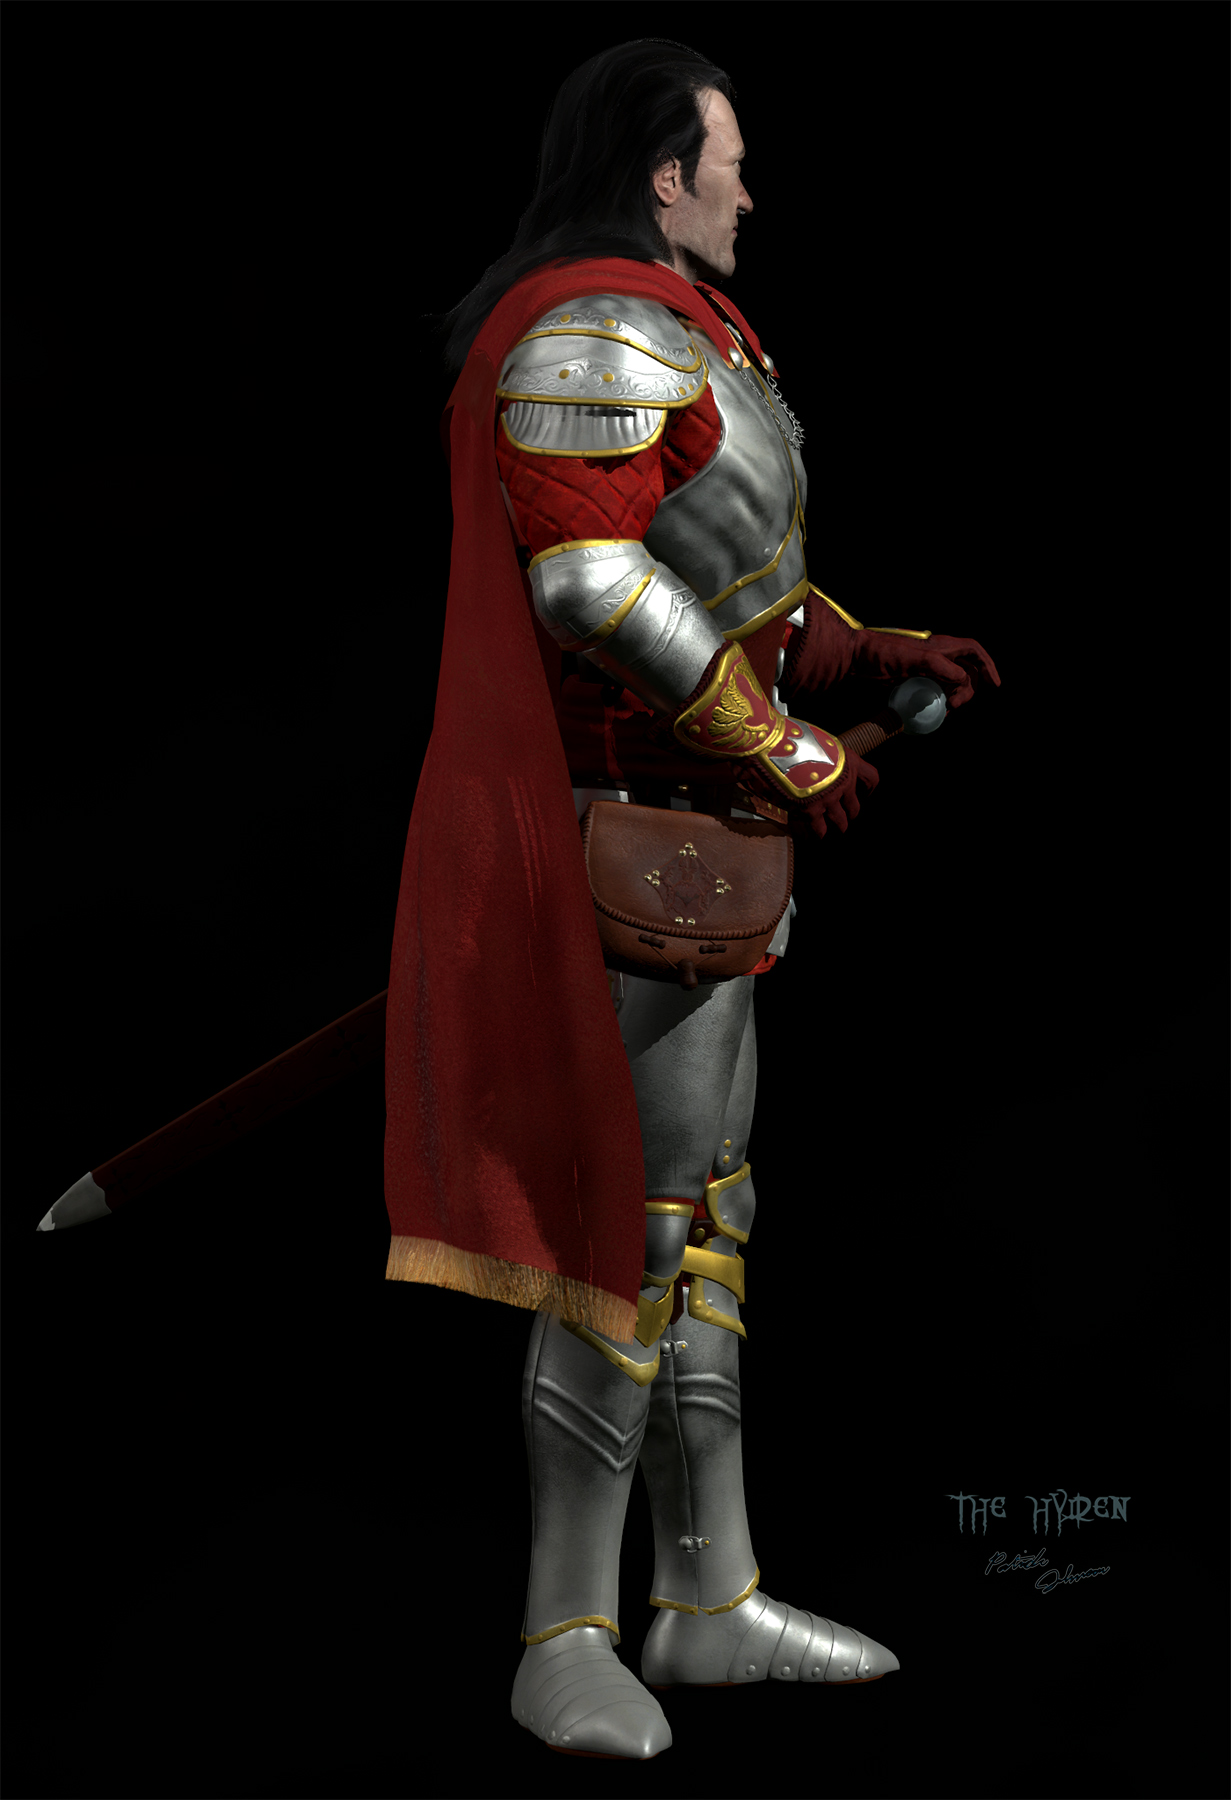
This is the final armor for human Kain, and I reworked his skin a bit:
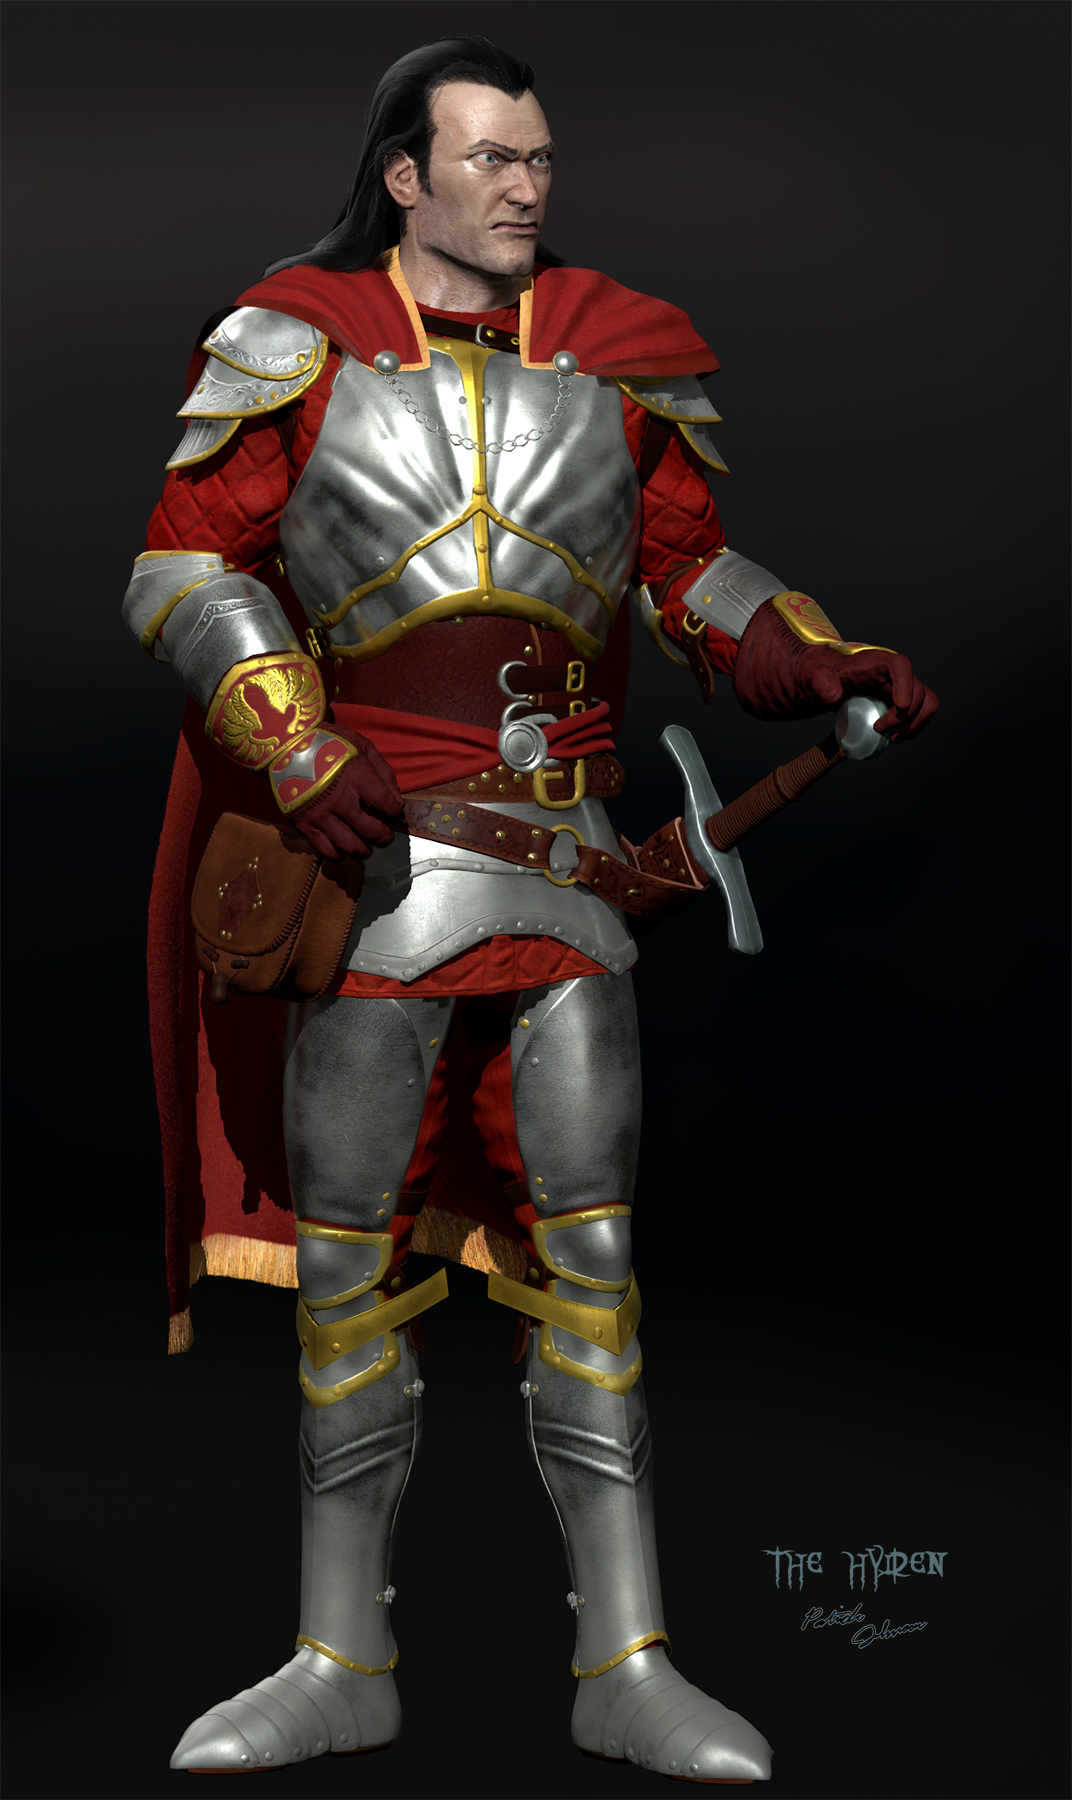

Attachments


More of the sword:
Zbrush

Marmoset:


