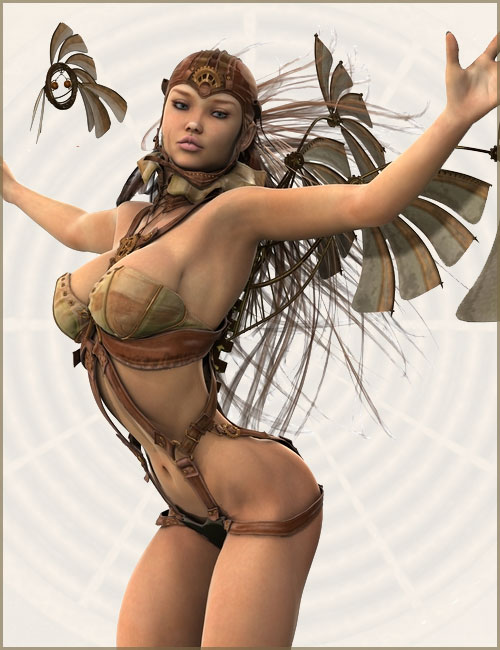
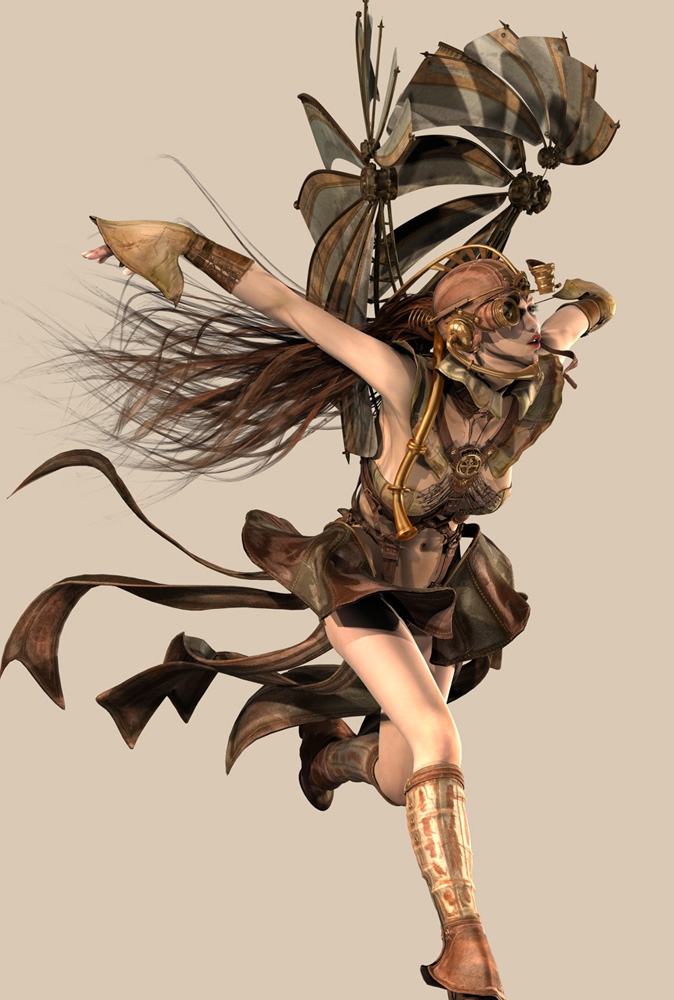
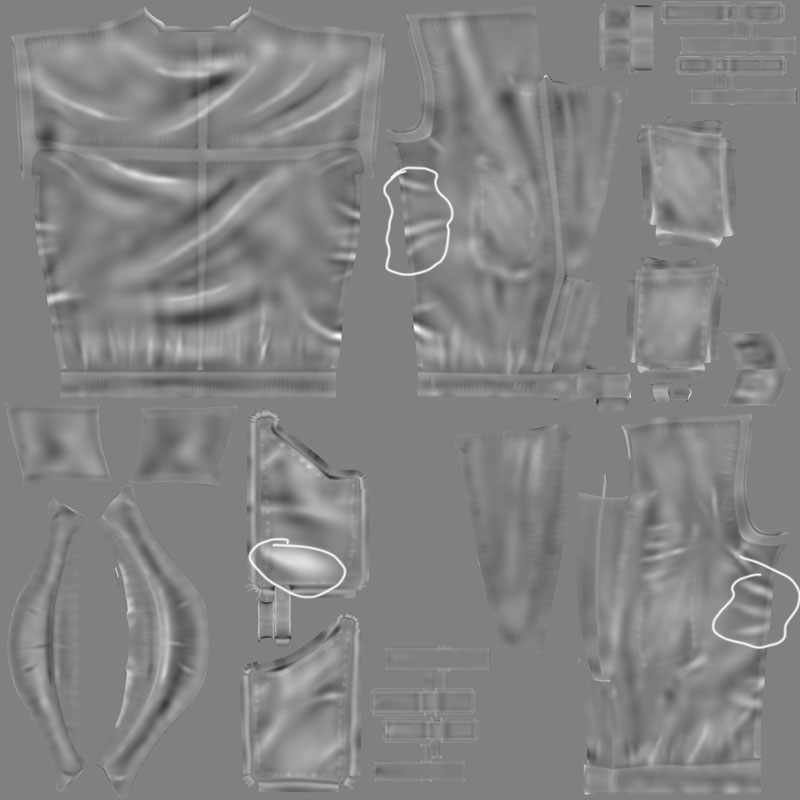
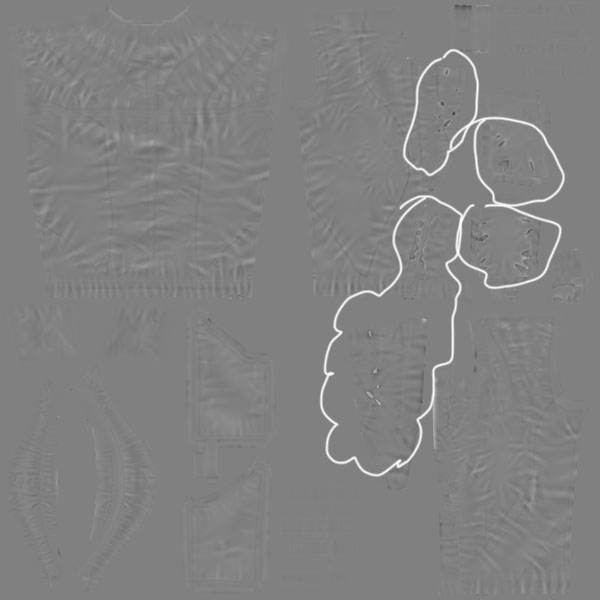
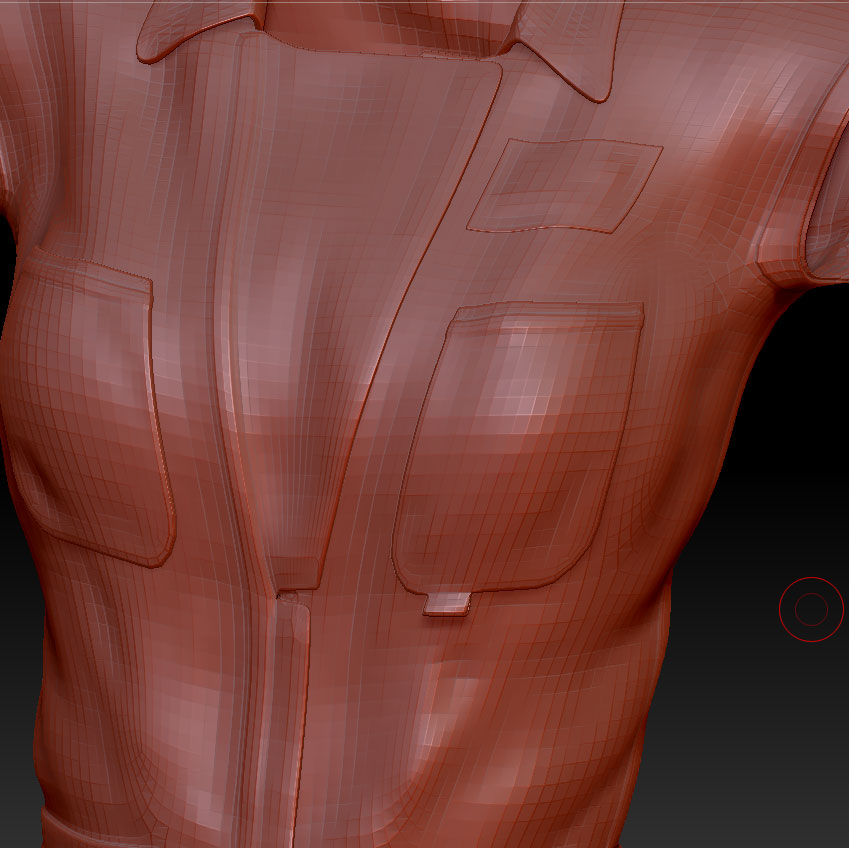
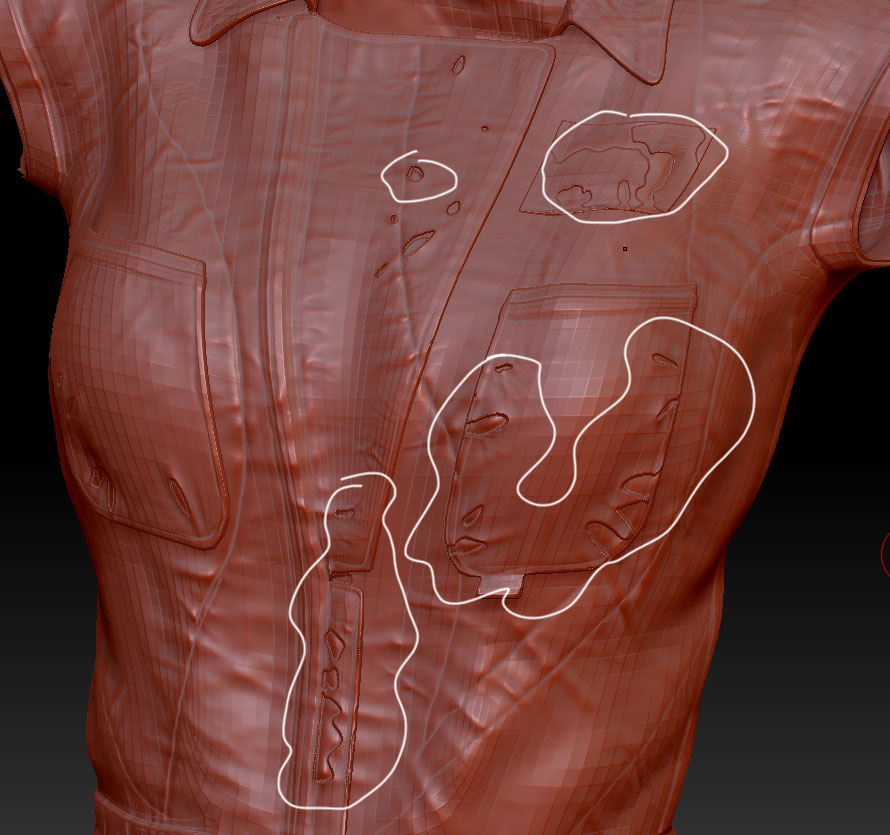
ZBrushCentral

Kitty Scratches

Likozor, Maxinkuk and Clintus Maximus, thanks a bunch for the kind words.

Textures started with basic leathers I made using either Genetica or Filter Forge, probably both, I use them a lot. Wear and tear is hand painted in.
I use a combination od Deep Paint, Zbrush and Photoshop for textures.

Where Zbrush comes into play the most in my workflow is in making clothing wrinkle displacements, and making morphs.

oh, I never posted final apteromata pics… :rolleyes:
Pinup.jpg
I’ll add few more renders of it in next few days :slight_smile:

Attachments

GA002.jpg

Render 10.jpg

Wow, You’ve got some interesting stuff. I know you do a lot of these for daz and poser stuff but I think you should spend some extra time rendering them in your application of choice to get the best lighting and look. Your models and textures are looking much better than when you started, I just think its a waste if the render is meh.

Yes, very true, I should take time to render them in a really good app… I definately need to get better at rendering too, beyond the store promos for DAZ :slight_smile:
Glad you’re liking the models, and seeing progres… still ways to go
Thanks for looking and commenting!

Your clothes look fantastic. You should look into making clothes for selling in Second life also. It could open up a whole new market for you.

Really nice work there Connie. :slight_smile:

Welcome Connie, its good to see this post, and your skills. There nothing wrong with Poser or Daz Studio, I infact I am making content for DS, and have been using Hexagon for years along side Modo.

The main thing is that people who do use pre made figures specify it, just as you have. so we know what has been done, and what has not.

Great texturing and production of clothes no matter what apps your using.

tez - Thanks :slight_smile: Yea, the way I see it, it’s just like making anythign else on comission and per specs… I was modeling arch viz and terrains before this (but not much texturing and rendering, so those skills need to catch up to my modeling)

waves at Ghostman I know you :stuck_out_tongue: hugz Ghostman

EZRA52 - thanks for that suggestion. I need to repair my second life account, after forgetting password and a few login attempts they want me to call in and verify it’s really me… Been putting off doing it for over a year now!

DAZ also has that new gaming content store, I’ve been thinking about making something for it too… I’ll probably get hosed financially, cause the store isn’t very busy yet, but it may be good practice.

Anotehr thing that is kind of fun is seeing a taleneted artist get hold of your content and make something neat with it. Breathes a whole new life into what you made.

Would someone who knows be so kind to give me a pointer (advice or a thread link) on why there ‘welts’ on exported displacement maps happen, and what setting fixes them? I’ve been searching, and fiddling with settings, but it looks like I’m missing some of the terminology or something (brainfarts, I recokon) to find a fix.

I’m using adaptive, non 32 bit, DsubPix4, smooth UV, FlipV settings.
Still on Z 3.5

[attach=233281]Welt.jpg[/attach]

Attachments

Welt.jpg

not sure what that is. Perhaps if I saw the mesh that it is generated from

Here’s an earlier disp map of the same mesh… it’s a jacket top. This displacement map doesn’t have the issue… but on the new map the ‘welts’ happen at peaks and valleys.
See the circled areas - when a displacement height? ges beyond a certain point, it seems to run out of levels of gray, and makes the rest of the ‘peak’ same color… black, or white in case of a valley.

[[attach=233286]001DispTop.jpg[/attach]]001DispTop.jpg

here’s the problematic map…
[attach=233287]HighImpactD.jpg[/attach]

Clean Base mesh (as imported), BTW, UV’s are ON. Overall map size I usually generate is 4000x4000:
[attach=233288]WbaseMesh.jpg[/attach]

Base mesh with displacement applied. Same thing happens, whether I generate the displacement map for export, ot for use within Z.
[attach=233289]BaseD.jpg[/attach]

Attachments

HighImpactD.jpg

WbaseMesh.jpg

BaseD.jpg

oh, and this may be useful… When in subD level 5, the detail looks like this:
Basse3.jpg

Not 100% but I think it is were your low poly protrudes through the high poly. I get the same with normal maps. A fix is to paint them out or smooth the lower subdivision then use that displace map and undo your mesh back to original.

Hmm… there may be something to it… thanks fgor the hint, I’ll explore that angle, see what happens.

Here’s what I discovered in the meantime:

When I made a displacement map bewtween the high subD level (stored as a morph tartget) and a deformed low poly level, I got a lot fewer welts…

When I did a disp between the high subD level (stored as a morph tartget) and the original mesh, I got a lot of welts.

Steps for fewer welts:

  1. Import Mesh
  2. Create a layer
  3. Subdivide to max
  4. Sculpt
  5. Store morph target
  6. Switch to low subD
  7. Create displacement

Steps with more welts:

  1. Import Mesh
  2. Create a layer
  3. Subdivide to max
  4. Sculpt
  5. Store morph target
  6. Switch to low subD
  7. Turn off layer (makes it look like the origional mesh)
  8. Create displacement

Looks like I don’t fully understand how displacements work yet…

Thanks for the help again :slight_smile:
I’ll post a ‘solution’ if/when I find one :slight_smile:

Ok, confirmed, the issue was because of underlying, low poly polygons intersecting each other.
Here’s what it looks like rendered in Daz Studio - it’s target application.
I’m not super happy with Pants displacement, ran into another issue there. If I have enough time, I may rework that one.
Render-16.jpg

looks good m8y. well done :slight_smile:

I dig the color choices, keep it up!

Thanks guys :slight_smile:

A very girly, almost anime coloring version… I have to make 3-6 different textres for this (incuding color variations). They still need sopme dirt and finished insignia patches and few little details on them.
Render-18.jpg

Here are couple renders that a dear friend of mine made, using the welder outfit. Posted with Permission.
101.jpg

I’m usually so overwhelmed with making these things, that I haven’t made time to get better at making final beauty shots yet.

Attachments

100.jpg

106.jpg

Render27.jpg