ZBrushCentral

King of Evil Fish, Finishing and Steps, Isaac Zou

Hi everyone,
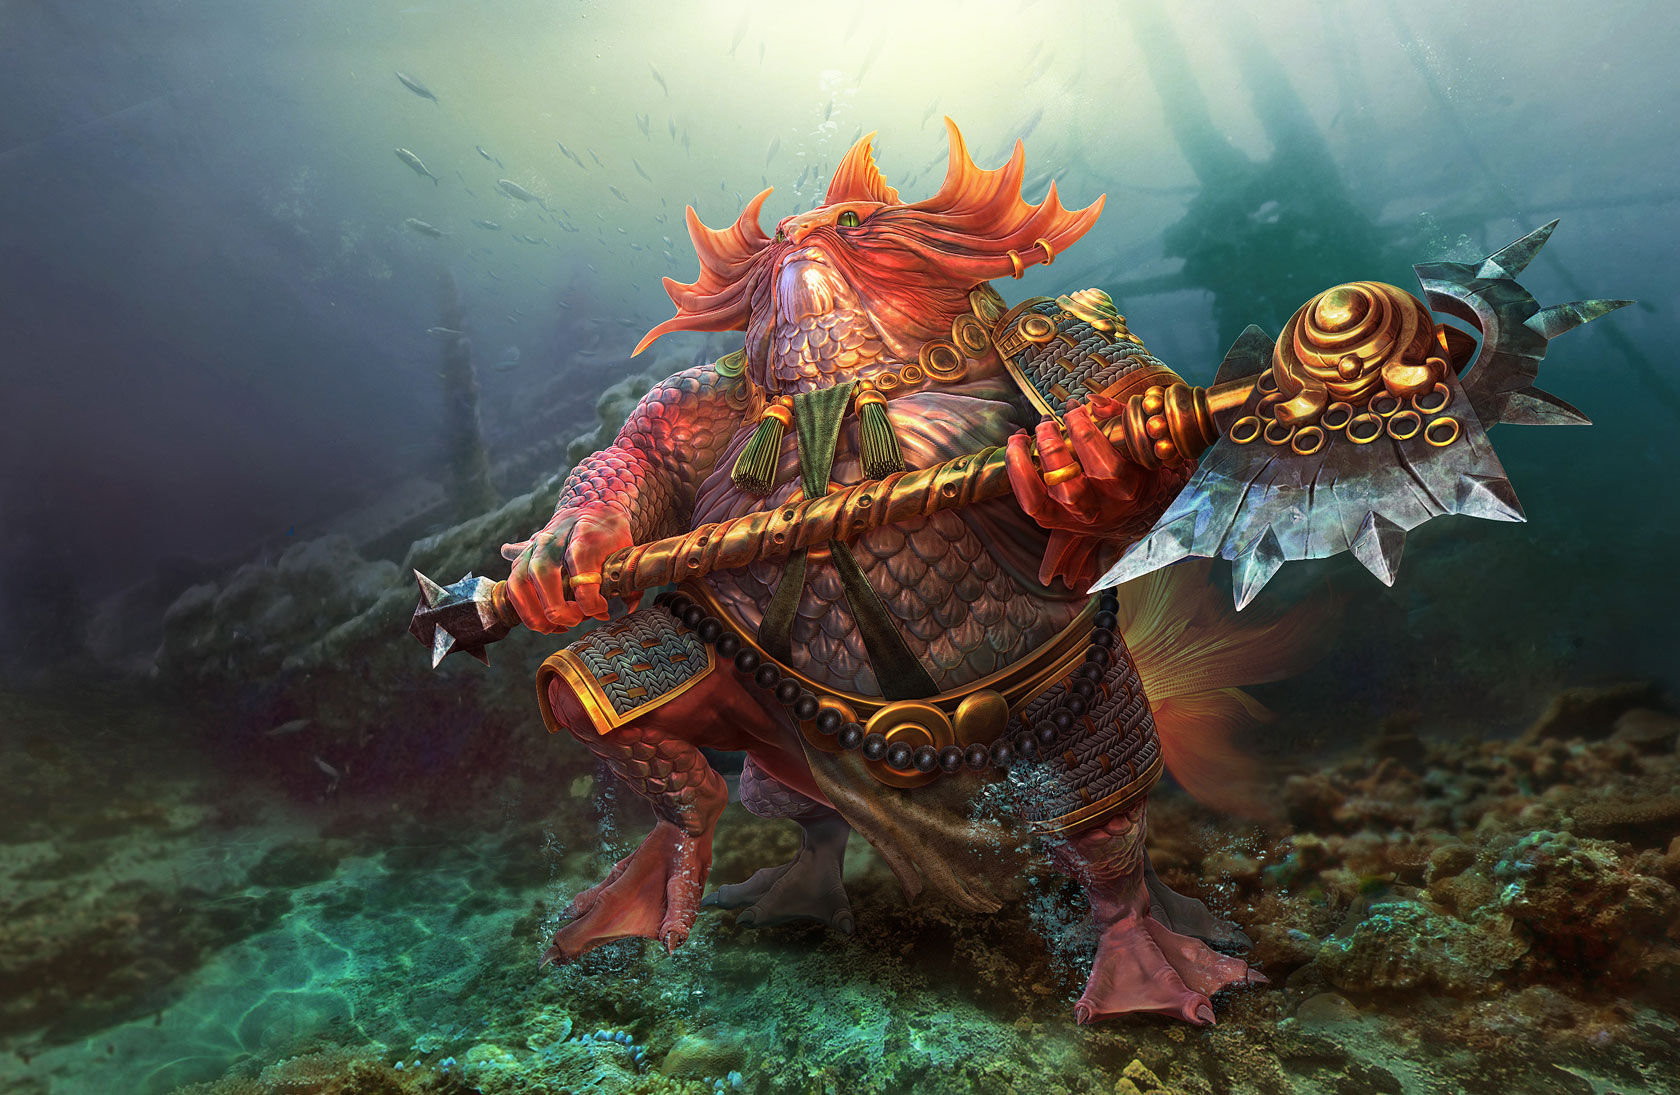
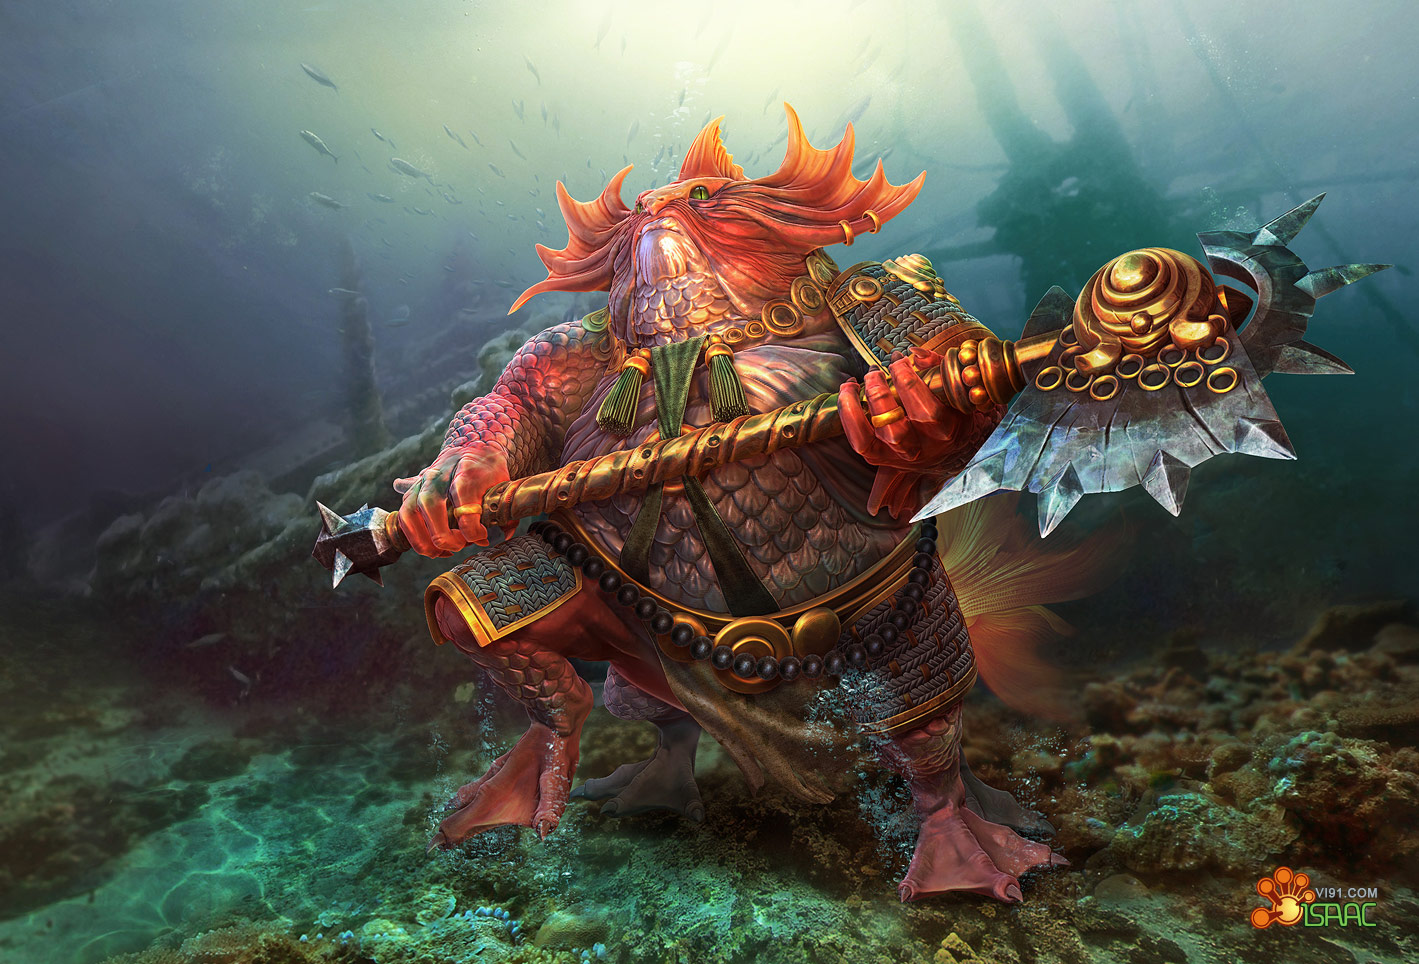
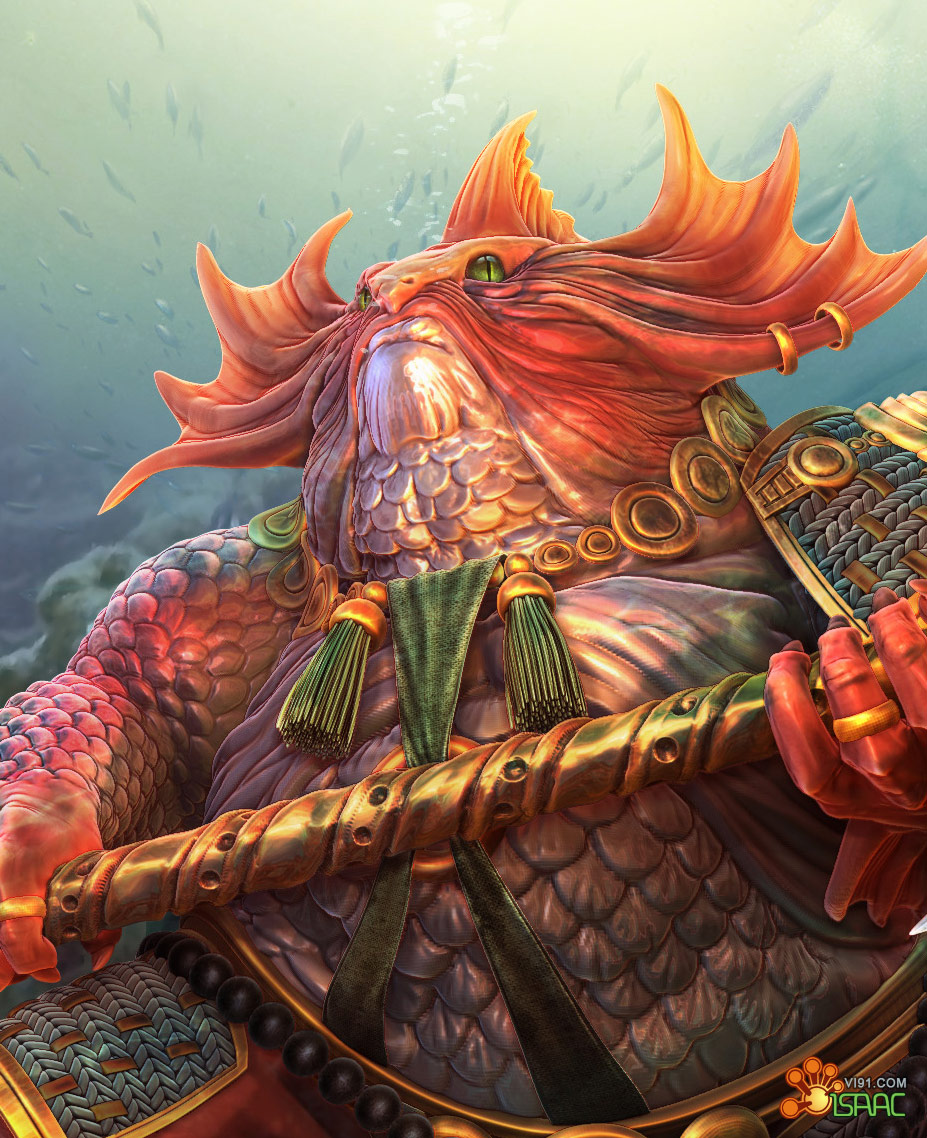
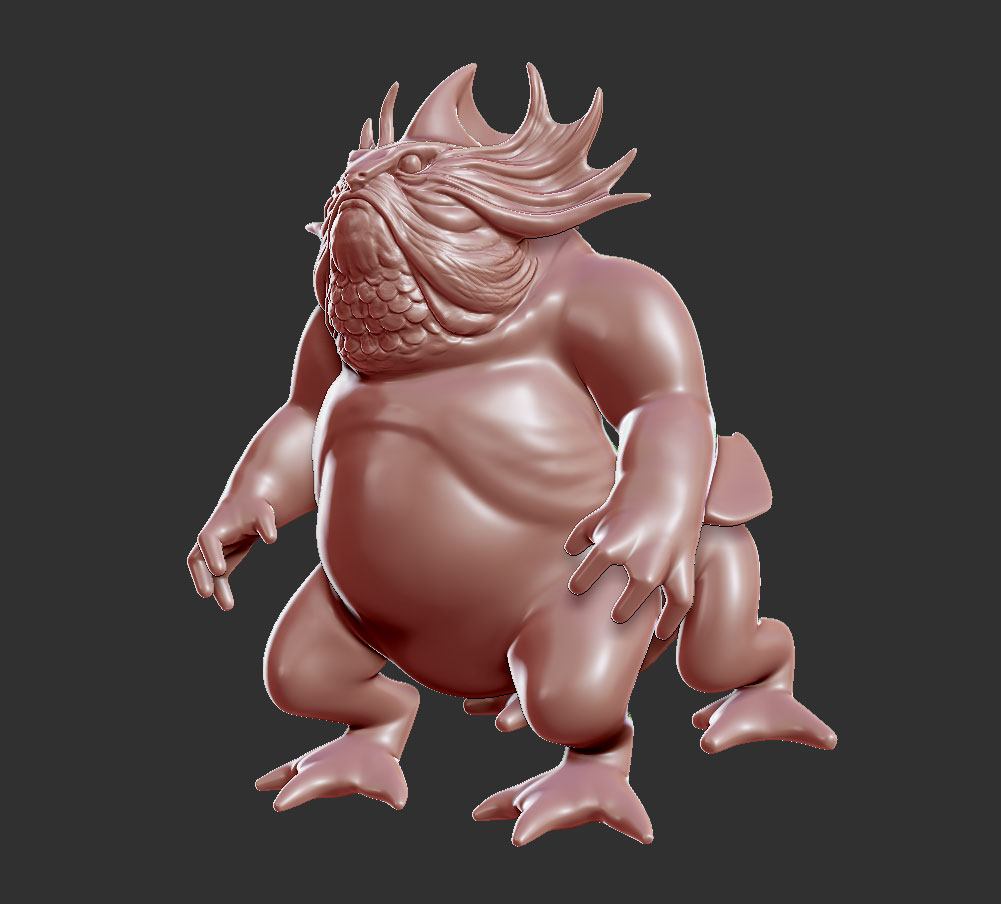
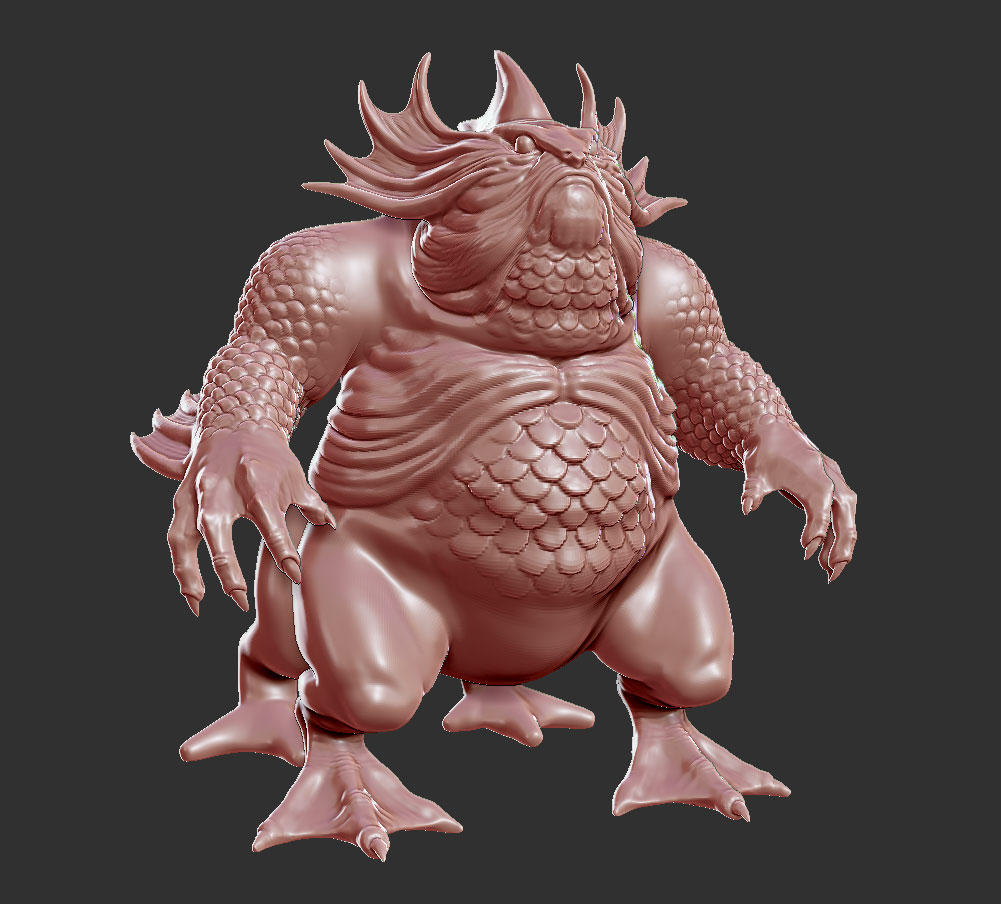
There was a long time for busy working. I spared my time to make this piece, and called it King of Evil Fish. It�s base on: Journey to the West, a Chinese ancient novel. Thanks to Yang Chen for concept, and I did a little changes.
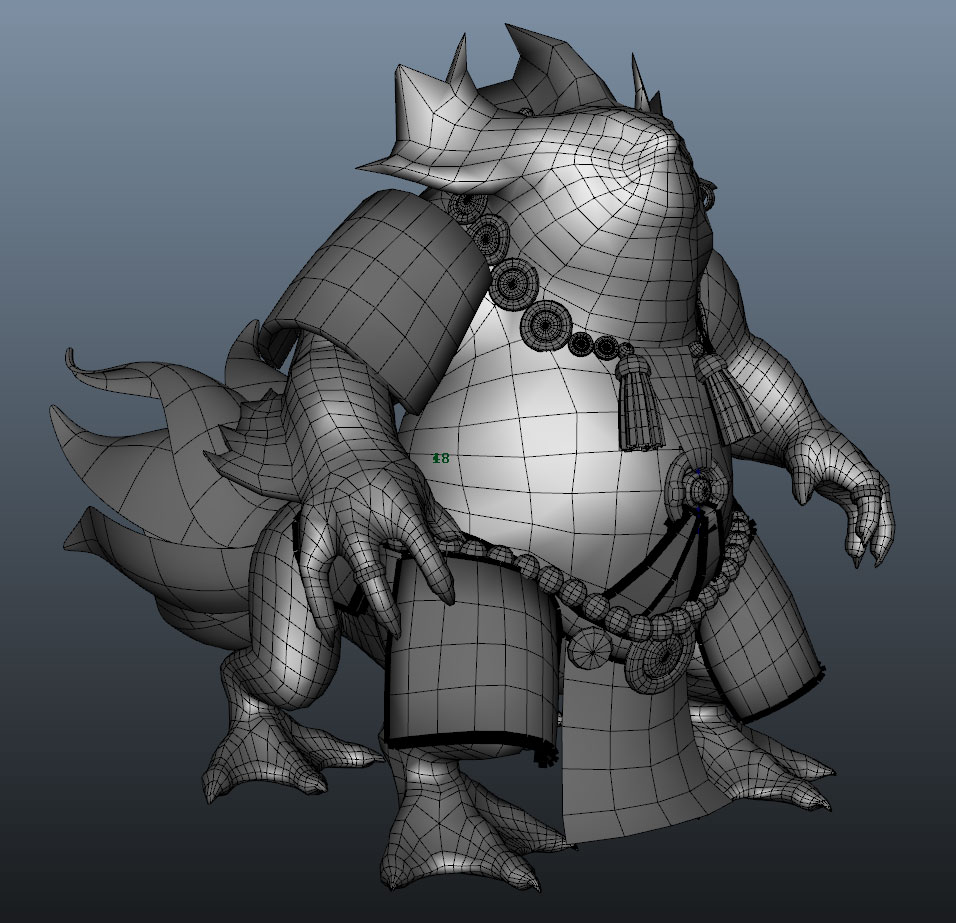
And I used Zbrush, maya and photoshop to make it.
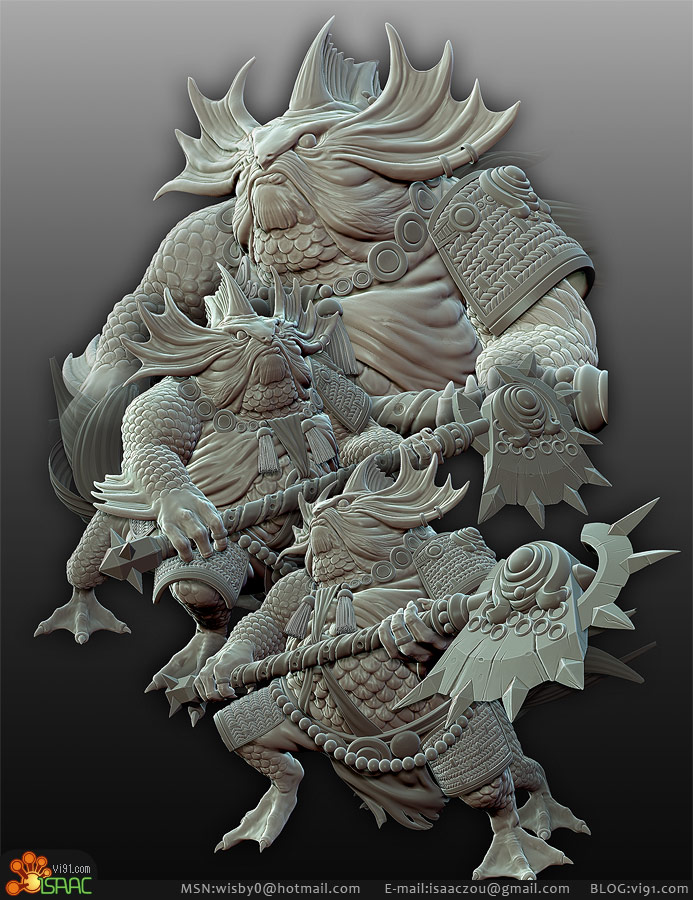
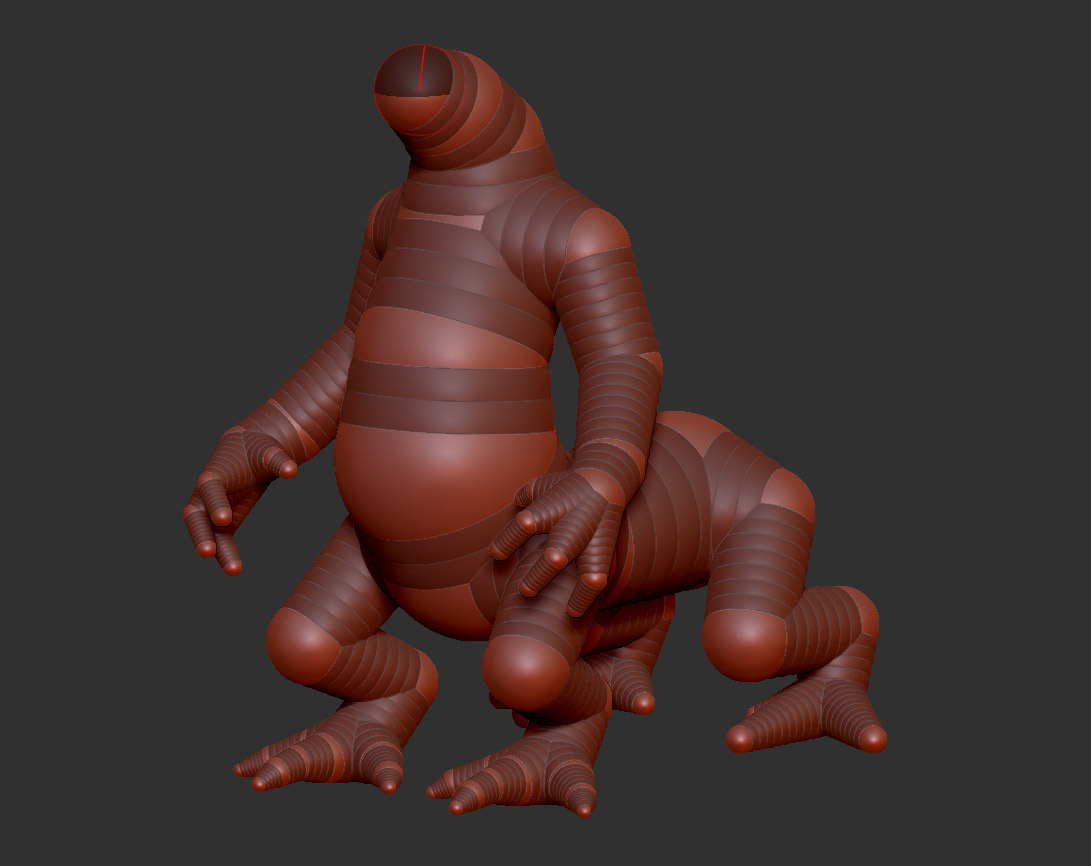
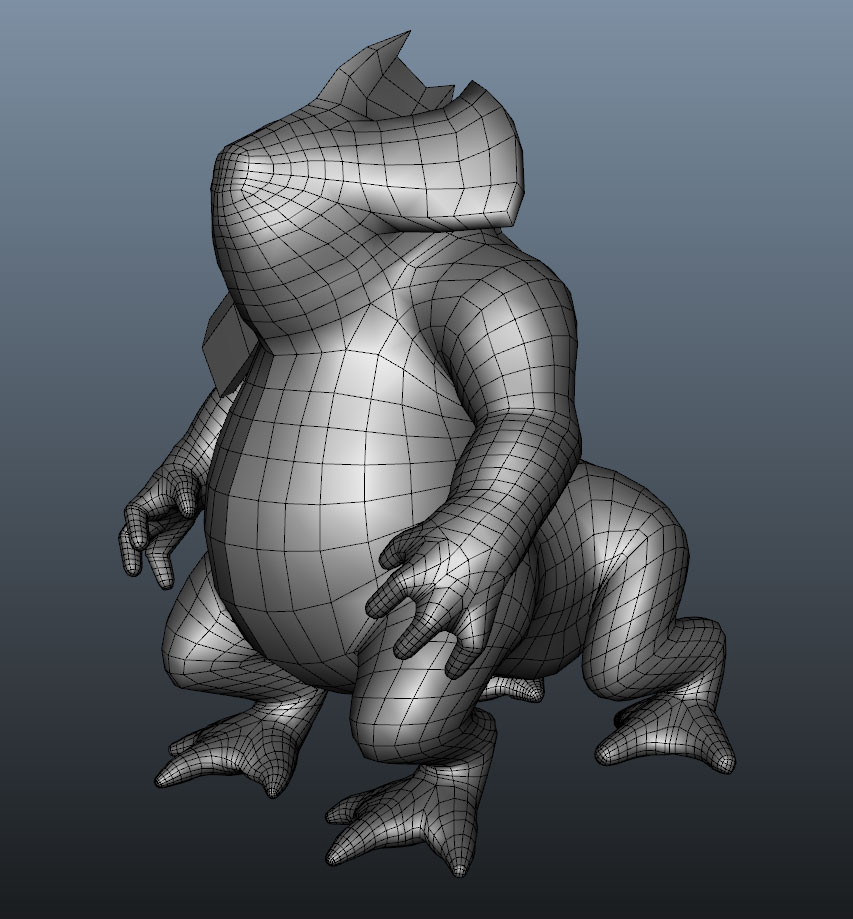
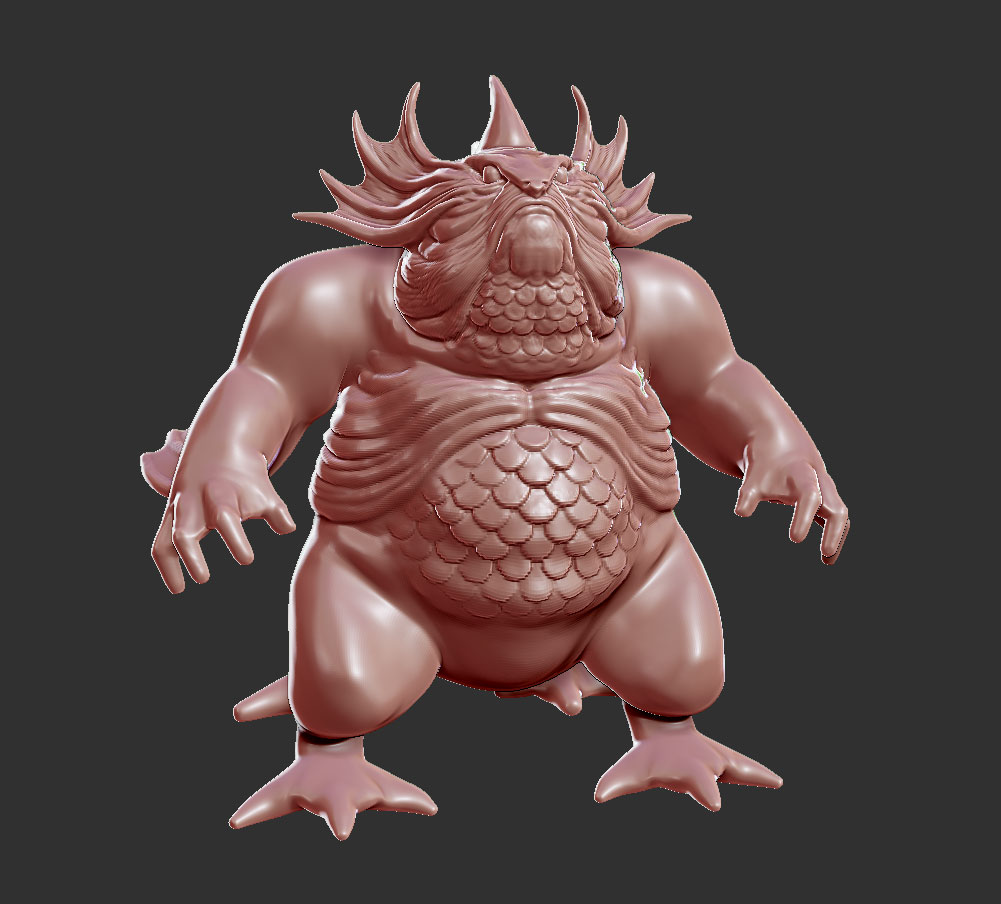
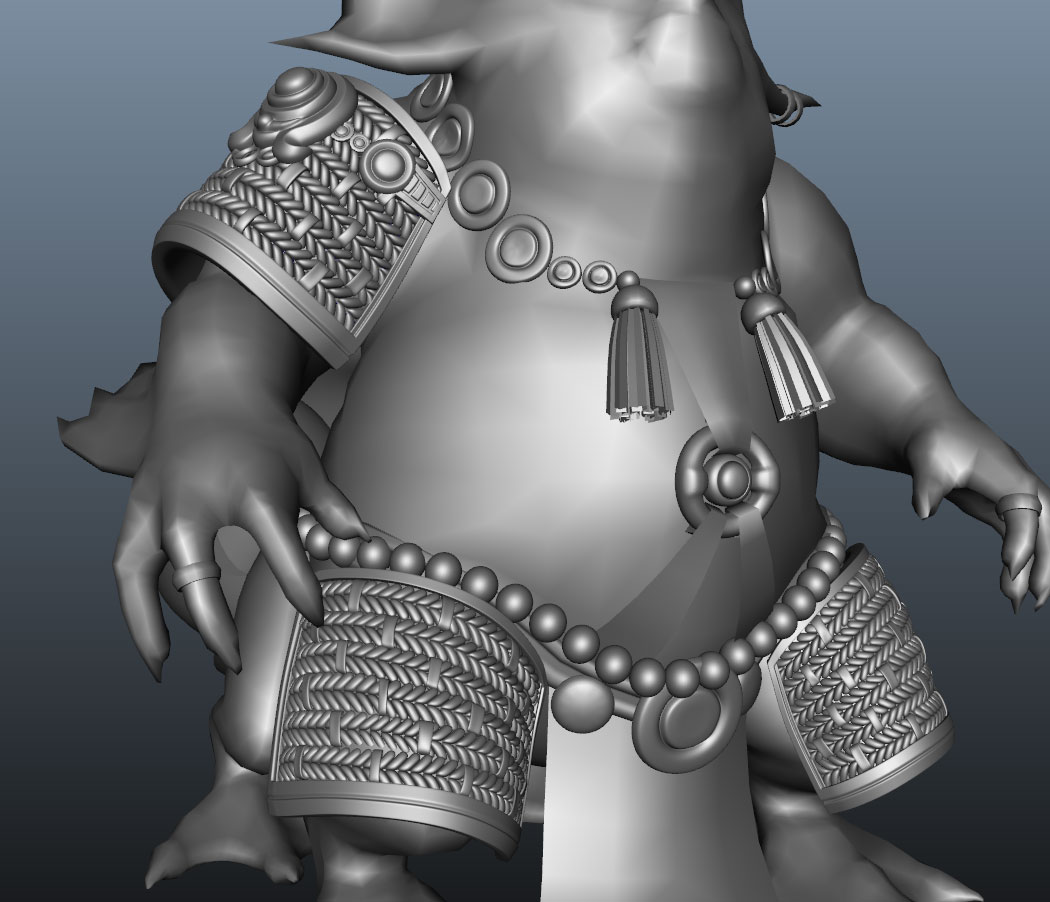
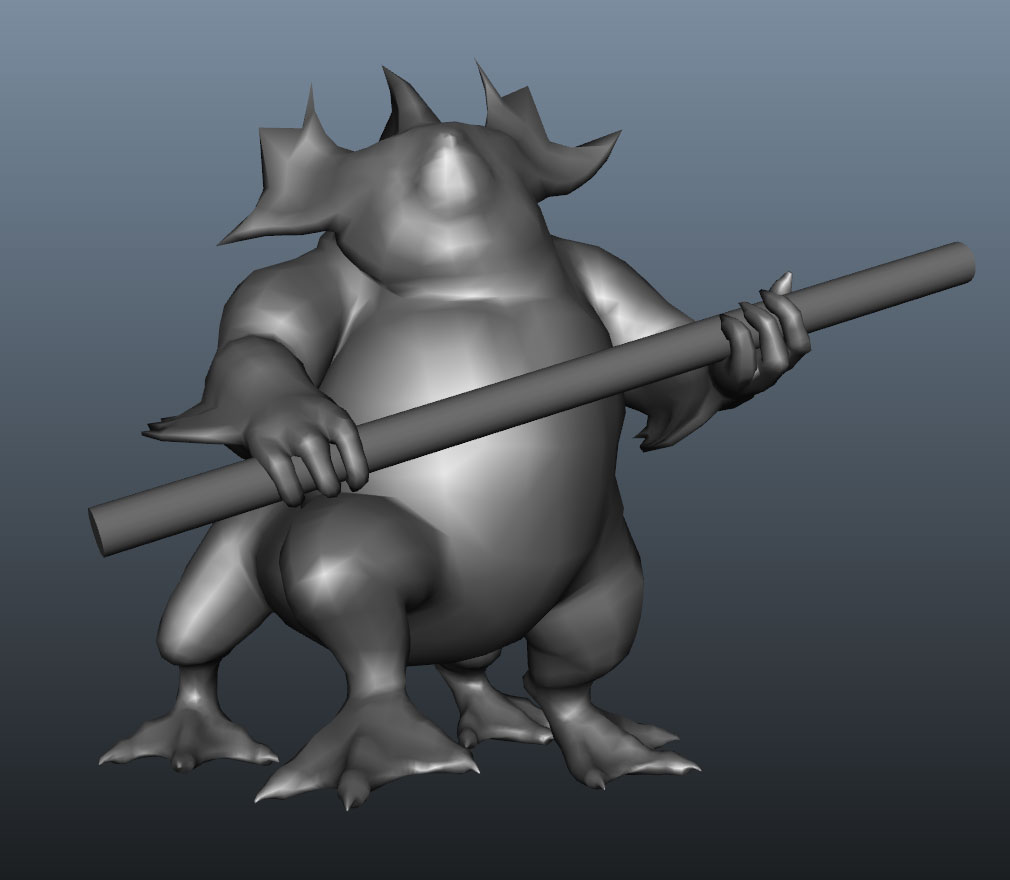
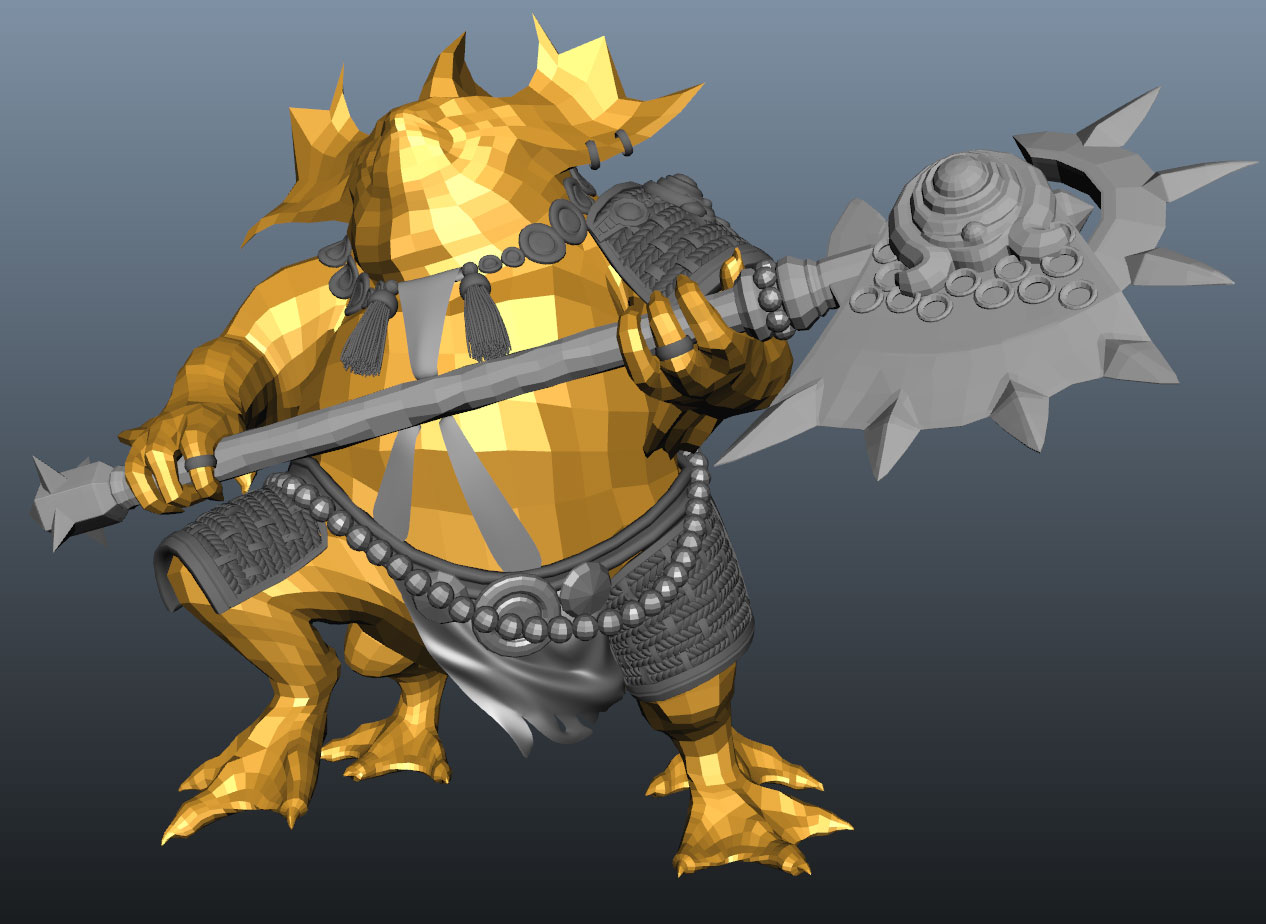
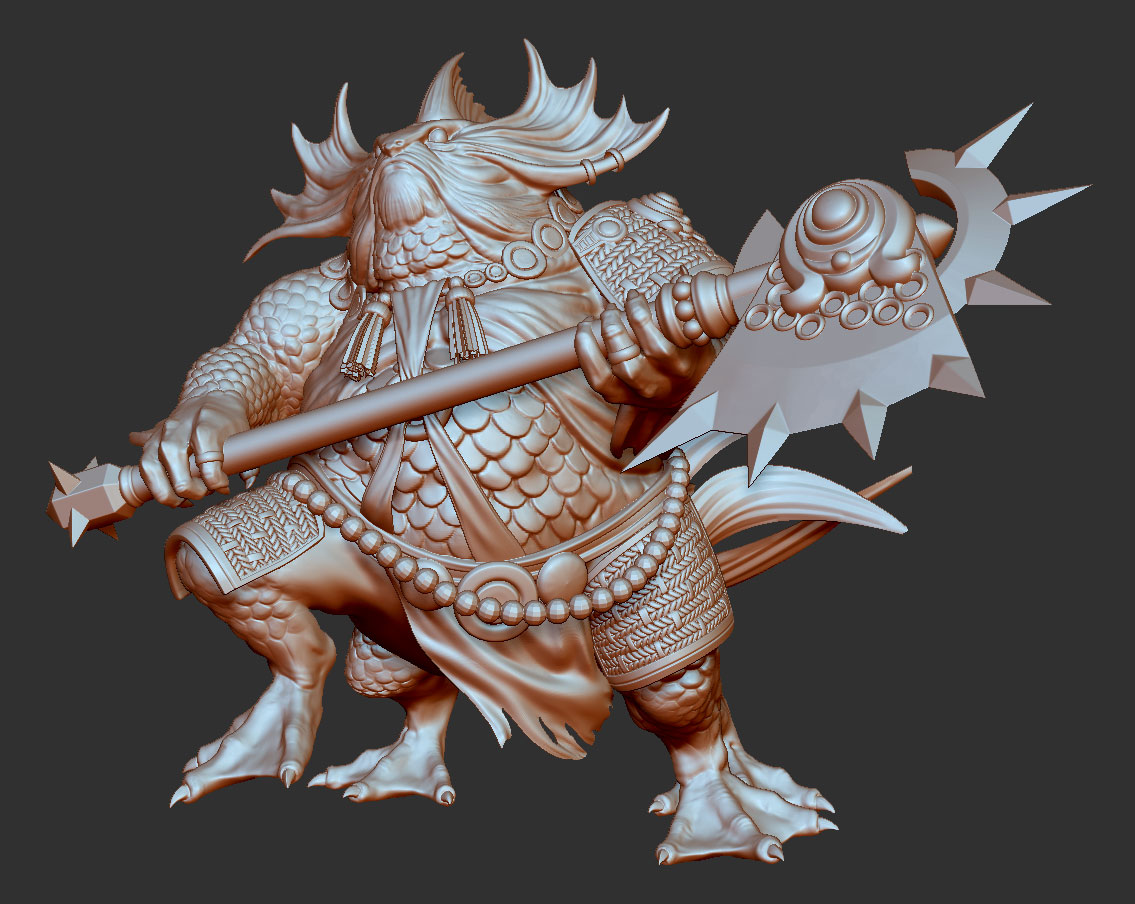
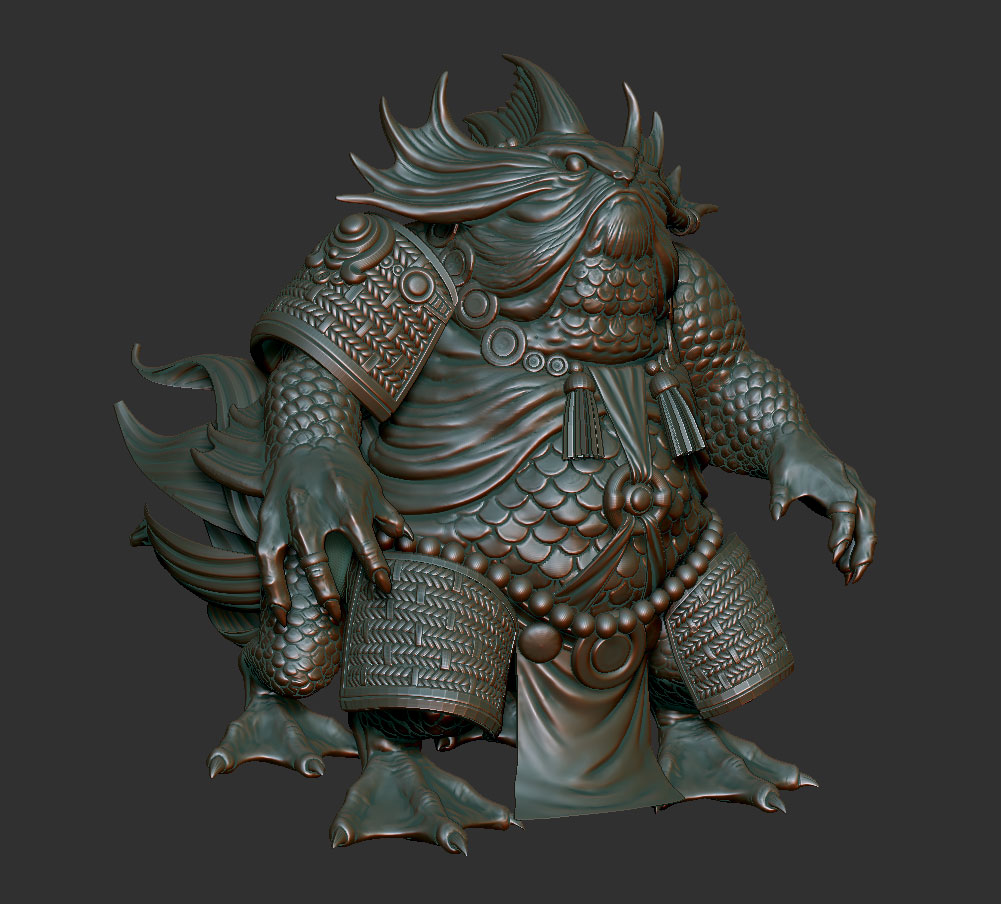
Here is the final composing and Zbrush model.

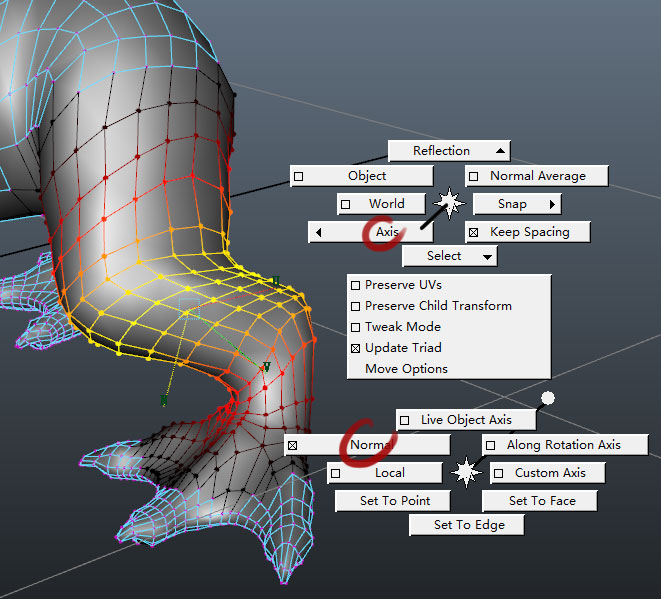
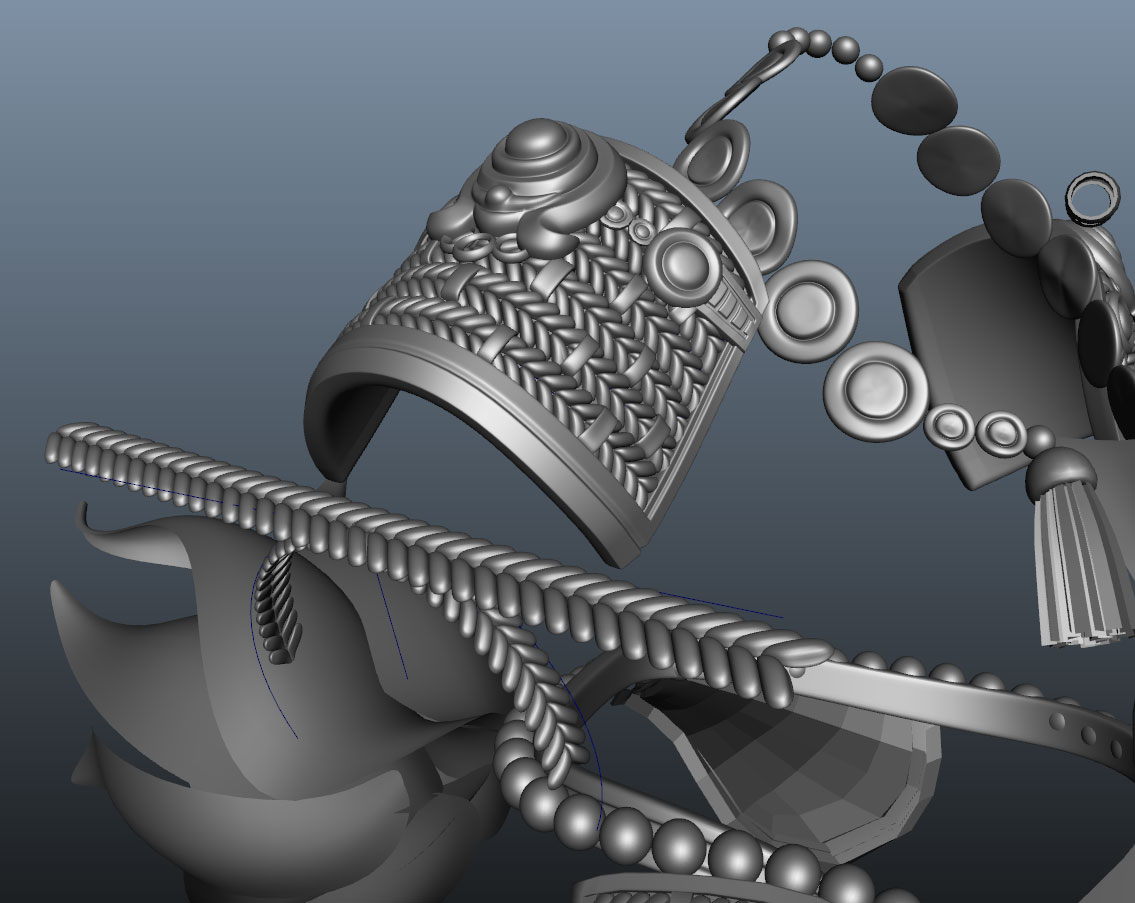
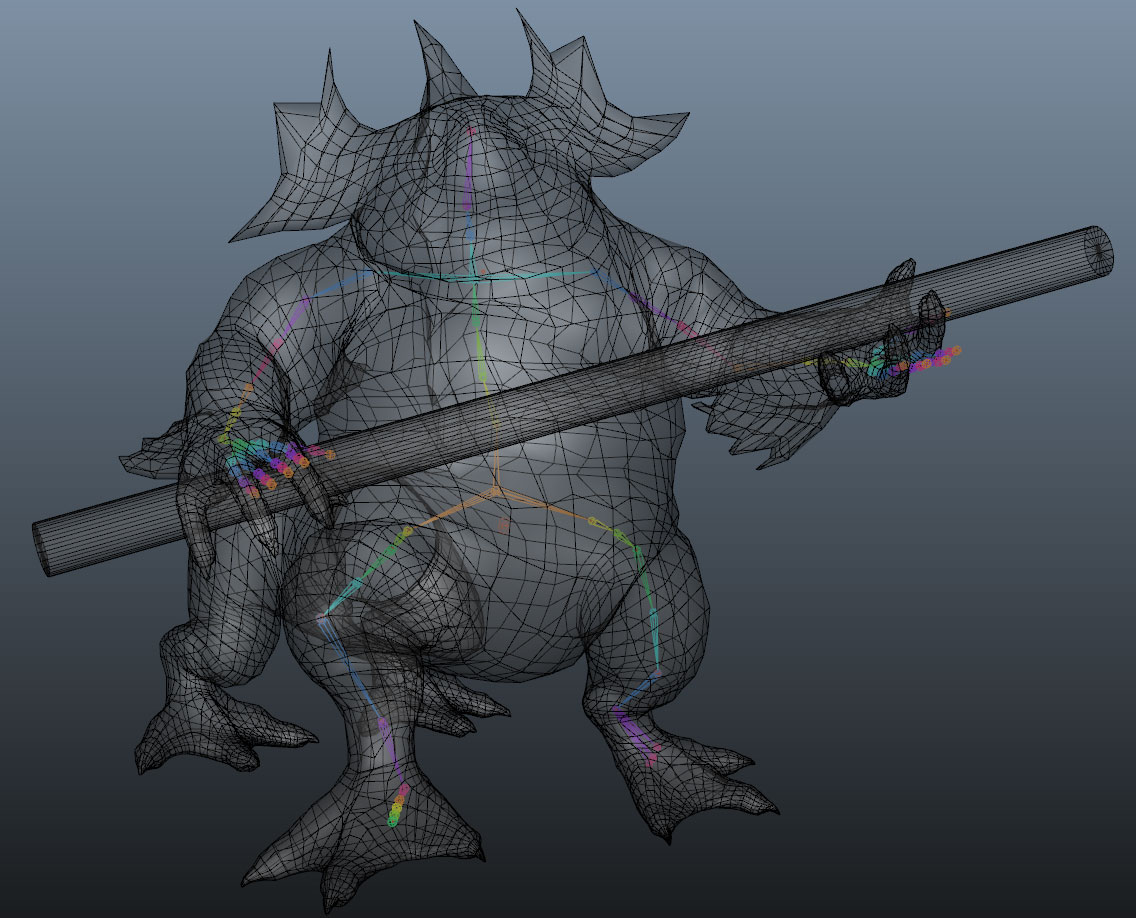
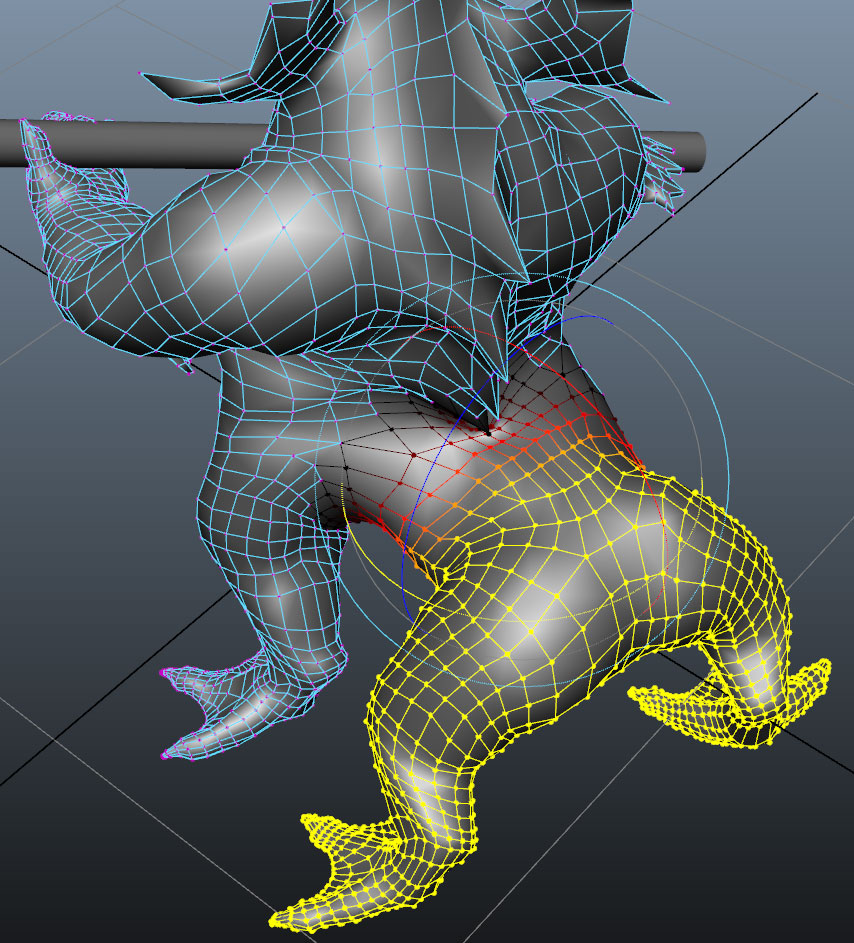
After this I will post some step shot of my works. Hope that can help.

Attachments

final_compose5.jpg

ZbrushHP.jpg

final_compose_1400.jpg

final_compose_big.jpg

I started from ZSphere, here is the prototype of my monster, that looks too weak. But then will be adjusted in maya. ZSphere makes poly mesh uniform. That’s faster and better than you made in other software, if you just need a high-poly in Zbrush.

Step01.jpg

Press A to preview. Looks like a tree frog. :stuck_out_tongue:
Step02.jpg

Then I import to maya to adjust form and add some structures. That seems quite different from before.

Step03.jpg

I would like to use soft selection and turn on Normal axis direction to make model thicker. That can really do.
Step03_1.jpg

Now sculpture.
Step04.jpg

Step06.jpg

When I confirmed the monster’s form, I started to make amour on it. There were too many pieces on the body, so I just made some low poly instead.
Step07.jpg

Highpoly was like this.
Step08.jpg

Attachments

Step05.jpg

I love it! great colour work

Then I turned into High-poly amour. Maya deformation had been used to make braided fabric. And with soft selection tool, I make an shoulder amour like this.
Step09.jpg

Step10.jpg

Go to the lowest level in ZTool, export the monster. I built up a simple character skeleton with a tool named FBIK Character Control, which can be downloaded on creativecrash. And it***8217;s easy to use. But it***8217;s only works on biped human, so I just changed front body.
Step12.jpg

And then do more alteration with soft selection on the back.
Step13.jpg

That***8217;s the result.
Step14.jpg

Then made the high-poly amour fit the body, and a cloth for him.
Step15.jpg

Import the changed low-poly body into Zbrush, and the pose will be changed automatically.
Step16.jpg

Attachments

Step11.jpg

Really dig this one, looking great! :+1:

Today is late, I will post some texturing, rendering and composing steps tomorrow.
Thanks for follow,popgun.

Greatnes! 5* 100% deserved.
And thank you for the making of. It’s always cool to see a masterpiece in pieces.

Thank you guy! :smiley:

Nicely done! And thanks for the breakdown into Maya.

For the texturing, I just made a very simple color paint. To make sure you can modify texture in photoshop, you***8217;d better unfold UV for the model, and import back to ZB. So that you can export a correct texture to PS and do more adjustment.
Use Color -> FillObject to assign color and material for each piece. I just gave most of amour a solid color. Detail can be made by photoshop during composing step.Step17.jpg

Step19.jpg

Step20.jpg

BPR render is the best way for composing. I rendered image such as shadow, shader, sss, mask, depth, AO. I also rendered some amour mask separately, so that I can adjust piece by piece.
Step21.jpg

Step23.jpg

This is a very impressive piece and a nice walk through of process to boot. Thanks for sharing.

Here are some reference from “Journey to the West” I searched on internet. Very funy, haha.
738b4710b912c8fc49bdfc7cfc039245d6882130.jpg
8367d1fcd03a94d4b901a0a1.jpg
3.jpg
4.jpg
a8014c086e061d95ee8d3e9c7bf40ad163d9ca4f.jpg
7.jpg

Fantastic!!!