ZBrushCentral

Kimba, The White Lion - Original Intro - Full CGI Fan Project SozoDigital 2017

Hi all,

please check out my latest animation project:

<iframe src=“https://www.youtube.com/embed/rT1c6SX2M8E” allowfullscreen="" width=“854” height=“480” frameborder=“0”></iframe>

Kimba, The White Lion - Original Intro - Full CGI Fan Project SozoDigital 2017

Unthinkable to have completed this without ZBrush. I’ll post some breakdown images and ZB screenshots etc later.
Please let me know what you think and consider subscribing to my Youtube Channel. There will be more to come, including tutorials!

Cheers!

PS: Also , be sure to check out the original version:

<iframe src=“https://www.youtube.com/embed/lQsQqOlPjhs” allowfullscreen="" width=“854” height=“480” frameborder=“0”></iframe>

Attachments
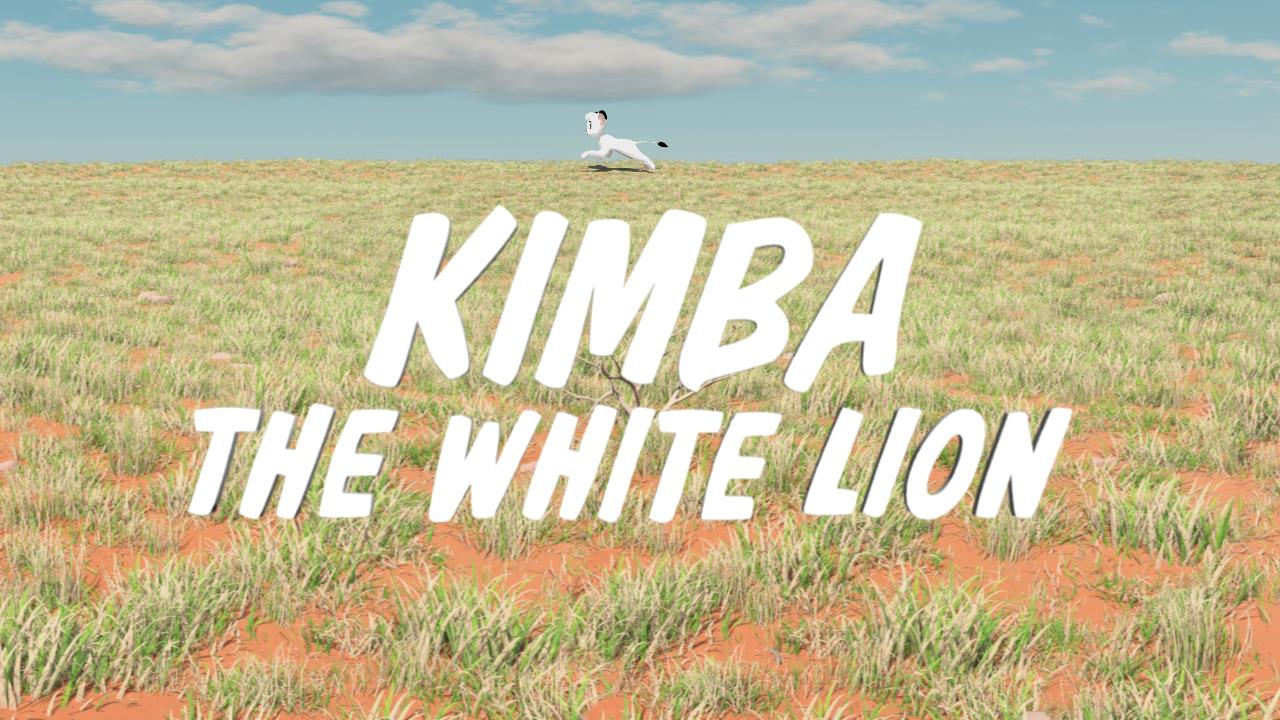
kimbaCGIOpening1.jpg

As previously announced, here are a some images:

Kimba: Basemesh to Fibermesh guides and early texture render test without fur

Bucky: Basemesh to Fibermesh guides

Wild Dog: Basemesh to Fibermesh guides

Wild Dog Shave Fur Test Maya

Kimba Animal Cast ZB

Dead Tree Breakdown: ZB Basemesh to Maya Test Render

Rock Formation ZB Basemesh to Max Test Render with Forest Pack

Almost everything is rendered with VRay Maya/Max except for some nParticle stuff done with Mental Ray and most skies in Vue.

Cheers!

you captured tezukas style perfectly. not sure, if the furr was necessary, a good idea.

what wa your sculpting process?

Thanks a lot for the kind words. :slight_smile:

Sorry for the delayed response, but I had to dig up some old files from back-up to get at the images I needed to put together the following images.

For this project my modeling workflow in ZBrush was as follows:

1.Start from a Dynamesh cube
2.Rough out a basic silhouette using low resolution settings
3.Refine that silhouette at higher levels to a degree usable for retopologizing
4.Retopologize a base-mesh suitable for animation and split separate parts into separate meshes
5.Refine the new mesh up to higher subdivision levels
6.Edit the topology and additionally split separate parts into separate meshes and UV those meshes at base level, then finalize the shapes.
7.Add Fibermesh and groom to level usable for export as guides for Shave&Haircut in Maya
(see image below)

kimbaModelingProcessInZBrush.jpg

For the other animals, I used the Kimba base-mesh as a starting point, roughed in the different silhouettes, retopo-ed as needed, refined the shapes and added fibermesh etc (see image below).

kimbaBaseTo OtherAnimals.jpg

I hope this helps. Don’t hesitate to ask, if there’s anything else you want to know.

Cheers!