I totally understand you ! I am in exactly same position . Ppl always suggests you and you want to do epic art like other great artists but it is your first time ! It is like searching for socks in a very dark room 
wow this one is great dude,nice head, nice texture, and also nice render, keep it up:lol:
Hi thanks Ahtiandr and Icaruz.
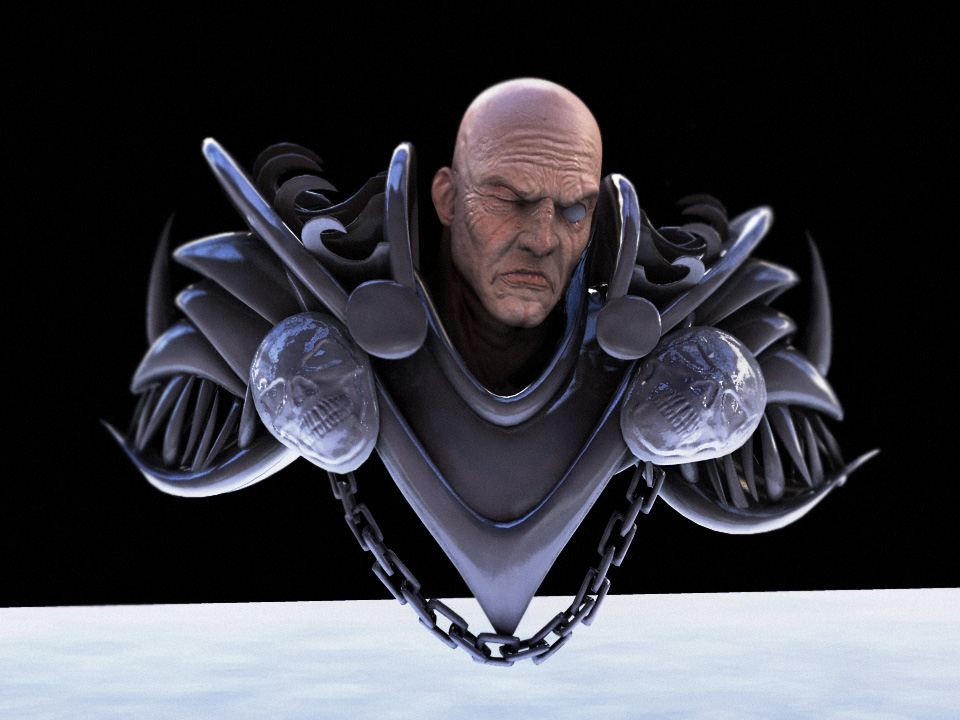
I have finally learnt basics of final gather and global illumination.
Here is a test render with GI IBL and FG which for first time ever I’m implementing:
No details or normal maps etc on upper armor yet in maya, they’re just there with simple mia shader, this is just a WIP test render:
[ ]
]
lookin tight dude! gonna be stashin your pics in my inspiration folder soon, I can feel it 

mmmm… Dude, all this work smells of… Top Row!!!.. Great render tests.
Awesome work, he has that “epic” feel.
Looks really alive and detailed, well done.
Hey, thanks Super Glitcher, Piz and Cheshire Cat! I’m glad that it feels alive to you, that’s an important factor! These are the first render tests as I said I’m new to mental ray rendering techniques but now I need to transfer the armor details which I will fix up first in Zbrush.
I decided to completely change / fix up the bottom part of the character which was flawed especially boots and hourglass which doesnt even look like an hourglass lol, but for now I will just do a bust of the upper armor and head for practice so I’m ignoring everything else.
Coming along nicely. I really need to sit down and learn MR too. Looks like your picking it up pretty fast. Your test renders look great.
Wow nice render dude, Mmmm…but what wrong the armor? Maybe u need to learn about MR or maybe u give it a texture apply to the armor, its gonna be more like real armor. Sometimes i had a lot of problem with MR render techniques especially in Maya its a hard work to reach realistic render for me because this is my first ear in Maya, but i like your skin texture, its look like real skin.
Keep it up.
Hey thanks sasquatchpoacher and icaruz.
Icaruz, like I said it’s test render with no textures or detail maps applied on armor yet, will post with textures soon  Glad you like, and yea mental ray has a lot of things to learn and takes time but also can give great results if you know it / use it well
he kind of reminds me of the antagonist in water world 
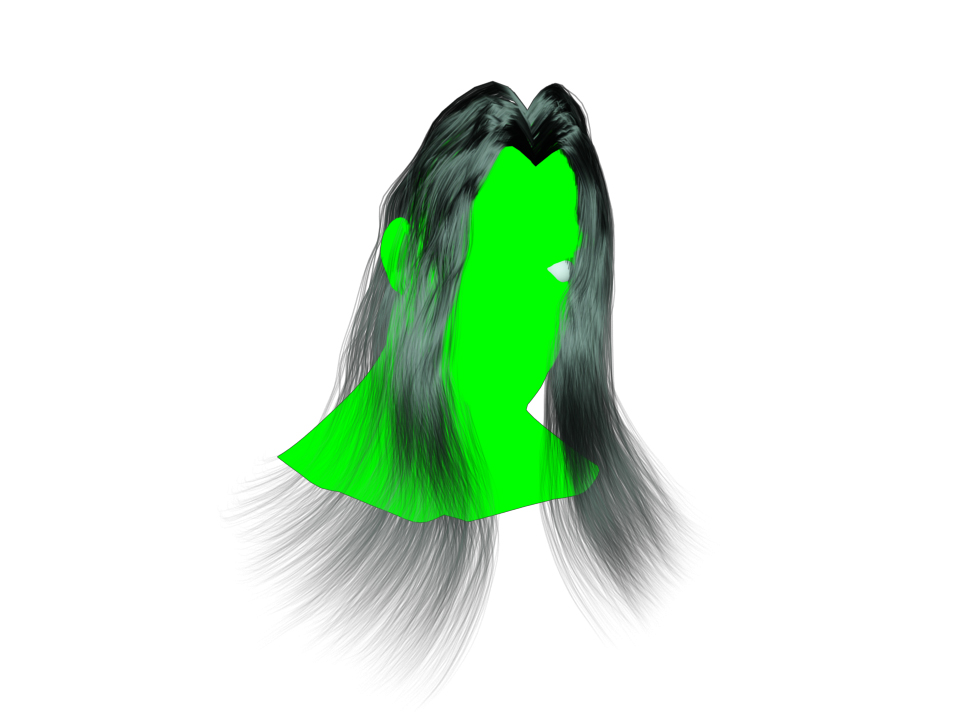
Hi all more WIP stuff but just came across an issue if I may ask since I dont have much experience:
I repainted normal map for shoulder armor and then from that made a nice clear reflection map in photoshop and applied it on reflectivity in Maya. However, even though normal map renders smoothly by itself in maya, when I add reflection map all detail lines go jagged and pixelated, does anyone know a way round this or is it just i need different approach. Thanks!
This is also a progress shot for those interested. No color maps or textures made for armor yet, all shaders only so far and some incomplete stuff.
[ ](javascript:zb_insimg(‘110377’,‘ProgressShot2.jpg’,1,0))
Amazing, very nice 
Did u design by yourself?
I like the armor…
Hmmm…This one looks nice. Maybe you need more tweak to the armor’s shaders. Keep it up
Thanks I’m still trying to figure things out in MR anyhow
Yea I designed it but with inspiration from different sources
Thanks icaruz as I said im adjusting things and armor doesnt have textures applied yet, but yea will keep adjusting and color map I think will make a difference as well as bump / relief map.
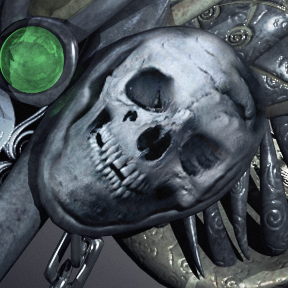
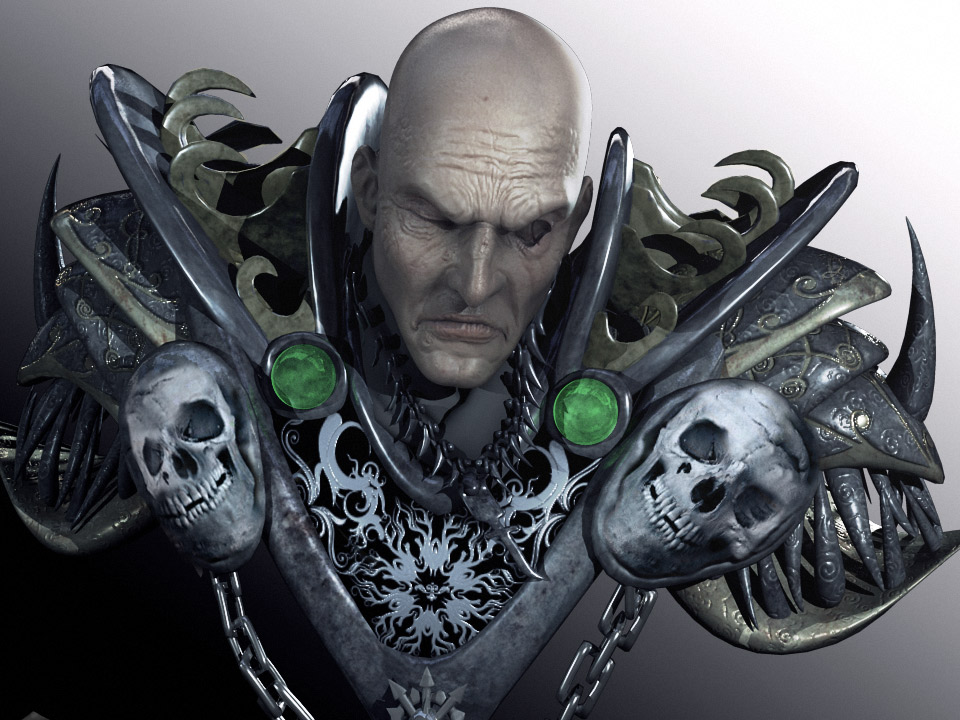
Another progress shot, wanted to see how it looks a bit desaturated till I’m satisfied with colors more, need to work on 'em more. Here’s a scheme for the skulls and also shoulder pads detailing. I still have material glossiness issues
on shoulder pad which is pixelated at detailed areas of normal map etc.
I’m soon finished upper body.
[ ]
]
Yeah, this really deserves one star! Especially from a 17 year old! You aren’t talented at all, geez, get a life! 
Yeah right, man, this is coming along great. Very cool. While it may be the look you’re going for, I think the skin is wrinkled in a funny way, particularly in the forehead and under the eyes. You may have just been trying to make the man look old, but even then, it seems off. I would gather multiple reference photos of the kind of age you’re going for, and compare them side by side while further sculpting on it. I think that the wrinkles lack gravity and the natural tension that is perpendicular to the directions of the facial muscles. Do a quick study of the face’s muscular anatomy, which is what causes wrinkles to lay in the directions and areas they do. Just a constructive crit, but keep up the good work!
Wow,much better than before.Keep it up.
Great improvement on shading Work Dude! Go ahead! I want see the other parts now! 
im very new to zbrush and am very inspired by this piece. im not quite sure how you did the hair and the chain links… pointers? great work im learning alot… why not learn from the pros…