Thanks a lot for the comments, everyone!! 
selahpoetic > Yes, they started as ZSpheres and then were sculpted with Dynamesh. After that they were retopologized and UVmapped for 3DSMax.
Thanks a lot for the comments, everyone!!
selahpoetic > Yes, they started as ZSpheres and then were sculpted with Dynamesh. After that they were retopologized and UVmapped for 3DSMax.
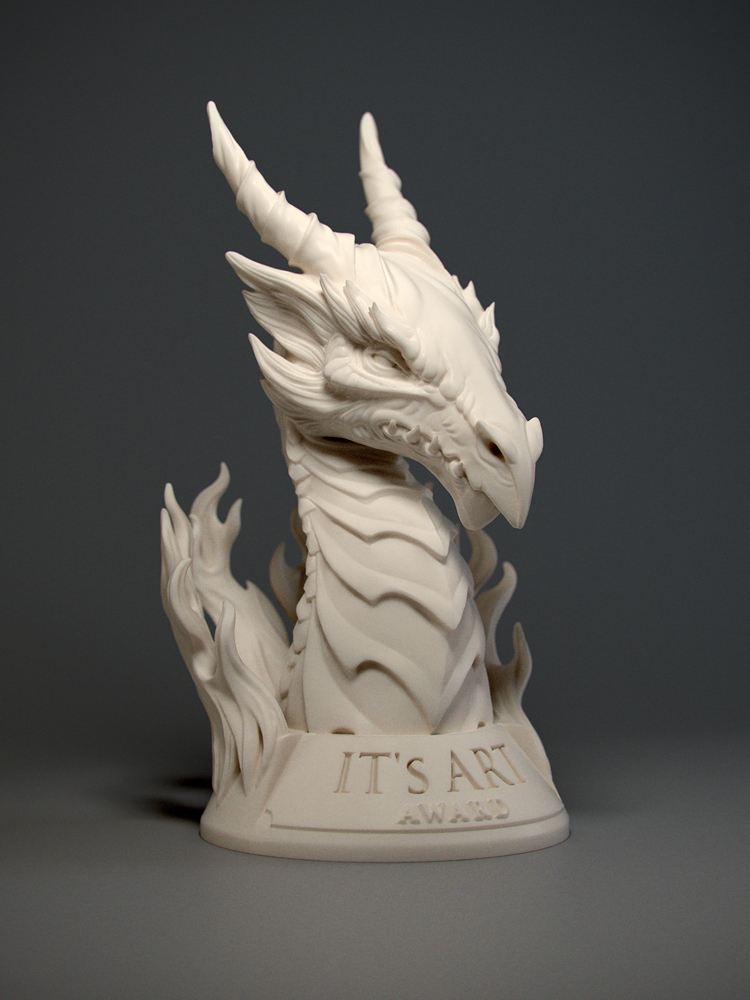
I had the opportunity to create the It’s Art Award which is given monthly to the best image posted at It’s Art.
Here goes the render of the trophy. I hope you like it!
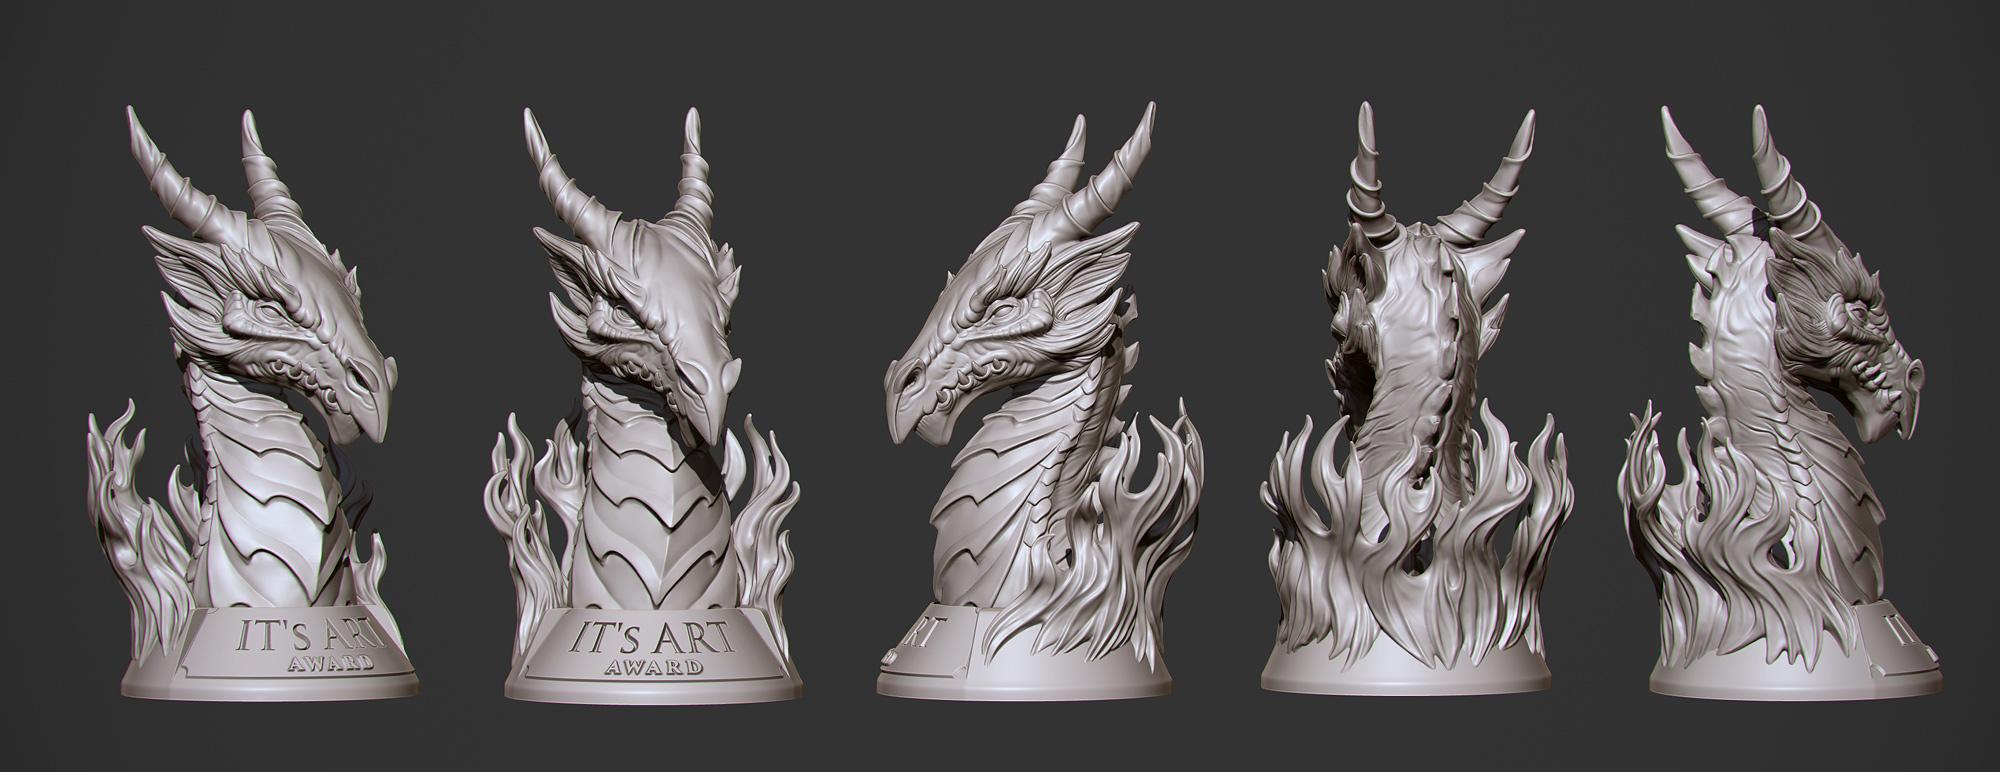
ZBrush Model:
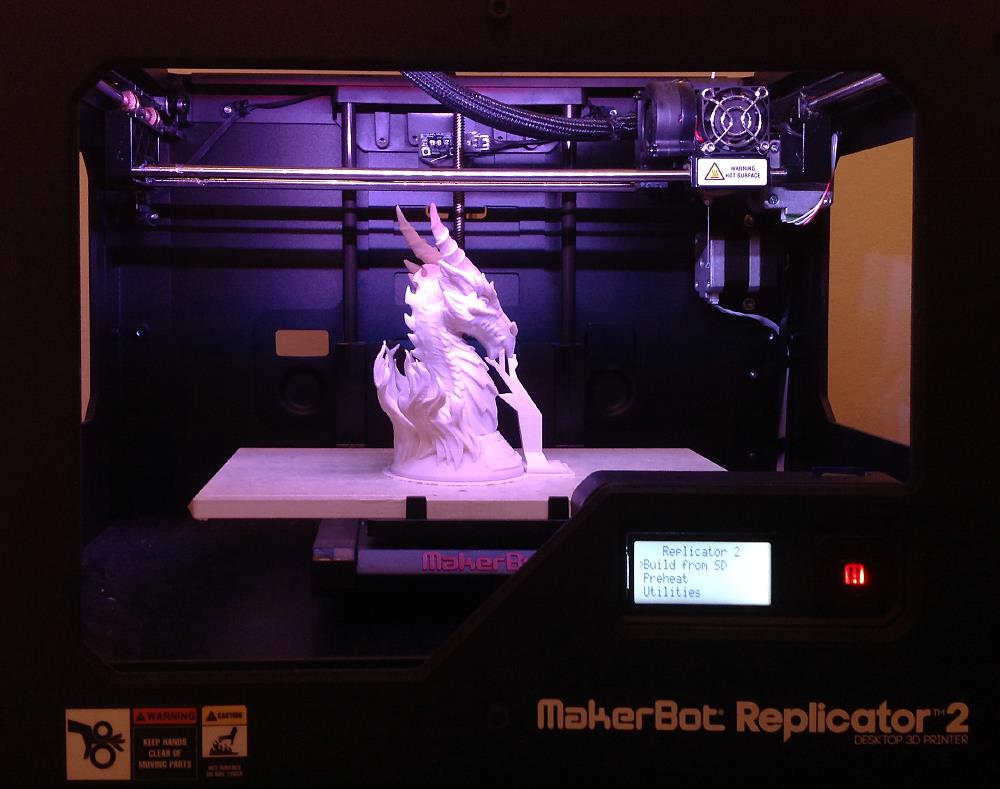
3D Printing:
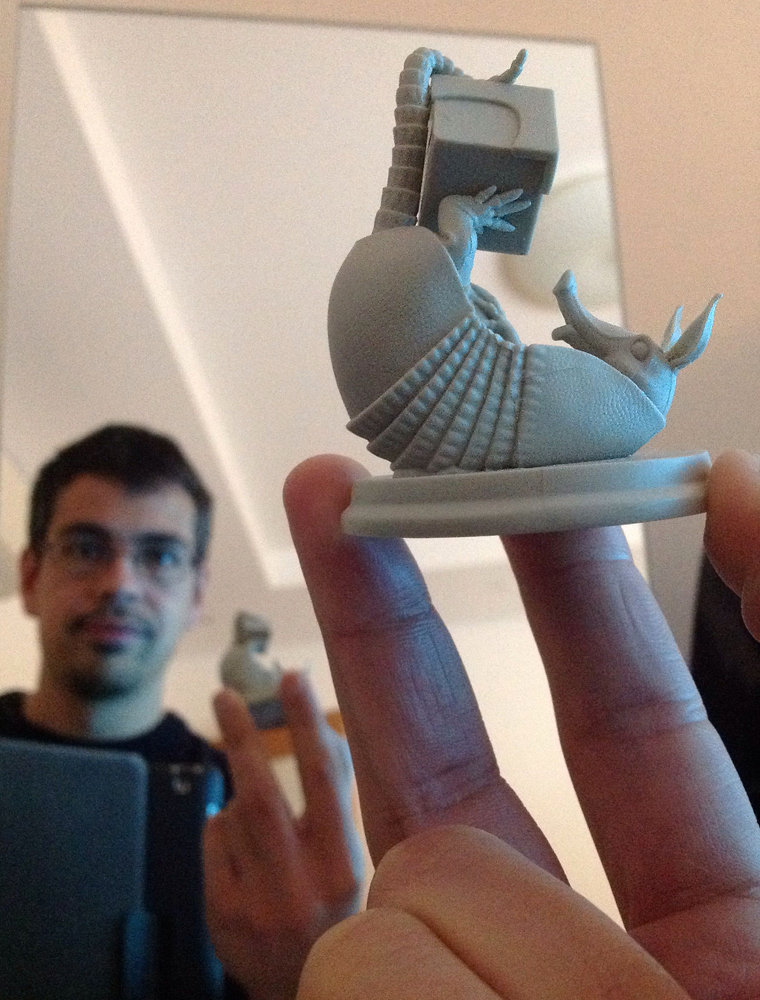
Another award I designed in ZBrush. This time for 3DTotal 
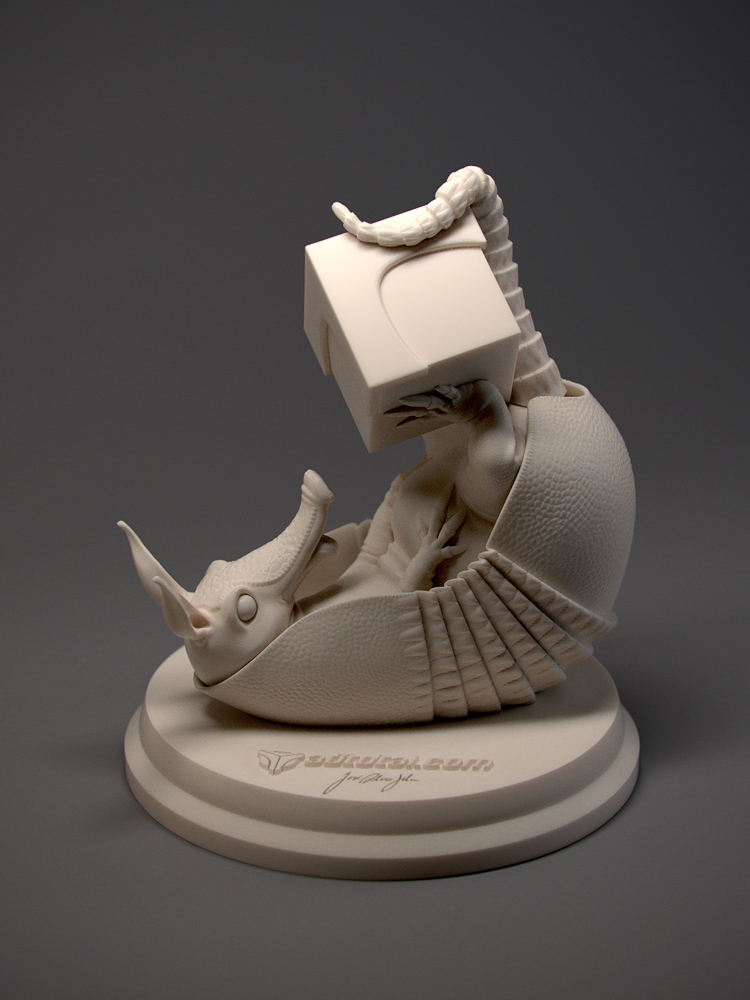
ZBrush:
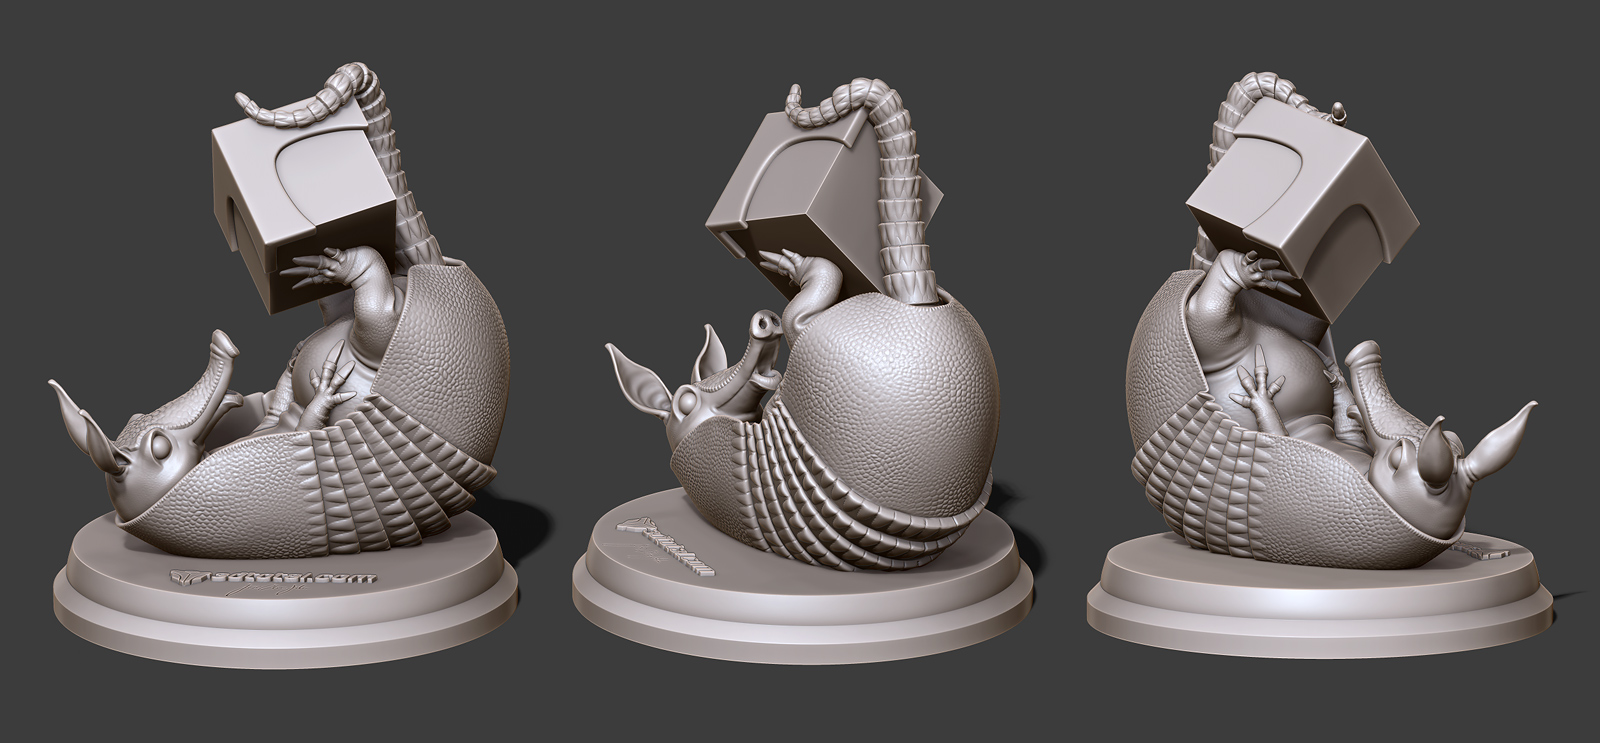
The real thing in my hand
Great job …very cool little guy! 
Cheers, David
I saw the armadillo and thought to myself, I KNOW I’ve seen that character before. He looks different without a bottle 
Love the character, love the tutorial on 3DTotal. And the dragon is pretty sweet too. Great work, your work has definitely been an inspiration.
cute though I thought it would be bigger
Thanks guys!
Intervain> I thought it would be bigger too Actually I designed it to be twice the size. But 3DTotal opted for making them smaller, probably due to budget restrictions. However, despite its size, the detail is incredible
Hi Jose…
Love what I see!
Are you printing all your work on a MakerBot 2? If so does it require a lot of cleaning afterwards?
I was looking at Form 1, but if you can get this on MakerBot it would be the logic Route to follow as a start up!
Thanks Ziggy
Just the dragon was printed on Replicator2. But the main image of the dragon is a 3D render
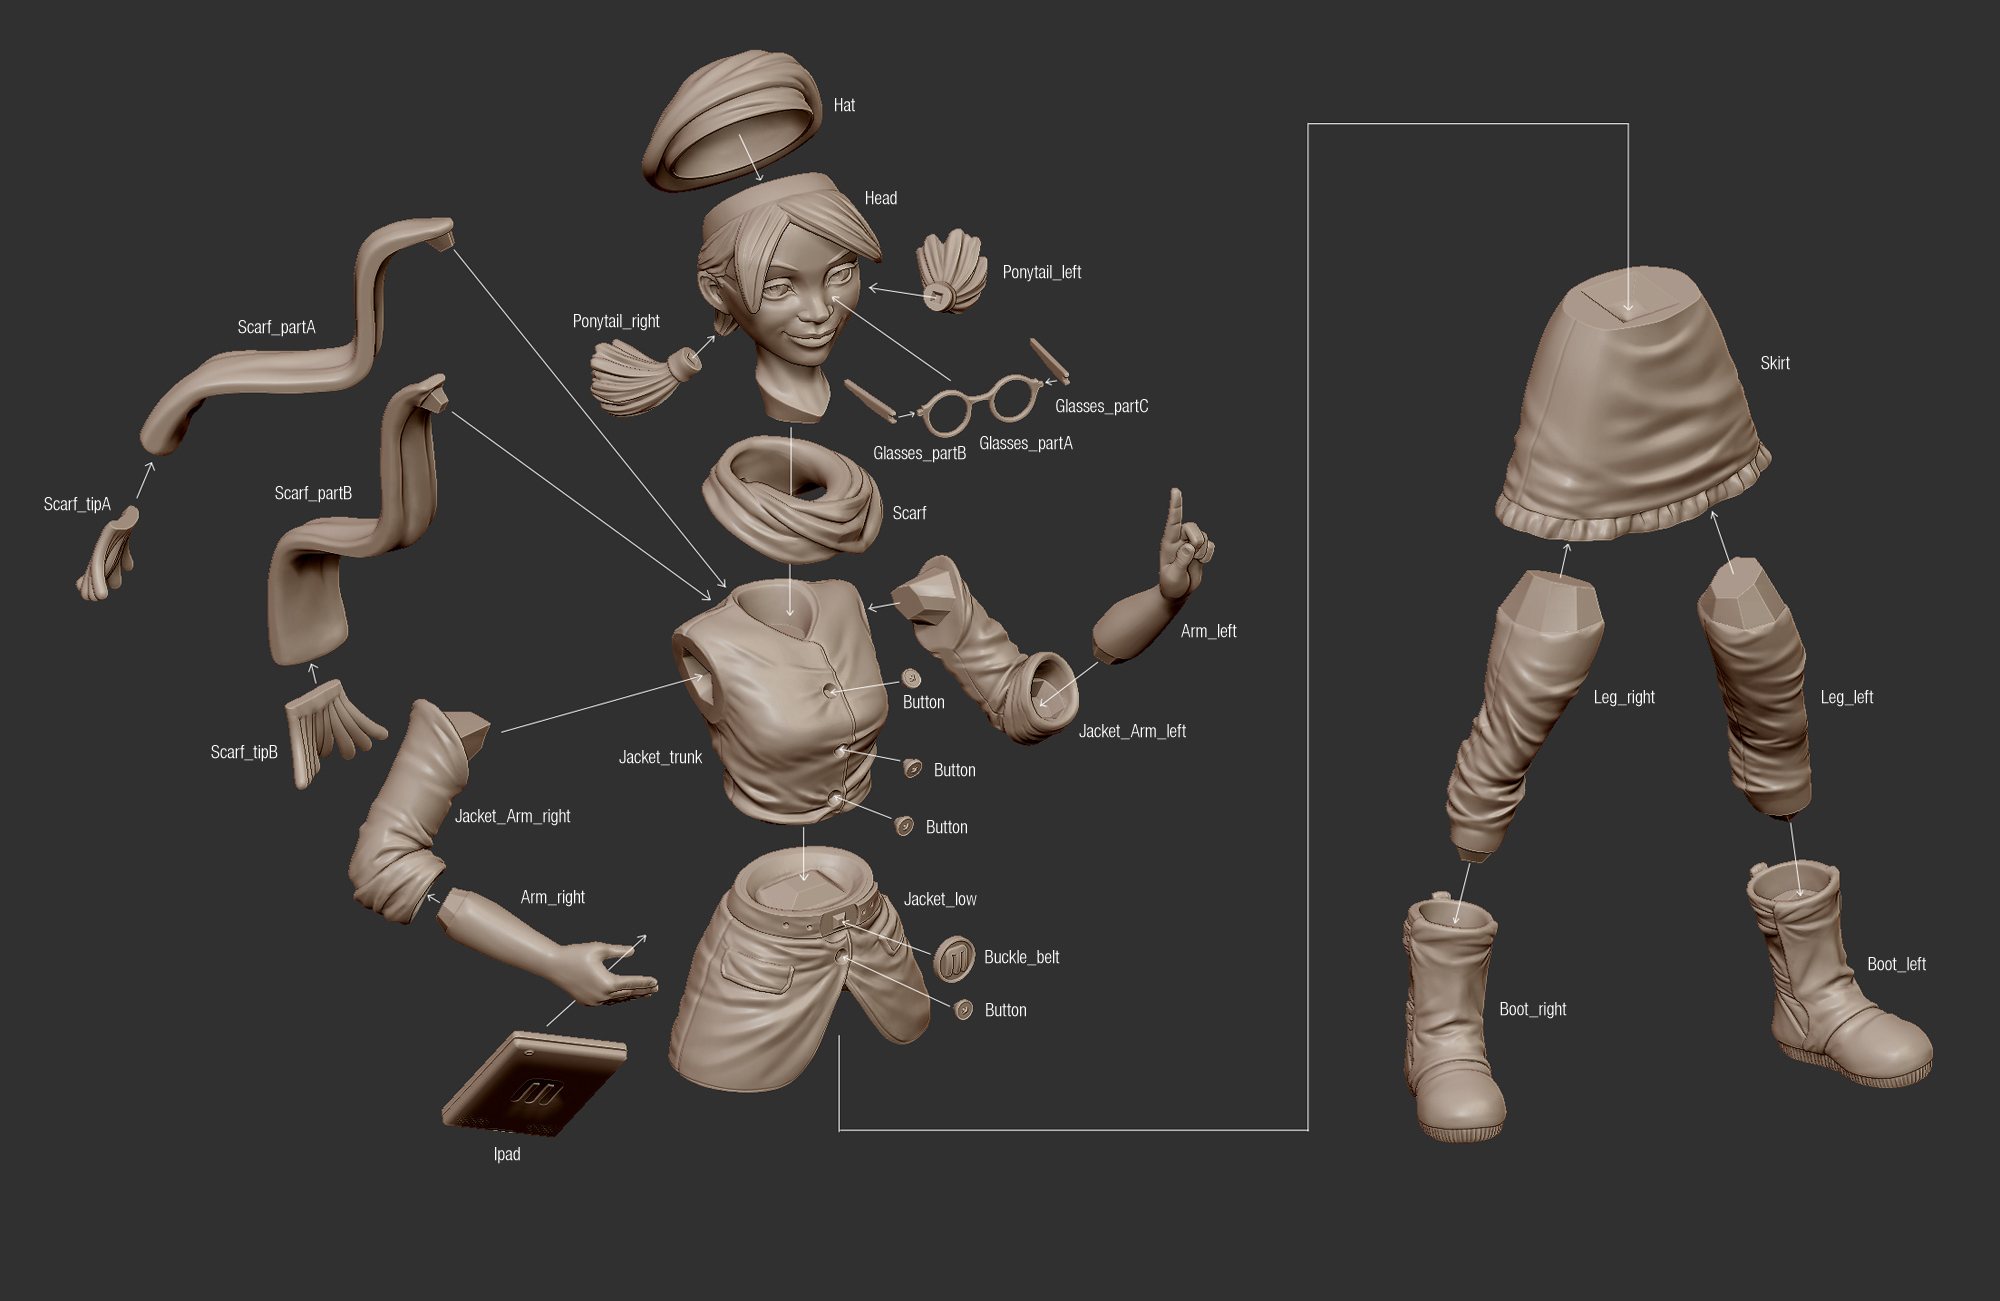
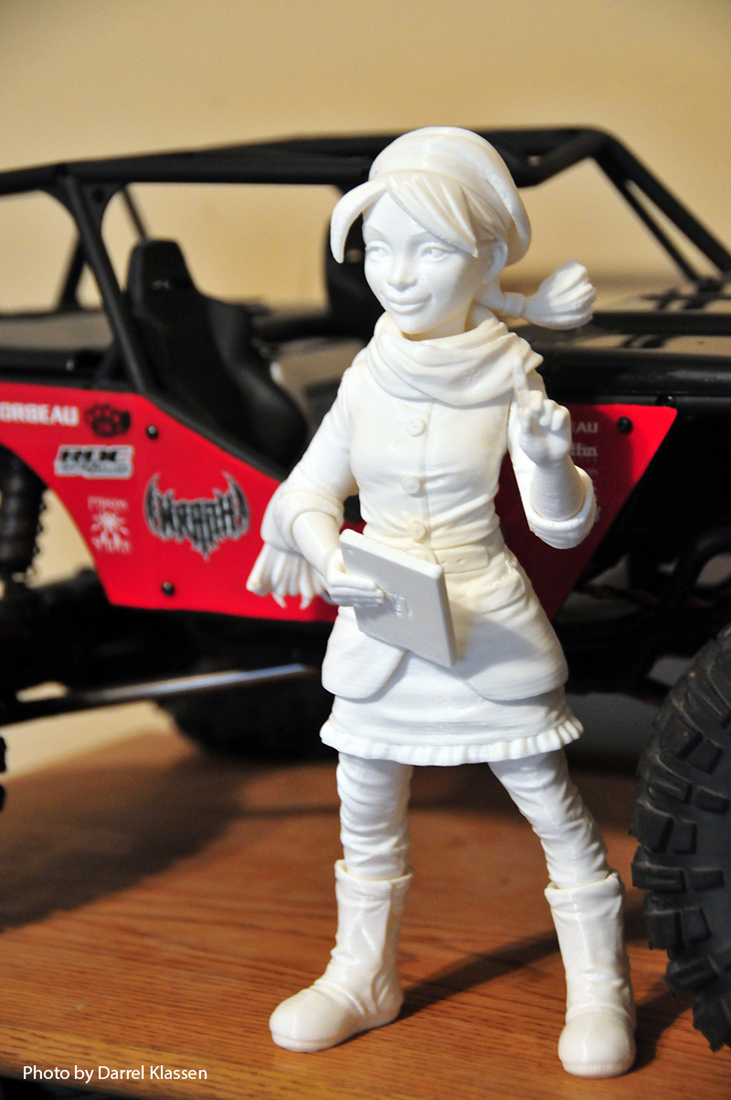
Here goes a picture of Margo, one of the characters I designed in ZBrush for Makerbot.
You can read all about this Bold Machines innovation project at their blog:
http://www.boldmachines.com/blog
You can also download and 3D print Margo
It is available for free!
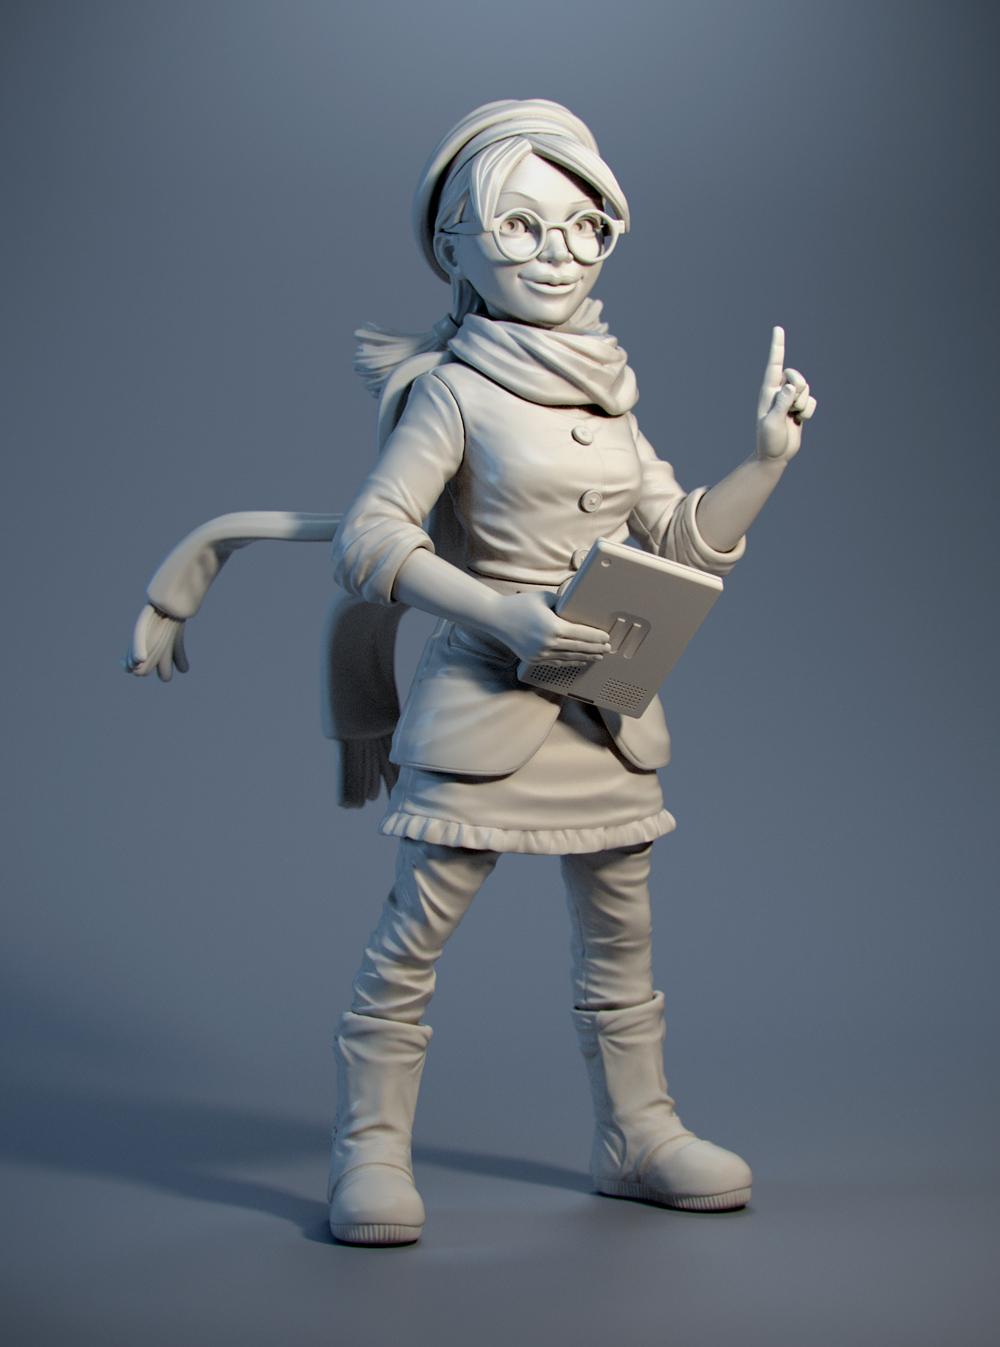
ZBrush turntable:
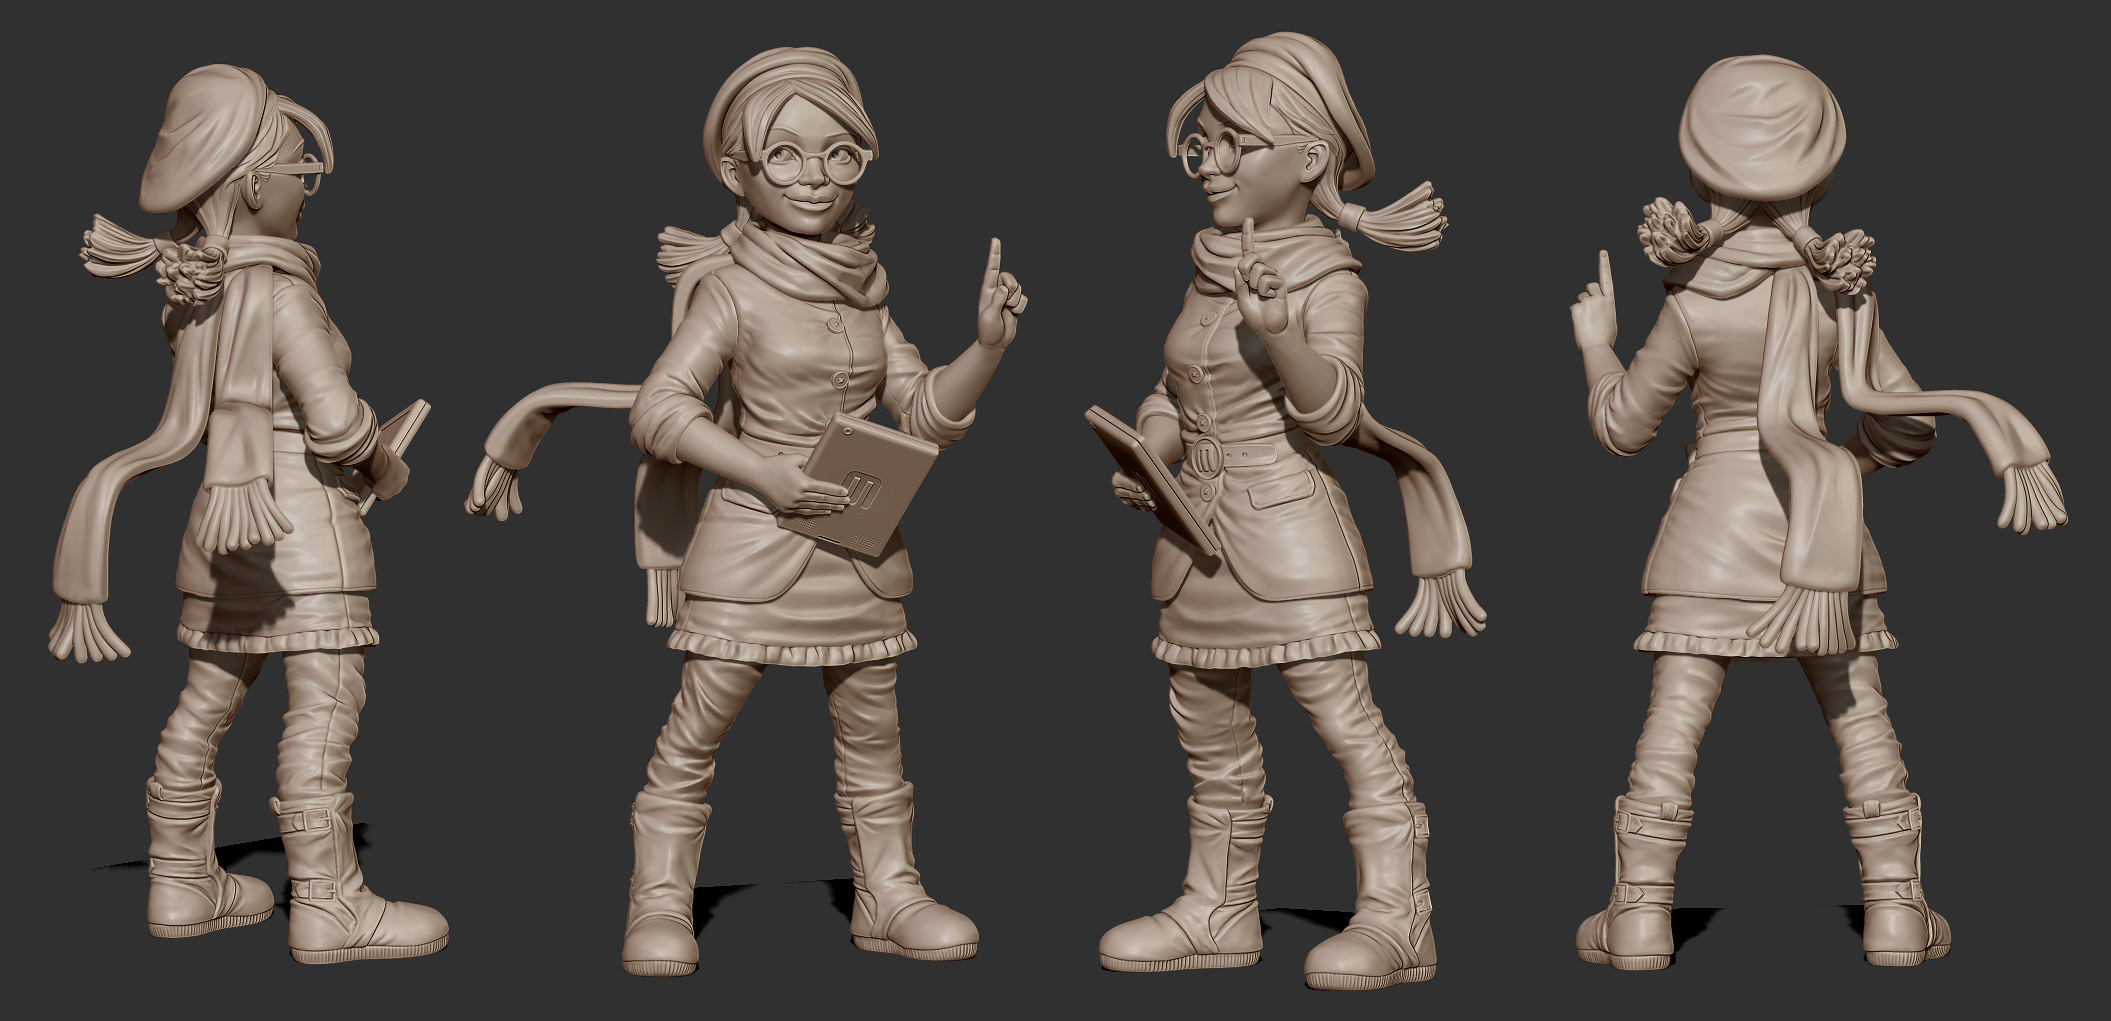
Assembly scheme:
3D printed model:
really nice work!
but why did you seperated the buttons? it seams not that necessary?
Fynn> The client requested the buttons to be printed separately so that they could be printed in another color. Also by laying the buttons flat the printing quality is higher as the ridges from layered printing will be parallel to the printing surface. This had to be taken into account because the character was prepared to be printed in PLA desktop printers.
Mr. Walthersnap is the villain and arch-enemy of Margo.
I was responsible for his concept, model and preparation for 3D print.
Everything was made within ZBrush.

ZBrush turntable:
Assembly scheme:

3D printed character:

Love this one! Great stuff Jose! :) small_orange_diamond
Thank you, Santis!
awesome works as always, jose. Very clean sculpts
Using 4R6 - Not finding the “Smooth Directional Brush”
Where could I find it?
Thanks!
DAnilo> Thanks!
Nate> You can load it in Lightbox, under the Smooth folder inside the Brush folder.
Margo is adorable.
very inspireing, thanks
