ZBrushCentral

JaySuS Sketchbook of Love

Helios-9F Cityscapes II

city_cam3_cc.jpg
city_cam1_cc.jpg
city_cam4_cc.jpg
city_cam5_cc.jpg
city_cam6_cc.jpg
city_cam_breakup.jpg

-experiments with ZB’s semi automated mass creation procedures-

~9mil points total

buildings:
6x tri mesh curves of ZModeler building with basement/storey/roof seperation
spawned similiar to above method, using an L-Shape spawned from nanomeshes to create guidecurves on the edge
-ability to orient fibers or nanomeshes to screen axis would be sweet
-nanomesh created curves seem to have the same level root as opposed to fibre mesh created curves

water:
simple plane with gentle noise deformation

terrain:
manually smoothed out environment level plates, alpha mask and polygrouping for crystal crevasses

trees:
2 level fibermesh (would be a cool addition to fibres if they had multiple levels like nanomeshes for example)
could need higher subD
trunks spawned on noised out manual masking,
leaves spawned on trunk tip polygroup

crystals:
one level fibermesh, straight, no gravity
spawned from crevasse polygroup

birds:
3 level, literally one minute, nanomesh
spawned as flocks on 4 planes, gentle randomization, same direction

could generally need more detail, especially the roadsystem and population… but hey :smiley:

Attachments

city_cam_breakup.jpg

city_cam1_cc.jpg

city_cam3_cc.jpg

city_cam4_cc.jpg

city_cam5_cc.jpg

city_cam6_cc.jpg

ZB has two problems with such large scenes, no matter how much you scale them:

1A:

  • the unit 1, for example in welding points, can be much too large, decimals would be preferred,
    scaling doesnt change that, you have to split up your object into proportionally smaller subtools so that 1 (of 100) doesnt merge half your model

1B:

  • very long thin strips of geometry are not fully sculptable, at a certain extent it simply stops being affected and you need to move the screen, the affectable area appears to be a radius not a cube

both are related to the 1000x1000 units size of objects as mentioned in dynamesh i assume

some things that would have been nice to have while making this:

  • ability to only weld masked or unmasked points

  • screen orientation for nanomeshes or fibers would be cool for buildings since surface normal might be angled, buildings aint angled

  • merging nanomesh/micromesh and fibermesh into one tool would be a thought aswell, theyre quite similiar

  • some way to add more, secondary polygroups to tri brushes, so one could, in my example, group the windows or pot palm trees for materials etc…
    (tho im currently wondering if one couldnt just drag out cube and cylinder shaped fibermeshes and then add windows and detail via nanomesh… mmmmh)

Helios 9F Jungle

bay_cam4_cc.jpg
bay_cam1_cc.jpg
bay_cam2_cc.jpg
bay_cam5_cc.jpg
bay_cam6_cc.jpg
bay_cam1_breakup_cc.jpg

relaxing procedural doodle

-fibremesh rocks and trees
-nanomesh birds
-lots of pink, magenta i mean

Attachments

bay_cam1_breakup_cc.jpg

bay_cam1_cc.jpg

bay_cam2_cc.jpg

bay_cam4_cc.jpg

bay_cam5_cc.jpg

bay_cam6_cc.jpg

Svenska Vitlök

swedish garlic

peaceful doodle after an older photo i shot

garlic_cam3_cc.jpg
garlic_cam4_cc.jpg
garlic_cam5_cc.jpg
garlic_cam4_breakup.jpg

fibermeshes all over, same old birds, good birds, very loyal

Attachments

garlic_cam3_cc.jpg

garlic_cam4_breakup.jpg

garlic_cam4_cc.jpg

garlic_cam5_cc.jpg

… some very interesting experiments indeed.
I think you’re right.
Maybe Pixologic can refine some of the older features that you mentioned, such as the Weld options.
We definitely need more precision at times.
Don’t get me started on fumbling with Alpha placement…:)<label for=“rb_iconid_7”></label>
Anyway, I love the way you think outside the box to stay working in ZBrush.
Who needs other Apps anyway?:p:D

All the best,
Neil

thank you Neil :slight_smile:

@alpha placement

  • use square and center buttons for decals and such to keep proportions
  • use UV maps for surface alphas
  • some brush settings allow spacebar to reposition the alpha

but i agree would be nice to be able to position it perfectly, like drawing it out from one point to another,
a snap to point feature would generally be nice, at least in low poly applications, curves have that feature -.- but curves are finicky and like persian cats or somin, very delicate XD,
but you could probably make a uv mapped plane to position your alpha and then use a curve to get it in place -.-

for the last few scenes i didnt use real alphas tho, just some noise masking to split stuff into naturalisticly grown polygroups,
would be important tho if you make a real city or whatever and use height and road maps that need to match, i suggest UVs for accuracy in that case,
match em i photoshop and use the same, duplicated ground object with the same UVs to project onto

and heck, i need other apps all the time XD
realflow for proper fluid stuff, max for uv fixing and complex animations, smooth groups and such, ps or premiere for post, marv designer for cloth or some photometry apps to capture realistic objects…
but do i always need those?
no, but i almost always need ZB somewhere in between if not for the most and fundamental part, and i rarely ever use anything but ZB for personal edutainment like these projects,

i like my hammer and my chisel, no blisters even, its just so intuitive once you get into ZB, i probably use other apps for much longer and wouldnt say ZB has a fancy UI, but no other app is so much fun…

if i may inject an anecdote here, i worked on some indie movie’s final cg scene and had to literally make a turd… floating through water… to shape a word… it was, without any negativity, a **** job…
but i enjoyed to scratch the cracks and wrinkles into that turd :roll_eyes:
ZB talks to my creative and entertainment side of the brain more than it is bothered by the technicality some apps throw at you,
which is all cool and useful, but i dont need to think about every fricking vertice all the time if i just wanna make a banana,
at some point, for production for example, i have to think about it again of course and ZB often enough lets you do that too,
just use the most productive, easy and enjoyable method you can think off…

after testing huge scenes out now i must say its not optimal to do it in ZB,
its very fast once you get a workflow going, did the last two scenes in one, extended day, but the size restrictions in sliders, brush sizes, max affected area, etc are a bit limiting in terms of scene size,
for true CAD you would need better snap and numerical settings for angles and positions etc, and proper splines to work with.
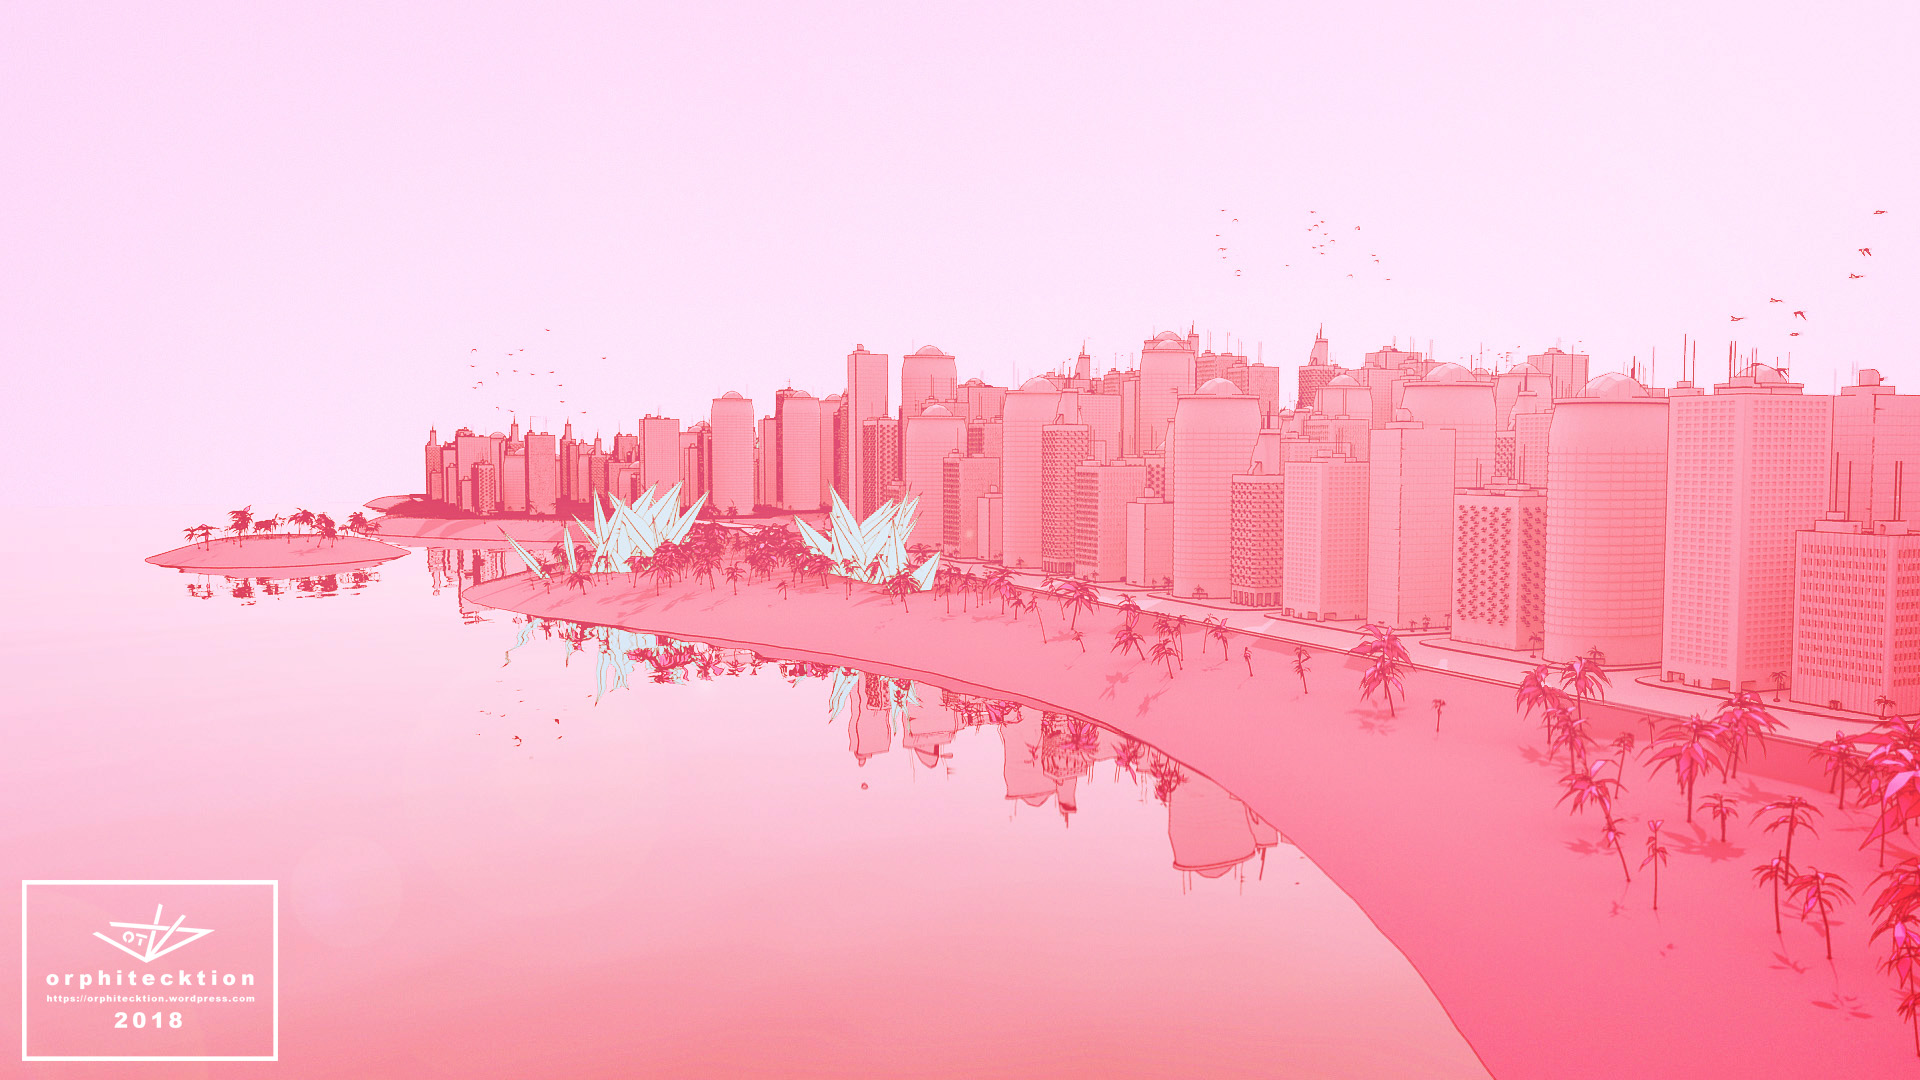
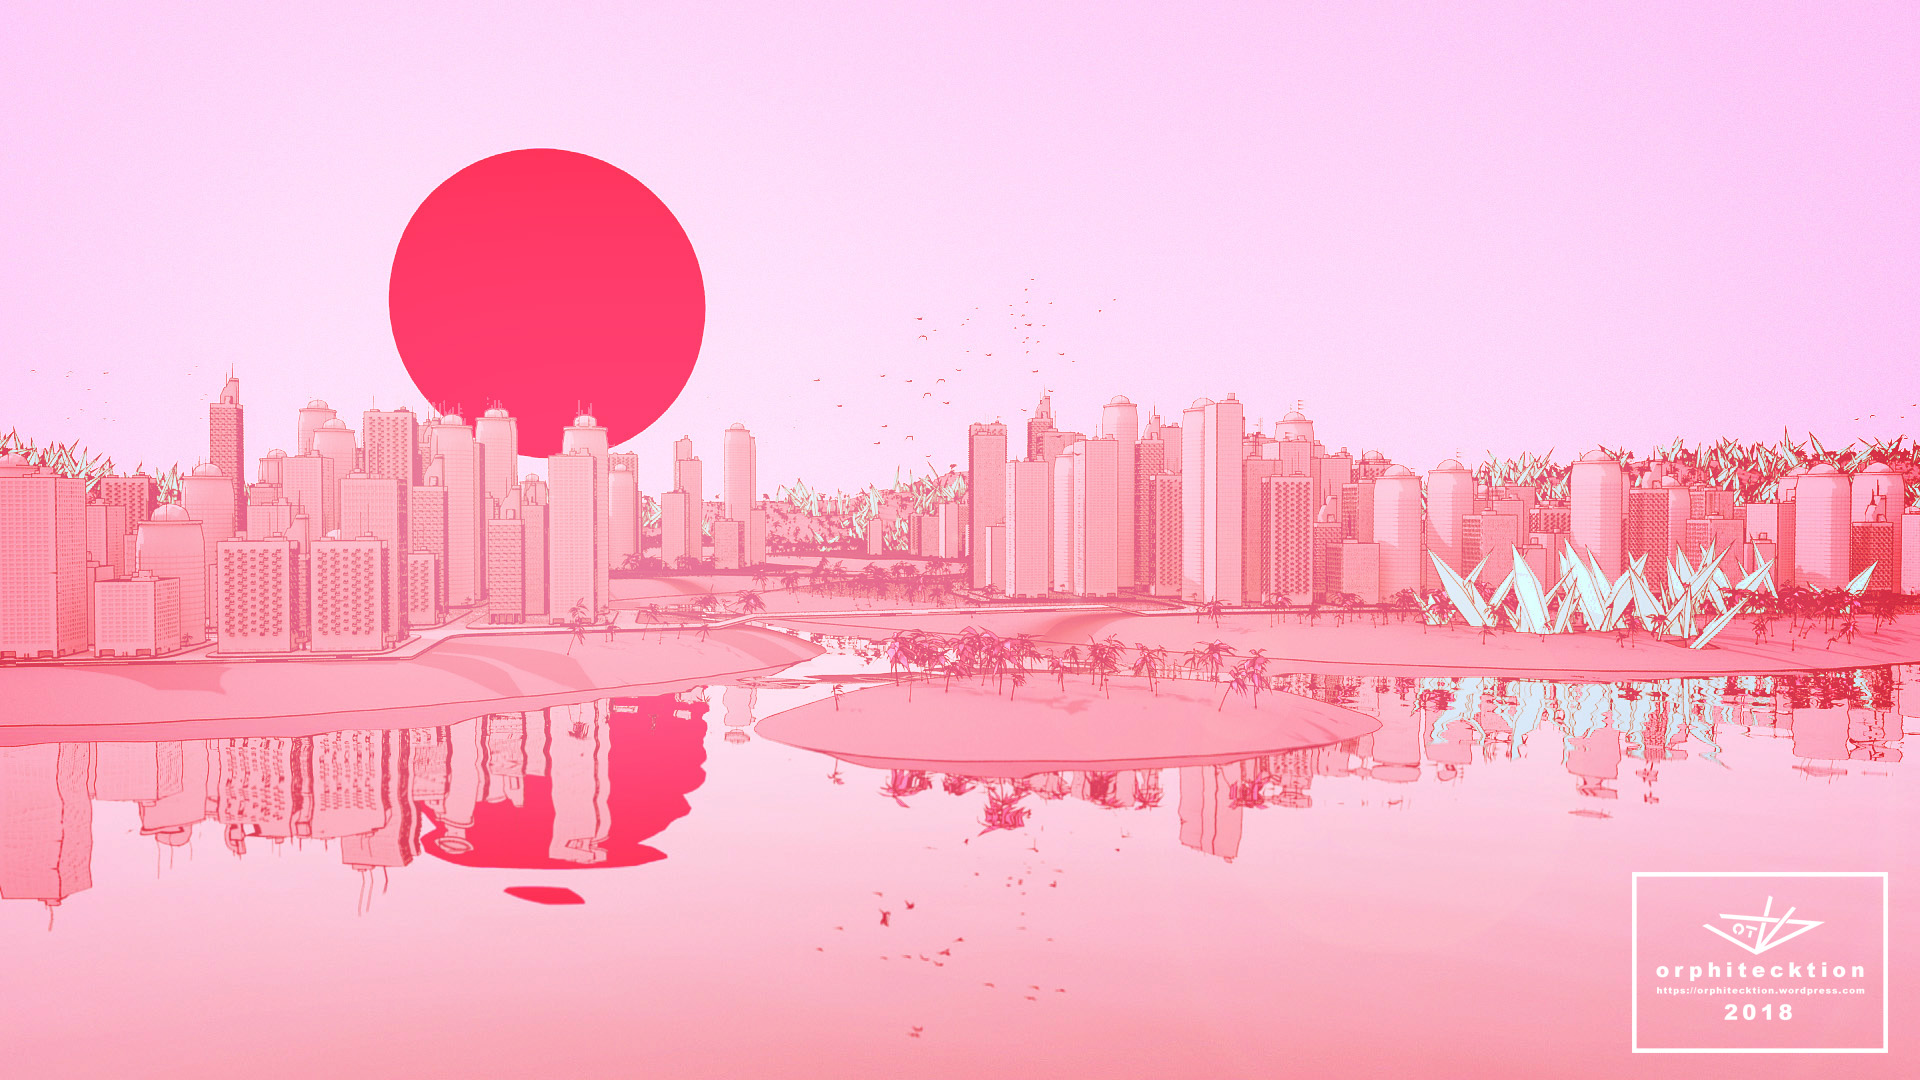
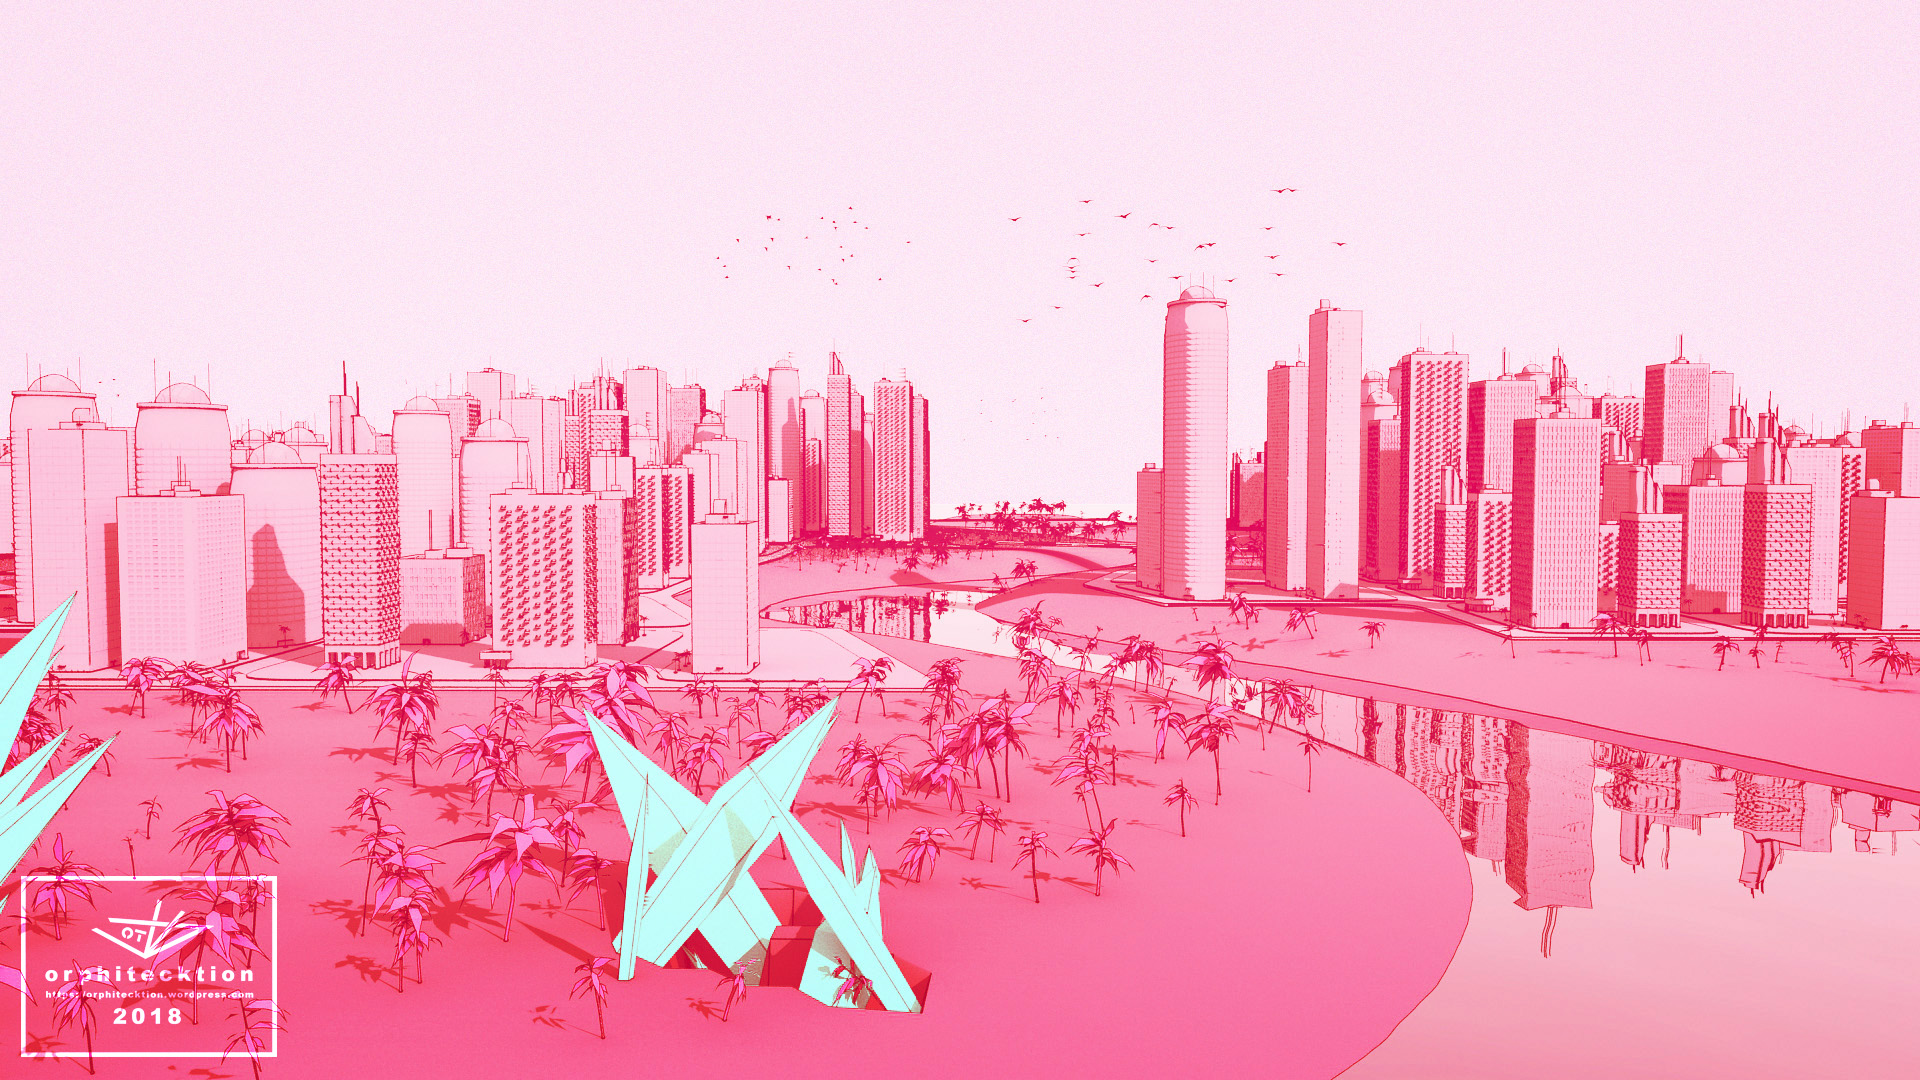
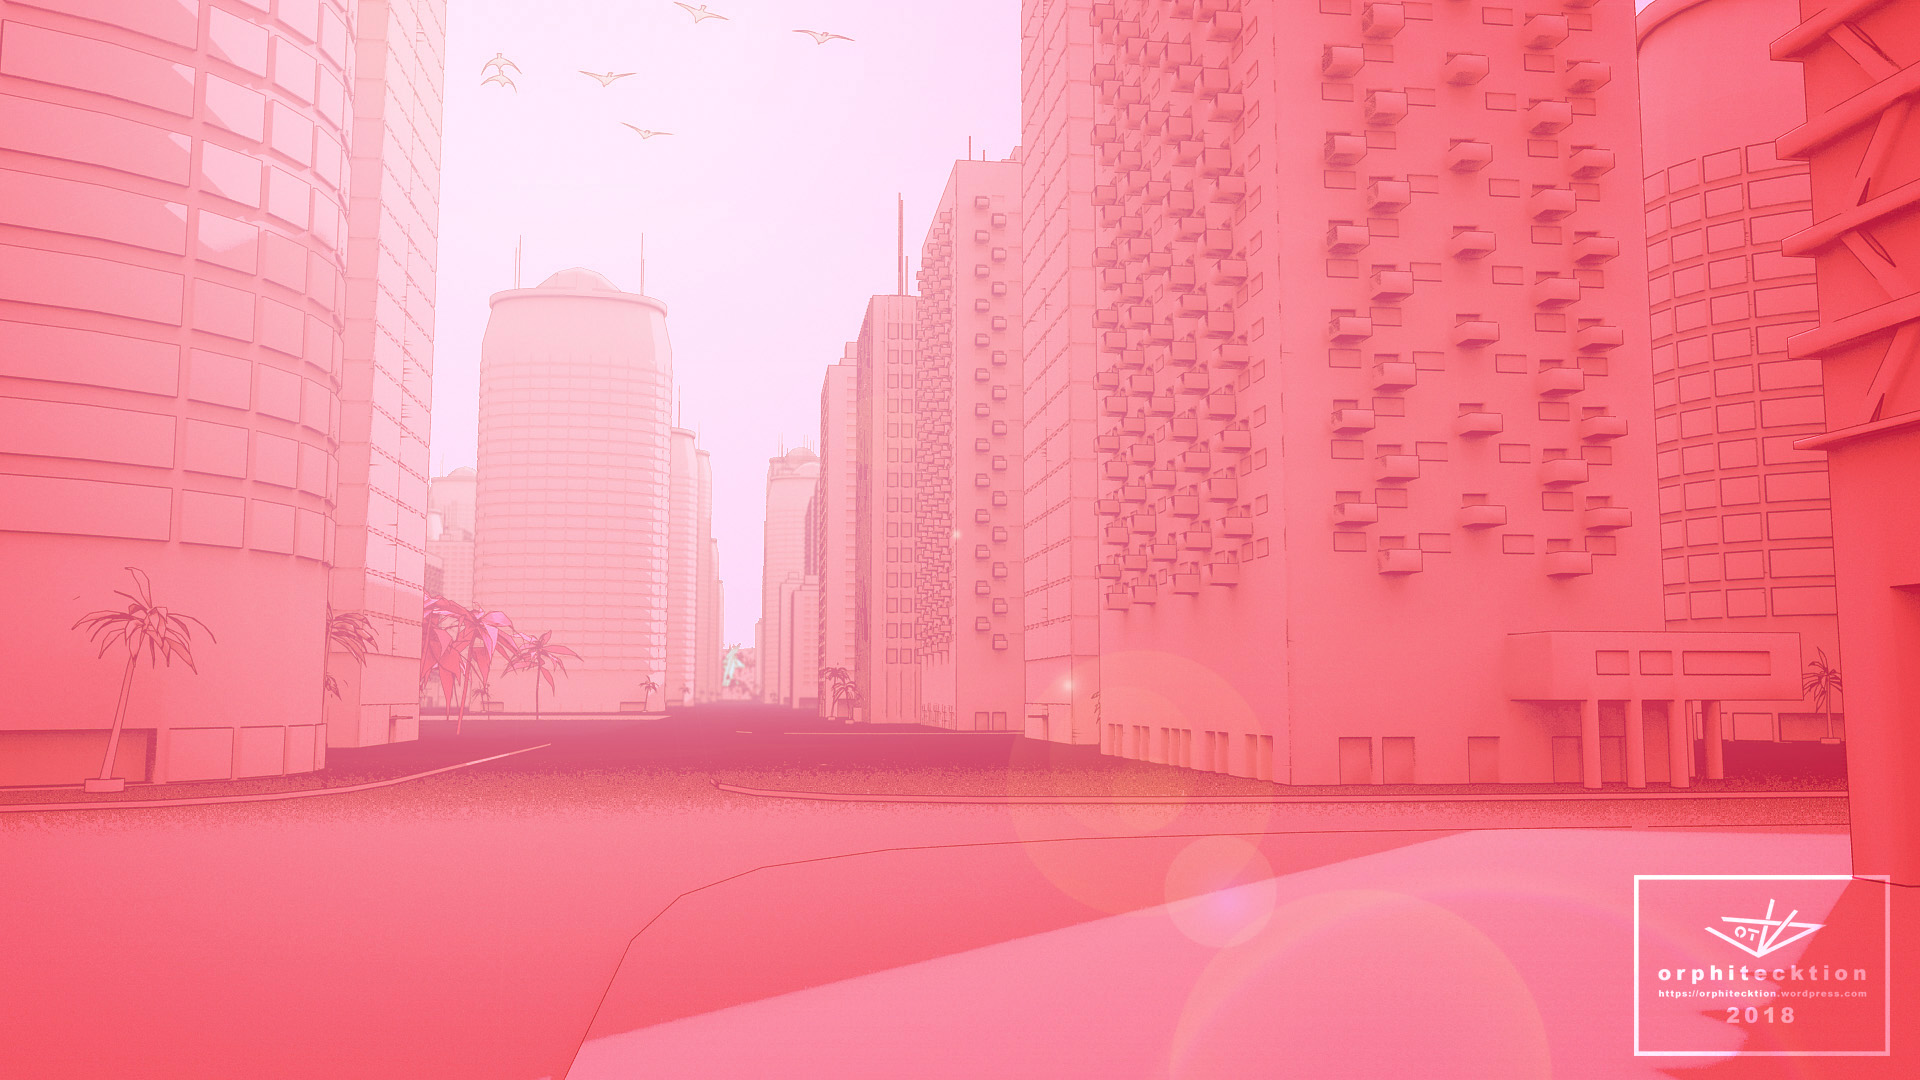
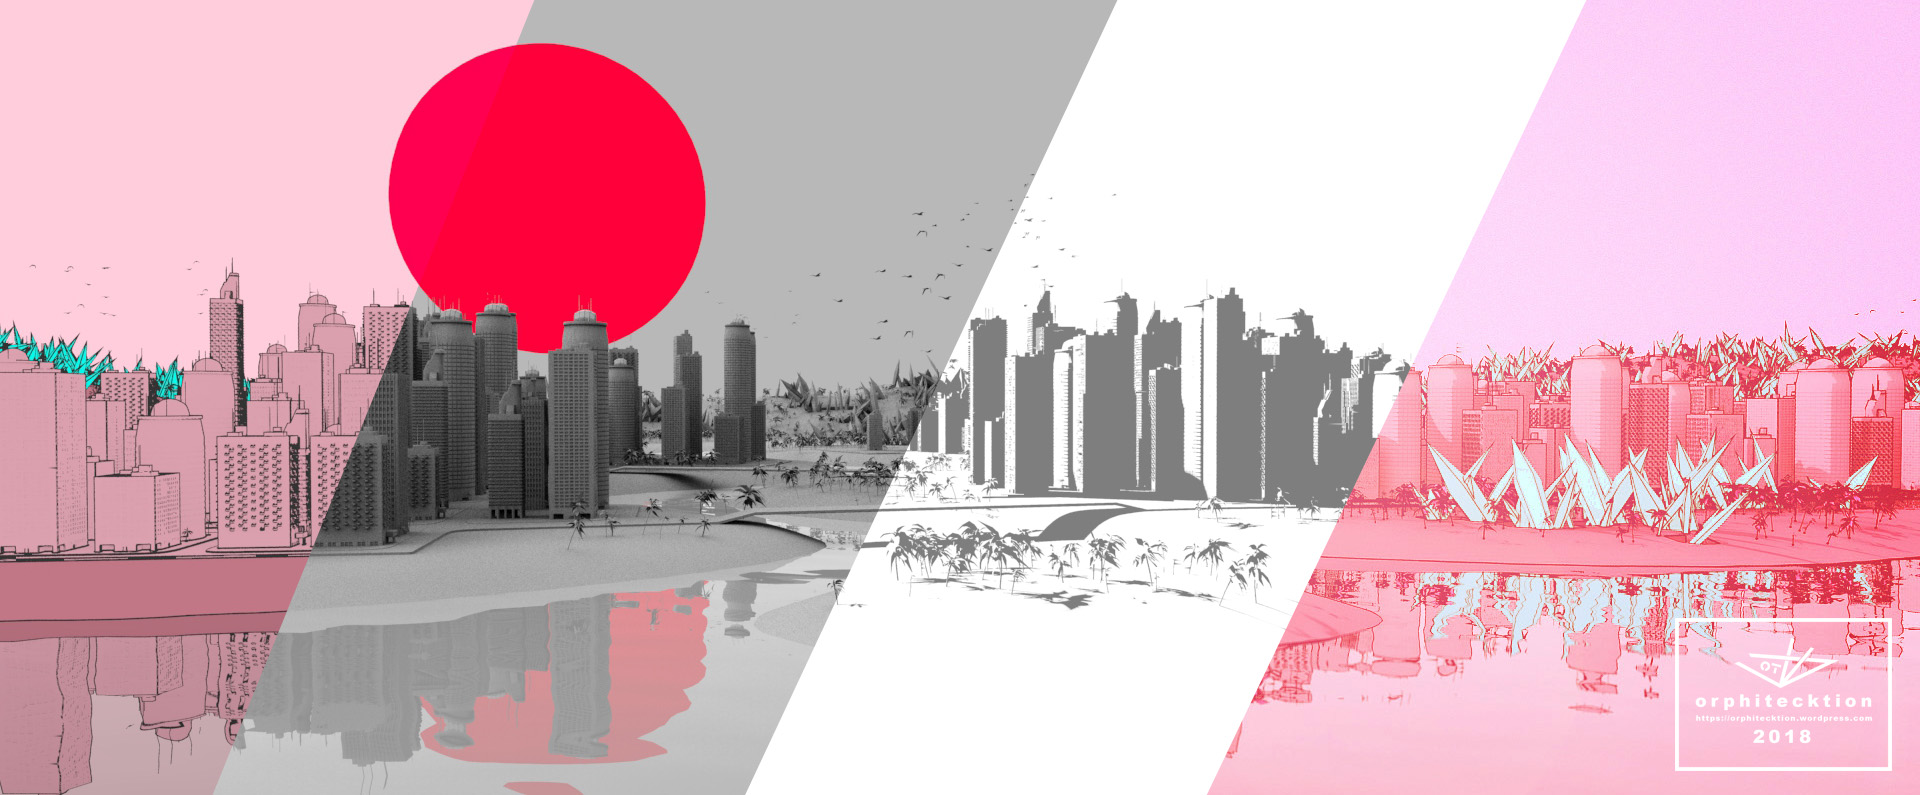
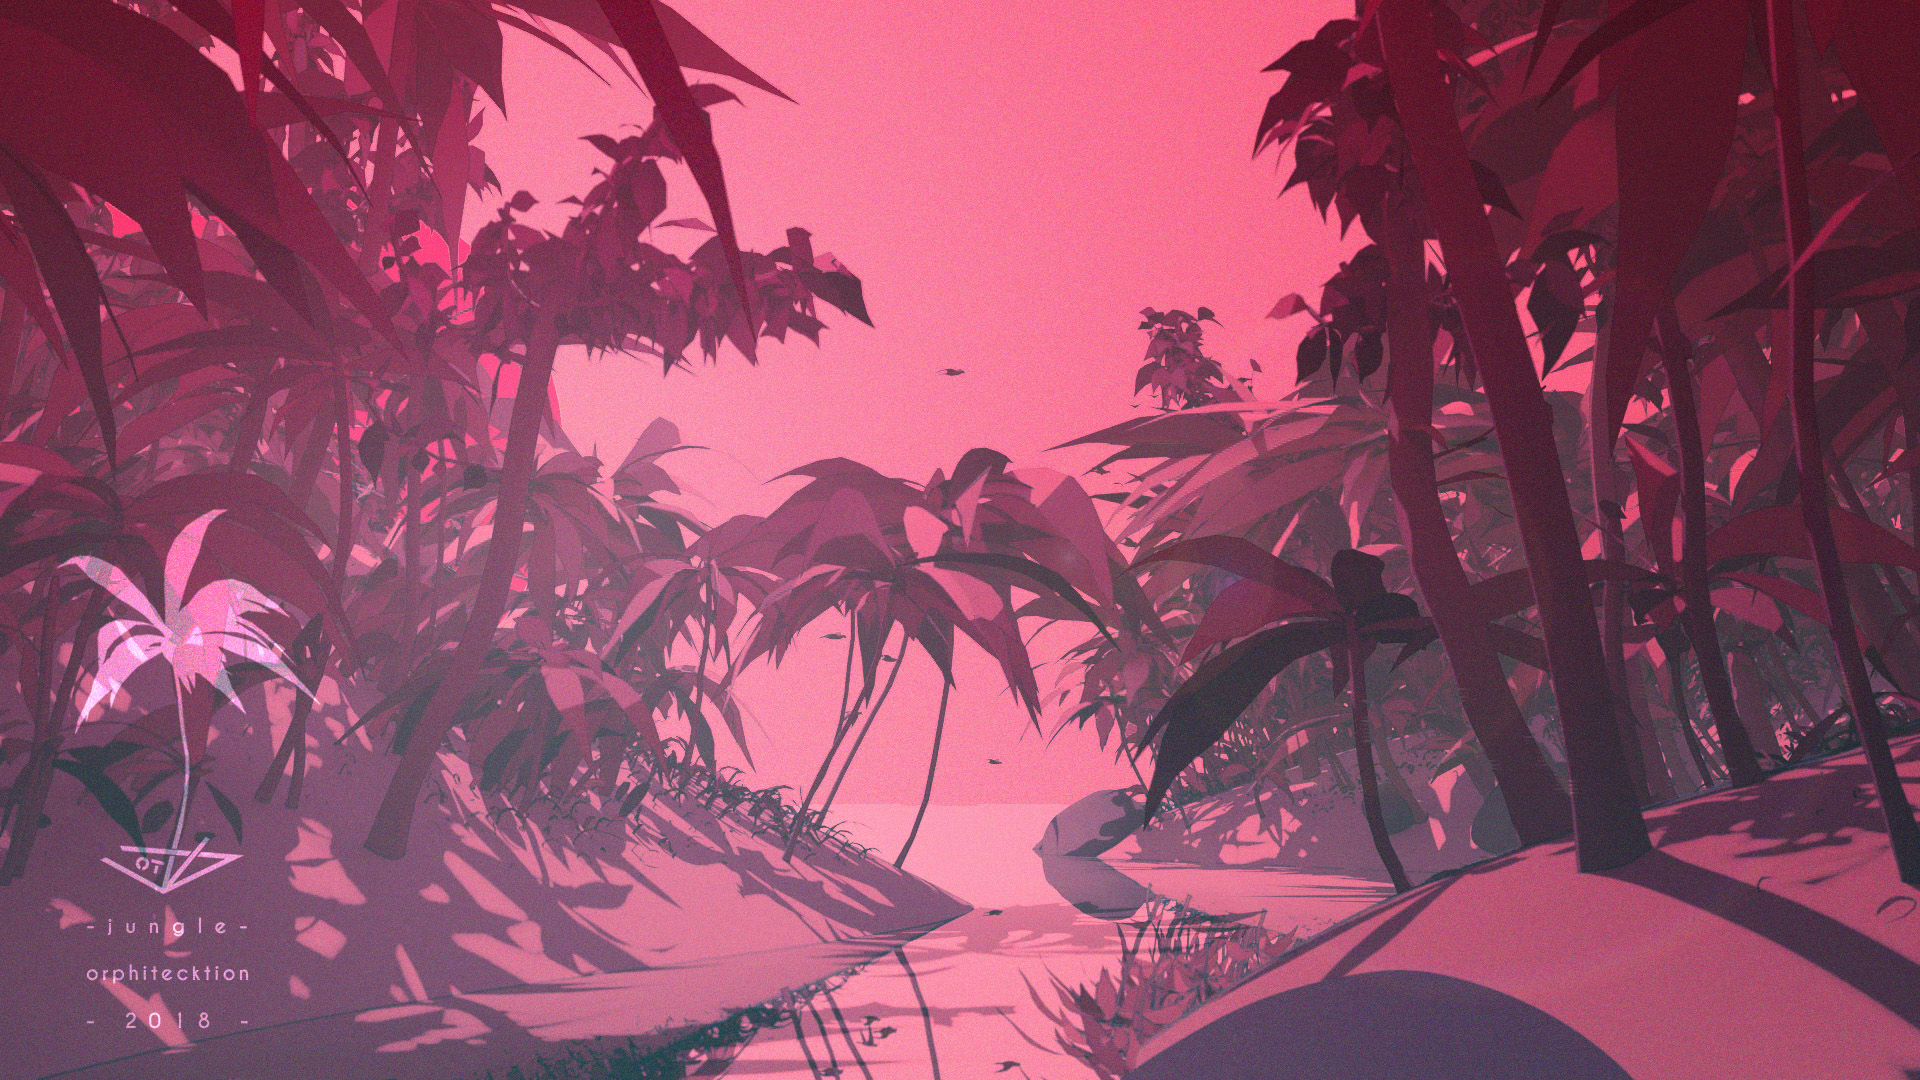
as i see it atm, ZB is most geared towards detailed, human sized characters, and you can stretch that meaning into a low detailed city, a medium detailed forest or an ultra high detail earring,
but you gotta split it up at some point and work with subtools to keep growing your scene and adding detail… but even then it stays relatively fast compared to points on screen and such…
i easily could still work in realtime on my last 9mil points city which i could hardly have done in archicad for example…

Sounds like you had to literally polish a turd, Jay! :D:D :lol:

Thanks for your thoughts and experiments…

Neil

more fiber and nanomesh kitsch…
even the backdrop mountain range was a nanomesh…
not very happy with it tho…
but then, its pink…
grass really eats performance…

valley_cam6_cc.jpg
valley_cam7_cc.jpg
valley_cam8_cc.jpg
valley_cam10_cc.jpg

Attachments

valley_cam6_cc.jpg

valley_cam7_cc.jpg

valley_cam8_cc.jpg

valley_cam10_cc.jpg

…mood! :sunglasses:

a speedy boat draft
Model A Version 11


technique used:
dynamic subD

self critique:
-island look rubbish (undergrowth missing, ground texture mere polypaint and not affected by objects on it)
-boat has a few edges i dont like which are derived from edgeloops that are needed in one place but create creasing control edges elseweyr,
an option to ignore edges, inverse to creasing them, would help here
-not enough time spent on composition, colour and light
-no real concept what to achieve, kinda grew out of a doodle

Shape exploration of an unstable subsonic aircraft, Firefly, and a small sonic jet, Butterfly.


making really simple low poly parts like wings, cockpits and fuselages, mixing em, shaping them into a rough shape, judging the overall feel;
either putting it aside, ditching it, or working on.

these 2 shapes looked best from the last batch, slapped some camo over them, might work on em further at some point, but currently more into general shapes than detailing fuel valves, landing lights and whatnot…

full on Zmodeller and dynamic subD, very few individual parts, tried to keep the fuselage and wings as one piece where possible.
quick ‘n’ dirty UV master mapping, just some randomly splattered triangle alphas with some noise for the camo.

one of the harder parts of using low poly to subD workflows is geometrical logic,
its very fascinating, can be frustrating, but is very good training to develope a clean modelling practice where geometry works and doesnt just vaguely look ok.
a shape like this engine for example, where two half cylinders have to fit curvature and size, two plates having to adapt that curvature, and also having to keep it upon subdivision, are exciting :smiley:

it is somewhat akin to spline vs pixel or drawing vs painting

it is less flexible and you need to put much more thought and planning into your geometry than simple sculpting, but the result is so much cleaner,
produces a proper low poly for realtime and becomes much easier to manipulate later

but ya, i probably advocated clean zmodeller usage alot lately lol, looking foward to do some relaxing monster sculpting again hehe

subDshapes.jpg

oh damn… 10 years anniversary of our relationship :open_mouth:
wohoo hugs ZBrush intensively :slight_smile:

since it came up during my own google search and it seems there wasnt an answer to the problem, let me offer a workaround:

how to make a wide Fibremesh if the coverage of 5000% bananas is not enough:

1.
create a cube or something thats vastly larger than your fibre object

2.
merge them into one subtool, tada…

now you have tiny fibreobjects that interpret 5000% bananas properly into thicc leaves or whatever you want. just make sure to remove the huge cube afterwards

edit:
if you still got trouble try masking a single, very large polygon as spawn object and set the “by mask” and the “by area” sliders of the fibremesh to the max
-the mask determines the area and at 5 it only spawns only on the mask (weirdly enough in a clockwise circle if you only mask a single point),
-the area slider determines how much the spawn object’s geometry, aka the huge polygon, affects the size of the fiber

i assume that its basicially the good ol ZB max voxel size of your object that affects your sliders and all,
if you build a thin tree for example, or a hairy tower maybe, then theres not much width the 5000% can work with

when you show your latest pictures to a pretty lady and she says she wants to walk around in it a bit… and youre simply a tryhard pleaser…
then, somehow it all comes full circle.

i just picked up the unreal engine again… first time since mmmh… 2004 or so…

and im impressed how it improved,
so after getting the basics down again, coding movement and clouds and weird stuff really, like a rainbowroad, yup as in a rainbow thats a road, i started the ZB to unreal thing…

and woha… ZBs semi procedural fibermesh trees and grass work d… very well! and it was suprisingly easy to implement.

-trees are a single fiber mesh for the trunk and a few more for the leave crown, buildt low then subDed once or twice
you gotta do the trunk with only 3 sides as it gives you a different polygroup for the top cap, if you have more than 3 its a hole and you cant mask all trunks you created at once by selecting that cap.
make sure to give them a greyscale gradient from root to tip (can set that during ZB fibermesh creation) as its needed for wind effects and other dynamics one might be willing to code
(lotsa wind for white and none for black or vice versa)

-grass are fibremesh cards with a simple photoshop vector grass blade texture on it as mask

-music is once again from ST.OT, i just dig what he does with that guitar

-that video is meant to quickly demonstrate how ZB fibermeshes can indeed be used for such projects, please dont take it as a final product…

-.-
when you suddenly realize that those fibermeshes simply spawn on an imaginary plane, similiar to how dynasubbing works, a mysterious, interpolated surface between its spawn polygon and those next to it…
not just affected by its actual spawn, but just as much by its neighbours, its environment…
and even if there is only the void, no polygon at all, it tries to wrap up and make sense of the world… by interpolating its spawn surface like a sphere around its singly origin polygon…

what that means in less romantic words is that fibermeshes bend awkwardly at the start because they interpolate their origin rotation to be some tangent on a curve to the neighbour polies… voxels… or somin…
what that means is that my whole, crazy, truly crazy, workaround to straighten out the spawn fibers of my skyscrapers, as described a few pages back, is totally not needed…
just add a control edge around your spawn and kill gravity, revolve and all that… :roll_eyes: :laughing:
aww, fences, such a versatile solution… the ancients knew what they invented… yep…

downside is your fibers become smaller, but just resize em afterwards i say and enjoy beautiful straight curves… as paradox as that sounds…

yep total fun the way how fast realtime game engines render lol
some more Fibermesh to Unreal stuff

the flower could need more blossom cards i think, and its getting tight with fps… should reduce individual bamboo leaves into whole branches i guess… :confused:
and ya… the ocean aint ready lol… just like woha… i like the feel and colours and how fast this spills out a render clip… not even a minute O.o

music again by st.ot, the mysterious guitarist

another quick fibermesh to unreal animation doodle… with magic, in pink

https://youtu.be/i21SvHQkYxY

Fog Island Beat

https://youtu.be/-cCw1YGaLXU

ZB 2 Ued4 Test Run 4

audio ST.OT
visuals JK.OT

oh the miracle!
i finally found out how to embed my videos here! heureka!
now this looks much more sophisticated than an orange link.

went on exporting some models over into unreal and kept on toying around with things, ST added some tunes…

<iframe src=“https://www.youtube.com/embed/xdTM-nbHksg” allow=“accelerometer; autoplay; encrypted-media; gyroscope; picture-in-picture” allowfullscreen="" width=“919” height=“517” frameborder=“0”></iframe>

<iframe src=“https://www.youtube.com/embed/4eRL4xs0lMQ” allow=“accelerometer; autoplay; encrypted-media; gyroscope; picture-in-picture” allowfullscreen="" width=“919” height=“517” frameborder=“0”></iframe>