hey thanks so much for the kind words! About that second wing - way back at the beginning of the sculpt I had a second wing, but I decided to upgrade to a rocket. I rendered out a turntable if anyone is interested.
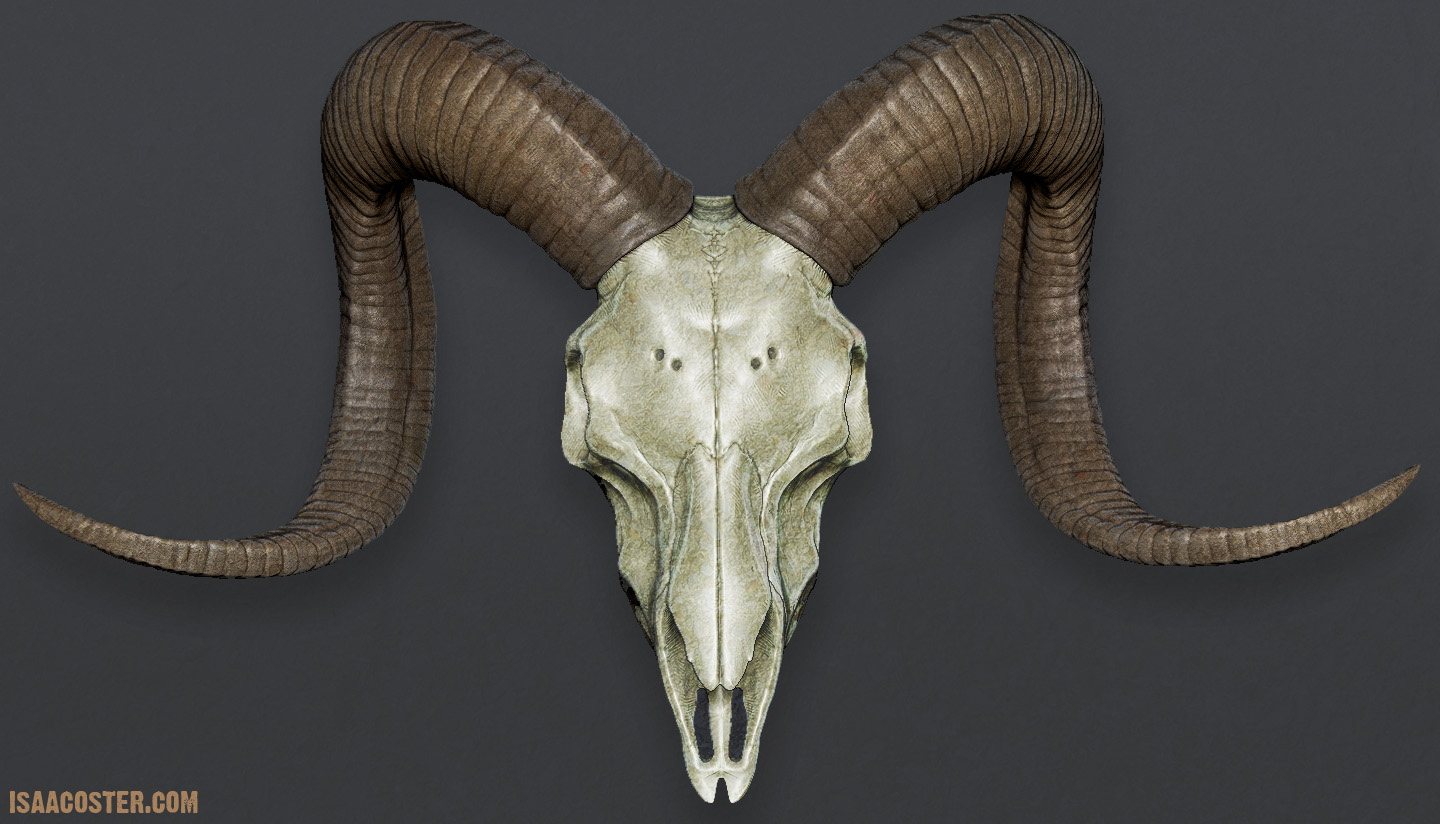
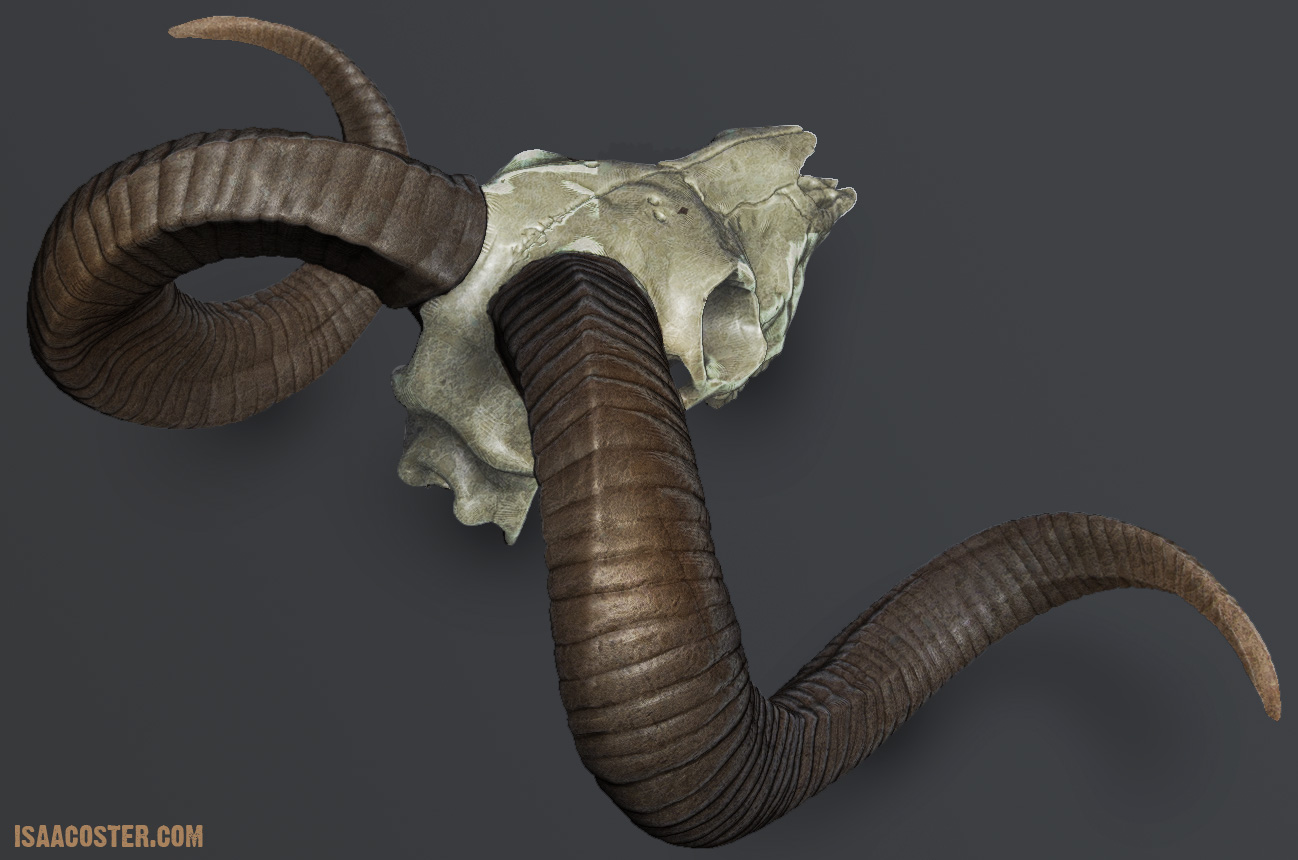
I’m teaching a class in zbrush at the local art institute in Austin. I had some really great teachers when I was in school, and a lot of my teaching ideas come from them. I like to do the assignments along with the students. In addition to being able to show them tips and problem solving techniques, its really fun. Behold, the inevitable horned herbivore skull study!
Attachments
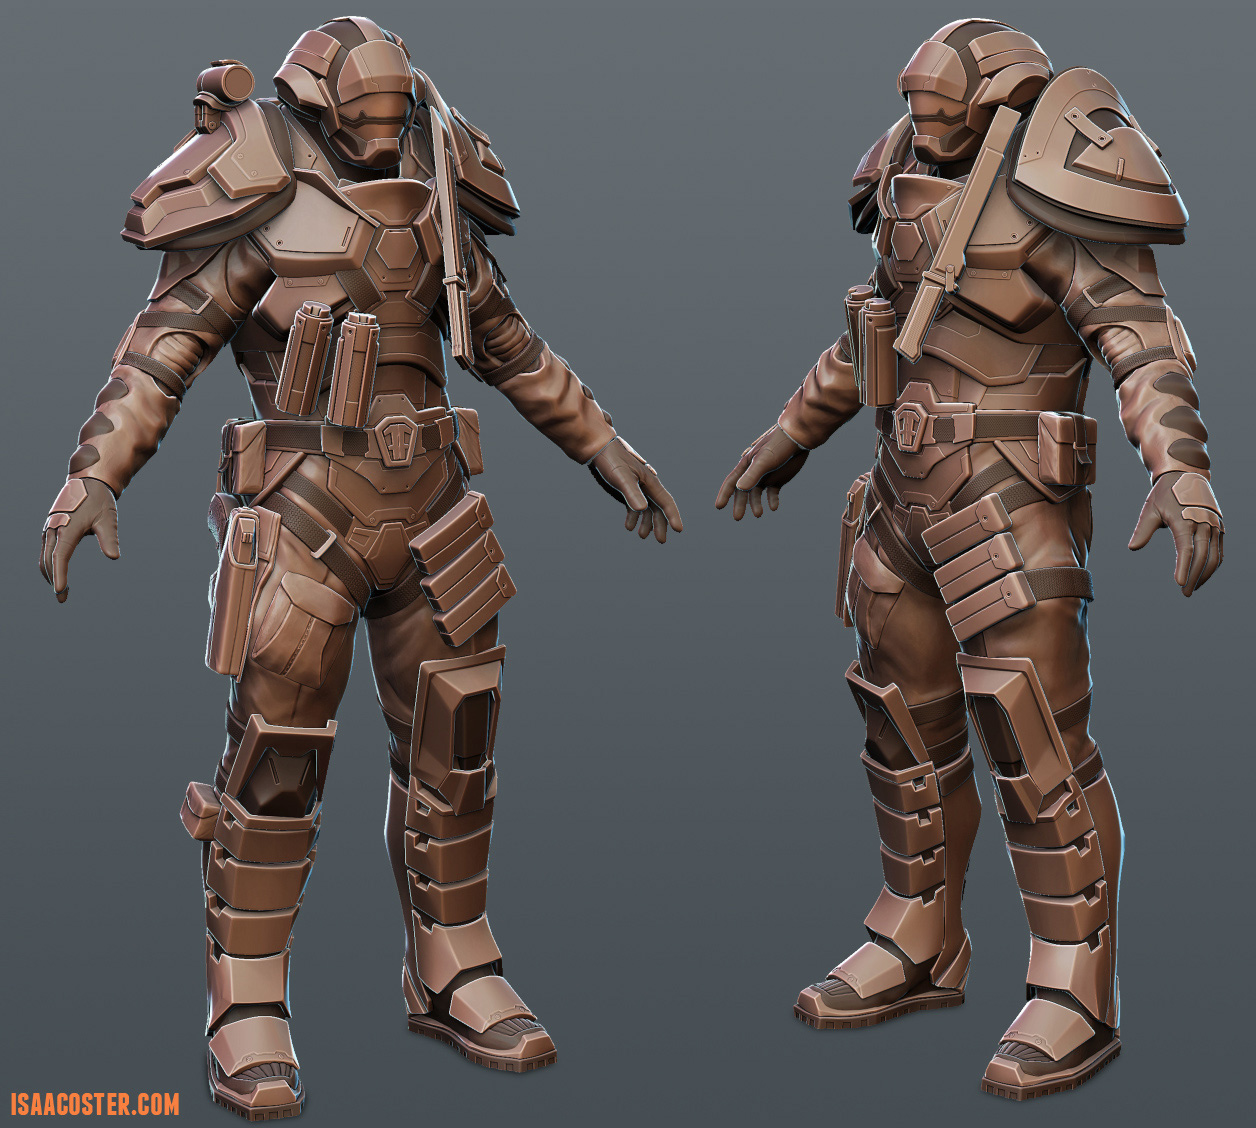
Hello ZBC. Found this concept at massiveblack and couldn’t resist. I’ll post some workflow stuff tomorrow. I’m planning on taking this all the way to textured low poly asset. Love to hear any questions or crits!
Attachments
Nice hard surface work! 
Really nice interpretation from the concept art.
Looking through your entire thread just now and really enjoy seeing the breakdown of your process. Very informative!
Cheers,
-Steve
Awesome !!! Cant wait for it to be painted and rendered !!!
Cool stuff, Isaac!
Keep it coming 
Looking forward to seeing the final model!
Thanks to everyone who commented, especially Pedro! Here is a breakdown of the process. Hope this is informative for anyone trying to learn hard surface modeling!

These are in-progress screen shots of the riot soldier. I’ve numbered each step in order to walk you through my process. There are probably a zillion different ways to create a model like this, but this is my workflow.
-
I had an old human figure I was able to use as a reference. I appended a sphere and converted it to dynamesh. Using the move brush and periodically updating the dynamesh,I created a very rough mesh to cover the head, torso, and legs. I used a similar method to cover the arms. I did the arms separately to make working on the large overhanging shoulder pads easier.
-
Once the rough mesh was in place, I started blocking out the large forms. Don’t get too far ahead on one part before completing the rest of the model to the same level. Thistakes some self control, but the point is to get everything blocked out. It’s normal to have to make major adjustments during this phase, so keep it loose! I use move, dam standard, flatten with a tight fall off and the square alpha, and clay tubes for this phase. You may also notice the shoulder and leg armor are mirrored here, though in the final model they are different. I repeated the process for the unique geo later on in the process.
-
This is what the finished block out looks like. Nothing is carved in stone, the detail is loose, but the overall proportions are resolved, and I can see how everything is going to fit together. At this point, there are only three separate subtools. Two dynameshes (arms and everything else) and one reference mesh. This is arguable the most difficult part of the entire process, because its where the bulk of the sculpting happens.
-
Once the base mesh is done, its time for retopology. I go into more detail about this process a little further down. I retopo each piece of armor with skin thickness, crease the correct edges, and subdivide with a crease level around 3 or 4, depending on how sharp I want the edges. I make a polygroup out of each section of the original dynamesh geo as I finish and hide it. This helps keep the scene clean. Some work flows call for using extraction instead of retopology, but in my experience extracted geo is messy, way heavier than it needs to be, and precisely clipping irregular curved edges is a lot harder to control than creasing a retopolgized low poly mesh. Also, doing the retopology up front saves doing it later. You might not be able to use all of it in the low poly, but you might save yourself some work down the road.
-
This is the geo after subdividing. Notice how bland it looks. I don’t add any detail until the whole thing is done. It’s important to finish each phase completely before moving forward. This prevents loosing work if you need to make big changes.
-
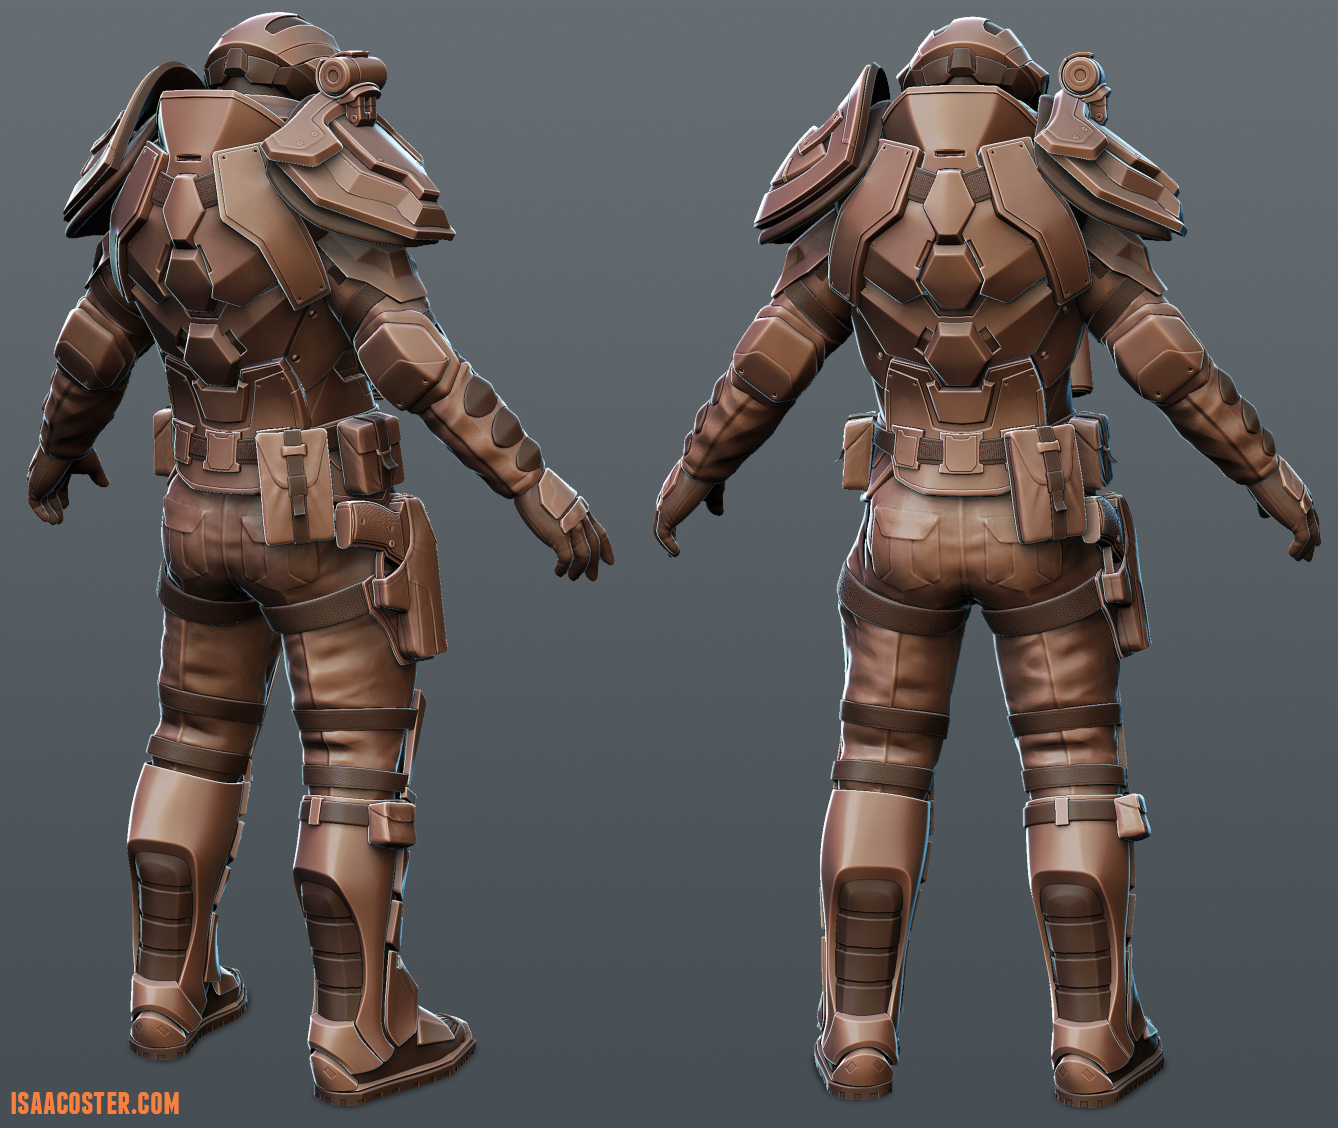
This is the final model. It might look like a pretty big step between 5 and 6, but its really just the same thing over and over again. For the hard surface stuff, its just retopo, crease, subdivide. To add smaller panel work, I like to mask off sections and apply a little inflate from the deformations submenu. Eat3D has a good tutorial on hard surface modeling that include some really cool mech stamps, like bolts and latches. I use the heck out of them : ) While the vast majority of the geo is built completely in zbrush, some of it was built in 3DS Max. These include the grenades, the shoulder light, the pistol and holster, and the knife. It was all detailed in zbrush. Generally, if a thing can be cobbled together using primitives like cylinders, I’ll do it in Max. For the pouches, I deconstructed the polysphere tool (located in the lightbox) down to its cube level. Then I creased it and started sculpting. For the cloth areas, there’s nothing fancy. It’s just good old fashioned sculpting. I find the standard brush with lazy mouse to be pretty effective at making folds in cloth.

-
This is the base retopo. Notice how light it is. The resulting geo will be easy to manipulate, and not overly dense at higher subdivision levels.
-
I set the preview density to 1 so the resulting mesh matches my retopo exactly. I guess there’s some reason zbrush defaults to two, but I have no idea what it is.
-
The next setting is to give the geo some thickness.

This is resulting polymesh.
-
Using the selection lasso (cntl + shft) , I’ll hide the geo I don’t want to share a smoothing group and
-
hit the crease button. It works by creasing the exterior edges of whatever geo is visible. Be careful though - if you have any faces that exceed the angle set in the CTolerance slider, they’ll crease too. You may need to adjust the value higher. If no geo is hidden, it will autocrease the mesh according to the CTolerance slider, but for a mesh as simple as this, I just do it by hand. Zbrush will automatically crease the edges of the inside, outside, and depth faces.
-
These are my crease groups.7. The next thing you need to do is set the crease level to 3 or 4. What this does is tell zbrush to preserve the creased edges for that number of subdivisions. The higher the number, the tighter the edge.8. This is the resulting mesh.

Now for some detail!
-
Mask off an area to make a lip, panel work, or whatever. You may need to smooth and sharpen the mask to even it out. You can do this in the masking menu. Use the mask curve to draw the mask, so you get nice clean lines.
-
Go to the deformations submenu in the tool menu and enter in a value that works. I get pretty good results with 4 or 5. It doesn’t work that well with negative values in the corners, but you can get a similar effect by inverting the selection and inflating the other part.
-
Add some mech stamps and call it good!

This kind of model takes a lot of patience. This model has about 110 subtools and took about 90 hours to complete. I still need to do the low poly, UVs, and textures (more on that later). If you’re new to this workflow, start with something simple. Just make some panels on a sphere or something. Once you get comfortable with the overall process, you can begin to tackle more ambitious projects. Good luck!
Thanks for a nice process breakdown. Looks like it took a great deal of patience )))
Awesome write-up Isaac! Thanks so much for doing this - it’s easy to understand and give a try ourselves.
Great work!
-Steve
Yeah, Massive Black did an awesome job with the concepts for Red Faction Guerrilla!
Great modeling, I think this the best hard surface workflow in Zbrush!
Can’t wait to see the low poly finished!
I finished the low poly and textures. The total tri count came to 12,500, and the texture resolution is 1024x1024. The renders came out of Marmoset, which I haven’t played with before. I had one little snag that slowed me down, which was that the green channel of the normal map needed to be flipped opposite of what 3DS Max expects, but other than that it was really easy and intuitive. Marmoset offers some nice post effects like bloom and sharpen, and also has HDRI based lighting with a bunch of good scenarios built in. Definitely recommend it for real time renders.

This is the low poly + normal map, AO, and cavity.


Cool. It’s time to retake the film “Guyver”
Hey folks! Back when I was first getting started with Zbrush I did a version of Giger’s Alien. It started looking a little dated, so I decided to do a new model. This one is based on the queen. Apologies to the aficionados - there are some digressions from canon. The image was created by compositing a few mats rendered with BRP together in photoshop. Hope you like it!
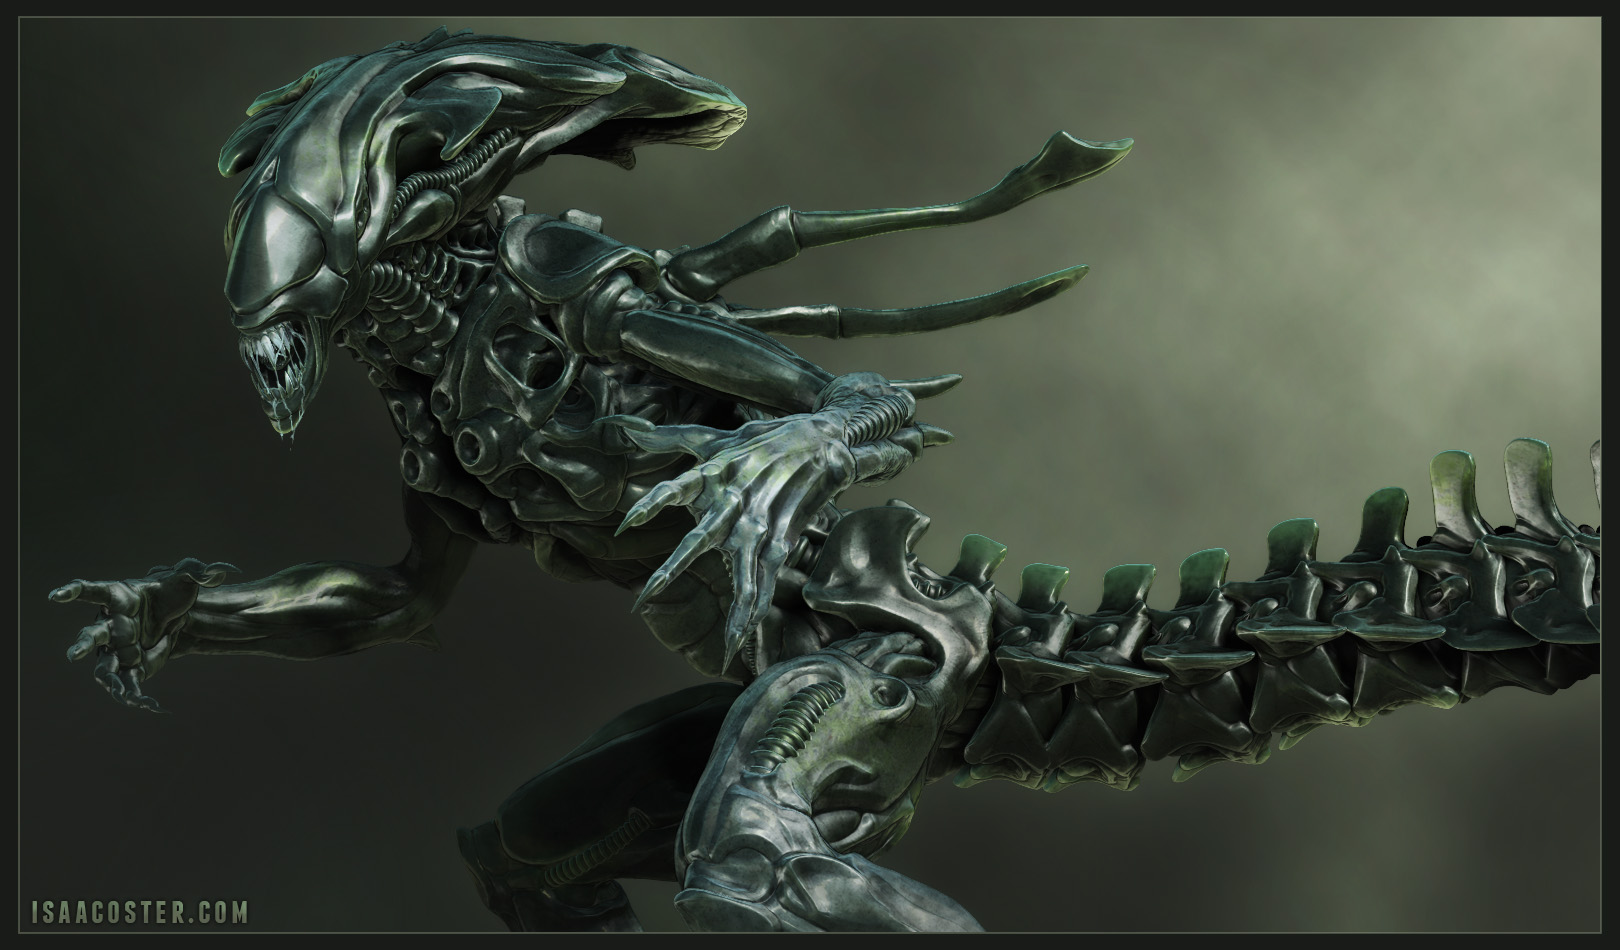
Attachments
great stuff. keep at it
Great thread! That’s a pretty sweet alien.
Nice Alien! Did you do the saliva in Zbrush or in post?
Thanks for the comments - I did the saliva in photoshop.
I’ve just discovered this thread and so glad I did. I’ve gone through the whole thread and your website and I’m a huge fan now. Fantastic sculpting and creativity.
I’m just down the road in San Antonio but I’d sure love to be able to be taking that class your teaching in Austin.
I have a question. In your post #11 where your explaining your workflow for those panels on that mechs butt, you have a sentence that says this “[FONT=Verdana]To get the result on the right, I masked off the lower area of each pad one at a time. The HPolish brush is pretty convenient for masking off planes as it tends to ignore non-planar geo.” I didn’t know or realize that brushes like the HPolish brush, for instance, can be used for masking. Could you explain that process in a bit more detail please?
I really like that mech by-the-way. Very cool. I’m sort of a hard surface fan.
Thanks for all your helpful tuts and info.
Ezra
Hey Ezra, thanks for taking the time to go through my stuff! As for your question, the brushes will interact with the geo the same way whether you’re sculpting or masking or poly painting. Experimentation will give you a better idea of how this works. On a side note, I wouldn’t do it that way any more. I did a lot of that model the hard way. I would use the mask curve brush. Its a lot easier to control. Again, thanks for checking out my work, and feel free to ask follow up questions!