Actually, it would have been happening to you with ZBrush 3 as well and there are threads going all the way back to its release to prove it! This is inherent in multi-resolution subdivision editing. Here’s why:
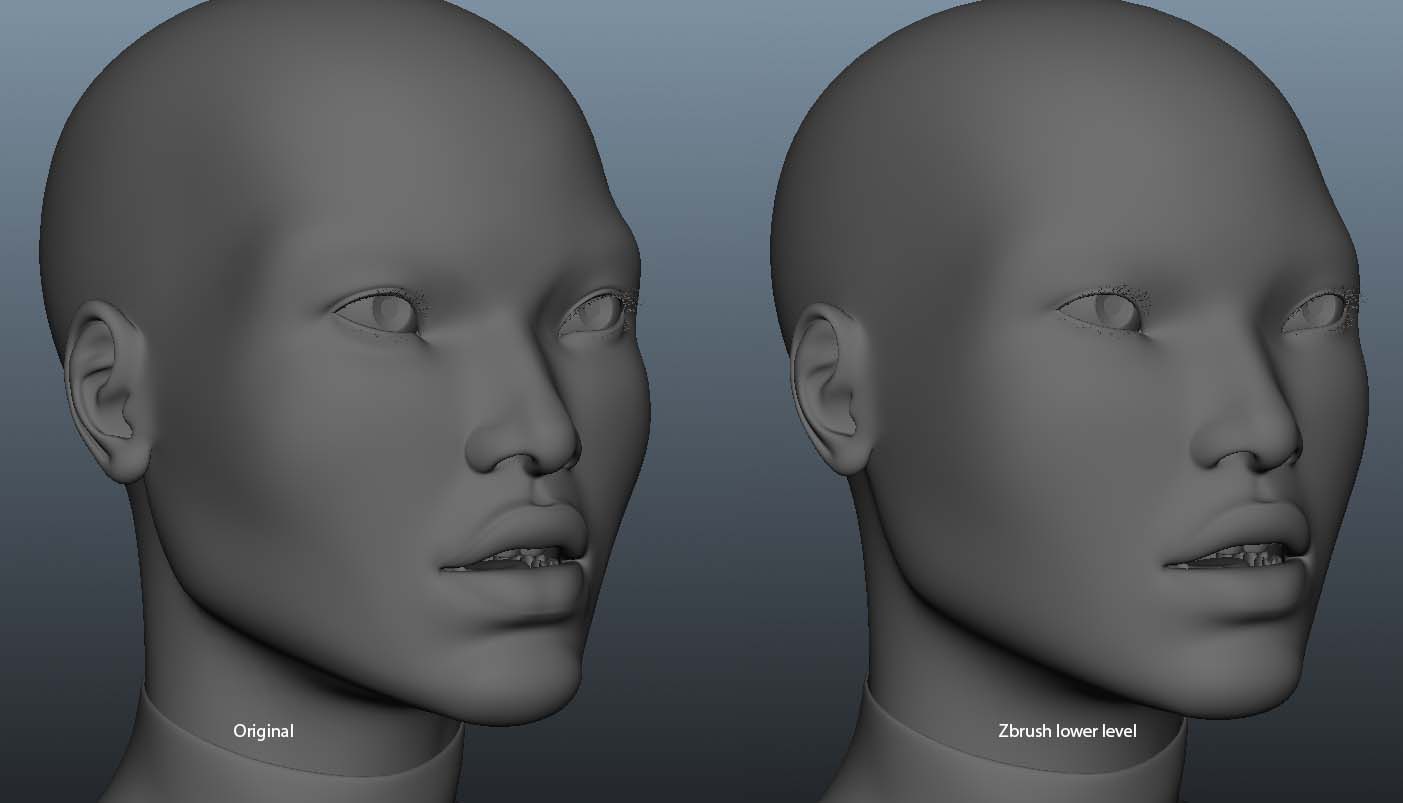
When you divide a mesh, its surface is smoothed by default. One aspect of catmull-clark subdivision (which is what ZBrush uses) is that the surface contracts when it’s smoothed. The fewer polygons your model has before it is divided, the more pronounced this effect will be.
Now to add in multi-res subdivision editing. This dictates that any changes you made at one level will be carried across all other levels when you change to a different one. It allows you to always work with the appropriate number of polygons for the change you want to make. For example, if you’re working on a dragon and have started detailing it but now decide you want the snout to be longer you would simply drop to the lowest level where only a relatively few points need to be moved. Lengthen the snout, return to the highest level, and you’ll see that all the details you’d already sculpted are simply adjusted to fit the new length. It’s a huge time saver that allows you freedom to experiment while you work. It’s part of ZBrush’s characteristic non-linear workflow.
Of course in your case what this means is that each time you divide the model it shrinks a bit. When you return to level 1, that shrinkage is carried across to that level and your level 1 model will now be smaller than what you started with. When you import your original mesh your model will seem to grow. What’s actually happening is that it’s returning to its original size – exactly what you want if you’re going to be creating a displacement map, or your map’s values would be too strong!
This is no problem, however! You actually have two ways around it:
-
Before importing your original model, store a morph target (Tool>Morph Target>Store MT). When you import your original mesh, level 1 updates to the original size and you’re ready to create your displacement map. But if you need to return to the higher levels, simply switch morph targets first (Tool>Morph Target>Switch). This returns your model to the shrunk size so that when you return to the higher levels they don’t enlarge due to the restored base mesh. When you return to level 1 again, Switch again to restore your base mesh.
-
You can also avoid needing to import your original mesh at all. Before dividing your mesh the first time, store a morph target. When you later return to level 1, Switch. You’ll now have exactly what you would get by importing your original mesh again.