ZBrushCentral

Ice using ZBrush

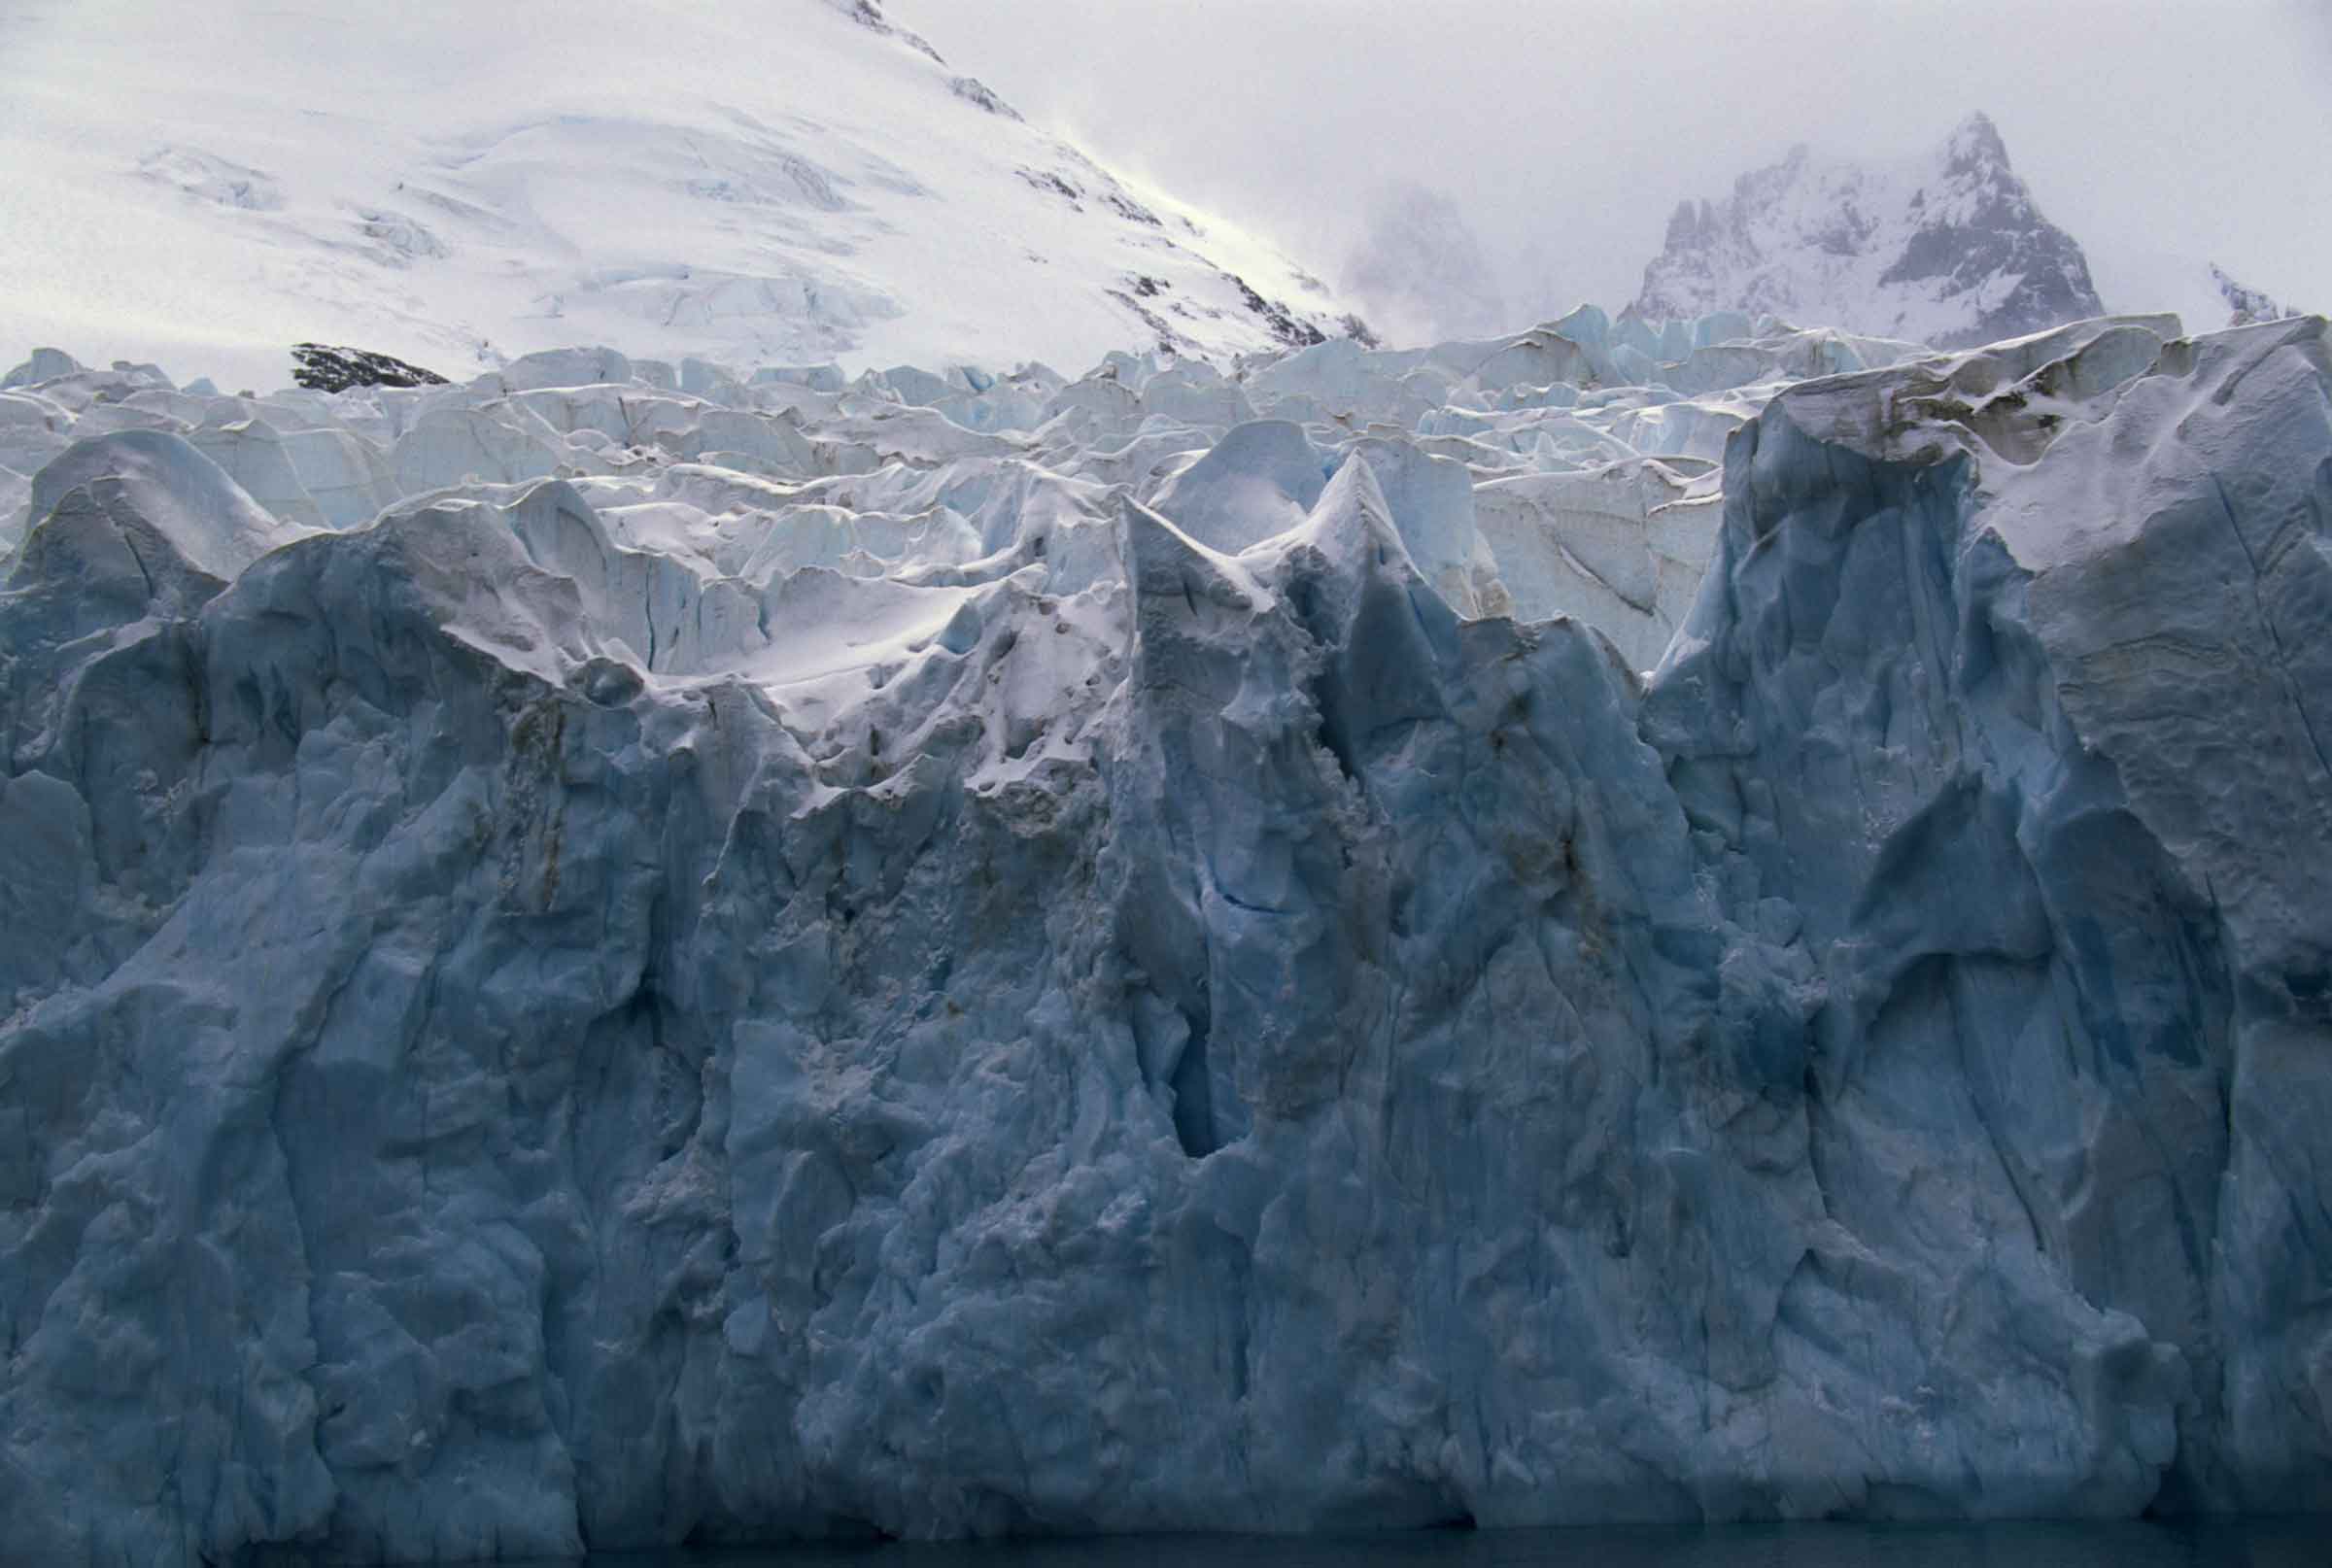
I’d like to make shards of ice and an ice-barren landscape with cliffs etc. Any ideas/pointers for approaching this? ANy advantages for doing this in zbrush over other modelling packages?

Initially I thought zbrush would be great due to all its detailing abilitiesl. Any ideas?

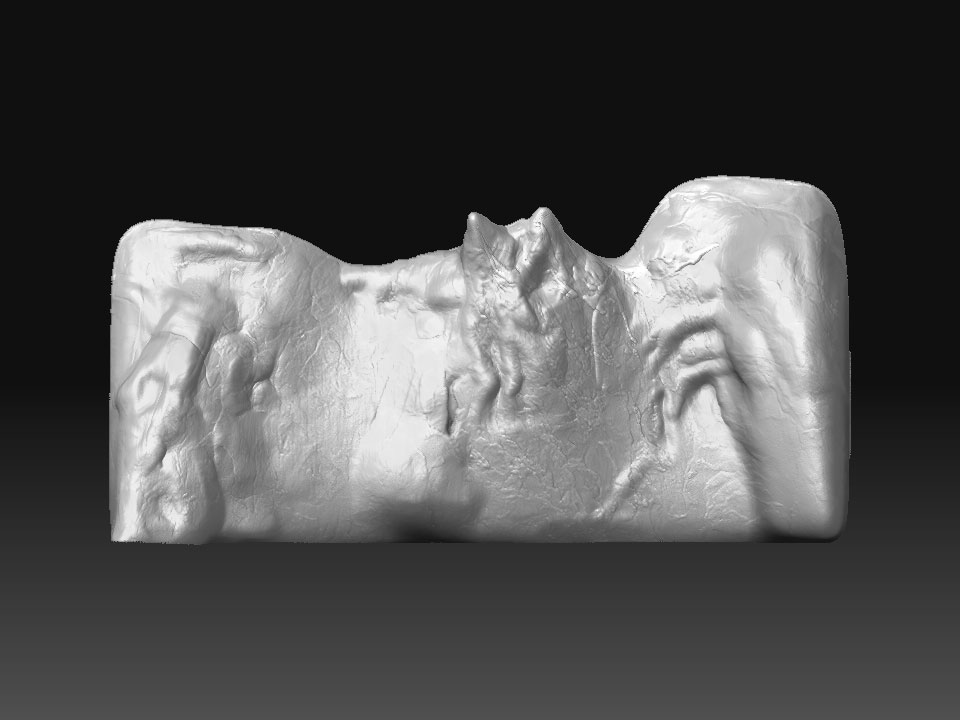
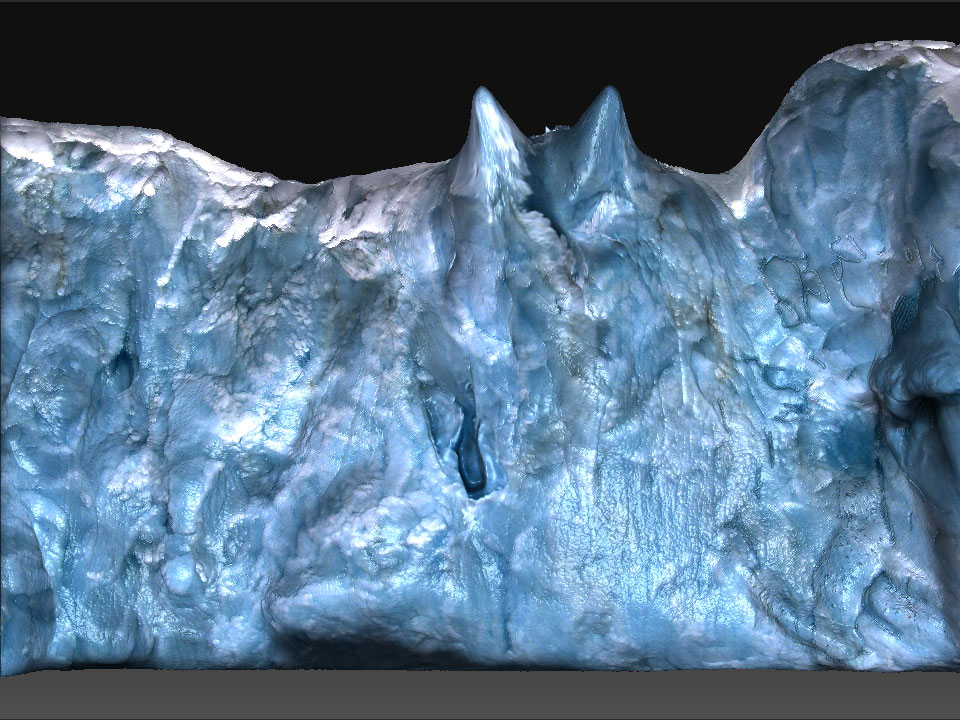
THinking about starting with a low poly cliff face and carving into it either by using a mask from intensity (photo of ice face) or going at it with some custom alphas yet to be made.

youre thinking the wrong way round. don`t let the application dictate your creative choices.

do research (google, books…) create some sketches of what you want to achieve. find out the characteristics of ice. Ice can come in a great variety depending on how it got frozen (dripping down icicles over centuries or getting shock frozen in milisecs.
if youre going for a more cartoony style take one characteristic and exagerate it.

after you did those sketches (for learning it`s very important that yo do them yourself) the choice of the right tool will be very obvious to you.

also don`t be hasty, take your time for the concept stage. sometimes half of the project time is finding the concept, also because with a good concept production time can be reduced to a fraction with (almost) no redos.

Thankyou for your reply. In this case, the project dictates that I have to make a barren icey cliff from an ice planet and make it as photoreal as possible. I have been given some concept art already and gathered some pictures of icey cliff faces from antartica and the such like and have now started.

My first step was to create an image plane (photographic) in max and made a rough low-poly model. OBJ–>Zbrush and then built up from there. Now its looking OK and I have MaskByIntesity using the same original photo and attempted to make a 16bit alpha mask from this step by converting the mask to alpha and blur brushing and then deepening areas (saved out the alpha as a 16bit from the original 8bit due to the extra brush work–thanks to a pixolgic tutorial for this method). Its good for the final details but its a shame I cant seem to get the deeper ares using this method. I’ll get a picture up soon… but my main problem is it still looks to organic and i’m finding I need to get some shards/harsher edges somehow.

Attachments

ice_sculpt1.jpg

ice_sculpt1-texture.jpg

I’ve just uploaded the images see above and they show my progress so far. I’m really not happy with them and its most likely down to being new to zbrush and its workflow. I’d really appreciate any tips to get this more photorealistic.

As a recap of how I got this far:

  1. Researched pictures of Antartic/Ice cliffs and gathered photo materials.

  2. Created image planes in max and made a lowpoly basemesh

  3. Import as a ztool and made further subdivs and sculpts to basic shape.

  4. Imported the ref picture (main one this is based on) and used it as a mask-by-intensity. Did inflate/smooth deformations in increments to pop out the geommetry.

  5. Im now at this stage where im trying to improve the 32bit alpha mask made from the picture so that extra structural detail can be pulled out. This is mainly because i cant seem to get the tools to bring out the harsh shapes needed.

I’d really appreciate help with this.

Here are my latest updates and the main refrence picture

Attachments

2.jpg

1.jpg

refrence.jpg

Hi pixeldamage, I’m working on an ice project as well for a short film/ I’ll post my work in progress this week. I will share my progress with you I’m sure we can reach something acceptable.
Good luck. I’ll post brush settings. i id many low poly blocks in wingds though as a start.

That’s great sleepwalker… it’ll be cool to see how you approach it. I’m struggling with sharp edges. Assigning creases at lower subdivs isnt really working for me as the edges arent sharp enough to begin with. Probably as a result of not creating enough definition in my basemesh. Trying to rectify by pinching. Still too soft as in the pics above though i now have some sharper peaks.

Oki as good start you can set your pinch brush in brush palette to something high like (80-90) along with lazy mouse for getting pretty hard edges or you can use your flatten brush with the picker palette settings using cont z or ori with the normal poiting where you want it to. This makes really nice hard edges as well.

Hope it helps

I’ll have to look into the picker palette. just opened it and it makes no sense to me… though i understand somehow it controls the tools effect and xyz transform. will be useful. i’m also starting a new basemesh as i think a lot of my problems lie there as it was pretty smooth to start with.

Questions to ask …
What is this for? Is it for a background element in a video? Is it for a foreground element? Is it for an 2d illustration? How much detail do you need to put into the modeling? Can a quality texture on a low polygon base meet all the requirements just as well? Have you heard about camera-mapping?

I’ve done the odd cliff face for TV project, and that was a pretty basic mesh with highly detailed texture-map on it, which saved me a ton of time.

Highly detailed modeled objects are for closeups and 2d-illustrations.

Upham :slight_smile:

Its for a tv series. At the moment we’re awaiting the script but I was just asked to come up with a few highly detailed models of for an ice planet. I have just started using zbrush for detailing and my boss saw the immense amount of detail possible which is what has attracted us to this package. I see exactly what you mean about 2d/3d decisions, but right now this is just an exercise to see how we’re going to approach the problem and seeing as the set is an icey barren planet its likely that there’ll be both closeups and longshots.

“I’ll have to look into the picker palette. just opened it and it makes no sense to me…”

Hey mate, have you checked out the ZClassroom videos? The Strokes and Alphas video And the Max-ZBrush pipeline might answer your questions and speed up your ZB learning.

I don’t think your Step-4 above is the right way of doing it, and masking & alphas with the clay, move & pinch brush would be the better way to go. Sculpting as if it was clay, building up the surface.
What were you planning on doing once you have modeled the ice-cliff? Were you going to bring it back to Max, or export the image for compositing?

Upham :slight_smile:

Thanks Upham.

I’ll be sure to check out the resources you mentioned. I’ve been through some of the classroom ones already but the max2zbrush sounds very interesting.

Step 4 is proving to be tricky but as i’m making a 1:1 copy from that photo its a really fast way of adding a lot of relevant geommetry though it only seams to work for surface detail as opposed to large changes in form (hence why i’ve gone back to basemesh).

I’ve tried various alphas (concrete/rock surfaces) both custom and from varous libraries and none seem to yield results as good as step 4.

Once its finished the model will be brought back into a scene within max/maya animated, rendered with vray (though we may be forced to change to mental ray I hear) and the composited in afterFX. Though I may not be as involved in those later stages.

Also check out at the top of the forum page under the ZB-Central banner where there is a link to ryan K’s ZBrush blog. Here you’ll find a number of good video tuts. I think the modeling a broken wall video will help you.

Upham :slight_smile:

Wow Upham thankyou so much. I hadn’t even come across these tutorials before… there’s so much burried treasure to find! I’ve linked to both the blog and am downloading the wall tutorial. Thanks again

Hey PixelDamage, if you are still working on this project, have you managed to catch Up Rock-Bola’s thread about Rock modeling and his Gnonomology Video tutorial on Rock face modeling?

Upham :slight_smile:

he also sells a video on gnome I bought it 12$ good buy