ZBrushCentral

How to remesh isolated area geo ?

hey guys,

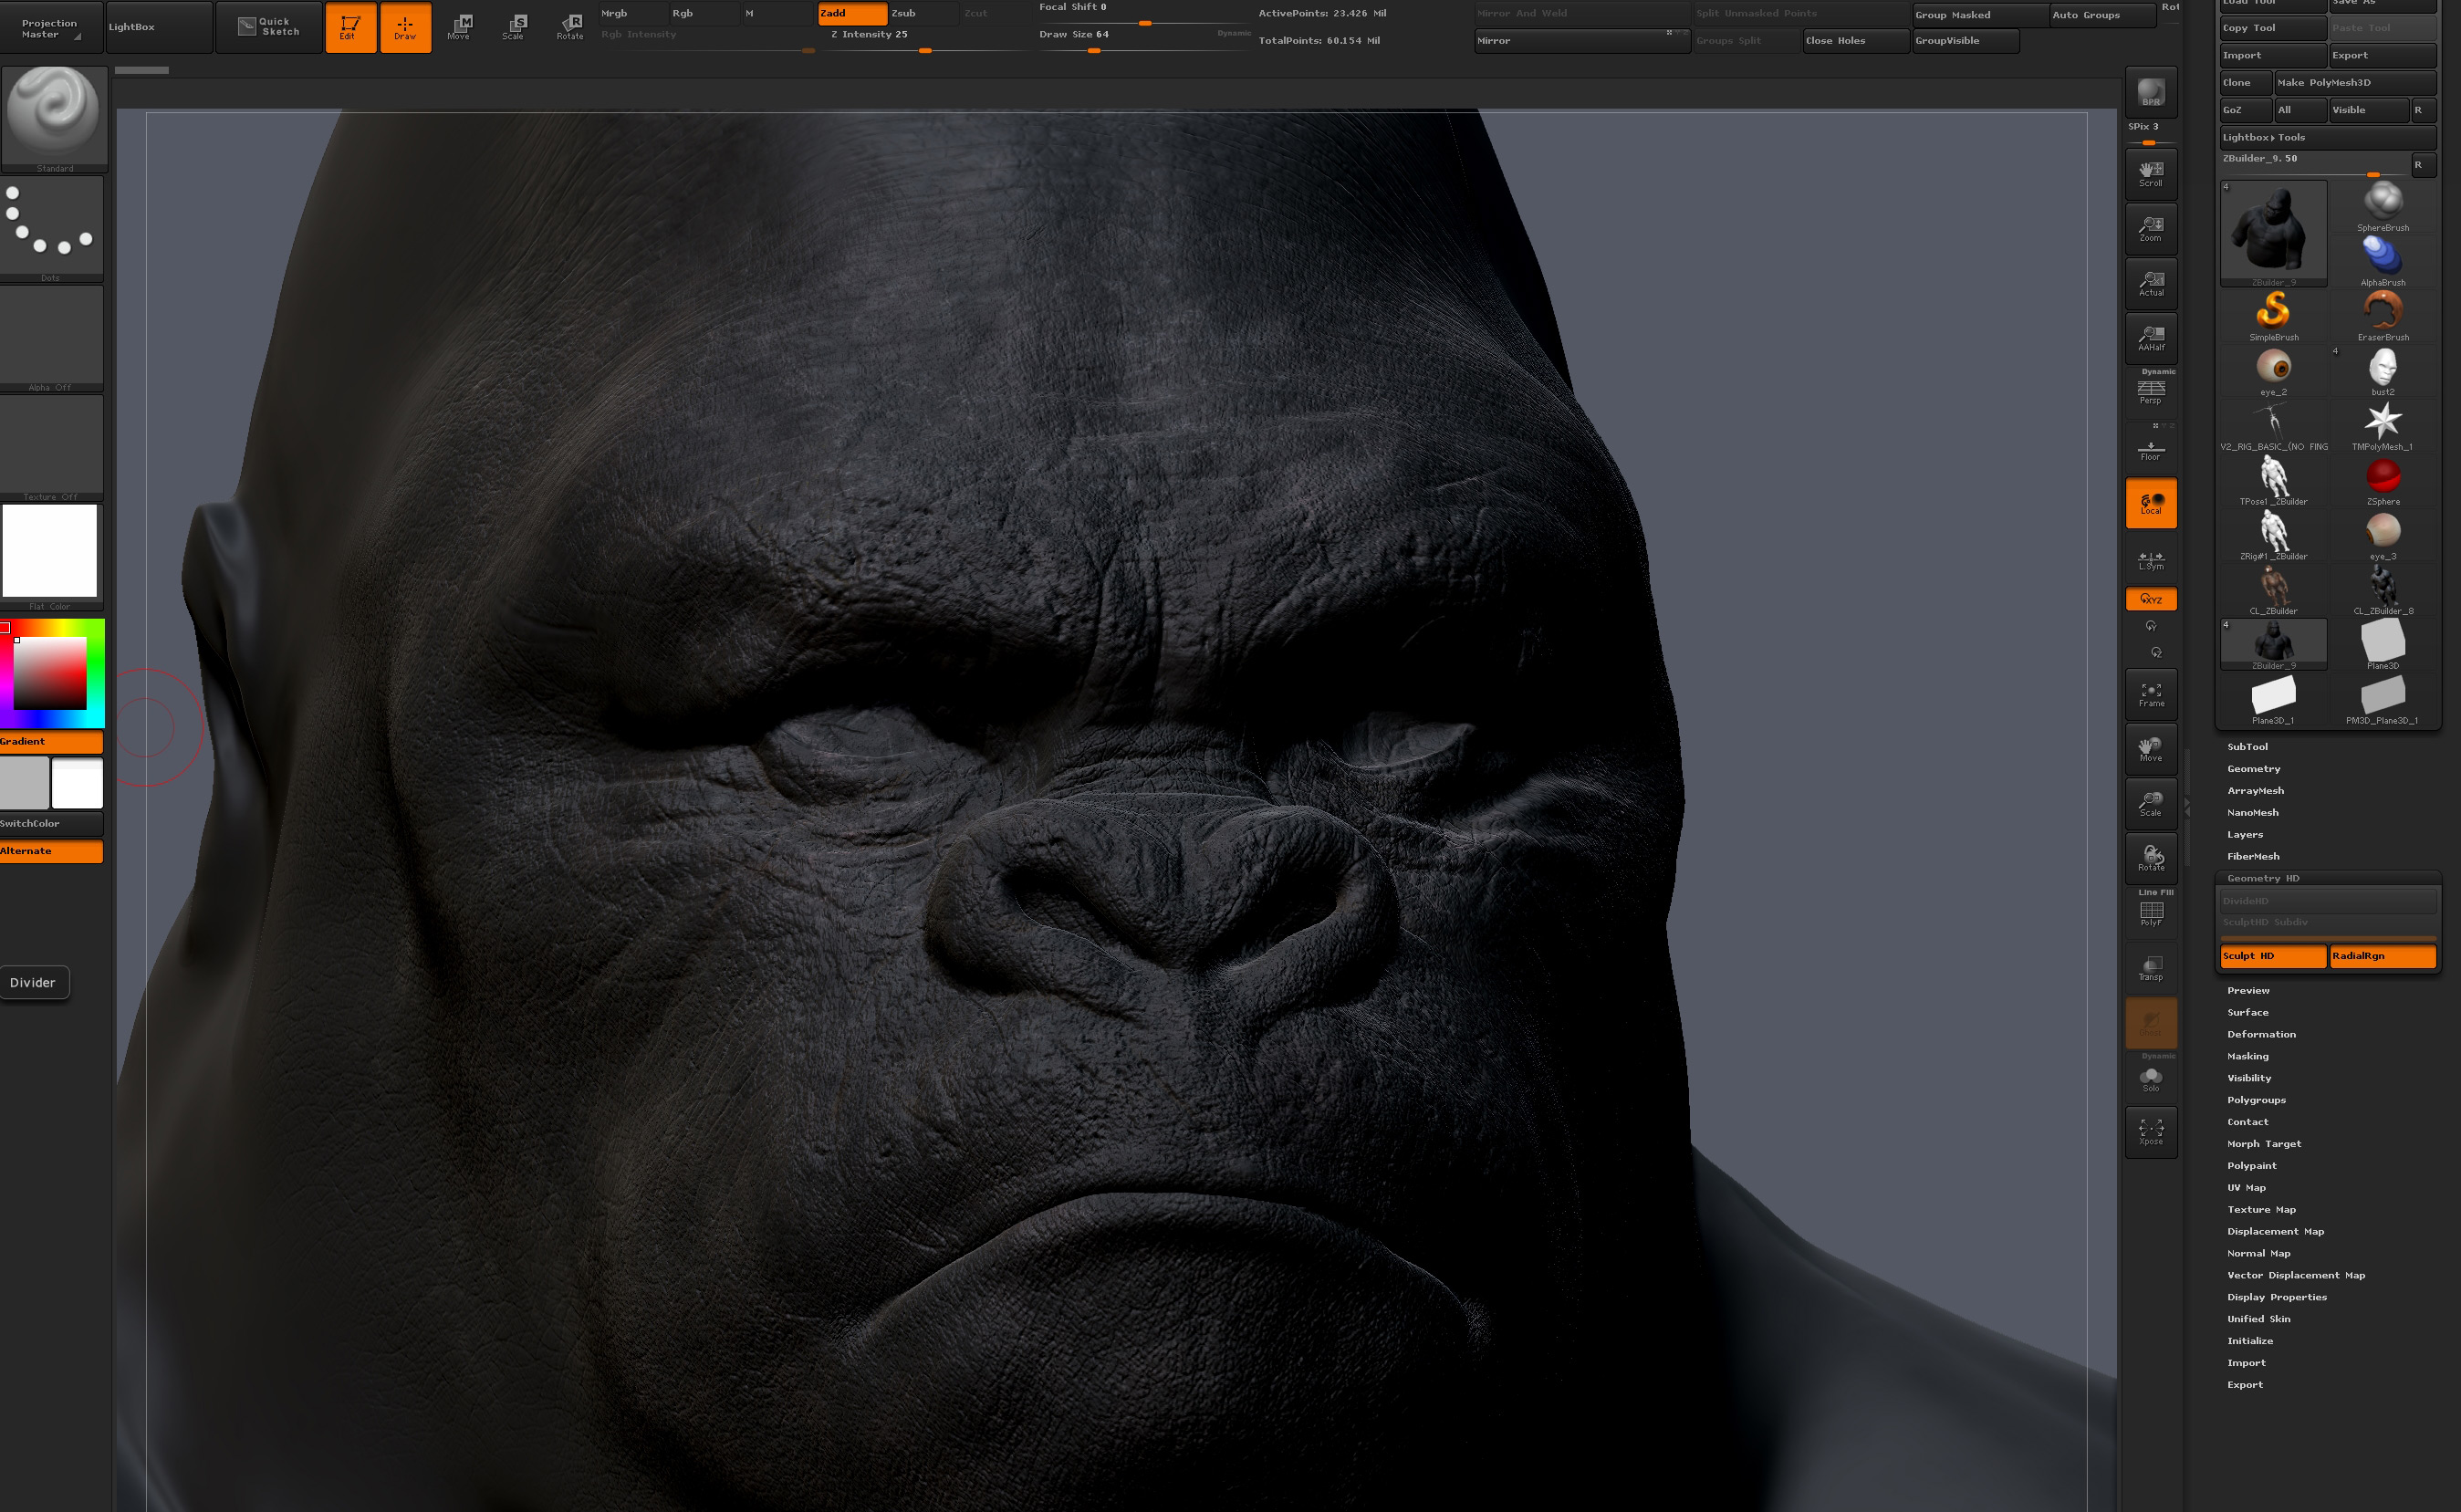
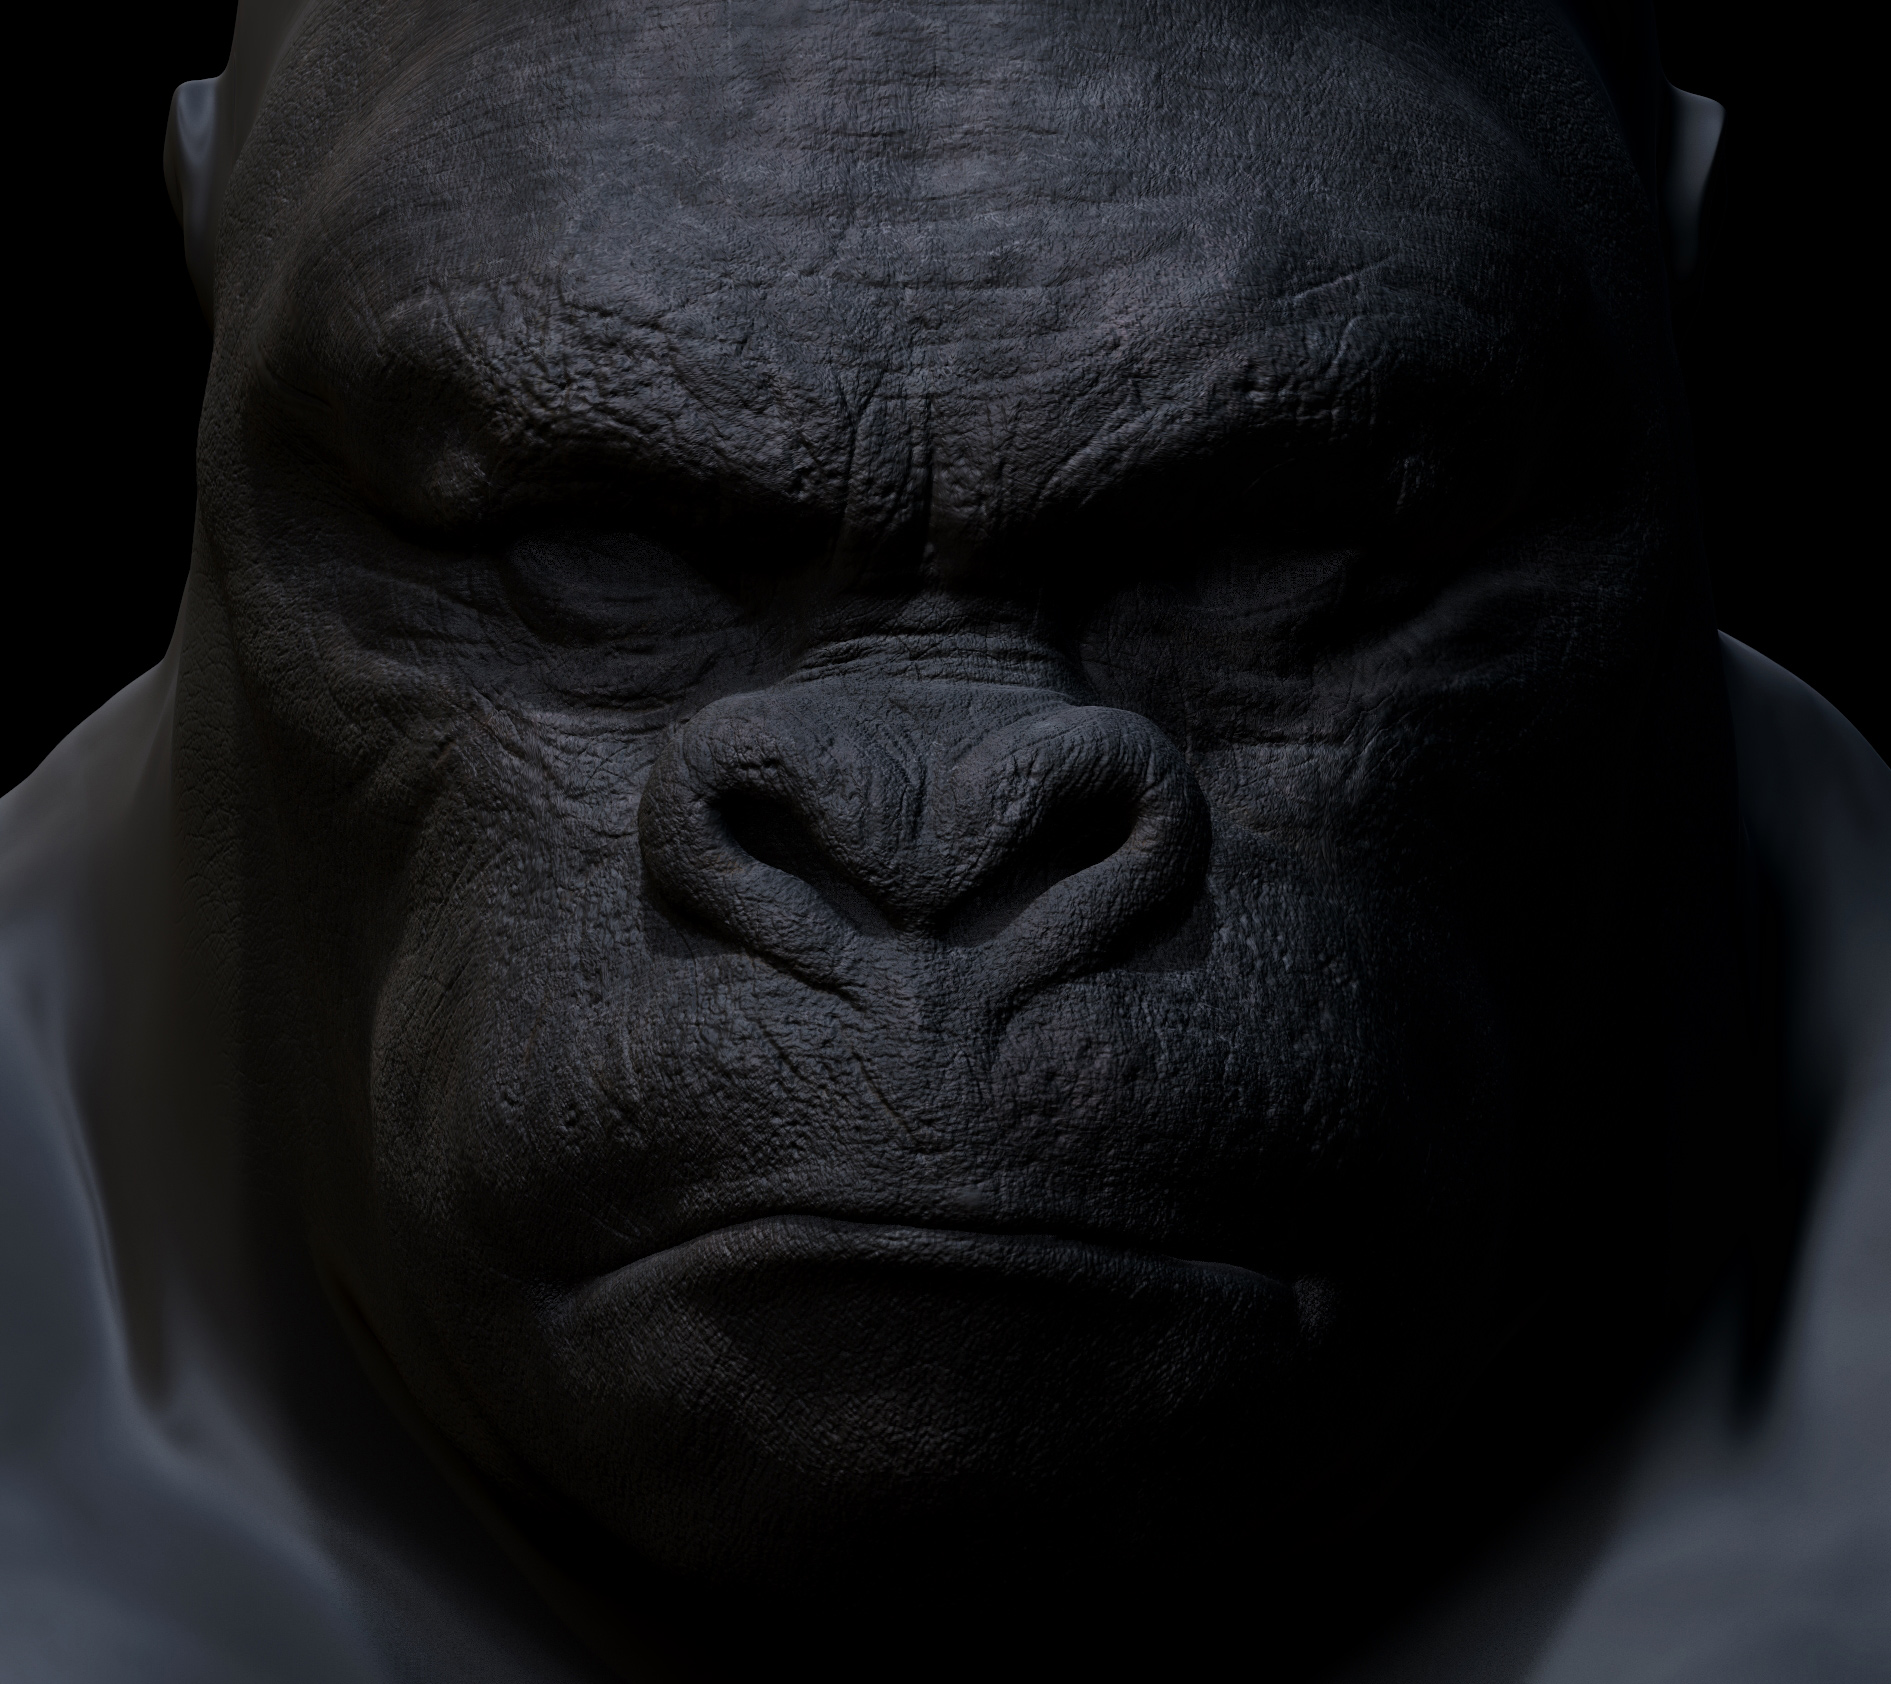
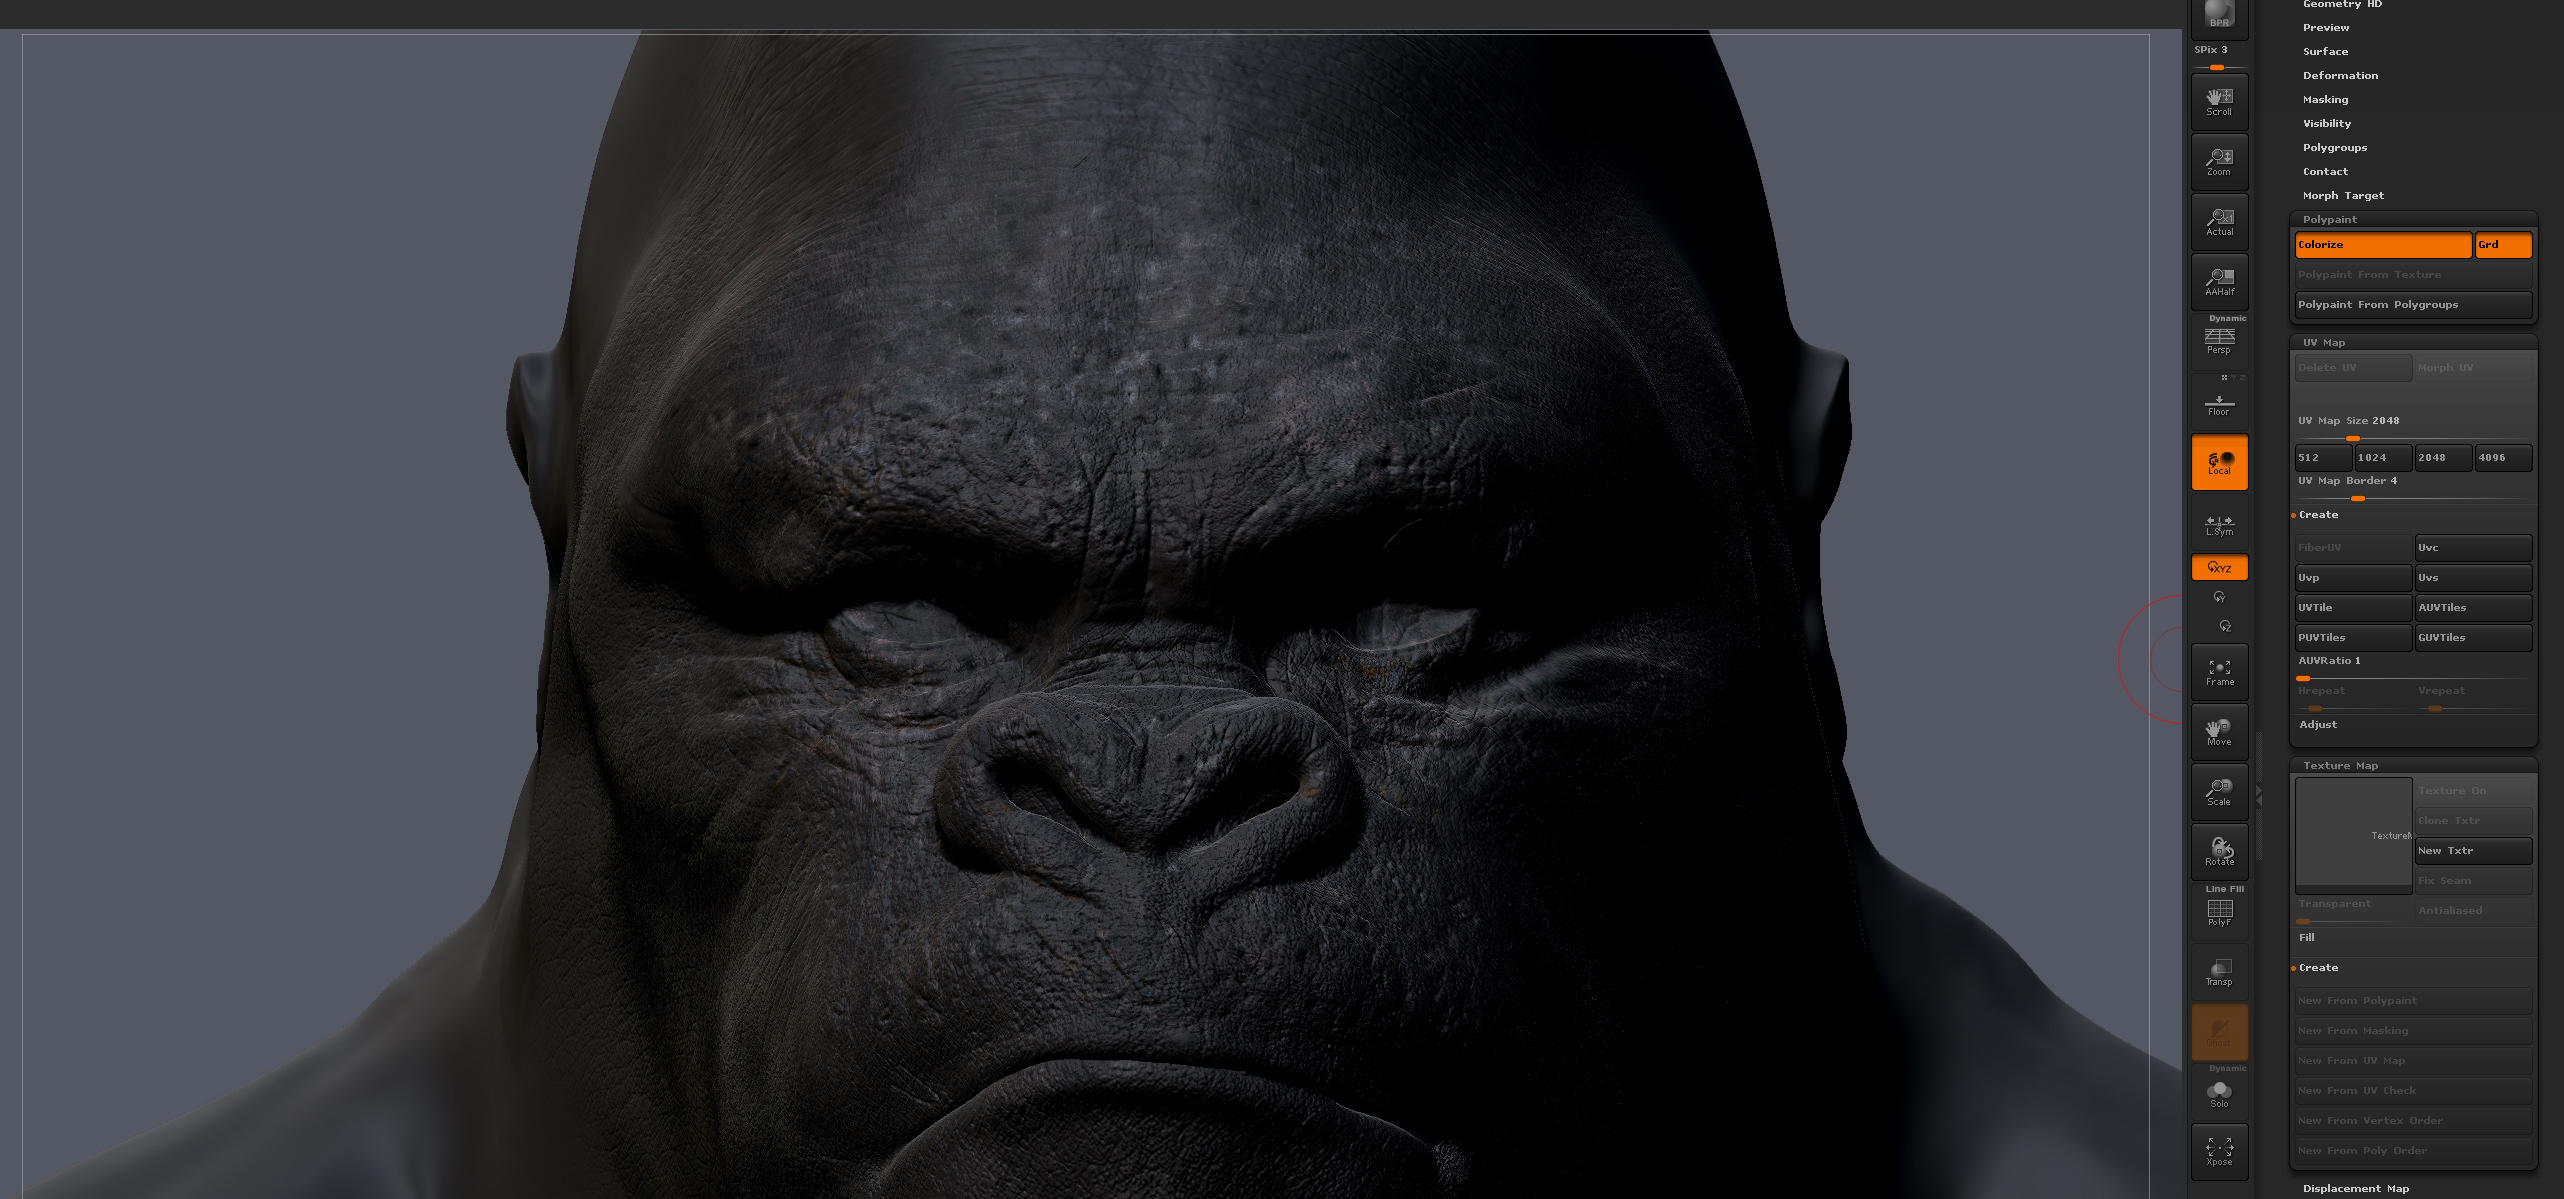
i’ve been reworking this gorilla study as a optimized mesh as of late. it was crazy huge before so now it’s a bit more manageable but i lost a good deal of detail i am now adding back in.

some area got a little screwed up like the “ears”.

any suggestions on how fix isolated junky geo like this on the ears ??

my first thought was, after the zremesh, should one Dynamesh at highest setting so you don’t loose detail ? but i’d be stuck with a dense mesh again for edits.

must be a better way ?
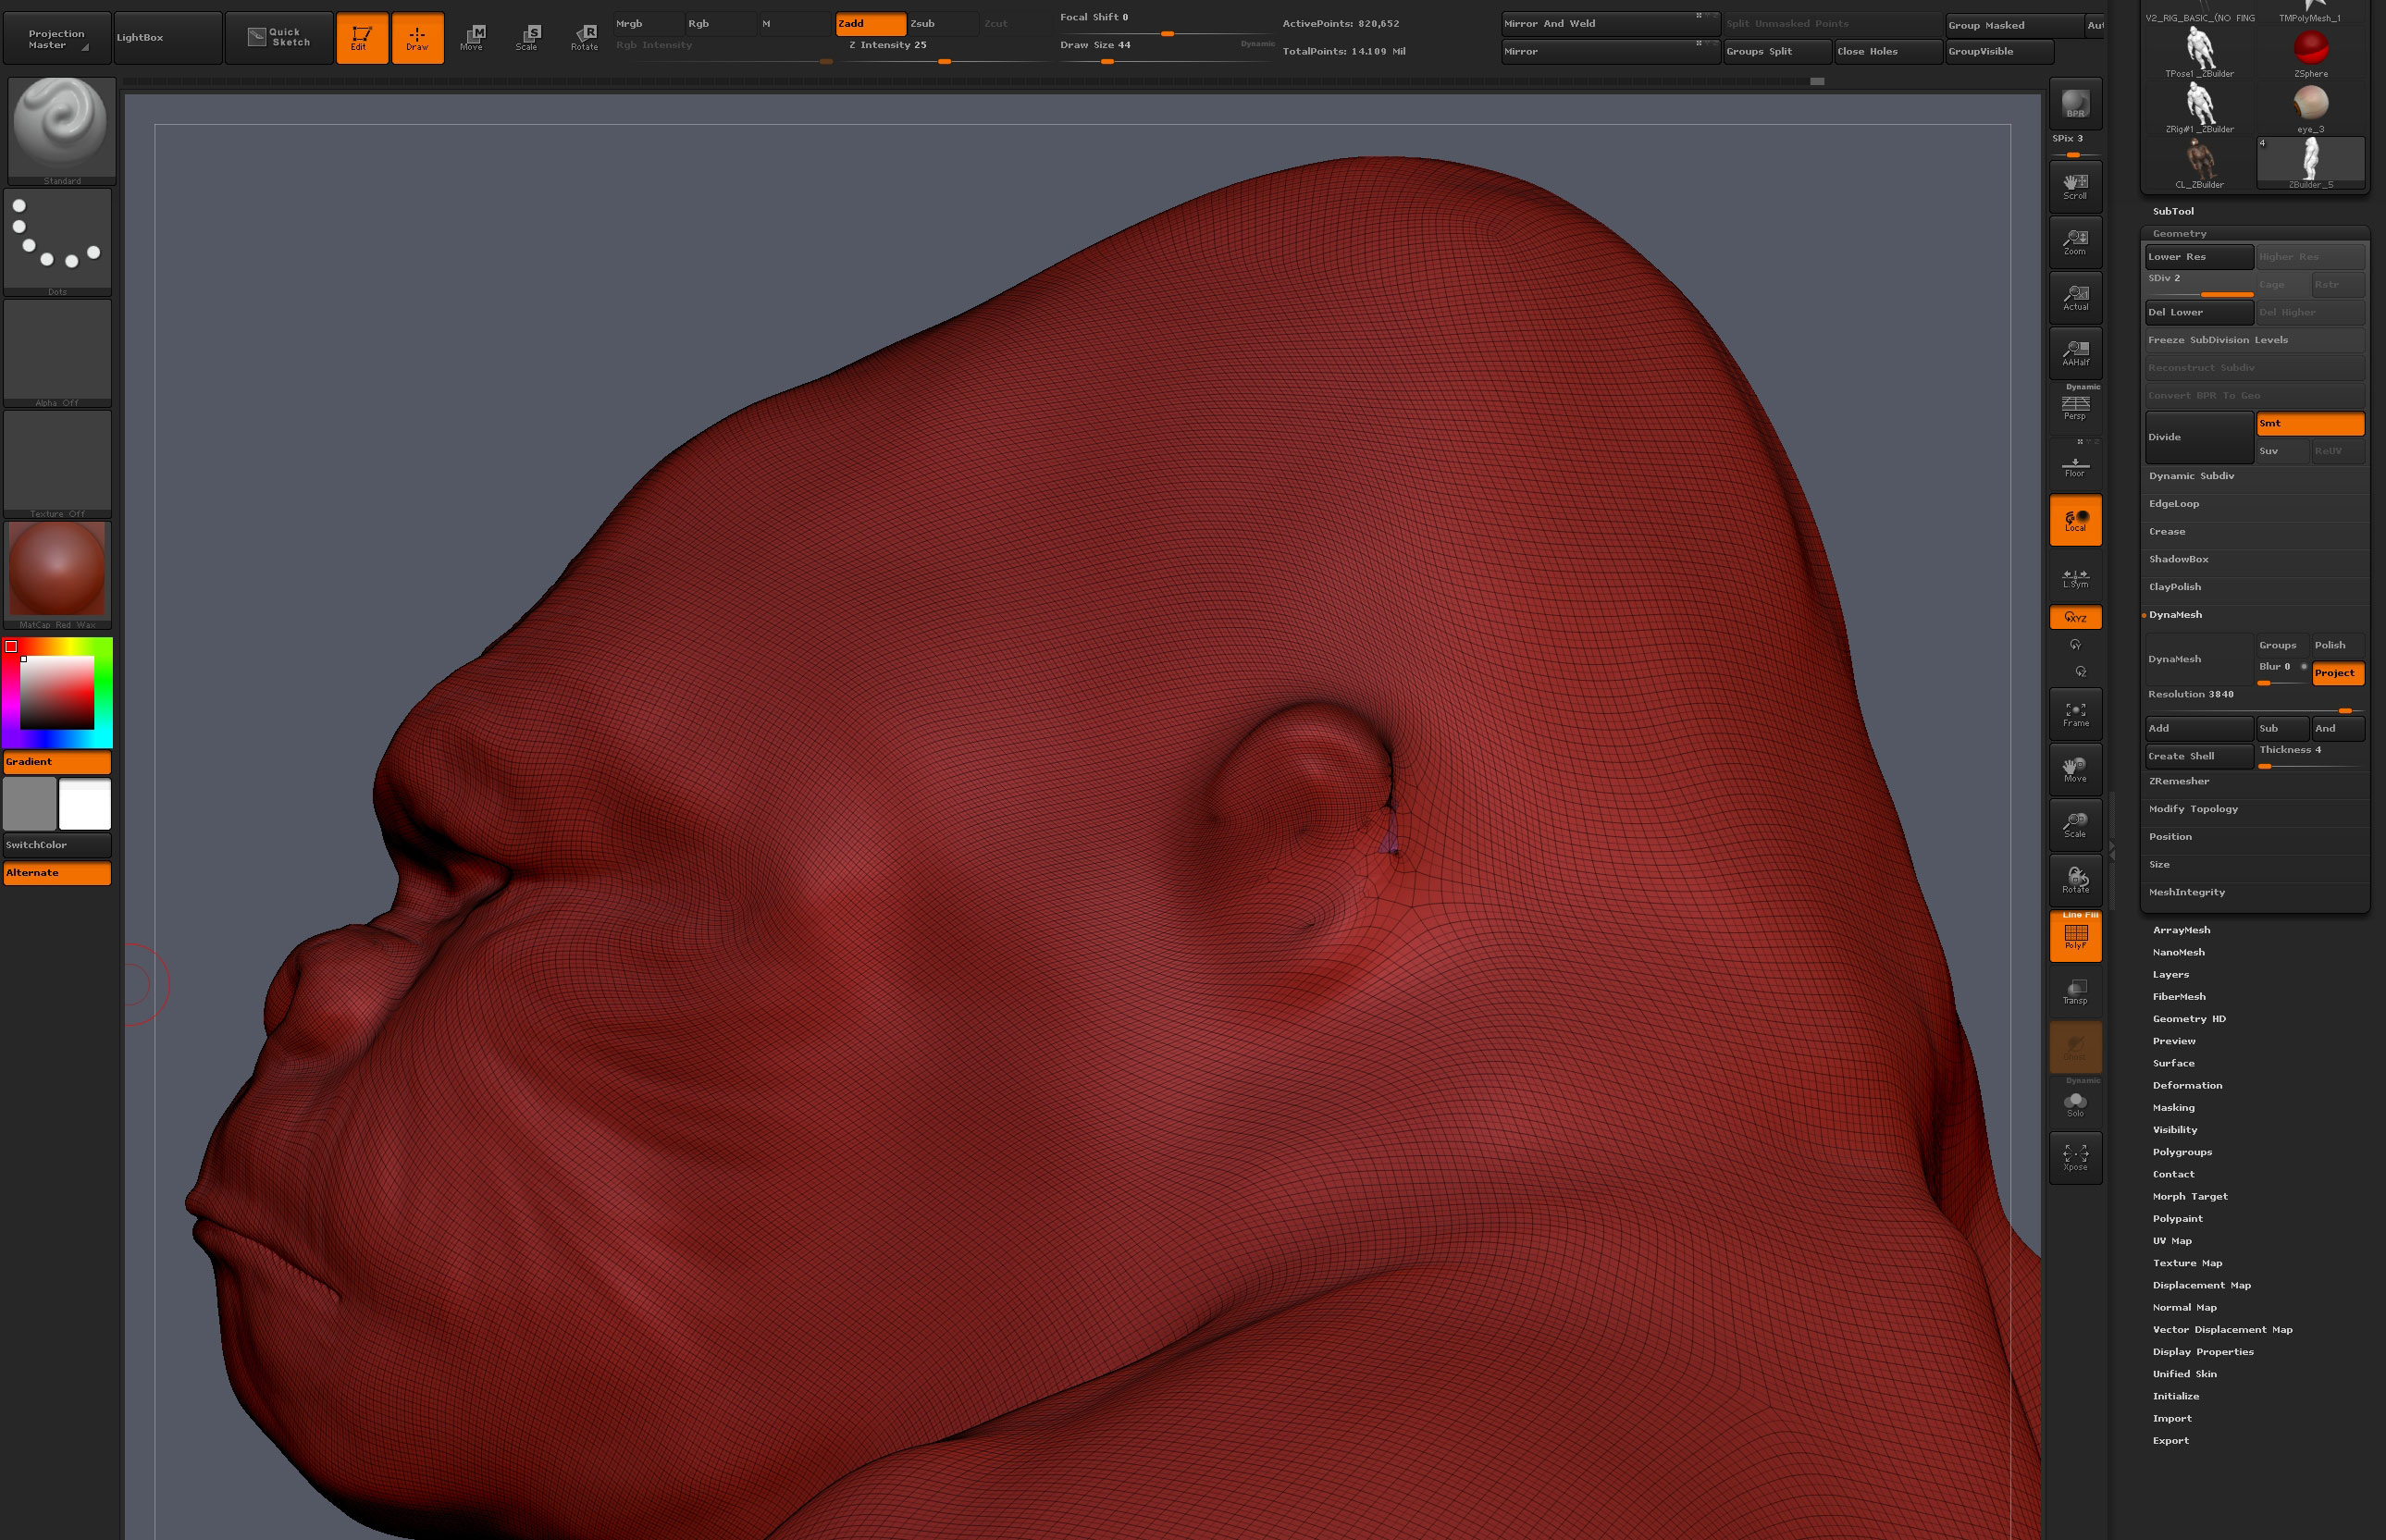
Screenshot_4.jpg

Attachments

Screenshot_4.jpg

In general, after ZRemeshing the resulting mesh becomes your new base level geometry, then you subdivide it back up to high poly level and project the detail from the original back onto it. Ideally you want to Zremesh in such a way that captures the gross form, but not the fine detail. As long as the general form is there, high poly detail can be recaptured through projection.

If you are unhappy with the topology around the ear, or it results in visible defects, that needs to be corrected at the base geometry level (lowest level of subdivision). You can, in any combination:

  1. Keep ZRemeshing with different levels of target polygon count and adaptive size slider settings ( higher values prioritize accurate form at the expense of polygon shape, lower values prioritize more evenly shaped and distributed polygons) until you get results you’re happy with.

  2. Locally ZRemesh the problem area by hiding all but the target area, and running Zremesher. ( I don’t recommend this, because it will create ugly geometry at the seams of the two areas).

  3. Get in the ballpark of what you want with ZRemsher, then manually edit the low poly geometry with ZModeler (stitching and sliding points) until you’re satisfied.

  4. Manually retopologize the entire mesh by hand, either in Zbrush or with another tool to get exactly the mesh you want.

Making use of ZRemesher guides, or the polypaint density feature (paint areas where you want more or less polygons prior to zremeshing) can help you get the results you want.

thanks big time for always being there for us all.

great suggestions all around that i will try. so here’s a bit of confusion i have and maybe you can clear this up. say you got your high res that you now zremesh and project. then you get feedback for alterations from friends and want to up your game.
is it ok to start sculpting that detail on the newly zremeshed projected subtool ? wondering what’s the best way to go in that situation ?

cheers,

steve y

Ideally projection gives you the freedom to work interchangeably with topology, so you should never be afraid to work on a mesh for fear of losing detail. But there can also be a trial and error time tax associated with the process, so you take that into account.

Personally, I usually end up remeshing several times over the course of a project, just to redistribute the polygons evenly after sculpting has stretched or distorted them in places, which improves sculpting performance for fine detail. This is basically what people are doing when they rough out a form with dynamesh quickly at medium resolution. But dynamesh has an upper polygon limit beyond which it becomes slow or impractical to use, so you switch to Zremesher +projection.

so based on what your saying above regarding remeshing a few times as you progress to keep polys uniform.

my question then is,

  1. would one then at this point duplicate the subtool
  2. zremesh
  3. then project to those new details to this remesh ?

and this process could go on a few times ?

Don’t forget you have to subdivide the remeshed object in order to hold the detail, but yes, there’s no limit to how many times you can remesh and project, as long as you have the time. You don’t have to use the multi-step process–you could instead freeze subdivision levels:

http://docs.pixologic.com/user-guide/3d-modeling/topology/zremesher/transferring-detail/

I prefer the multi-part process for the finer control it gives me over each step, and because it makes it easier to trouble shoot problems if there are any.

Improving sculpting performance isnt the only reason one might remesh and project. You could be using it to transfer detail to an optimized retopologized low poly mesh and generating normal/displacement maps for the purposes of animation, or you could be using it to transfer polypaint data between meshes with different topology and uv information, for the purposes of creating textures.

Just to amend my previous post slightly, you should be confident in your topology being finalized before engaging in things like extreme subdivision (+20 million), HD Geo, or Layers. Those things limit what you can do.

So far thanks to your awsome advice I think I’ve brought
the detail on the face to a new level. will post an image update soon.
Have gotten great results with HD GEO.

My next mystery or stuff to understand is polypainting scars etc.
will post a reference tomorrow.

Basically id like to learn and understand the best way to
export all the maps. Currently for some reason I can’t activate
“Polypaint to texture”. I have 8k UV’s. Tomorrow I’ll try just a checker pattern.

Another mystery is specular maps. For example. The gorilla has like very raised thick
wrinkles under his eyes. I’d like to add wetness to certain parts of those areas.

my initial thought was to use “mask by cavity”, mask off to taste and fill with
a color ? But doesn’t spec need greyscale image ?

again, this is just a “still” study to up my ability in Zbrush so am trying
to do it all in app and keyshot, but would love to play with it in c4d and Octane.

Forgot to ask. Was thinking about baking the hair for keyshot
renerimg. Good idea ? IF I am gonna be using a normal map for the
details there ?

could I get just as real render in Zbrush ?

here’s an update with HD Geo and reference image that show’s the level of detail in render i am after.

needing tips on texturing the color and spec etc. currently i’ve just used “mask by cavity” and invert to paint into the scars etc. regular poly paint and matcap material are the base.

kinda lost on how to generate specular maps from zbrush ?

check out my reference image and the scar tissue discoloration above the brow. can i do this kind of painting in zbrush with polypaint or should be doing this with zapp link and photoshop ?

Should fibermesh for hair be baked Geo for keyshot ? keyshot lighting render test attached.
7_28_17.jpg Keyshot_LightingTest.jpgscreenshot002.jpg

Attachments

7_28_17.jpg

screenshot002.jpg

Keyshot_LightingTest.jpg

Update:

just found this video done in another program, but the principals could still help understand how to map speculars from color map. i hope for my own sake :wink:

Should i start a new thread for questions leading outside of previous thread ?

anyone know how to generate color map from polypaint and matcap on HD Geo.

the only way i get the option to generate polypaint from texture is by jumping out of HD Geo.

when i do generate the polypaint to texture, i get only a the polypaint vs both Matcap and polypaint and the model is at lower subdivsion and not HD Geo ??
HD-Geo-to-polypaint.jpg

Attachments

HD-Geo-to-polypaint.jpg