Attachments


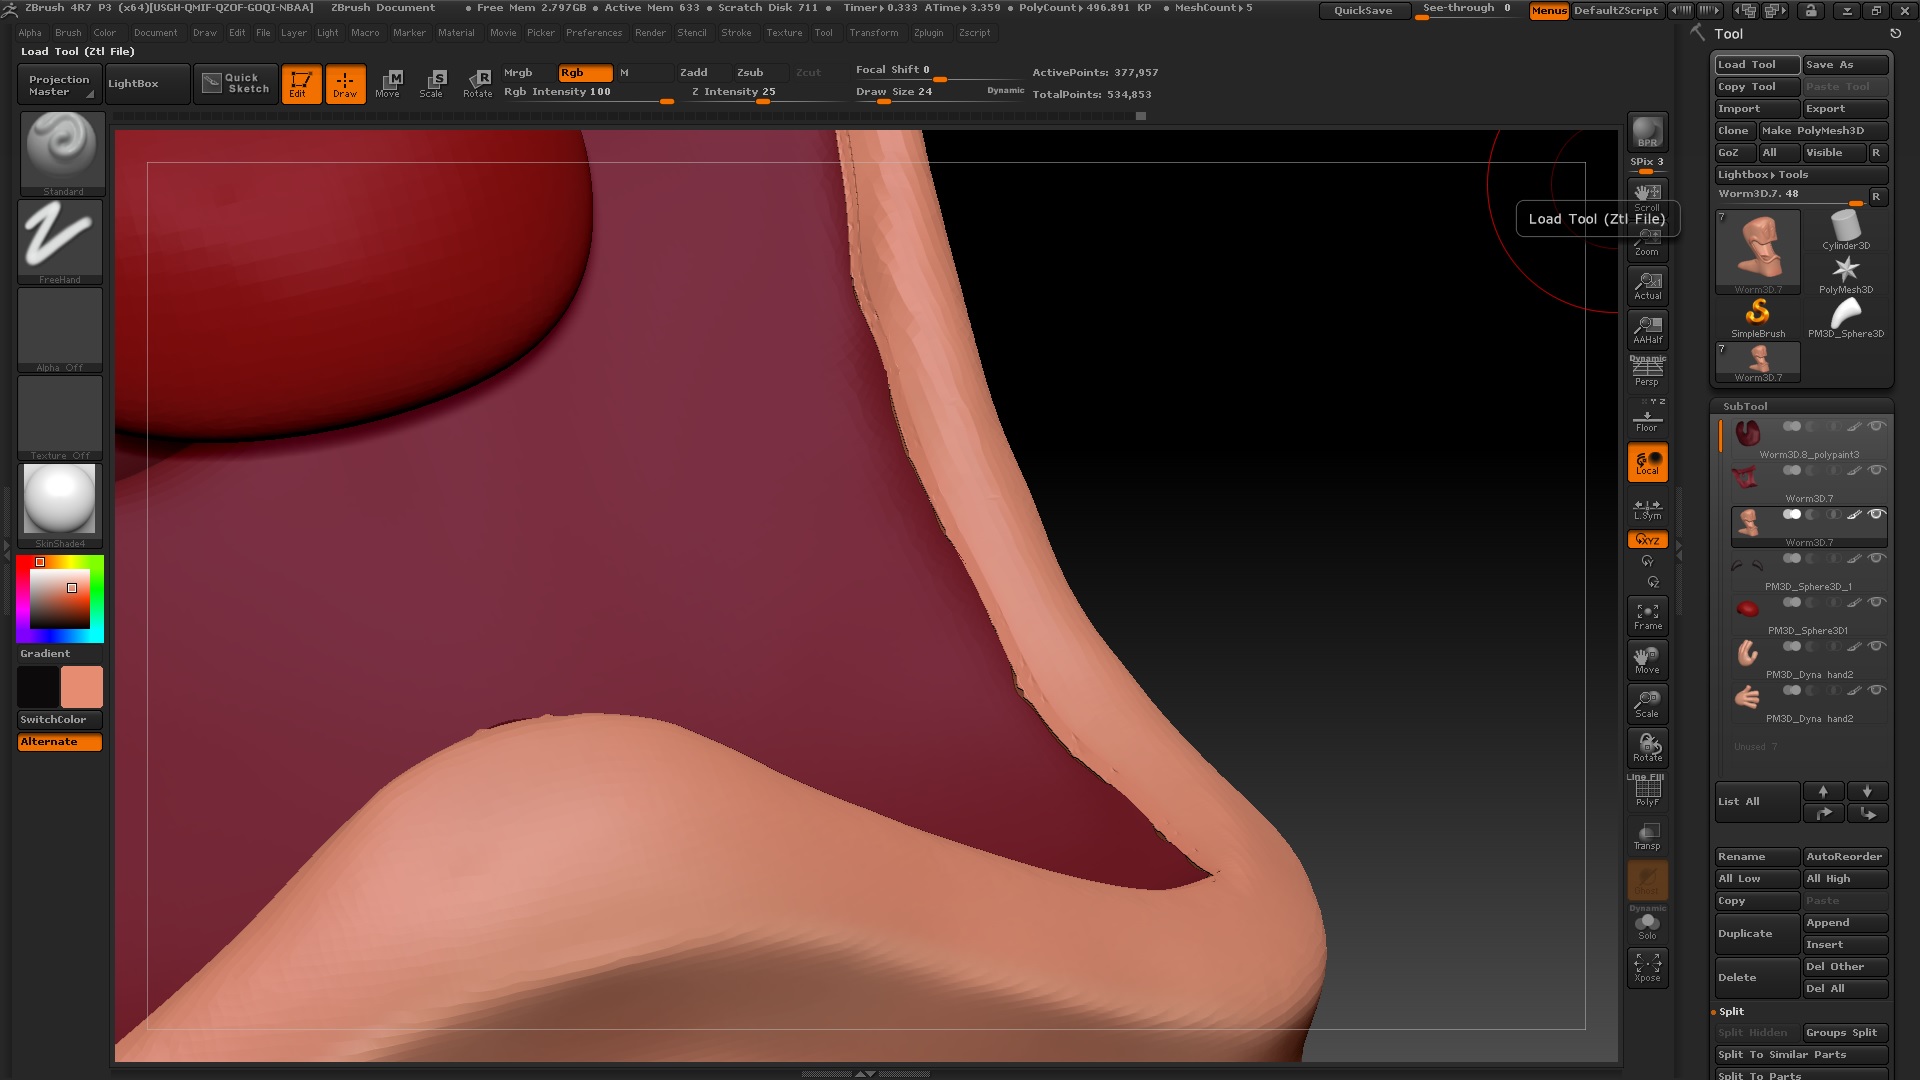
The key is to create your polygroups at low subdivision levels. That then transfers through the higher levels, giving sharp edges at all levels. If you used something like DynaMesh or Sculptris Pro to create your model then you will want to use ZRemesher to get yourself some new topology with subdivision levels.
Like aurick say’s, you should always create your polygroups on the lowest subdivision level. If it’s too late for that, you can try “Polish By Features” to clean it up.

Thanks for the reply… When creating a model from scratch, is it better to create it with sub divisions or dynamesh? I’ve never really understood when to use which. Always figured dynamesh was a lot easier to create the overall model then remesh and project?
That’s OK too. There are different ways to getting to the same result in ZBrush. Just do whatever you are most comfortable with and learn along the way.
The key really is to work with each of the various modes, learning its strengths and weaknesses. Once you understand that you’ll be able to choose the right technique for each job. What works great for a hyper-realistic human head may be all wrong for a bobblehead toy, which might in turn be all wrong for a spaceship. But with a solid grasp of the fundamentals you can not only exploit each mode to its maximum but move between them in a seamless way.
When it comes to organic models, a common mistake by newcomers is to get too many polygons too soon, resulting in a lumpy or poorly defined figure. This is where multi-resolution sculpting really shines. You can push the points of a level as far as possible, defining the forms to the maximum capacity of that level before you divide and start working on the next level of detail. By taking this sort of approach you get a figure that has really good shape definition, with all the correct planes and angles to suggest the bone and muscle structures under the surface. But you can also drop down to lower levels at any time if you feel that you need to massage the forms a bit.
On the other hand, if you’re exploring shapes to create something totally original you might work with Sculptris Pro and/or DynaMesh to just push and pull, building out the overall shape of the model (DynaMesh) and even adding bits of detail here or there (Sculptris Pro) to see how it all might come together. At this point you’re exploring forms without restricting yourself by concerns about topology. Once you have an overall design that you really like you can then use ZRemesher to create a clean base mesh for your design. If you’ve used Sculptris Pro to do some detailing you might then subdivide several times and project that detail over to your new model. You’d then drop back down to the lowest levels to start building out those anatomically correct forms, slowly stepping back up through the levels like normal. But here, when you get back to the higher levels your more detailed sculpting from the original version of the model will now have moved and adjusted itself to fit the more refined version of the model. It’s a very non-destructive workflow that gives you a lot of freedom to explore while still providing the necessary discipline to get a “clean” model.
Of course if you’re doing hard surface modeling your approaches to things might be very different (such as using ZModeler and IMM brushes). But you get the idea.  By understanding the fundamentals and what each core technique shines at, you can always know what tool works best for you for any given moment of any project.
Really appreciate the replies.