You could try storing a morph target at subd level 1. Then go to subd level 2 and apply smoothing to the area you want to restore. Repeat this process for subd levels 3+.
Now go back to subd level 1 and apply a 100% morph, Tool > Morph Target > Morph.
If all went well you will have removed detailing by smoothing and then restored the base cage through morphing. Note: this method uses the base cage that is calculated from the displaced model.
Another method is to import a morph target.
There are two ways to generate the mesh you will use as a morph target. Either method will create a tool you can use as a morph target.
1.a :white_small_square: Go to subd level 1 and press Tool > Geometry > Cage, then press MakePolymesh3D and unpress Tool > Geometry > Cage. Select the newly created Polymesh tool and subdivide it to the same level as your original tool.
1.b :white_small_square: Import your base mesh as a new tool. Subdivide it to the same level as your original tool.
2 :white_small_square: Export the tool from 1a/b as a .obj
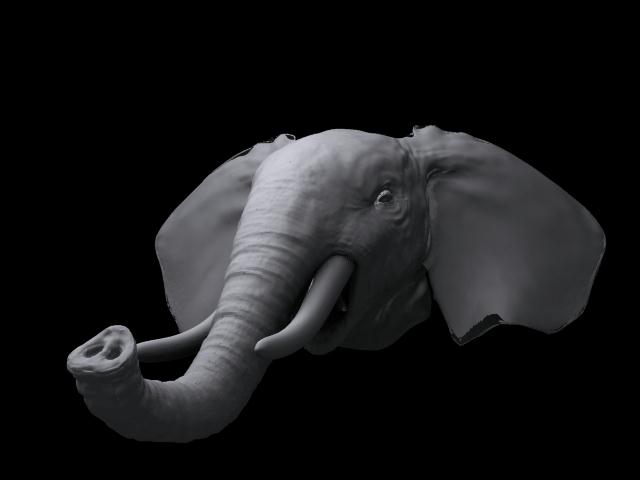
3 :white_small_square: Select your displaced tool(your elephant), go to the highest subd level and press Tool > Morph Target > StoreMT.
4 :white_small_square: Import the .obj from step 1.
5 :white_small_square: Press Tool > Morph Target > Switch
6 :white_small_square: Select the morph brush and morph the unwanted displacement away.
As you have probably realised, if you originally subdivided your model and stored a morph target at the highest subd level you would not need the above steps. You could immediately begin morphing.
 A couple of things you should remember.

 - Morph targets are tied to the subd level at which they are stored.
- If a polymesh tool is selected, pressing import will try to import into the current tool. Select a non 3D tool to import a .obj to a new tool.
- Morphing subd level 3 of a 6 level tool will not morph the displacement in levels 4+. It will only morph the vertices needed to construct the displacement in levels 4+.