I was taking a lesson in using the sliceCurve tool to isolate and form polygroups and then use the mirror and weld function in the Geometry subpalette.
Well in creating my first polygroup of a single horn protruding from the head I had to add polys to an existing group by holding Ctrl+Shift and then hitting the X key until the entire horn was visible. This ceated the first seam in the first polygroup. I didn’t worry about it as I wanted to try the mirror and weld function to get the polygroup to appear on the opposite side of the head.
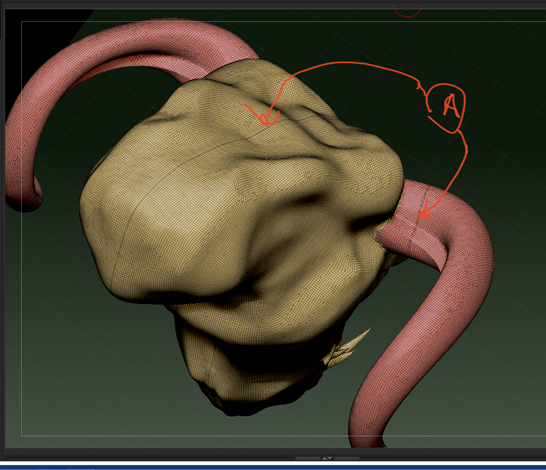
I was successful in that it did make the opposite horn part of the same polygroup and it reproduced the seam…but it also put a seam right down the middle of the model.
Is there a way to get rid of the seams?
Attachments