ZBrushCentral

HighPoly Detail Zbrush+Maya

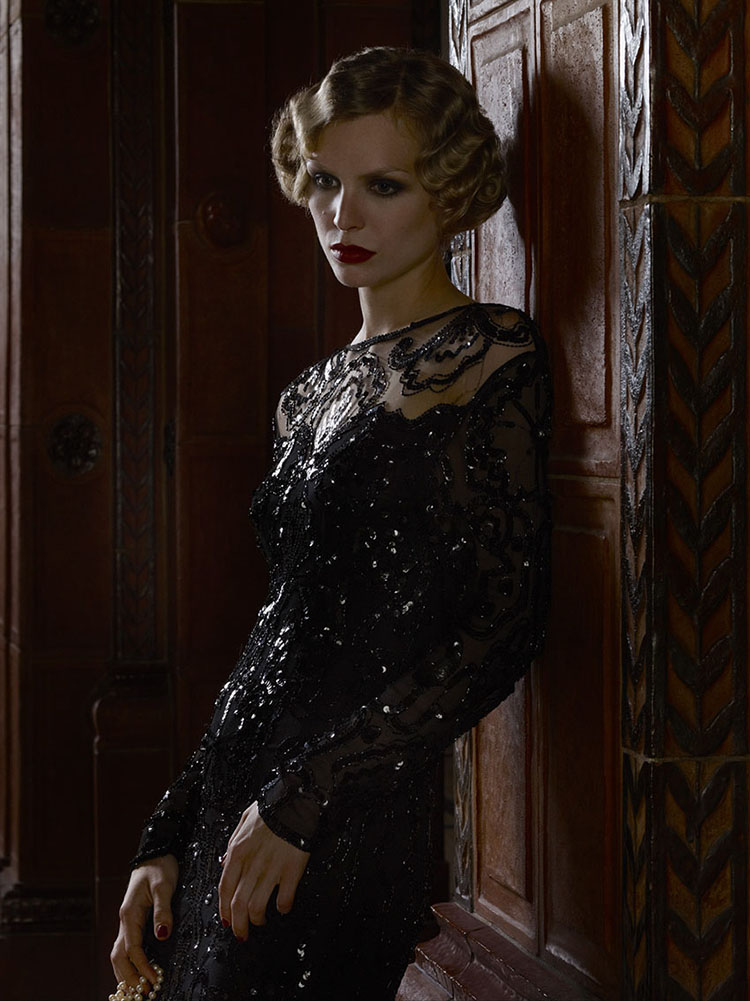
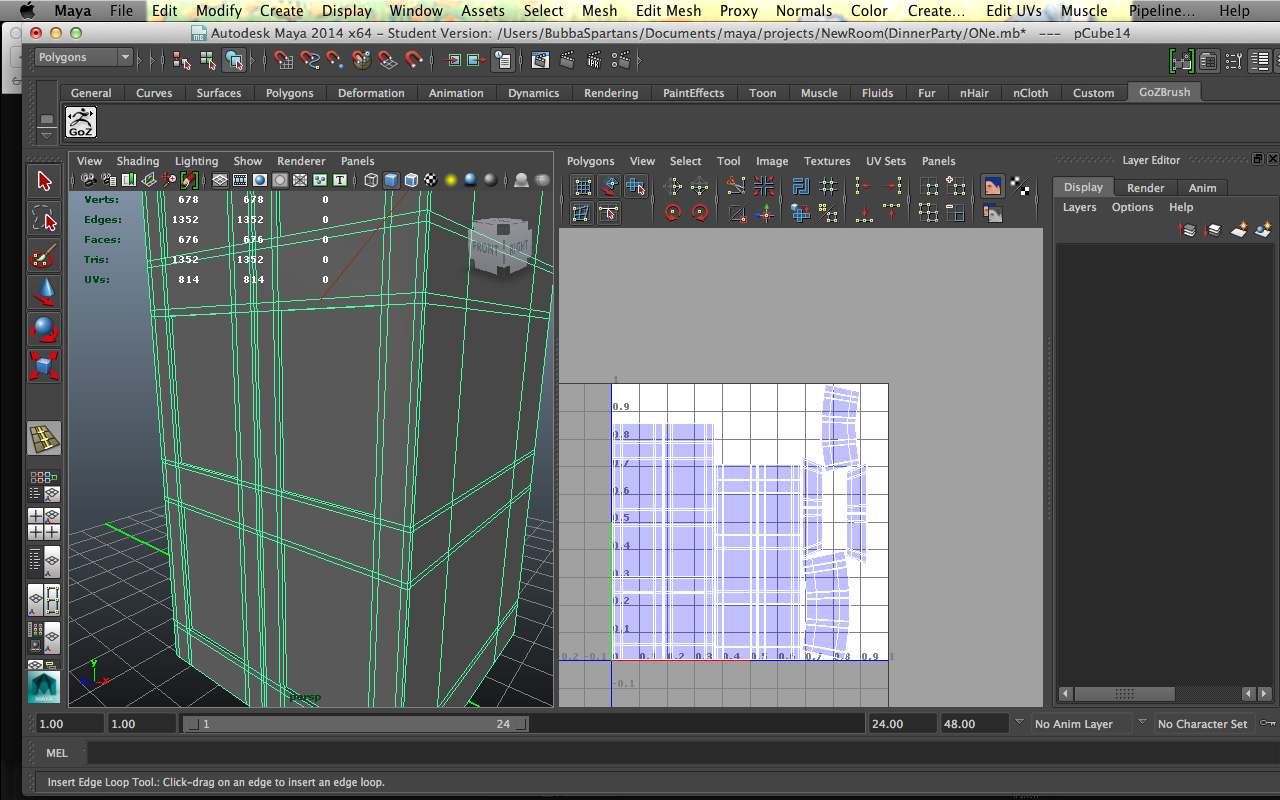
I am attempting to make a high detailed interior like the one in the image. One with a lot of different designs and carvings. I have attempted to create the main block of geometry in Maya, make the uv’s, then send it over to zbrush to do high poly sculpting. The problem occurs when I send it back to maya my squares get all smoothed out, and I no longer have that block of geometry that I want to represent a pillar of sorts. My squares have become more rounded.

I am looking to keep the block geometry but also be able to have high quality designs on the model. Is there an alternative way to do this than Maya to Zbrush and back?

Attachments

1608.jpg

ONe.jpg

When you bring your model into Zbrush from Maya, store a morph target. Now create as many levels as you need and sculpt in your detail. When you’re done, go to your lowest level. Your mesh will look different from your original mesh. Now click the “Switch” button in the “Morph Target” panel and your current state will be switched with the original state that you saved. Now create all the maps that you need, like Normal, Displacement and colour and goZ to Maya. In Maya turn on High quality rendering or Viewport 2 to view the detail with normal maps. To view the displacement map you will need to render in mental ray.

If you need to do any more work in Zbrush, don’t forget to delete the current morph target and store the morph target again. Hope this helps.