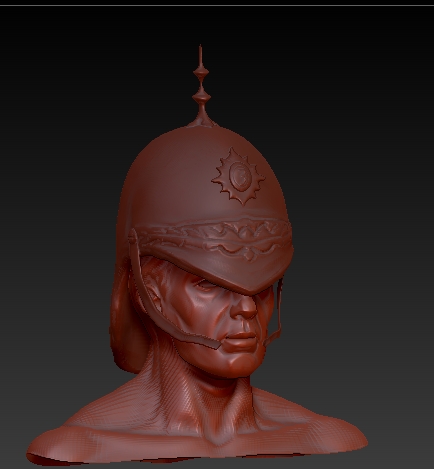
In the case of the reliefs :
1 - Extract them in a shape which is similar to what you want
2 - Dynamesh it
3 - Do the usual sculpting with detailing
4 - Once you’re happy with the result, make a copy
5 - In this copy, zremesh it and clean topology
6 - Make sure the zremeshed copy has a polycount of a multiple of 4 from the finished original dynameshed sculpt
7 - Subdivide it until the topologized copy has a similar polycount to the dynameshed original, as close as possible
8 - Make sure only the two sub-tools are visible
9 - Project the details from the dynamesh to the topo-clean copy
10 - Done
Now, for things with simplicity, such as numerals and letters :
A - Watch this tutorial
B - Try to believe Blender can do something better than Zbrush
C - Still keep trying to believe
D - …
E - After accepting this extremely unusual fact, create a low-poly version of a letter or numeral of your choice
F - Import it to Zbrush as an .obj file
E - Use the create insert brush AFTER framing the object with the key F
G - Now, in order for it to “slide” in the curvature of the helmet, go to brush > modifiers > projection strenght
H - See in amazement how a low-poly mesh can fit nicely into a curvature-like sub-tool
And this is how I recommend you do it. I guarantee it’ll look really cool with this recipe.