ZBrushCentral

Help with head

Hello to all
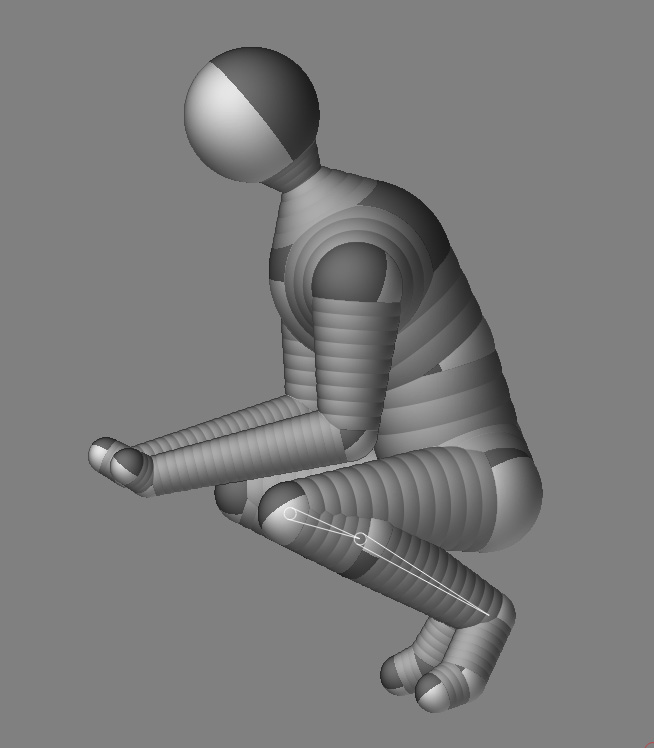
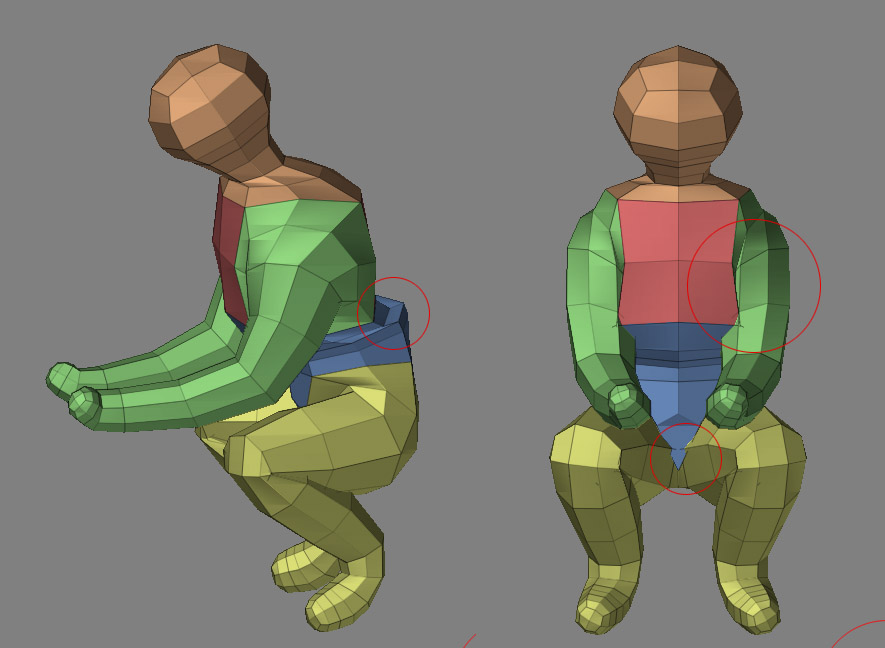
Here’s my progress to my new wip. I’m beggining to learn zbrush but still have a lot of issues.

The main thing is that I don’t know what tools to use where. Oh by the way I’m using zbrush 2. (I’m on a mac)
I almost always end up using the standard brush and the smooth brush. The inflate and the pinch brush are used only a few times. I always get the feeling that I could do some of the stuff better with other tools but I’m not really sure if that’s true or not.

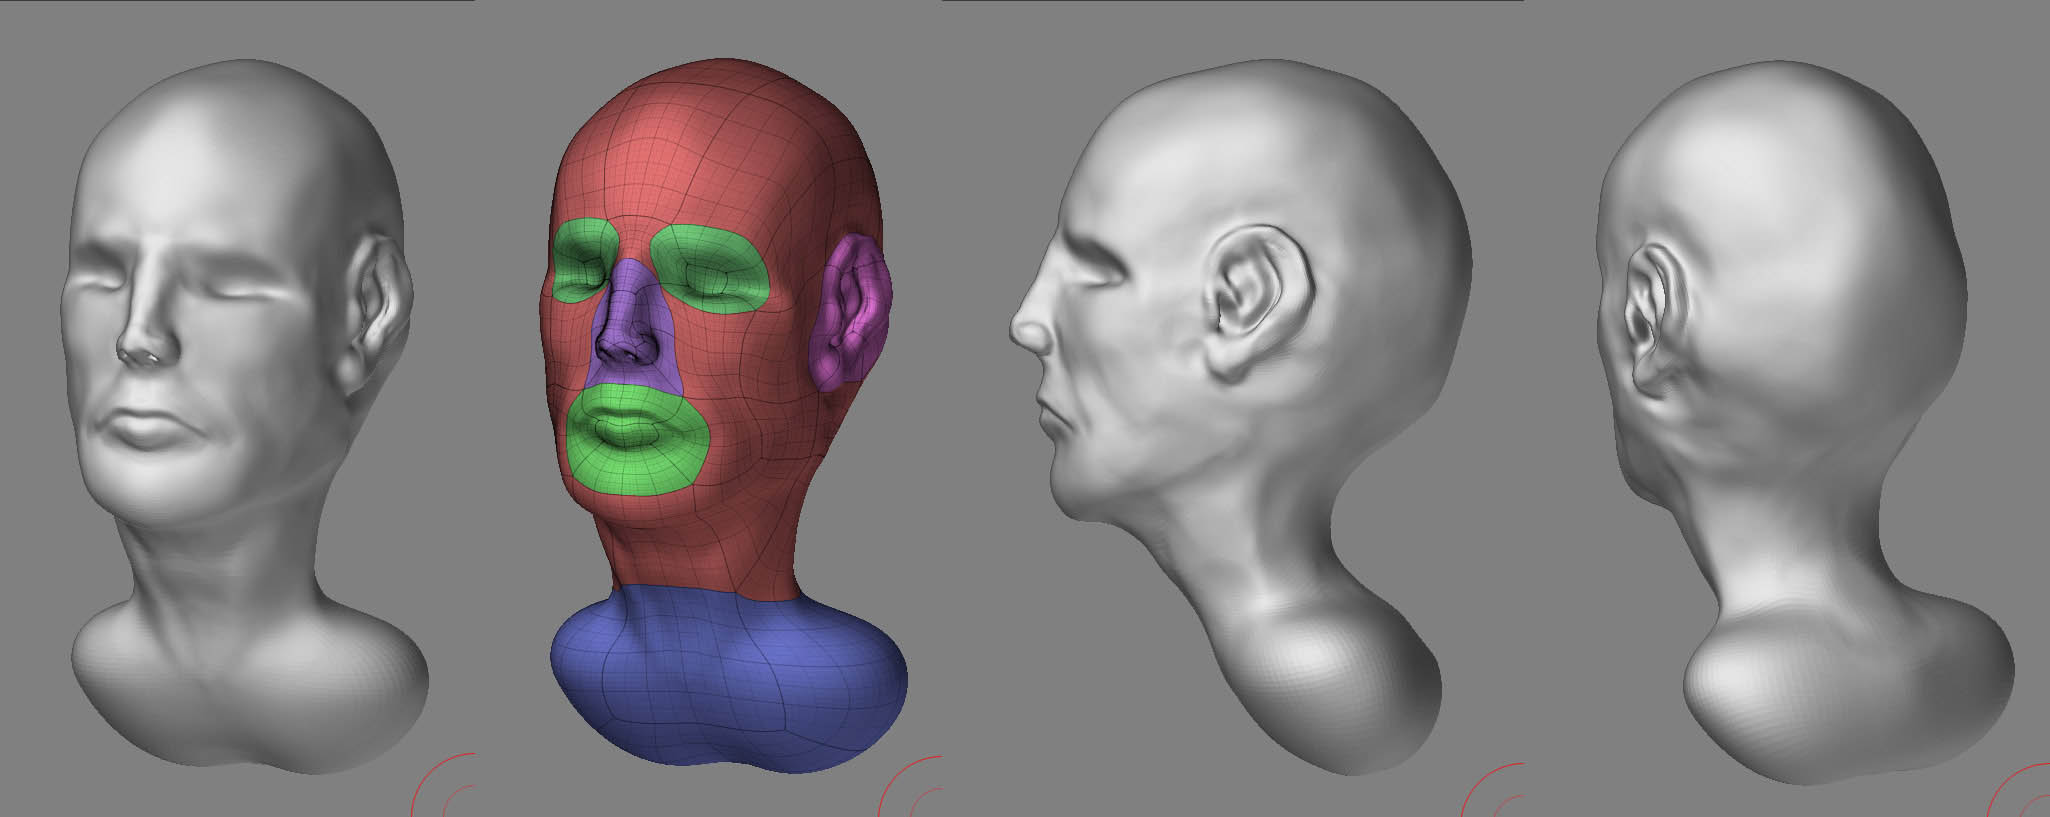
The other problem I have with the building of the head is the lack of a methodology for the eye sockets. I want to put 2 eyeballs but I know that if I use another tool I won’t be able to edit the main model which is the head. (Will it work if I use the mrgbz grabber to grab the position of the head???)
If I find a way what would be the best tools to model the eye? By using the standard brush in “add” mode and gradually building the eye lids?
Another question
If I don’t intend to animate the character do I have to worry about topology-edge loops and stuff?

Many thanks in advance

Hallo.
I’m not sure wether Z2 supports subtools,
but if it does, it would make it possible for you to add eyes withoul loosing the possibility to edit the rest of the model. You simply would have to append two spheres as subtools to your head.

when it comes to making eyelids, use masks to model. And inorder to get eyeballs in your model in Z2, you’re going to have to use Multi-marker. If you do a forum browse you can find info on it.

I always found Zbrush 2 difficult to work in. I had a very good understanding of the tools, but they never quite reacted in the manner I wanted them to. Zbrush 3 fixed this for me letting me use alphas to sculpt as well as perspective projection.

The thing that is very important though whether you use Zbrush 2 or 3 is to ensure you have a very clean, tweaked low res mesh. Usually I spent some time sculpting at higher levels, smooth things out and drop down and tweak the heck out of the mesh at a very low level with the move tool. Use masking and adjust things nearly vertex by vertex to get things like eyelids formed properly. You can alternatively export a lower res mesh to a program like Max or Maya to do your tweaking, and then bring it back in if you find that easier. You might want to activate the axis constraints under the Transform palette, there should be xyz buttons to enable or disable translations on certain axis’ which can make forming certain features easier. Use the masking tools quite a bit on your faces as well. It’s a very good way to crease certain parts of the face and the ear.

The others are right, you can use multimarker to link sphere’s to your mesh, but it’s not nearly as polished as the subtools function. Personally I would just stick in eyeballs in another 3d program once the sculpting is done.

Lastly edgeloops are key to getting the most out of your base mesh, moreso in Zbrush 2. When you start doing the aforementioned point by point tweaking on your low res mesh you’ll start to appreciate a proper poly flow, it ultimately means you get to form your mesh in much less time than if you were doing it on a poorly topoligized character.

I think your head is pretty good so far, and the topoligy is workable. The only thing that I would recommend changing is the lips, you’ve sculpted over a ring loop, and if you were to move the center of the lips down to the center of the loop it would function much better. Good luck.

Thanks for the very good answers.
How would I model though the eyelids? Do I use the add tool in the std mode, or just move things around (which I guess is not such a good idea).
Arcanox your suggestion to move back and forth to the lower mesh was brilliant. I completely forgot I could do that. I did some minor tweaks and I saw some huge changes in the shape of the face. One thing though that seems strange. Even though I use symmetry (x axis only) all the time going back and forth revealed points that don’t reflect at all in symmetry. I remember that there is a tool that can fix that but I can’t remember where. (did I see it in a zbrush 3 demo??? Hope not)

I want to build a whole body. What would be a good idea? Built the model as a whole or stitch (cover somehow in editing) parts together?

And another issue I’m dealing with.
kneel.jpg
The first circle on the right. Why does this happen? Is it because a zsphere is twisted?
What about the parts that are overlapping. Should I build the parts further apart and then somehow move them closer??

Sorry for the long post and many thanks in advance

Attachments

kneel2.jpg

For the eyelids, you can use any number of methods. Give the standard brush a go, do some general shaping with that, drop down a few levels and refine the shape with the move tool, go back up smooth, shape some more and repeat. It’s tricky, cumbersome and takes some practise but I couldn’t explain it much better. Again I have to emphasize that this workflow is made considerably easier because of zbrush 3’s better sculpting tools. If you achieve any level of success with Zbrush 2, when the mac version of Z3 comes out you’ll fly through those things no problem.

Any number of things can throw your mesh out of symmetry, but it’s very easy to fix those issues. The function your looking for is Smart Resym and it can be found under Tool>Deformation, near the top. Once thing to note is that it averages the two halves of the face out, so if you have some kinda large crater on the left side of the face and run the sym, you’ll get it on the right side as well, but not as pronounced. Usually what you do in this case is drag a mask box over the side of the face you want to keep and it will only change the side thats unmasked. Also when you do your masking, do it at a lower level, and go up, resym, go up resym, that way you avoid a seam in the middle of the face.

In regards to the Zsphere’s, the feature is not really my favorite, just for that very problem your having. What’s imporant to note is that you never want to have any of those grey tubes between the spheres intersecting with each other because it causes wierd topology. Sometimes it’ll create wierd creases for reasons I can’t explain. The solution, as I understand it is to add more spheres to keep the others spaced away from each other. It’s a bit counter intuitive which is why I was never a fan of the feature. I usually start my base meshes in max and bring them in, I can control the topology much better that way.

Arcanox I have a friend that has zbrush3 and can lend me his laptop for a while. What would those tools be for zbrush 3? (for eyelids)
If I work on zbrush 3 for the eyelids (or whatever) and export the object as ztl I guess I won’t have any problems working with zbrush 2 back home? Right?