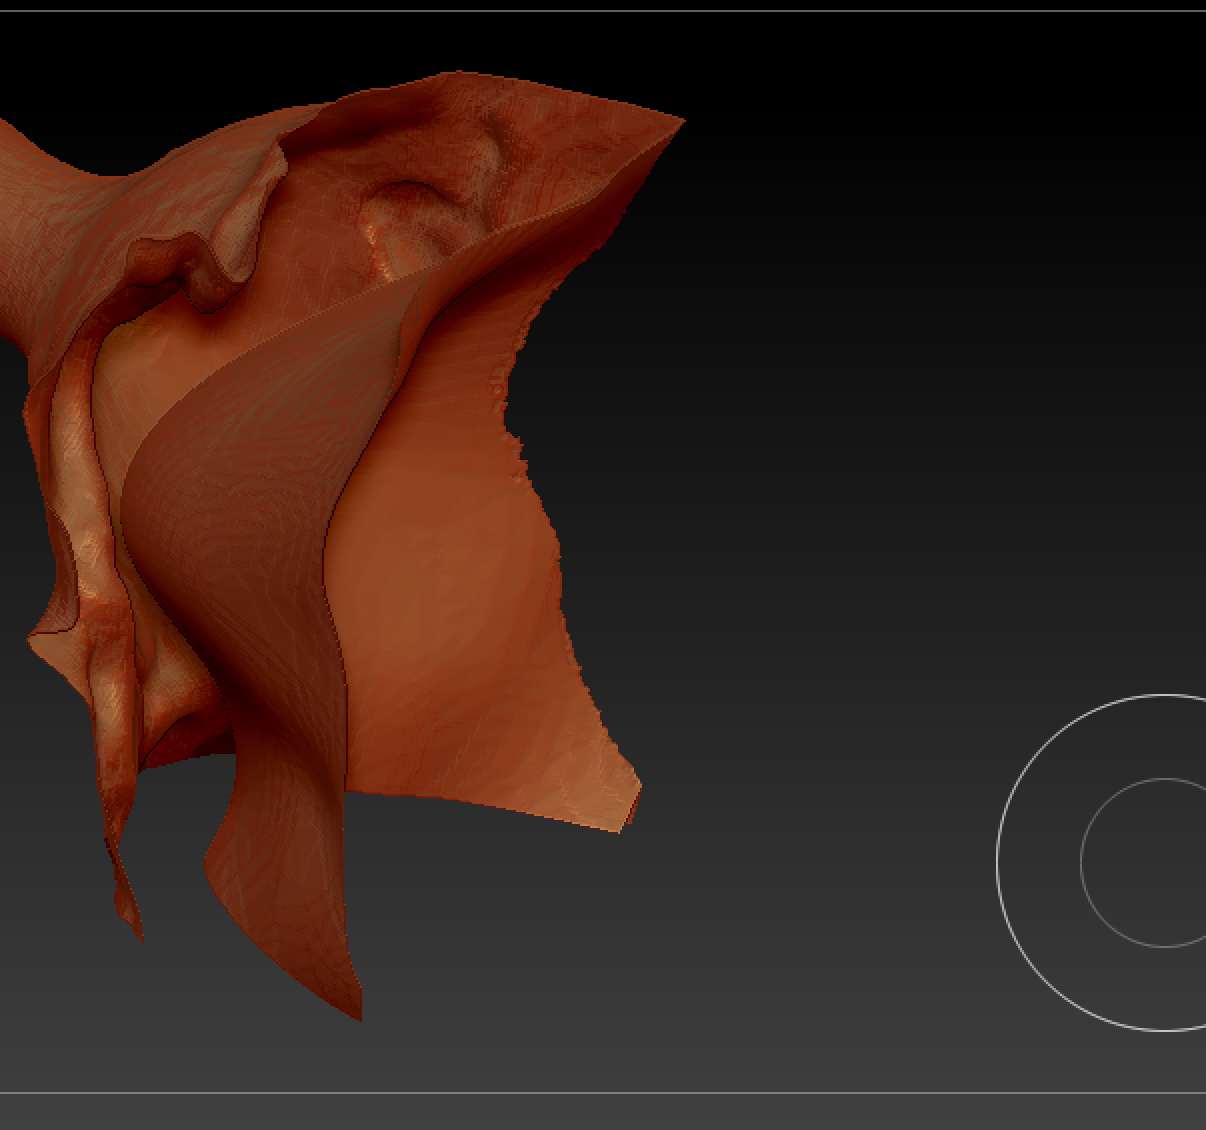
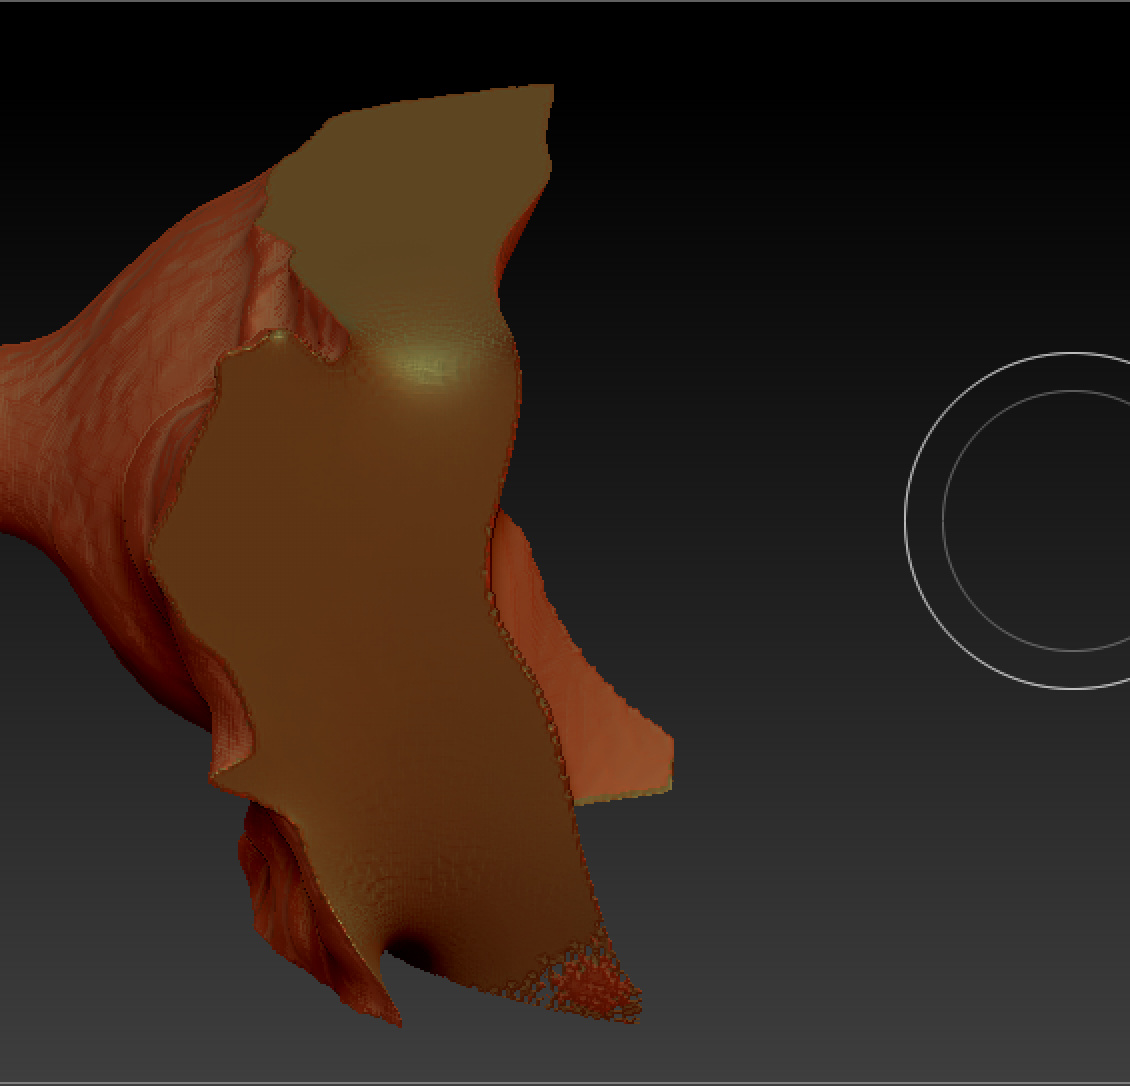
I have a design that has been shelled, and I now want to divide into pieces for 3Dprinting.
I’ve split the design into polygroups for the pieces, and then split the polgroups into separate subtools (so a subtool for each piece).

Now I want to seal the edges, with a nice flat surfaces that can easily be glued once printed, but thats where I’ve run into a problem.
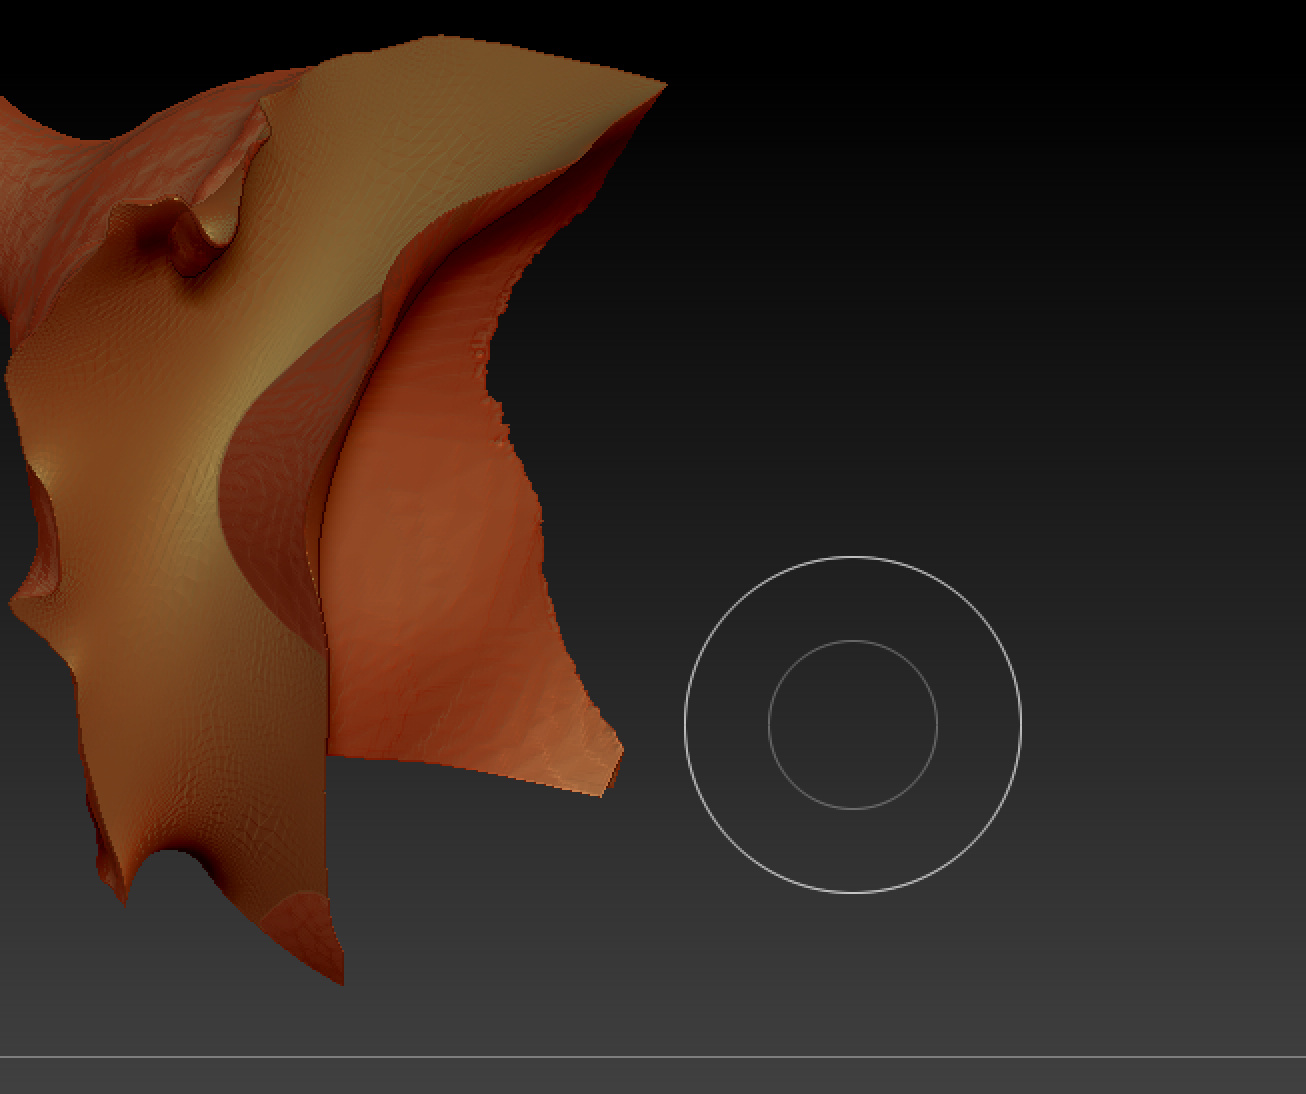
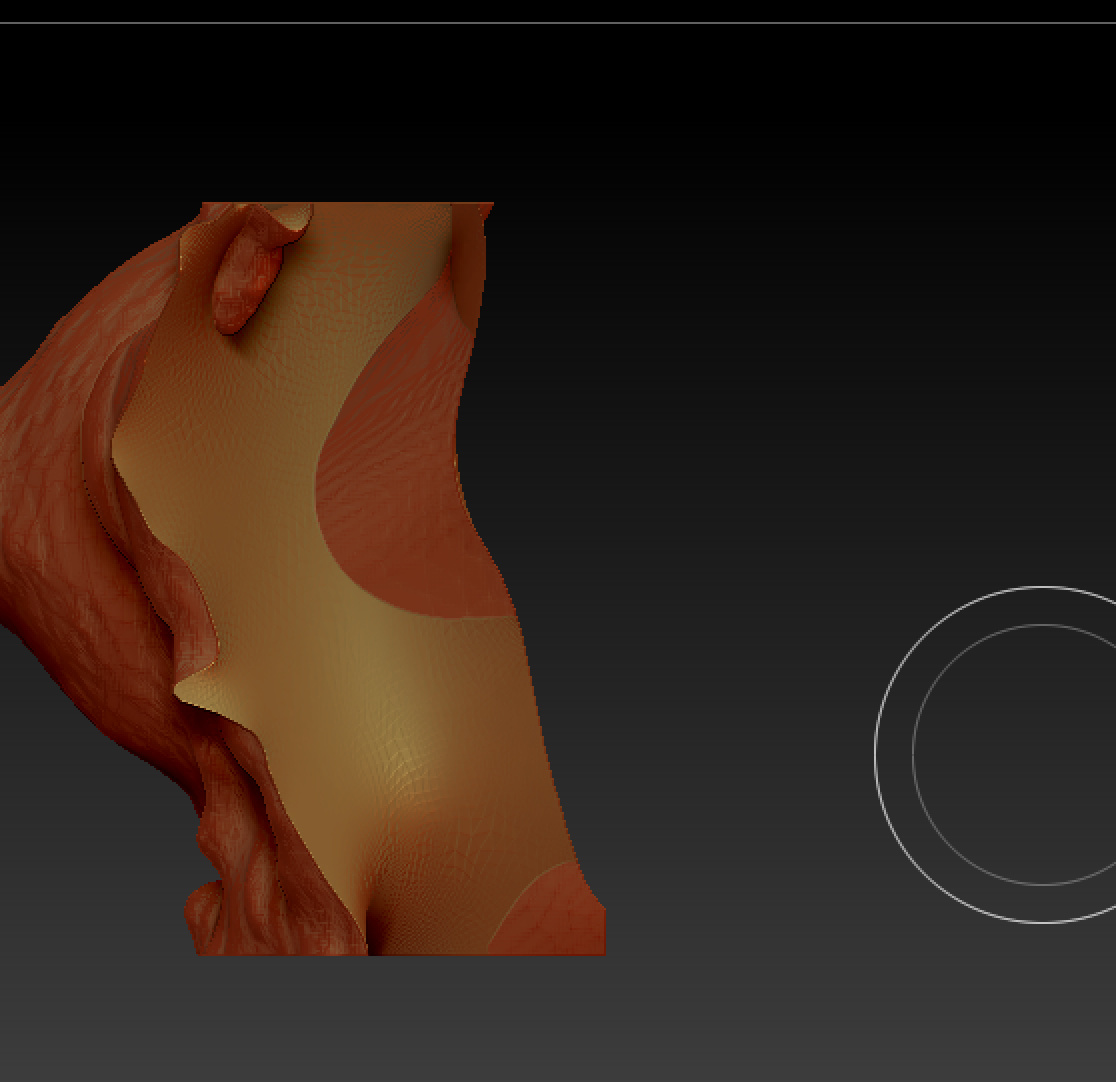
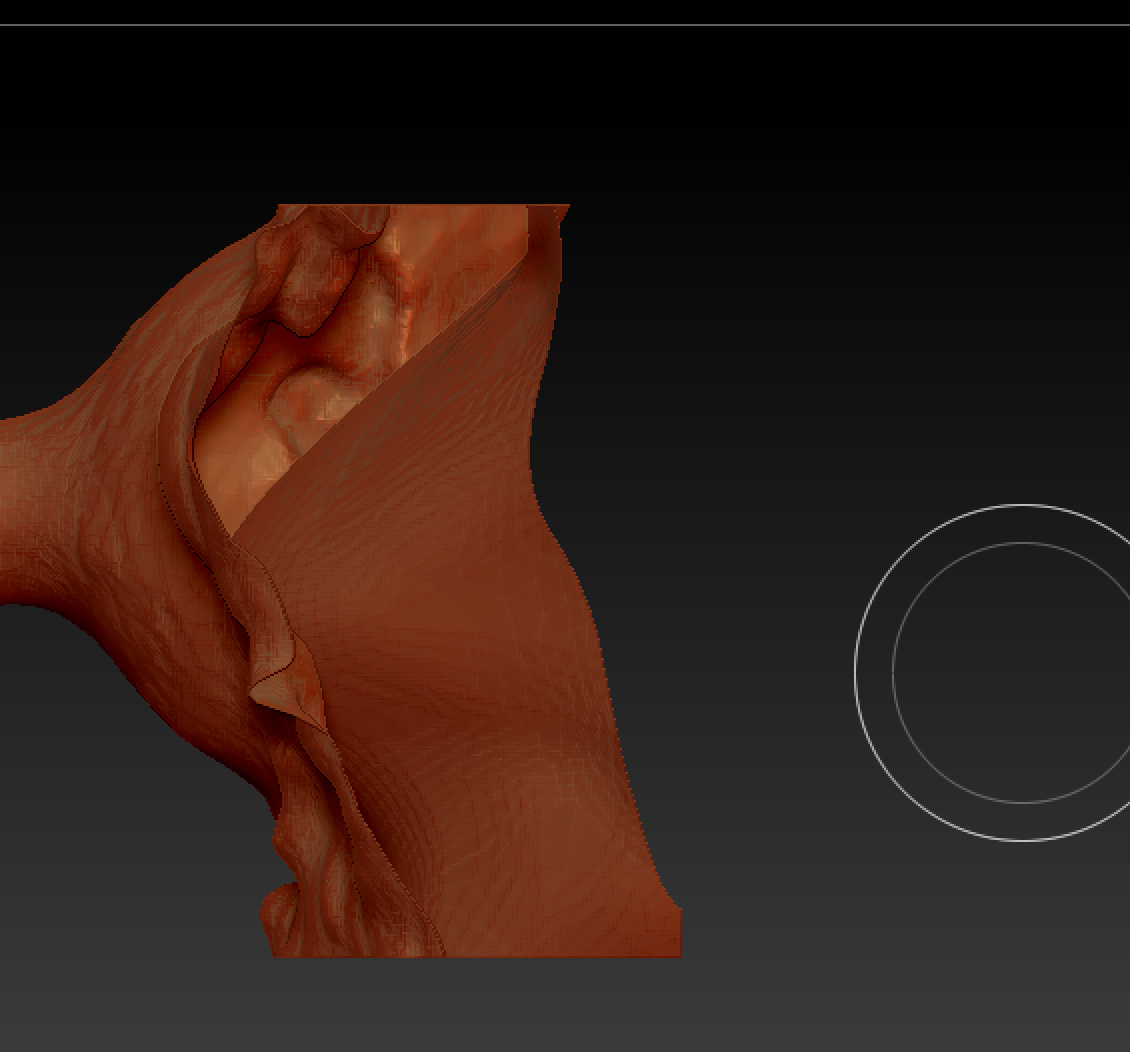
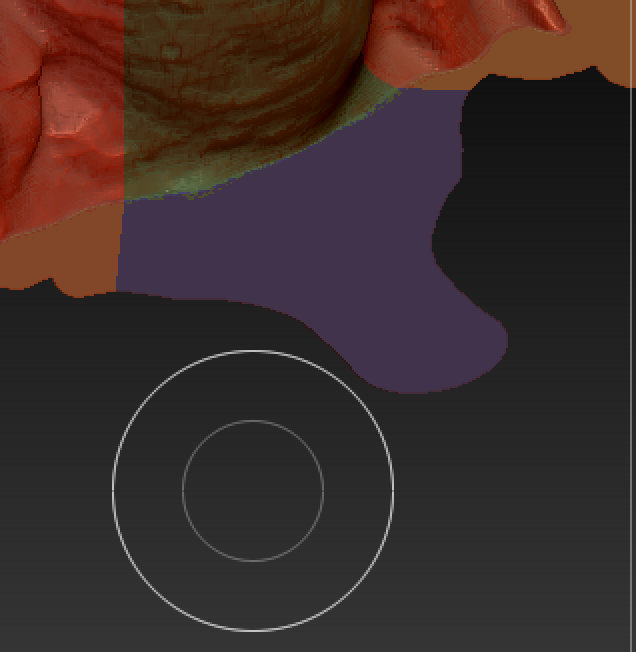
Whether I use close hole / dynamesh, it doesnt seal off the edges nicely.
Images below show one piece with open edges, and then ‘fill hole’ or ‘dynamesh’ performed, but neither closes the edges nicely.


Is there a way I can do this?
I have tried also using the clip and trim function aswell, but it also created bad edges and sealed over the shelled aspect of the model -
I’m also open to using another software for splitting if someone has a suggestion.
Attachments