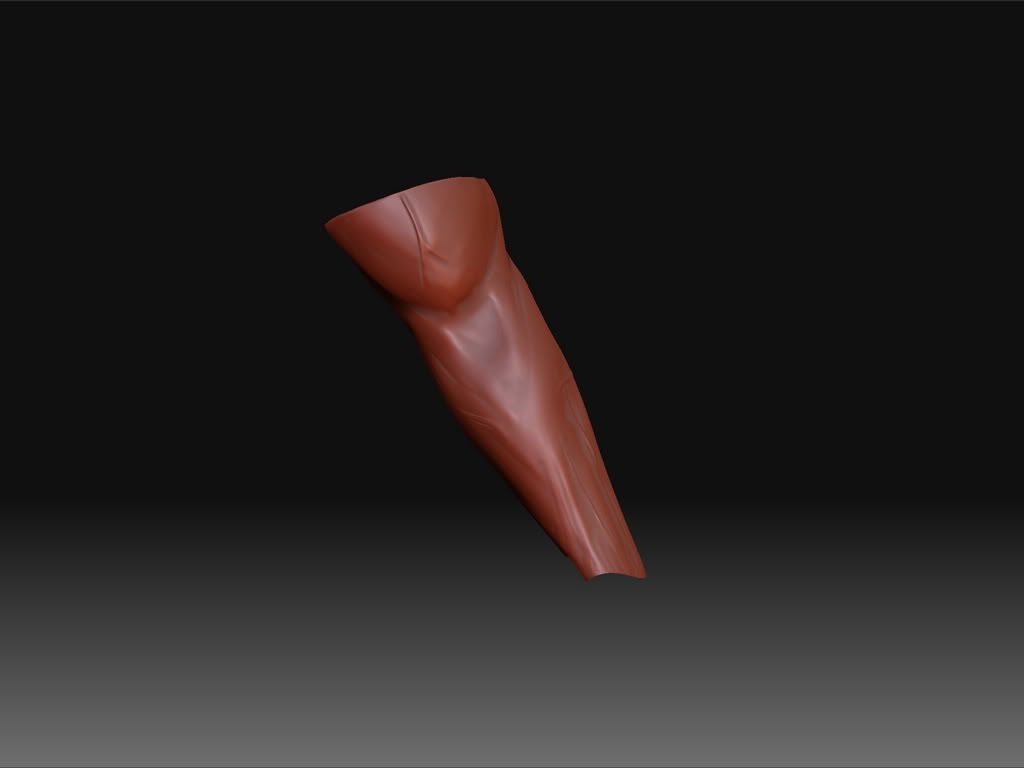
It looks like the objects normals are flipped. I’ve noticed the default import/exporting settings in Zbrush do strange things to normals when you get them back to Maya. They seem like they’re facing the right way but they’ll render backwards anyway. It’s weird.
Try Reverse Normals or Set to Face back in Maya. Usually does the trick for me.
Also, for next time, check the import/export options in Zbrush under preferences. Make sure nothing is highlighted.
i tried to reverse the normal direction in maya and also tried to set to face. that still didn’t work. i even turned on backface culling just to make sure
i checked the import/export prefs in zbrush and un-highlighted everything. the normal map seems okay. but when i plug it into maya, i get the same result. =(
Unfortunately, Maya’s ability to render normal maps sucks at this point, and there aren’t any options to flip channels, increase the effect, etc. I have no idea why they dont add more options like even max has, but this has been a frustration of mine for a while.
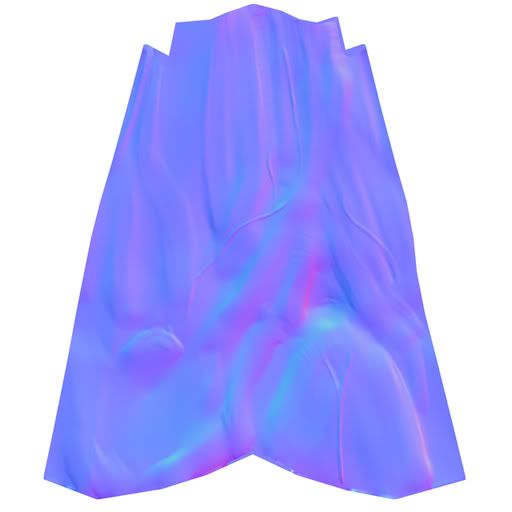
What you can do, however, is flip the green or red (or both) channels around before you generate the normal map in ZMapper. You will have to play around with the settings to see which is the correct one for maya. Also, you can get a better preview of the normal map by turning “interactive shading” on.
You might also try searching the internet for a tangent space normals render node. I used one a while back in Maya 7 called NormalBump2D that worked well, but it doesnt work in 8.5.
Good luck! And let us know when you find the best way to render the normal maps in maya, I know I want to know!
or you can tick invert binormal in the zmapper option “expert pass 1” when you render your normal OR invert red and green channel in photoshop…
also check your preference in zbrush and make sure that youhave the right options in your import export setting…
anyway hopethat helps
This will not fix the problem you are having with your normal maps. Reverse normals flips the normals of polygons in maya, which could easily cause confusion when that model is brought else where, like ZB, or a game engine.
I believe set to face basically removes all soft edges and sets the vertex normals parallel with the face normals. I have only found this useful when importing models from 3dsMax, when the whole model is smoothed, with no ability to make any edges hard.
The way normal maps get used by a program has no standard, so one program will display them correctly if the red channel is up, and green is left. Other programs flip this around. Since Maya has no options (like Max does for example) to flip the normal map channels in the shader node, then you will have to flip them when you generate them in ZB, or after generation in a program like CrazyBump (which I believe has this functionality). I havent tried recently, but when ZMapper first came out, it had presets for different programs; you could load settings correct for 3dsMax, Maya, Unreal, etc…