Good Afternoon All
I’ve been trying to get the awesome greebles made in Zbrush into Maya via displacement map. The results I’ve gotten so far have been lackluster. Think I’ve narrowed it down to one thing that I can’t figure out and would like help on.
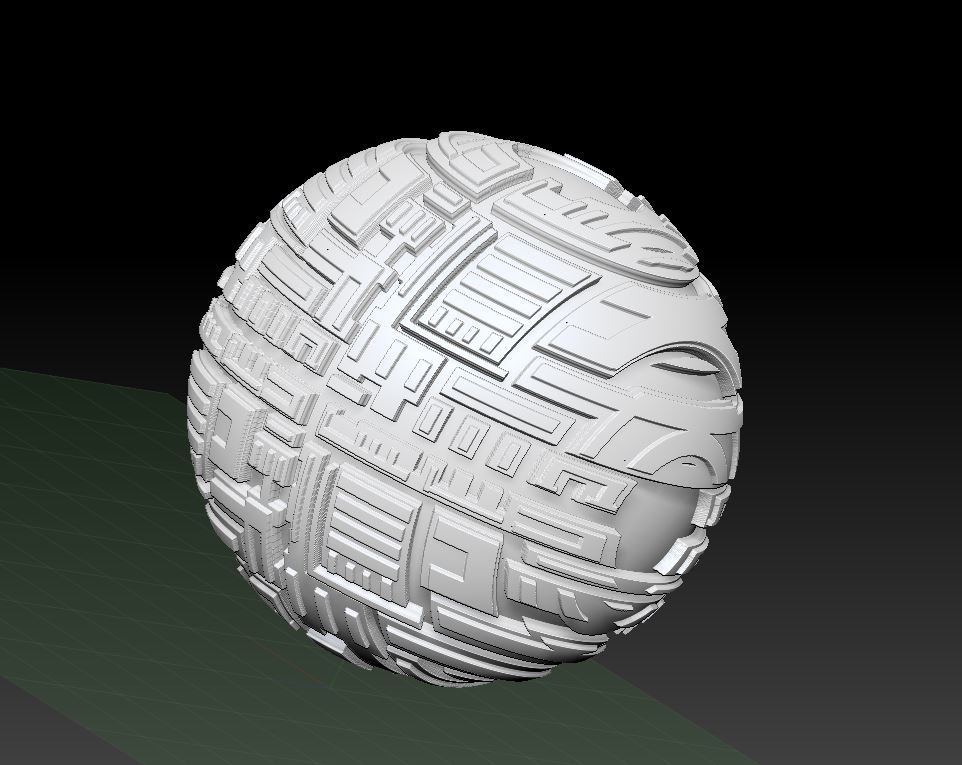
First off here is a picture of what I have in in Zbrush.
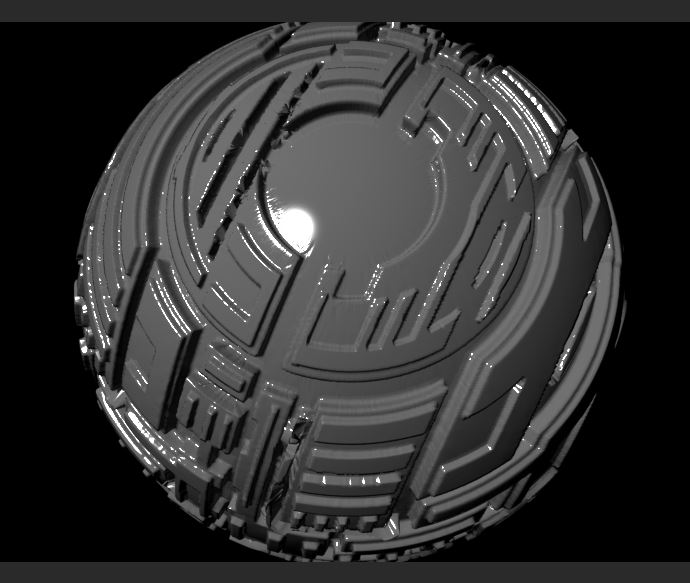
And Here is the best I’ve been able to get it in Maya using mental ray with an approximation node, set on a Parametric approximation method with 3.000 N subdivisions. I’ve made sure under the file node that’s plugged into my displacement map, that filtering is off and Alpha is Luminance is set to on.
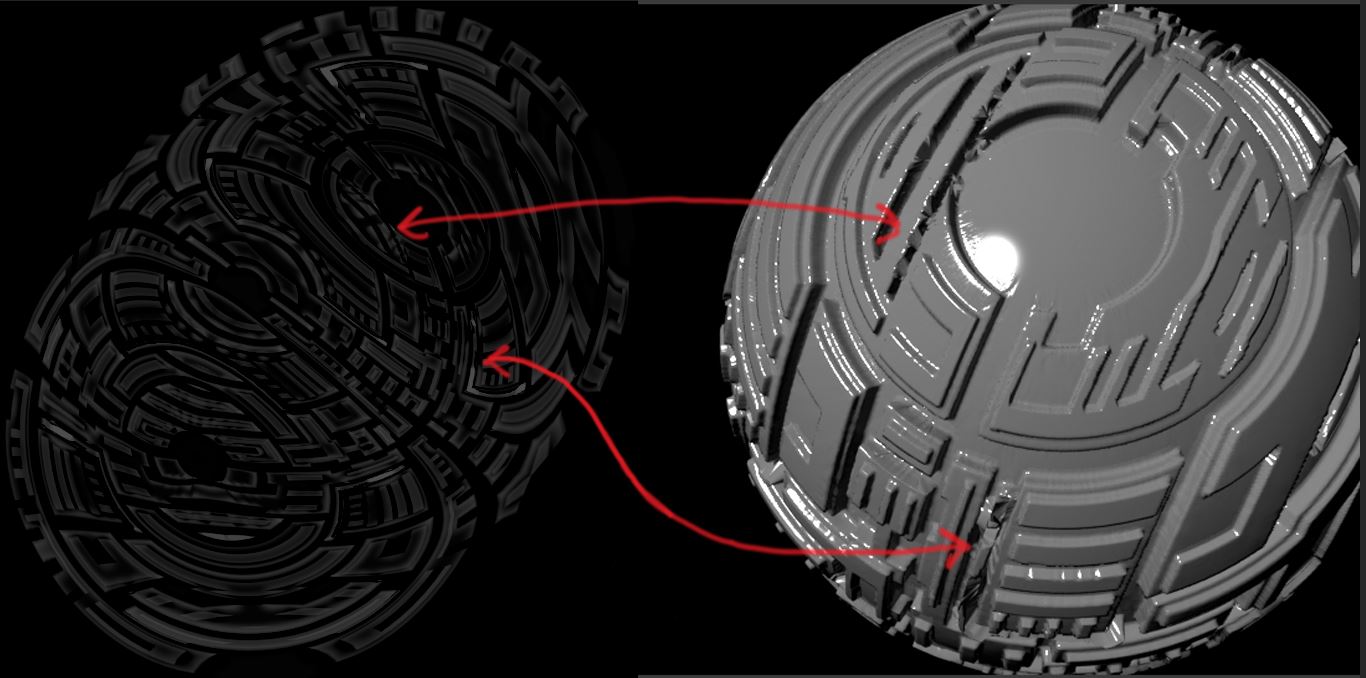
I think the problem is ZBrush because when opening the displacement map in Photoshop problems stand out like a sore thumb.
There is a wavey pattern that makes some areas lumpy and the lighter areas produces those weird crinkled distortions. In contrast the lines on my cavity map and my normal map are sharp and clean.
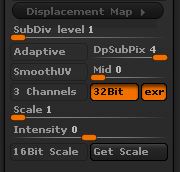
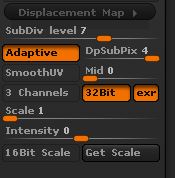
Here is a screen shot of the two different settings I’ve used in multi map exporter and yet I’ve not seen these particular distortions go away or even improve.
I used 4096 UV, and displacement.
The mesh that I export into Maya is 8,193 polys
My Fully greebled Zbrush Mesh is 8.357 mil
This will help knock out a few problems so any helpful advice will be great.
Attachments