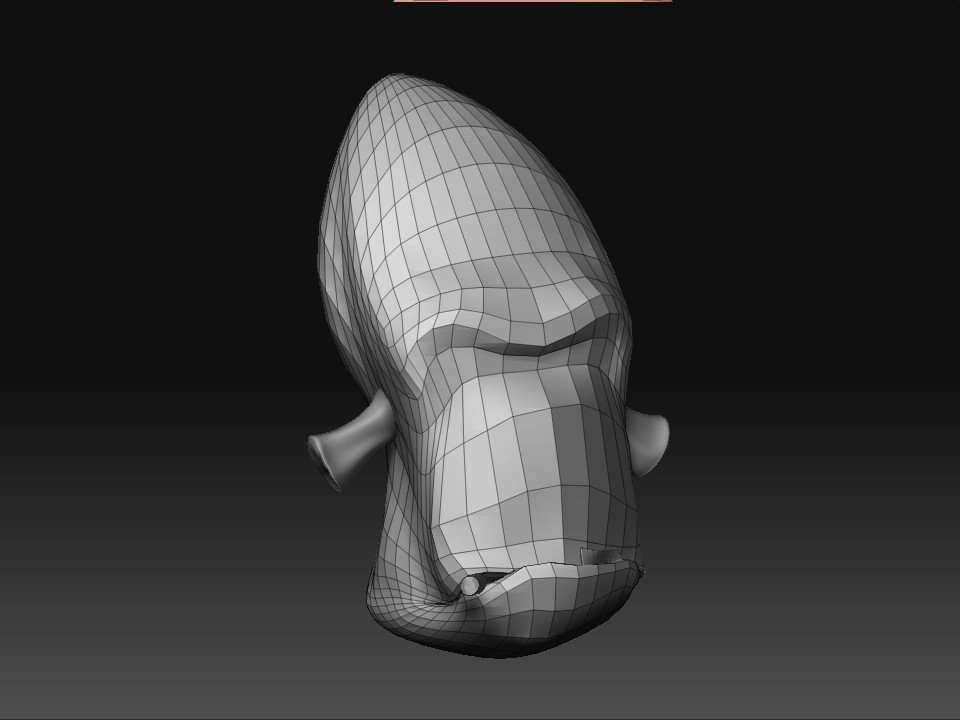
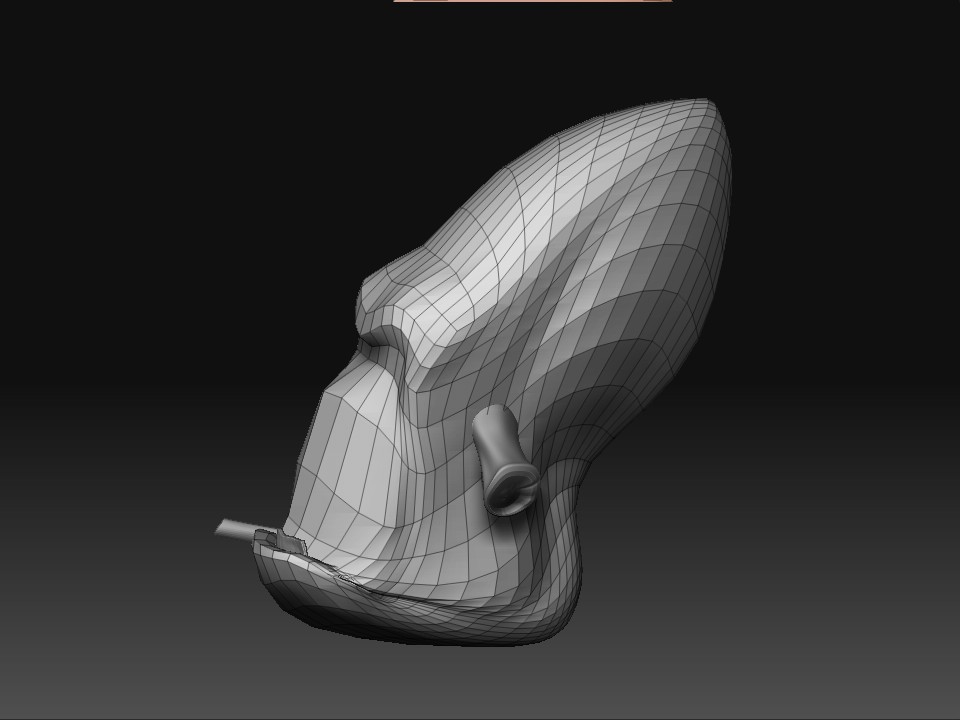
The topology of a model is the grid that it breaks down into. It’s what you use to find a polygon count - each face, or square, of the grid is a polygon, with four vertexes per face. Zbrush alters the positions of these vertexes to move the faces, allowing you to sculpt your model.
Retopology tools in Zbrush allow you to remove the existing topology and create a new one that is better suited for your needs. For example, a face with straight rows of squares down the front of it doesn’t lend itself all that well to having arched eyebrows sculpted onto it, or eyelids, or even full lips. Using the retopology tools, you can create a high-poly character, then draw a new grid on it that reduces your polygon count and makes it more workable for whatever you need to do.
The following is a picture to help demonstrate why redoing the topology is so helpful for faces. I didn’t make the picture.
[[attach=164380]poly_regions.jpg[/attach]](javascript:zb_insimg(‘164380’,‘poly_regions.jpg’,1,0))
As you can see, redoing the grid allows for details to be added more easily. There are several tutorials that help further explain how to use the retopology tools, just search Google for them. You might also want to check topology guides for making characters easier to animate - trying to bone rig a high-poly(1.5 mil) character in 3DS Max is a warp nightmare. Hope this helps!

 ](javascript:zb_insimg(‘164218’,‘dripik03.jpg’,1,0))


 ]](javascript:zb_insimg(‘164276’,‘ZBrush%20Doglucument.jpg’,1,0))
 ](javascript:zb_insimg(‘164278’,‘glukkonbody.jpg’,1,0))
 i’d like to see it completed :rolleyes:
