ZBrushCentral

Game Art Environment - Tristram Tunnel Test

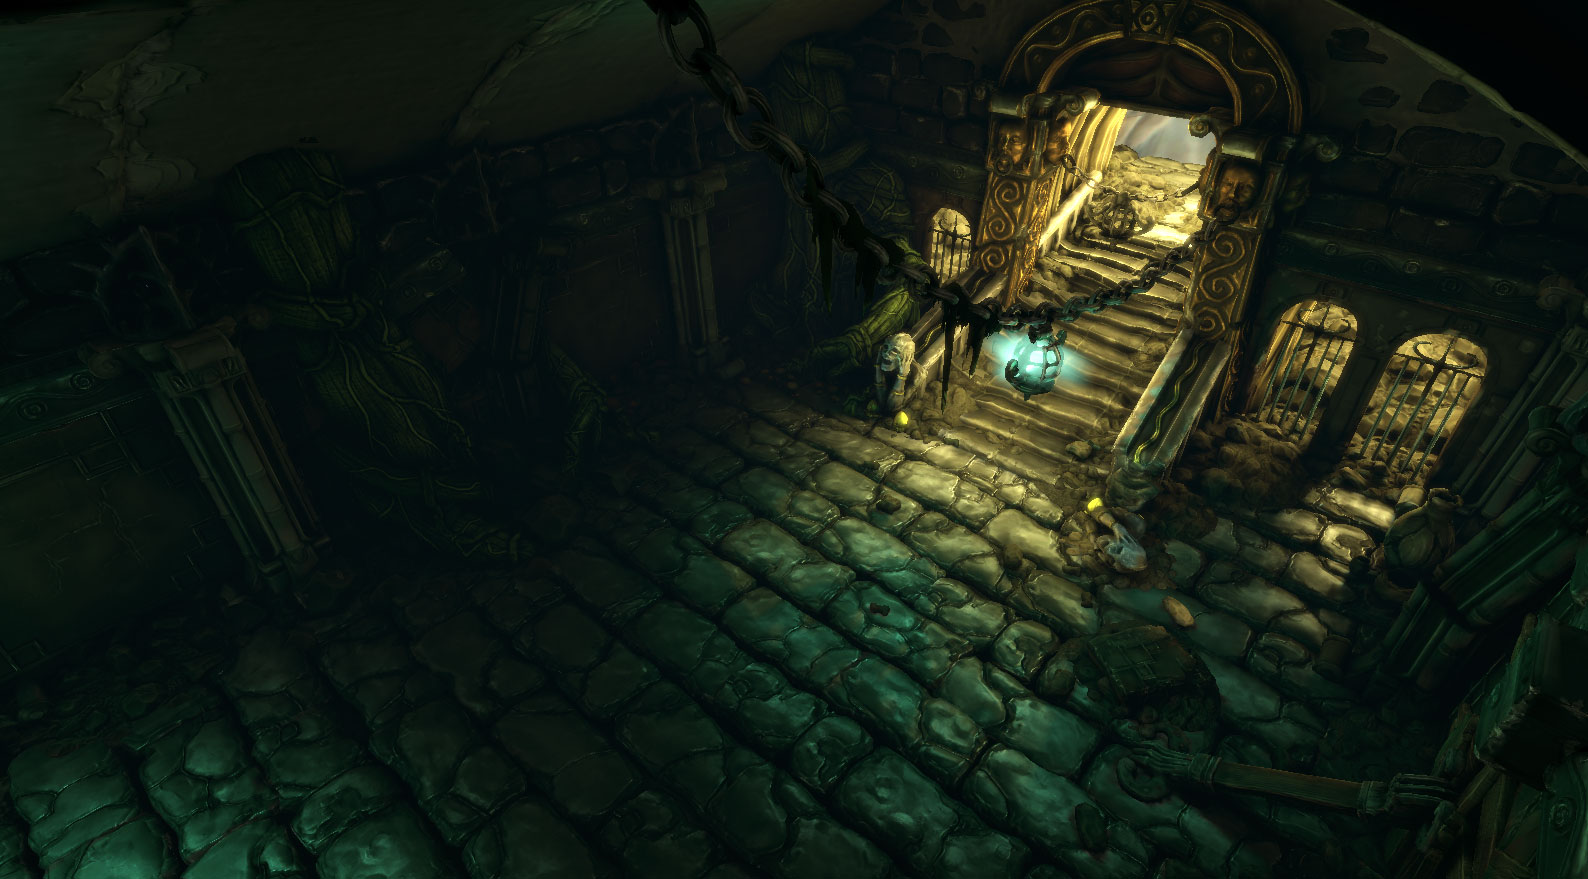
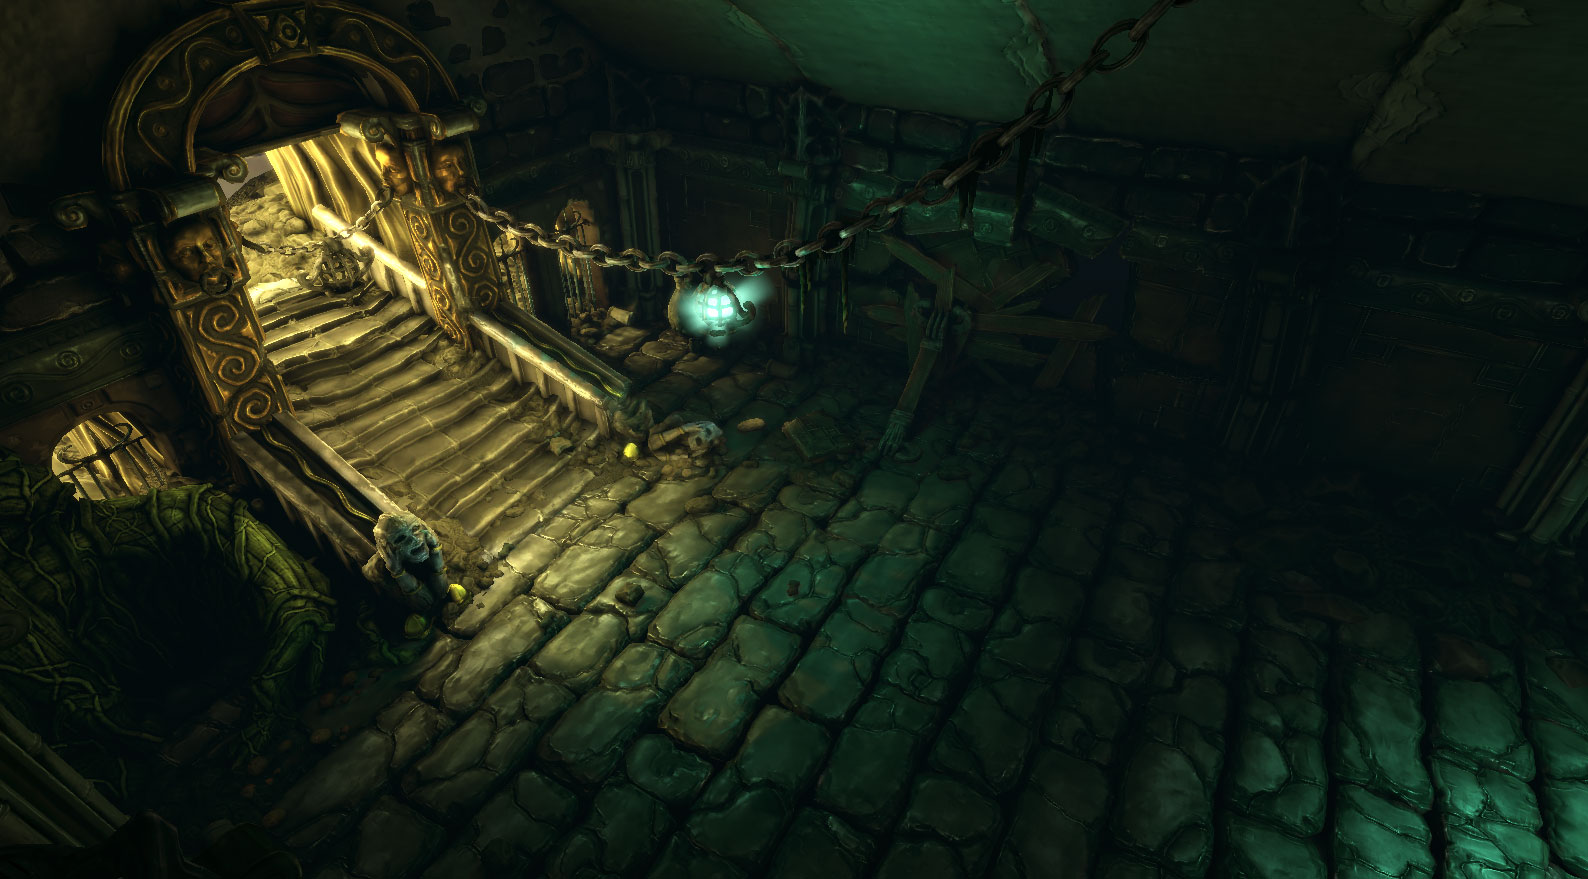
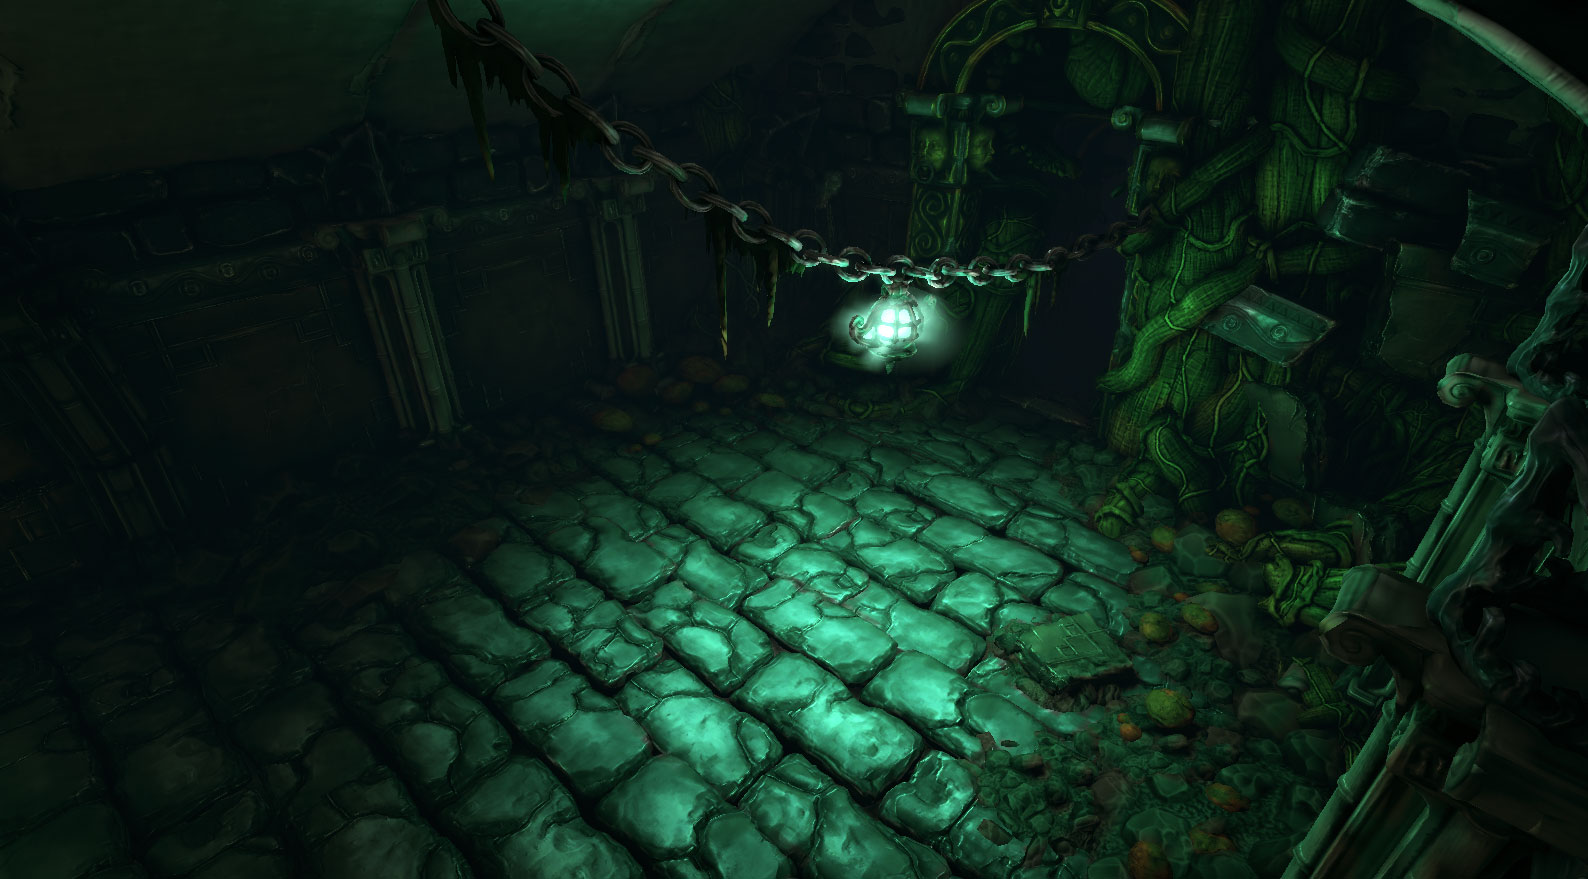
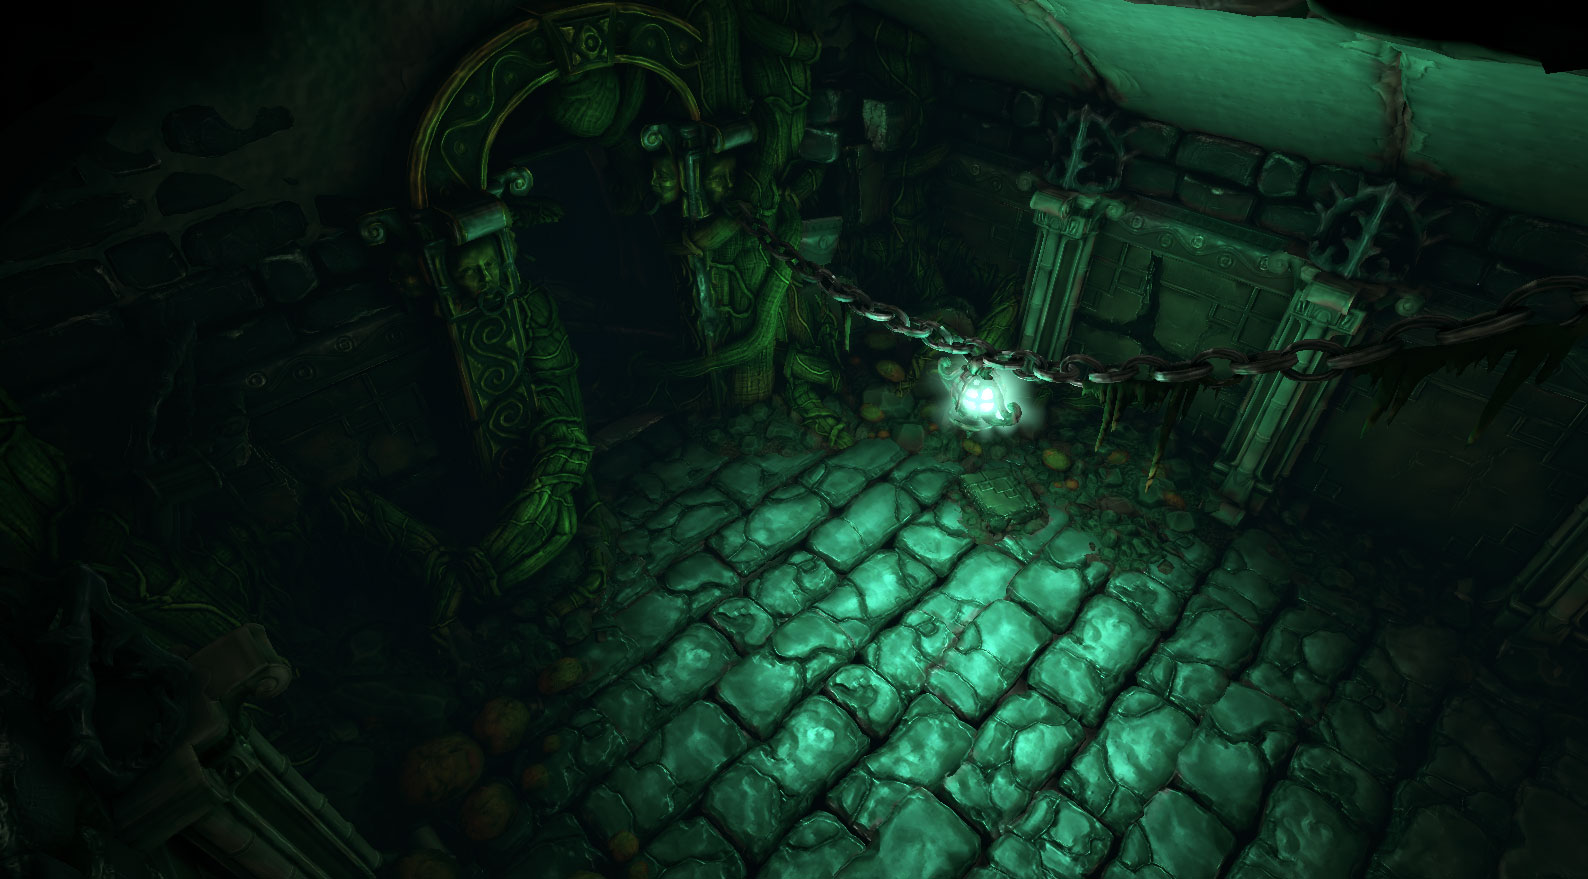
I wanted to start the first breakdown with the prop that I started this whole project with. The floor bricks. No two props were created exactly the same way, although there is a definite flow on how I work the asset through the pipeline. Here is a little visual aid to explain how I went about creating the floor bricks. Hopefully it communicates my process in a clean concise manner, but if it is confusing I will explain more below

ZBC1.jpg
[attach=196091]FloorBricksInfographicB.jpg[/attach]

The following is a much more in-depth breakdown of each step.

Step 1 - The Block in - Sometime I like to start my model with a blocked in base mesh created in 3ds max. The most important thing to keep in mind at this stage is that the model is created out of as close to even quads as you can. Do not worry about polycount at this stage. There are multiple stages of polygon reduction that can occur later on. Right now we need to make something that will sculpt well in zbrush. I created the block in with this shape because I dont want tiling to be evident at all. I will have top and bottom of the bricks uniquely textured so I can flip the model upside down and get totally unique looking bricks, while still keeping only one instance for all my peices. By giving it this shape I will further reduce the tiled look. I just fit them all in together like little lego peices.

Step 2 - Subdivide - The mesh must be subdivided well to be sculpted on. Ctrl D to divide. Make sure that when you first start to divide the mesh you turn smooth off or you will get a dough ball from your geometry. I like to subdivide a few times then turn smooth on to get a small beveled edge. I find this ideal for sculpting because the brush will catch that edge nicely when it comes to the next stage.

Step 3 - Beat it Up - This is a very fun stage, maybe the funnest. This is where you just go to town on your object. For this particular prop I started off with a bit of noise (see zbrush tutorial on that). I used that noise to guide me in beating it up even more. I wanted to really push the weathering and damage on these things. This is really where you are telling the story of your prop. So much can be said non-verbally through this process. All those little details you add in here will help in creating a much more immersive environment. Brushes I tend to use here are Clay Tubes, Trim Dynamic, and Move. Maybe a little planar flatten as well to handle unwieldy areas. *protip - Learn your brush hotkeys or set up your interface to pick brushes quickly. It will save you a lot of time in the long run!

Step 4 - Rinse and Repeat - Once you get a good luck going on one of your bricks, recreate that look across each brick. What I like to do is time myself, and try to do each one a bit faster and a bit better. You will learn little tricks on each model you experiment on that will speed up the next one you do.

Step 5 - Polish it Up! - I started feeling like things were getting a bit too noisy so I started to polish up each brick. Work in layers while doing this! it will allow you to experiment more freely because you can quickly get rid of changes or change the intensity of them. This is the stage that I think shifted it from a more realistic looking brick to a more painterly one.

Step 6 - Polypaint it Up! - Now I must preface this and say that this prop was one of the first models that I ever polypainted and it kicked my ass! I was trying to figure out how to control my strokes and not have it look like a bloby mess. I dont know how successful I was. This was the goal of the whole experiment, to master poly painting. Two things that I didnt do here that I learned to do in my other props. 1 - practice painting while you sculpt, you can get some amazing results with this. I will show more on that in later breakdowns. 2 - Masking by cavity! It is amazing! You can do so much with it. Again, more on that later when I actually used it.

Step 7 - Polypaint all bricks - This stage is just repeating what you did across all of your sub-tool bricks. Pretty straight forward

Step 8 - Lower SubDs and Create UVs - This is a stage that many, including myself when I was first learning can find confusing. Lowering your sub division levels will make this process go much faster. Delete UVs if you already have some. I like Pack UVs (PUVTiles). For this asset, I did a unique unwrap for each brick. Might be overkill, but it doesnt really mater because this is just so you can export out your polypaint. Your real unwrap will come later and these packed UVs will bake onto them

Step 9 - Higher SubDs and create Texture from Polypaint - This is another potential hangup for some people. We need to get that polypaint out zbrush so we can bake it in. Crank up your res to the highest and then hit new texture from polypaint. Then clone texture. This will move it to the texture window.

Step 10 - Flip Texture in V and export - I would export this to the same folder as your geometry. Make sure that you flip your texture or else it will look like a pixalated mess. You can now export your geometry as your High Res mesh.

Step 11 - Decimation Master! - This is a critical step in converting your zbrush model an optimized game prop. Just choose how many polys you want it to be and decimate. I brought each brick from about 2.4 million to 500 tris. The beauty of this is that your decimated mesh will look almost exactly like your high res mesh! You will then export this geometry as your low res mesh.

Step 12 - Unwrap - I used headus UV Unwrapper. It is a kick ass tool that shaves off massive amounts of time when unwrapping. If you dont know about it, you should go to the site and watch the tutorials. you can get a free trial as well.

Step 13 - Add High Res Geo to X-normal - Also dont forget to add your polypainted textures to your HR meshes as well. This is how you will get them to back on to your low res mesh!

Step 14 - Add Low Res Meshes to X-Normal - You can use the ray distance tool in the tools section to get an accurate min and max distance for baking. Usually default will work pretty well because decimation is so close to your original model.

Step 15 - Bake your maps! - You can do a test back first at 512 with no anti aliasing. If you see anomalies then you can play with your ray distances. Once your 512 looks ok, you can just crank up the 2048. Bake your final at 2048 and with a 4x anti aliasing. Check Normal, Base Texture, and Ambeint Occlusion

Step 16 - Open normal map in Crazy Bump

Step 17 - Get diffuse map generated from normal map in Crazy Bump. You can use this to really pop your edges in our diffuse map later. Just multiply it in!

Step 18 - Used baked maps to generate Game Textures - Here is where you combine all your bakes to make the textures that will go on your object. On this prop I did a lot more hand painting in the photoshop file just because I was such a polypainting newb! I got it down with the later meshes though so I weened myself from needing to do that. Not that there is anything wrong with painting in photoshop. You get a great base to work from if that is the workflow you want to do!

Step 19 - Bring it back into 3DS Max and Export to Unreal! - This is the final step. Import the model back into max. You have another oppritunity at poly reduction if you would like. ProOptimizer is another kick ass tool that will reduce your polys perfectly. Just tell it how much to reduce. But dont forget to check on Keep Textures! It is off by default. If you forget, you will lose your UVs!

So that is the basic path for the bricks. I will break down other stuff this weekend. I hope this helps someone out a bit! Feel free to ask any questions!

Attachments

FloorBricksInfographicB.jpg

Its really cool. Is it possible to see an unlit shot? (Flat)

nice work. I’m scared to go in though…

Thanks for Steps help very much ! :+1:

thanx for the workflow. not sure if you know, but Xnormal and it’s expanding awesomeness allow us to make a texture on the low poly straight from the hi poly. no more exporting textures from ZBrush! does happy dance

GREAT TUTORIAL…:+1:
Thanks for taking the time and sharing your process…Really very helpful.:slight_smile:

I’m retired and basically just a hobbyist when it comes to ZBRUSH, and I really at this stage in my life just enjoy exploring it’s potentials and capabilities.
I have a question…Is it possible to create what you are creating with just ZBRUSH alone, and not have to use other software/programs…If it is not possible, can you please explain why not.
I only have ZBRUSH and COREL PAINTER #10

Wow, that workflow is comprehensive… and complex. Daunting, even. Are all those steps really necessary? Seems to sap the creative flow.

Nice work and thanks for the info. :+1:small_orange_diamond:+1:

Posted mainly for the benefit of others with small pocketbooks. Crazy Bump is cool and all but groosly overpriced. So overpriced I’m shocked by it. There is an alternative which does the job with a little practice for under $20 called ShaderMap Pro.

Hello!

Really nice Work and Tutorial!

I want you to ask if you allow me to post your great Work onto my German Blog includuding this Making Of. (With Translating of course)

I wanted to send you a private message but these Forums telling me something about no rights, so I ask you here :slight_smile:

If you want to check out my Blog you can visit http://sommergemuese.klee.in

awesome! thanks for sharing your processes. I can’t think of a better example to convince my new game design students to start thinking in terms of modular assets.

amazing work dark. the moment i saw this i was blown away. Blizzard should take notice of this. This piece is blizzard quality work.

Again amazing stuff.

HK

Hello Everyone! Glad you guys are finding some use for these tutorials.

Great to hear about the new Xnormal features Tyrone! To spirit - My workflow is definitely geared towards getting sculpted geometry from zbrush into game engines, but that doesnt mean you cant do everything im doing in zbrush alone. All the other programs I use are strictly to get my stuff into game friendly formats. That said, I think you will find this tutorial a bit closer to what you are looking for because it was fully created in zbrush. to Eric - It does look like a lot of text when I look back at the tutorial...haha....but in all honsty it isnt that bad. Making game art without zbrush I found to be WAY worse at sapping creative flow. Zbrush has giving me back my creative flow! I feel like I am creating art again rather then doing a technical proceedure in max or maya to get meshes. That is the beauty of this process is that you just do what you do in zbrush, then afterwards you export it out into a game friendly format. Blaine - Thanks for the tip. I got to check that out! sommergemuese - Thats awesome man. For sure, go ahead and set that up. Thank you for asking first! Shoot me a link when you finish the translation! Mag - for sure man. For games, there really is no better way!

HK - Thanks man!

The next breakdown is of the gargoyle at the base of the stairs. It was done 100% in Zbrush. It was my first real attempt at zsketching out a more complex shape. In all honesty it kicked my ass. When I was done zsketching, I thought there is no way I will be able to salvage this mess. I forged ahead anyways figuring I can always start over if it was that bad. I ended up really beating it into submission with some heavy handed sculpting. The number one thing about Zsketching is that when you use a unified skin on it it turns into perfectly spaced quads, ideal for sculpting! Here is a breakdown of the process I took. ![GargoyleInfographic.jpg|1024x4000](upload://uZpCHPrmM9dqSvFlX1koad6VsXh.jpeg) Step 1 - ZSphere -I wont go into detail on how to start a Zsphere armature because Pixologic does a fantastic job of doing that themselves, which is where I learned! It is AMAZINGLY fast to get the basic shape of your model in with this technique. Step 2 - Zsketching - is a process that you can only do when you have a Zsphere armature to sketch on. Again, to learn this go to pixologic's Zclassroom and they will let you know all you need to know to start sketching away. The idea was to try and sculpt out the musculature and body land marks as close as I could to the painting. This was the model i taught myself zSketching with. The base coat was done with sketch 1 brush. It is almost as though you are painting on globs of clay to your model. I tried to experiment with every brush to see what they all did. I found that I was using the move tool almost as much as the draw (sketch) brush. You really want to get as close as you can to the shape you are aiming for before ending this stage. Step 3 - Unified Skin - creates a new mesh based off of your ZSketch. This is where the power of this technique lies. It gives you a perfectly quaded mesh that is perfect for sculpting! You can try this at different resolutions to get different results. Some lower end computers might not be able to handle higher res skins, but low ones are pretty damn accurate. I believe the one i did was 256. Step 4 - Subdivide - This step is pretty straight forward. Subdivide that pixolated mess so we can start sculpting.... And we will need to do some sculpting.... Look at that ugly face! Step 5 - Fix Ugly Face - I target that face right away. It is horrid! At first I thought there is no way I will salvage this mesh. But I went on anyways. Using Polish, Claytubes, and Trim Dynamic brushes I beat that face into somthing a bit less grotesque. Step 6 - Polish Geometry - Now I start going to the rest of the body. I search for planes wherever I can and and polish them out to be even more planer. I also added on a torus that I will sculpt into his bracelets. At this stage I started to see some rays of hope that I could salvage this guy after all. Step 7 - Fill Color - I choose a base color for each part and fill the whole object. Think of this as your base color coat of paint on your object. Step 8 - Sculpt / Paint - Now this is where I really started to have some fun with the model. I started carving out chunks of detail with my claytubes brush, but I turned on my RGB on the brush and chose a color that I imagined would be under the chipped surface. What we are doing now is sculpting and polypainting at the same time. I am a huge fan of this because you will get a perfect correlation between your sculpt and your painted texture. Step 9 - Mask By Cavity - This technique is fantastic for the later stages of polypainting. Under masking you can mask by all kinds of different functions. I love masking by cavity because I can paint all my little nooks and crannies one color and my high points another color. You can get hardcore with this technique too by sculpting and polypainting while masked by cavity! Experiment away with that masking! Once you are done, UV and export your high res mesh and polypaint texture as described in the last tutorial. (steps 8-10 on brick tutorial) Step 10 - Decimation Master - Good ole decimation master gets my model down from 1.5 million quads to a game friendly 2800 tris. In this case I wanted a continuous low poly mesh so I used Pro Boolean (union) in 3ds Max to combine the bracelets with the body. Step 11 - Unwrap - Unwrap the mesh in your favorite Unrwapping program. I perfer Headus. Be smart with your UV space. It is precious in games. The red thing you see in the unwrap part of the mesh hidden in the banister geometry so I shrank it down. Headus turns objects red if they are squashed, but I was OK with that here. I did not want to get rid of it completely incase I did a more beaten up version of the banister and that part was exposed. I could have probably broken this up better, but I was trying to keep everything kind of close so I could paint in photoshop if I had to. Step 12 - Xnormal - Just like the brick tutorial, Place your hi res mesh and polypaint in the Hi mesh section and the low poly in the low poly section. Set your settings and bake away! Step 13 - Create Textures - You should get some awesome bakes out of xnormal which you will now combine up into your final game textures. I multiplied my AO on top of my baked base texture to create my diffuse map. I tweaked with some level adjustments to get my spec. Normal looked pretty cool right out of the box so I just left that. Step 14 - Export to UDK - Just bring your low poly mesh into your favorite 3d modeling package and export out as an ASE or FBX. That is it for the gargoyle. I really tried to capture the emotion that was conveyed in the concept. That was really important to me because it sets the emotional undertone for the whole piece. Miss that and you miss the whole scene. I saw it to be almost the look of abhorred awe. I did my best to capture it in the 3d version. Hope this helps!

Darkrusader…Excellent tutorial, and also very useful to me…THANK YOU for sharing your process, and for answering my question…clears up alot of unknowns to me that I have been curious about…THANKS :slight_smile: :+1:

P.S. You did really capture a great and powerful emotion in that figure,…it was what caught my eye above all else when I first viewed your piece…Fantastic job…:+1:

This is awesome work! Really like the breakdown in workflow and appreciate you taking the time to share your insight.

Hey Dark I have a couple questions.

First: Can i get your permission to use the images in my next wallpaper?

Full credit will be given and a link in my description back to this forum will also be added. I will also add your name to the wallpaper art piece along with mine.

Second: I was wondering If you would like to do an interview on how you did your piece?

I am the fan creation forum moderator for Diablo: Incgamers and help build up the fan creation community with news and more.

Send me a PM or mail in the forums or reply on this post to let me know. thanks!

Holyknight3000
The Runeweaver

Dude that is jaw droppingly astounding! Props too for really spending the effort to make the environment feel weathered, by really playing with the geometry. Thats good stuff

Hey guys. Thanks again for all the kind words! Im especially happy that all the diablo fans have gotten so excited about this. I am a huge diablo fan myself and I really wanted this level to capture some of the epicness of that game world!

HK - For sure! You can use this as a wallpaper. Also, Id be glad to give you an interview for your site! Just shoot me a msg with whatever questions you might have and Ill be glad to answer them. Cool site too man! Thanks for the support over there!

Ill try to get another tutorial this week. The two I have done so far captures the way I have done most of my art for this level. Between base mesh modeling, zsketching, and polypainting I have derived all of my assets.

Thanks again to the Zbrush team for bringing the fun back to making game art! I feel like I am making art again rather then being a technical vertex pusher (not that there is anything wrong with that!)

I had a couple of request to show some shots in the traditional isometric view. I built the environment to be high enough detail to walk around in, but it was fun to see what the more traditional Diablo cam looked like. I know it is not exactly isometric like Diablo…i slightly fudged the angle to get better compositions, but you get the idea! Hope you guys dig em!

OrthigraphicA.jpg

Another tutorial coming soon. Its been a late couple of nights at work so I got slowed up a bit. Thanks guys!

Attachments

OrthigraphicB.jpg

OrthigraphicC.jpg

OrthigraphicD.jpg

Funny, I stumbled upon this while listening to the Diablo II soundtrack.
Awesome work. Really, its a perfect transition between concept and implementation. I don’t see how Blizzard themselves could do a better job.

love it great concept and rendition