ZBrushCentral

First Sculpt!!

Hello my name is Tyler Remikie i am 15 years old and i am new to Zbrush and Zbrush Central so i thought that i would show you my first sculpt that i did today what took about 1 hour and 30 minutes. it would be helpful if you could help me out and critique…it will be very much appreciated…but i really would like help on how you get finer detail because when i try to it either takes to long or just gets pixilated. i would also like to know how you make clothes on a seperate layer. Well i hope you think that it aint that bad thanks and sorry about the images as they are just screen prints croped in paint lol deadpool 1.jpg !!

Attachments

deadpool 2.jpg

deadpool 3.jpg

deadpool 4.jpg

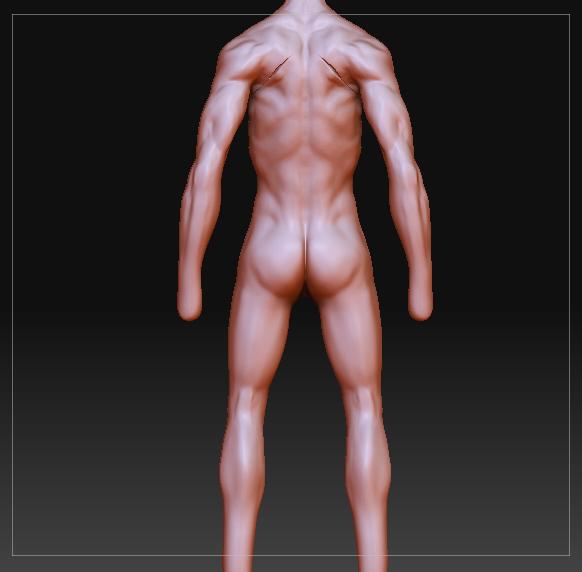
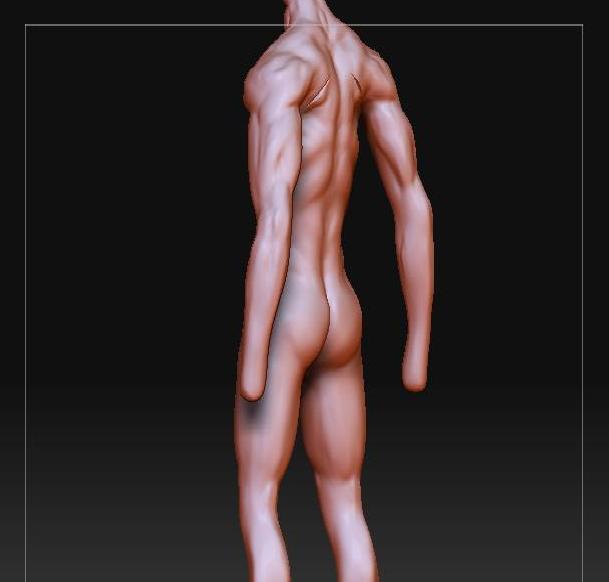
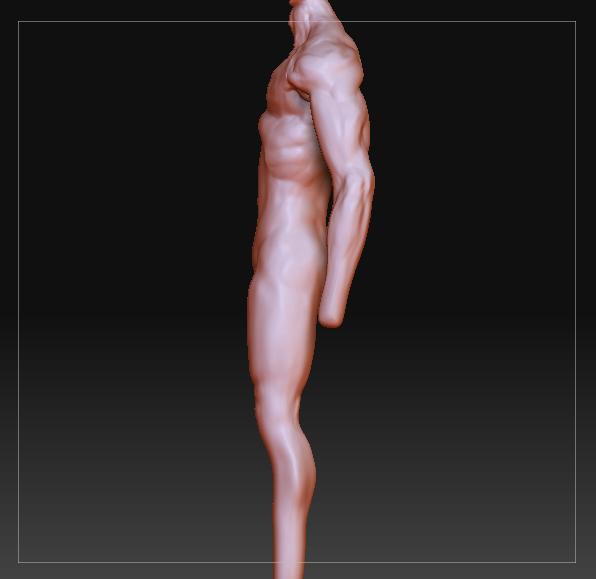
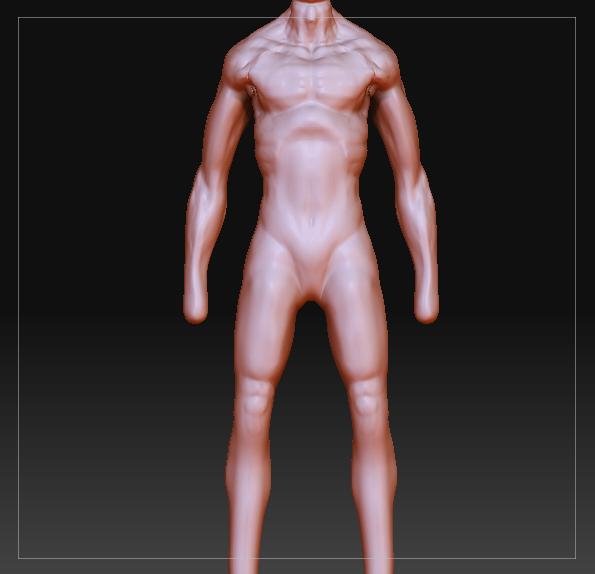
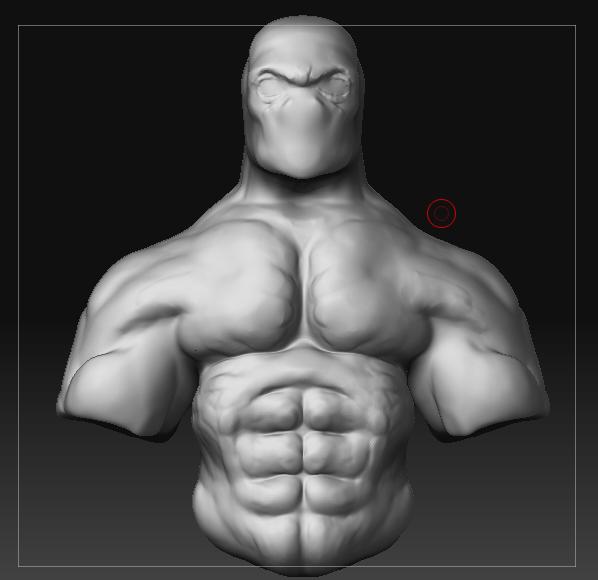
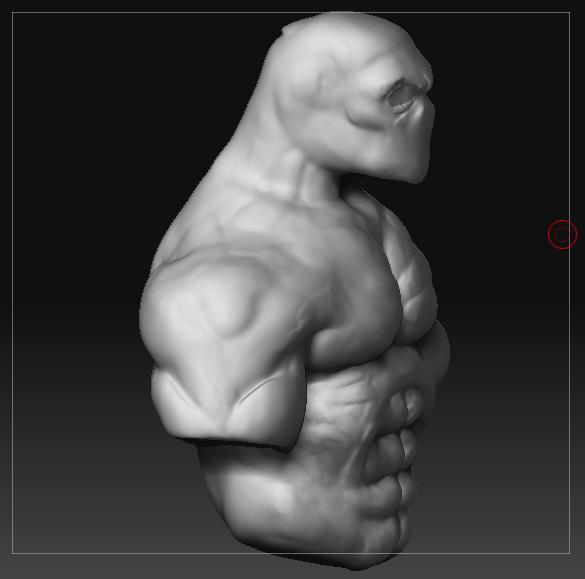
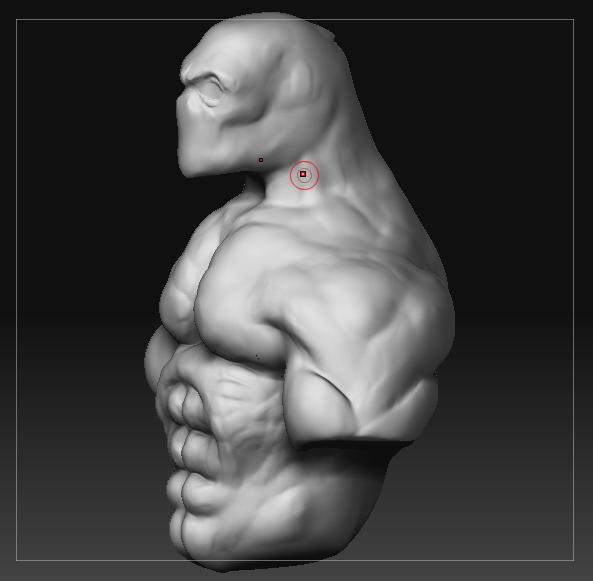
Hey Tyler, great start! Really, it’s impressive for being only 15. Looks like you have a good eye for form, which takes some people a while to get the hang of. Looks like you have a good general knowledge of anatomy too, but to really push it further you should use lots of reference images. Really get to know how every muscle works, where they are all placed, what they are shaped like, and how they all connect. After that, try to find some references of skin too to see how it reacts to the muscles. The better you learn the anatomy, the better your models will look without even trying.

When it comes to clothes, you can do them in a layer or as subtools. There are great tutorials on zbrush.com for both, and if you google search both you can find plenty of other great tutorials for them as well.

When it comes to detailing, really it starts at the lowest subdivision possible. It sucks because it takes longer and it feels like you aren’t getting anywhere at first, but it really pays off in the long run. The trick is to put as much detail as humanly possible in each division level before moving up. It keeps the model clean and helps the form come out better. Unfortunately this usually means tweaking points with the move tool for the first few subdivision levels before actually getting to sculpt, but it is worth it. Of course, the great thing about zbrush is that once you do get to sculpting, you can always go back to the lower sub d levels and make changes and not lose all of your sculpting. Use this to your advantage, it can be a lifesaver. When it comes to the finer details, the more you sculpt and use this strategy, the better you get, and you will be surprised at how much detail you can add at the lower levels, and eventually will only have to add a few minor adjustments at the higher resolutions.

As far as the time issue, this stuff just takes a long time. You do get faster as you get better, but depending on the model and how much in the “zone” you are, it will generally still take awhile to get really top notch results. IMO the best way to get faster is to do a few speed sculpts a week, like one every couple of days, and then give yourself deadlines and finish a large model, such as a full figure, every two weeks. Each will teach you different things and will help you become a more well rounded artist. Also, to complement your sculpting skill, draw alot. Both from life and from your imagination.

Hope this helps, keep up the good work, can’t wait to see your progress!

Thanky you for your great advice i have already been taking it on board. i actually already draw quite alot and i sell pencil portraits for about £40 each and i get quite alot of orders. i have started a new model and its a full body model i think it is a little better but i want to kepp building and improving it. i really want to try and get that fine skin detail and also how to make armor. i saw some of your great work i need to post a coment but i was wondering what software do you use to texture your models?

hey good start you got there !,:cry:i wish i know zbrush when i were 15 :cry:
you can texturing with zbrush,under the texture tab (on your right)
there is a colorize column
just press it,and start coloring:D
they ussually called it polypainting just search the thread with “polypaint”,also there are many great tutorials out there for polypaint/texturing in zbrush

hope its helps for’y.

yep it sure did help thank you!

here is the sculpt im working on now of one of my old characters. its basically just a body right now but in time he will have armor on one of his arms, trousers and a hole lot more detail. i havnt really worked on the legs yet so they look alot worse compared to the rest but i hope you like it comment :wink: (sorry that they are screenprints)

character body 1.jpg

Attachments

character body 2.jpg

character body 3.jpg

character body 4.jpg

Looks like a plasticene bust I did at the same age. I had no real idea how backs went and so that was the weakest part of my model. Looking at body builders you see that there is an upside down Y carved into the back, either side of the spine, formed by the shoulder blade, covered in overlapping muscles.

The shoulders and upper arms are very developed in your model, but the chest is pinched and weak. Try going down to your lowest subdivision level and moving the soulders and arms out to the sides and then sculpting in the triangular muscles at the sides of the chest.

Good luck!

R

here is just a close up to the picture of the back the arms still need work. and sorry for the late replies but because i am new on here they have to moderate what i post so it takes time for them to look at it.back.jpg

It looks good so far. If you don’t mind, I’d like to critique a few things about the muscles so that you can make it look even better =)

Before I do that, though, I’m wondering what happened across the shoulder blades to cause that cracked line? Is that a mesh deformation?

I can’t seem to see the teres major muscle in the back, which is making the area between the shoulders seem pinched. Also, the trapezius doesn’t directly connect to the deltoid - there is a line of gristle and tendon there. It would help add some volume and differentiate the back from the shoulders.

On the front, the pectoralis major looks a bit weak in comparison to the external oblique where it pushes up under it - he looks bird-chested, somewhat. Also, the deltoid overlaps the pectoralis major where it connects to the arm. Other than that, you’ve got a good start on it - really good for only 15. Keep it up!

looking good keep it up, im new here to i got some anatomy books to help me get things in the correct places and still have a ways to go, keep at it:+1:

thanks guys and Losgunn i have listened to your critiques and one by one trying to fix them but i was wondering if anybody has any good techniques or tutorials for making armor. i would really like to know how the armor is made in the sculpt dark templar that is on the top row. i have most 3d sotware so software isnt a problem but if anybody has any techniques for making hard armor thn pleaseee post a link or an explaination!!

There’s some pretty helpful information for starting armor in Zbrush in this thread:

http://www.zbrushcentral.com/showthread.php?t=42266

He’s got a diagram, and some step-by-step instructions on what he did. Looks like you just need Zbrush and Photoshop, but I didn’t read it thoroughly.

this is just a quick render of the back of my charcters body i made in 3dss maxback of charater.jpg

This was a quick sculpt i tried to make look like baron samedi from james bond live and let die…PLEASEEEE i reallu need advice on creating porse skin details and also texturing the skin…ive tried polypainting but it doesnt look real…please help and comment and also let me know what you think of the scuplt so farbaron samedi.jpg

not bad not bad at all

good start i am 15yo too herz my works
http://www.zbrushcentral.com/showthread.php?t=77229

hi not bad at all

Tyler - for the pores of skin there are a few things you can do - here are a few ideas to consider:

  • create alphas from actual skin images and then use the alpha as a STARTING POINT ONLY - alphas alone are really obvious in most cases and actual tender love and care with brushes on top to enhance and indivualize the skin’s detail is a must
  • after creating the detail in the actual geometry inside of ZBrush you will want to further enhance the details with your color and possibly matcap depending upon the application and if this is going to go outside of ZB to another 3d app
  • if you are exporting it do not expect to export all of the details via displacement - that is normally a futile effort - displacement should be considered for the outside shape of the figure and some major detail inside the shape - use normal and/or bump maps for exporting fine details such as pores of skin

As far as your sculpt, it seems to have a “globby” look which normally is from going too high in the levels of subdivision before you have the shape nailed down - I suggest you go back to a level of detail (1 - 3 normally) in the geometry where you still have the ability to focus on the high level form of the head and then get that nailed down good before going higher and ensure your brushes are not distorting the figure’s shape when you work the details. But, yes, I think the figure is coming along well and it is going to be great:) Keep it up!

Hope that is helpful.