ZBrushCentral

First polysphere project - stretching?

Hi,

I’ve been watching the tutorials on the zclassroom webpage.

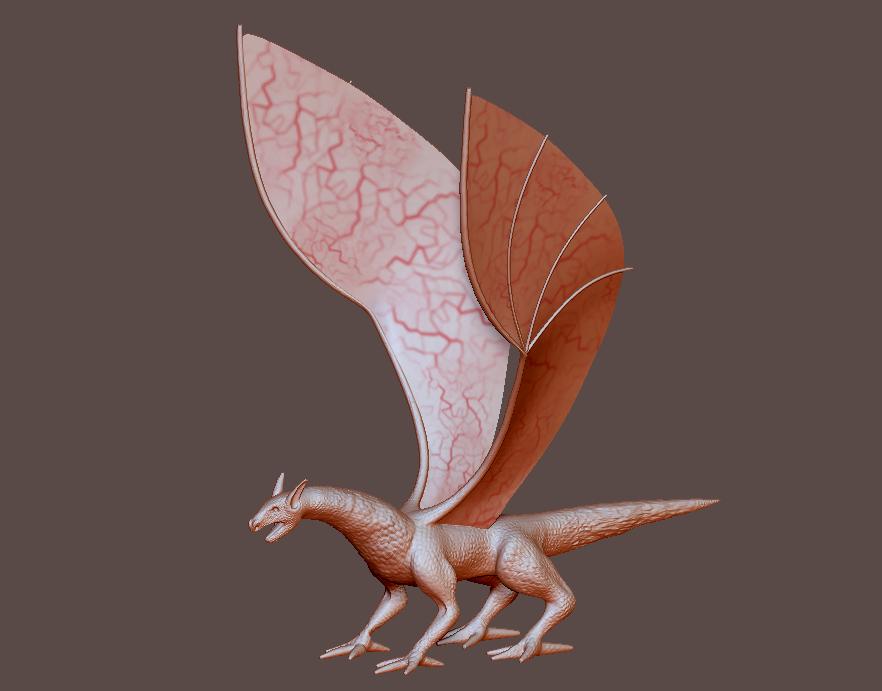
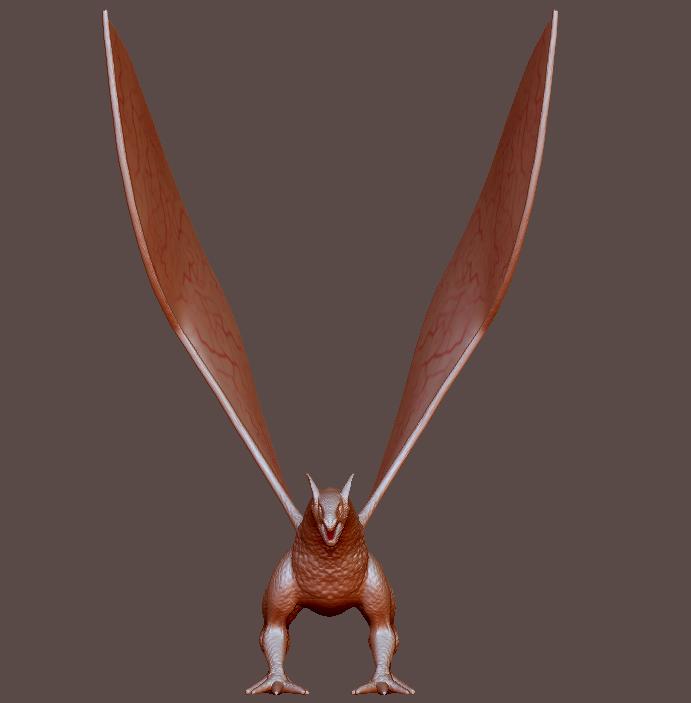
This is my first ztool using polyspheres, as well as my first experiment using an alpha to mold with.

I’m pretty happy with how the head came out, but in some areas (i.e. along the tail, ears, and wing struts) the alpha pattern appears stretched. What would cause this? Something I did (or didn’t do) during the polysphere phase?

Also, the toes came out kind of funky, but I think I know how to prevent that in the future. I think I ought to have used a larger sphere for the foot, and smaller, more widely spaced spheres for each of the toes.

On some areas (i.e. the neck and body) I am unable to get the fine detail that I have on the head. This is because my computer’s not good enough to subdivide the entire project any further.

Thanks!

Joe

Attachments

dragon01.jpg

dragon02.jpg

dragon03.jpg

Ok, this is a good start but now you have to do the next step and extend your workflow in order to do things in the right way!
The stretching you have is from low poly density on your OBJ. You were pulling around the polys so in some areas you have detail, and in some you dont.
You can press Shift+F to see the wireframe of your model and see how the polys are distributed along your model.
But my advice is this
Forget about further detailing of the model, now that you have all the parts of your creature you have to do retopology of this model and then, if you want you can transfer some of the details you have made.
It is essential for you to build a nice workflow and do the things right in order to save your self time, nerves and work.

Do a retopo of the model and continue detailing it and finish the model - by having nice topology you can unwrap and texture your model and then use it for whatever purposes you want and so on and so on…

This is the cool part of ZB, that you can quickly buld your model to a state of concept - no detailing just the base forms and getting the “charracter” on your character. Then when you are happy with your design > retopo > detailing, polishing, polypainting, textures, render and so on…

Hope to be helpful!

Hi,

Thanks for the reply!

It seems strange to me that there is such a variety of poly density on the head/neck/body/legs/tail since I don’t remember moving anything around too much. I wanted to see what could be done with polyspheres, and the only real sculpting I did was to add underlying bone/muscle dimension to the head & legs.

Also thanks for the suggestion on retopology. I found a tutorial on youtube, but it wasn’t very clear. I’ll continue researching in the morning.

Joe

Well, starting from a sphere - there is nothing strange that there is stretching.
There is a lot tutorials on retopo with ZB or other software - ill recommend you Topogun.!

here are some setting for the polysphere work in the adaptive skin submenu. One of thos specifies how many zsheres you can add from a single sphere before that sphere will subdivide. For instance: i the steeting is 3 and you make a head from your initial Zphere and add other zspere’s for the two eyes, the nose, the mouth and the two ears and a neck you’ll have exceeded that 3 setting by 4 for a total of 7 zspheres comming off of that 1st one so the head will subdivide more. On the other hand lets say you make that head and simply add a neck an then from the neck zsphere you come off on each side for the shoulders and one from the bottom of the neck zsphere for the torso (3 total). At no point in this will you have exceeded the setting of 3 so all of the zspheres will subdivide equally.

I didn’t know that, thanks!

That would explain why the dragon’s head & feet had a higher poly-count then the torso, and the tail had such a low poly-count.