ZBrushCentral

fine detail such as wrinkles (TIP INCLUDED)

Hi
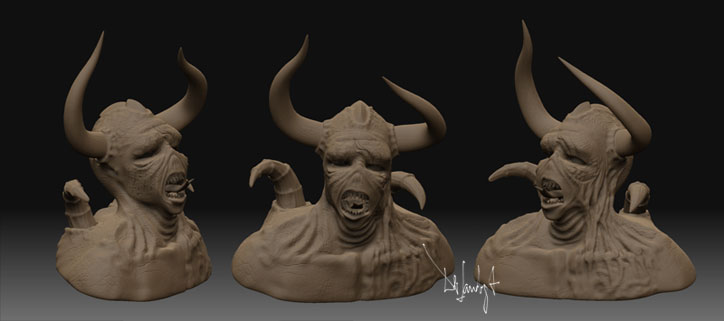
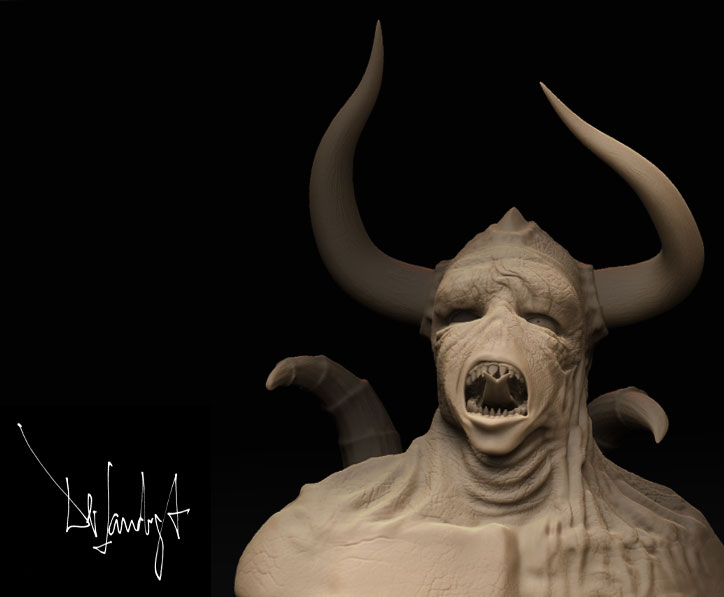
I watched a lot of GREAT images in this forum and tried to create such incredible work too :o
I tried. My problem is to get such very detailed surfaces and edges. How for example can I create a sharp edged wrinkle? Everytime I use pinch and want to smooth just a little bit the smooth brush works to hard and I got lost of the sharp edge.
Do you know a tutorial or workaround for me?
Maybe I should work more with the mask. First mask the wrinkles and then inflate the unmasked areas. But after that I cant use the smooth brush, because then I would loos the sharpness.

Thanks for helping

You can sculpt wrinkles with the lazy mouse and a very fine draw size. Than down the intensity of the Smoothbrush and play around.

Second you convert a wrinkle alpha in a stencil so you have a very fine control of the intensity and the style of your wrinkle.

Good tutorial is the new Sculpting Techniques with ZBrush 3 training from Digital Tutors

Have you tried adjusting the intensity of your smooth? By default, it’s set to maximum at “100”, but it’s overall effectiveness is also effected by the density of your mesh. A setting of “100” on a low-res or even mid-res model is overkill.
Click smooth, lower the intensity, then go back to one of your other brushes. Then, when you press SHIFT, your smooth effect will reflect the new intensity setting.

Thanks gisugosu, zerodean:)

DerLandvogt: Use the Layer brush with the Freehand sroke type and you will get fine clean strokes.

Thank you very much for your help!
I will try your suggestions.

Thank´s

A time ago, someone posted a warrior with a very detailed and decorated helmet. He used a painted alpha for the depth and then displaced the details.
Even the eaglehead in front of the helmet was made by an alpha.

Btw. Zerodean, THANKS A LOT FOR YOUR ELEPHANT ALFAS!!!
Great to shear these in this community.

Thanks for your help.
This is the result.

Now, I got two new questions about the rendering. I am sure the solution is quite simple for you, but I have no idea to solve it.

How can I change the backgroung from gradient to simple color or better a color with an alpha output? And second, you might see at the picture, that the subtools seemed to be masked. Even by rendering. Do I have to bake the subtools together before render them?
Thanks a lot
Yours
Hilmar

Attachments

Kernash_ges.jpg

Kernash_einz.jpg

1.-Background:
a.-select the color you want and press in the doc panel>back
b.-select the color you want and press Ctrl+F
c.-If you want a permanent change do it in the Doc.startup

2.-Rendering:
a.-Select each subtool with the material and color needed and with MRGB ON
press in the Color Panel> FillObject
b.-Do the same for all the subtool and save from the Master Object you have

Andreseloy

(related to sculpting wrinkles)

ZB3?

If so,then try experimenting with the cavity masking option in the Brush rollout alternatively combined with the stdbrush in Zsub or even with the pinch brush
at low intensities you can crease a lot of details and obtain results that would be tedious to get otherwise.
But usually I think alphas are the best to do wrinkles,but you might want to experiement with the cavity masking once you wrinkles are drawn.
It’s real fun!

Under document tab theres also a gradient range button lets you get rid of the gradient completely, and can be saved as a default document.