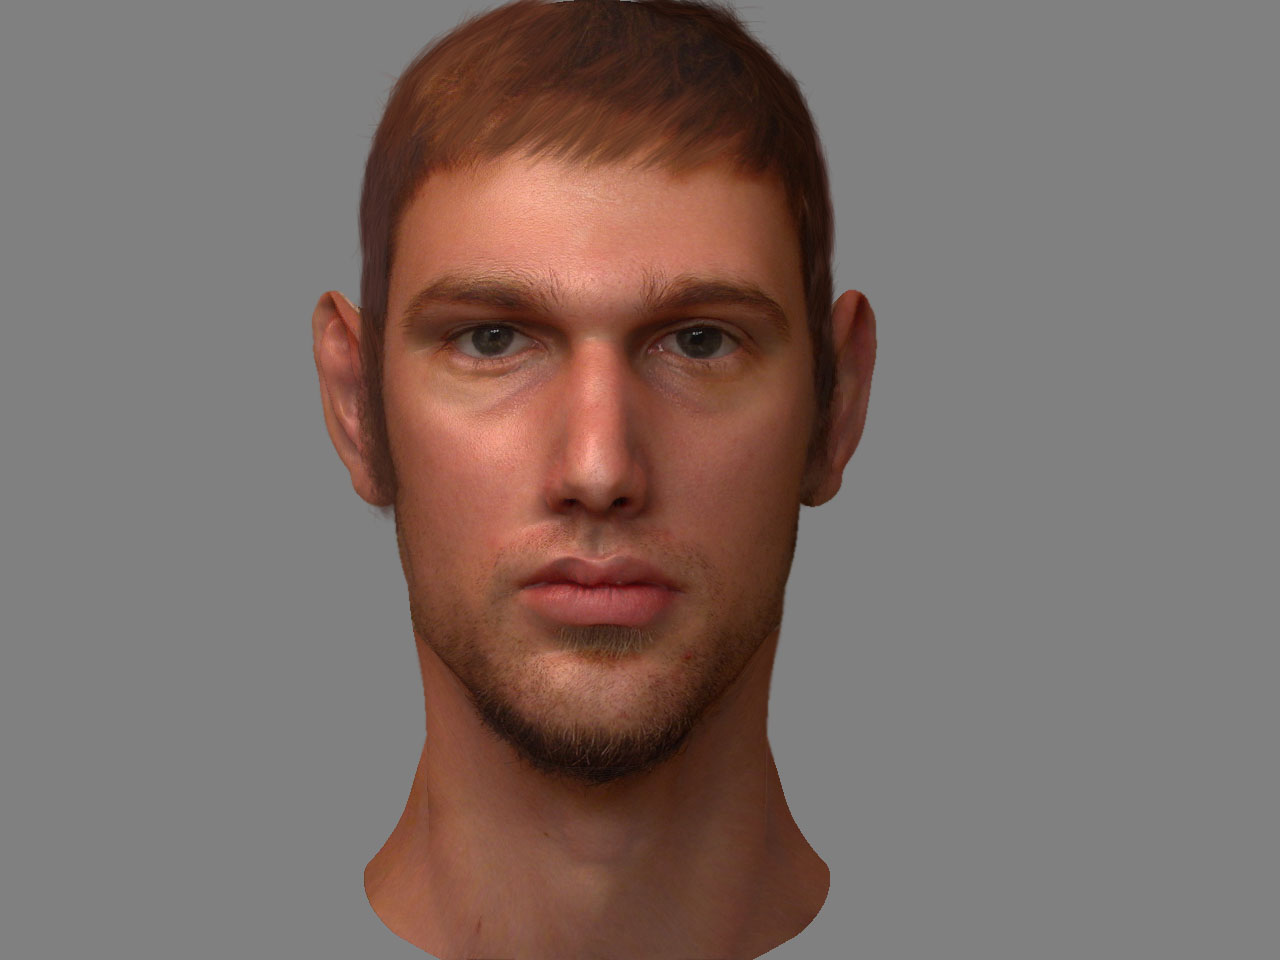
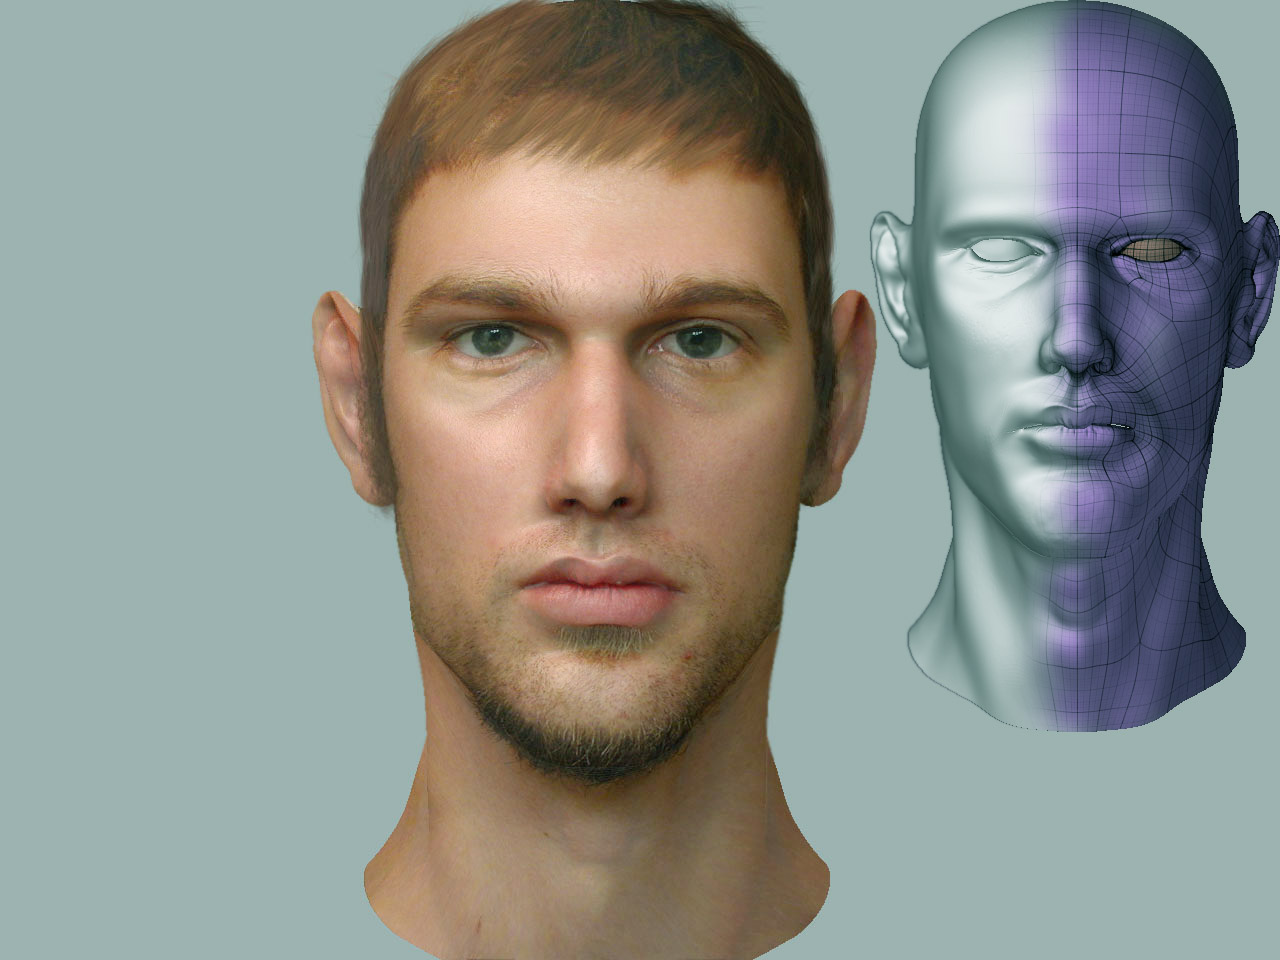
here is the skin and light that I used to render in ZBrush. To get the desired skin effect you will need to tweak colors in the materials window to your liking, because some may find this material a bit red upon rendering. The light is a downloaded light, and again, must be adjusted to your liking. I beefed the ambient up to 7 so I didn’t have the hard shadows. Then in the render settings I turned on Shadows, Soft Z, Antialiasing with a super sample to 3, and the edge sampling to 100. I also tweaked in the shadows pallete the number of rays to my liking. The texturing will make a huge difference to your sculpture. This material gives the basis for skin characteristics, and will make your texture appear very realistic. I also increased the resolution to double the original size. Keep in mind, this picture took about 20-30 minutes to render, so you may want to keep all of the super sampling and antialiasing to a minimum until you get the desired look to your sculpt. Any other questions, just let me know.skin and light.zip (20.1 KB)