ZBrushCentral

Filling a hole with a.... whole....!?

ok! I’ve searched and searched and cannot find an answer to this. :confused:

I’ve made an almighty hole in the side of one of my models. and I could really do with filling it in.

Is there a feature for this in zbrush?

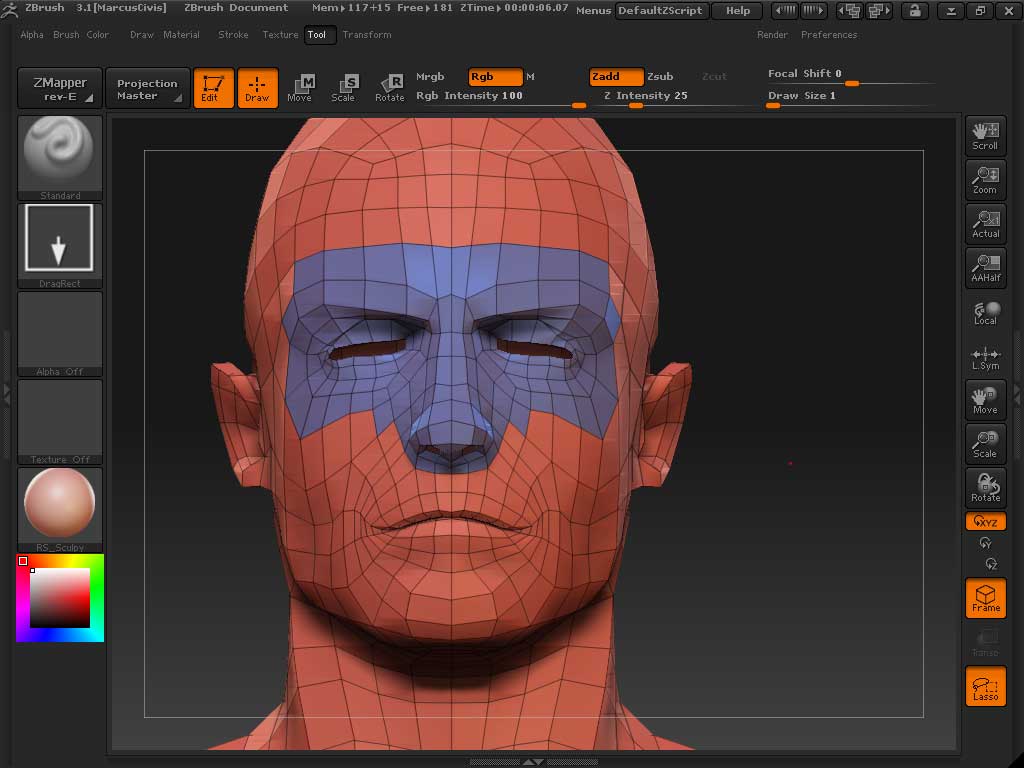
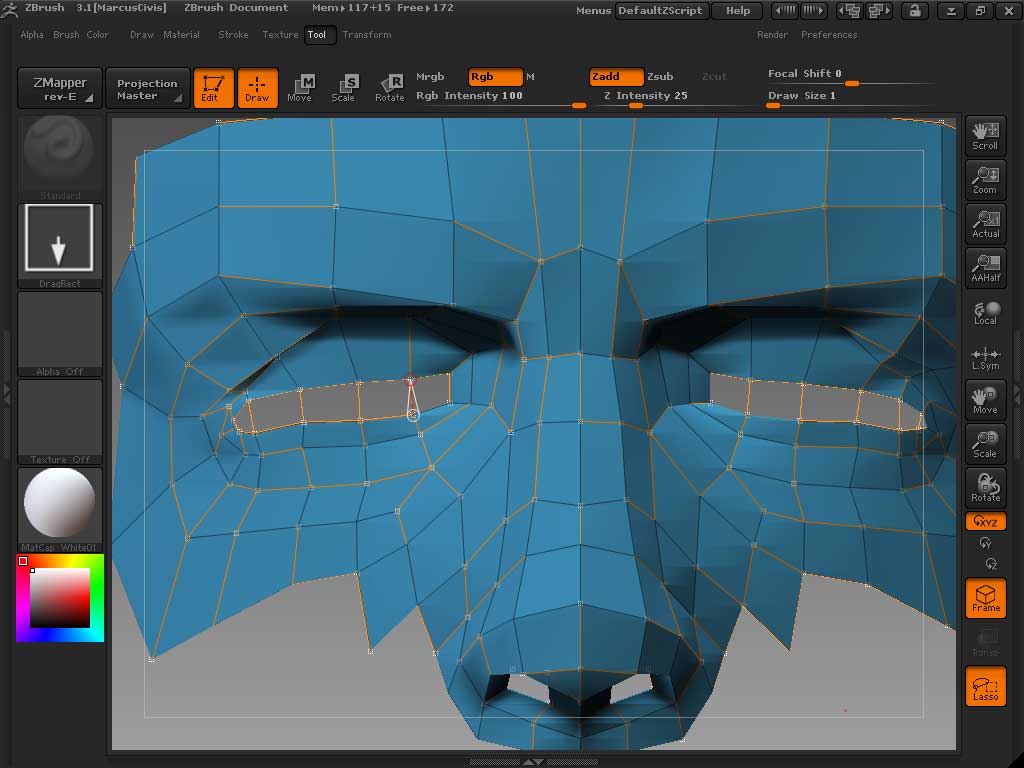
For example, I have the Super Average Man model and want to turn his face into an eyeless alien. how could I fill in the holes where his eyes are?

Thanks in advnace! :smiley:

You can fill holes in a mesh by using the re-topologizing features - select the same mesh (or a clone of it) in the Rigging and Topology submenus.

Thank you marcus! :smiley:

Sorry to be a pain, but I wondered what the best way to achieve this was?

I have come accross a number of methods, all seem different, and many are from ZBrush 2. :confused:small_orange_diamond:question:

OK, here’s a brief run-through:

  1. Make a group of the area you want to work on. This means that you can get in close and you are not working with more polys than necessary.

  2. With the Move brush, move the area you want to close so that the points are lined up and you don’t have a larger hole to fill than necessary. With SuperAverageMan I deleted some polys altogether so as to not have trouble with the eyelids.

  3. In the Tool:SubTool menu, press GrpSplit. This will make the group into a separate subtool. Select in, the press the Make Polymesh button. This will create a new tool starting ‘PM’.

  4. Select the ZSphere, draw on the canvas, enter Edit mode. Now press Tool: Rigging: Select Mesh and pick the PM tool you created in (3).

  5. Press Tool: Topology: Select Topo and select the PM mesh again. When it’s loaded, press Edit Topology.

  6. Zoom in close to the mesh so that you can clearly see the points you want to join. Hold Ctrl and click on a point to make it the active one, then relesase Ctrl and click on another point to join the two. Repeat this process to cover the gap.

  7. Preview the mesh by pressing ‘A’. Set the Tool: Adaptive Skin: Density slider to 1, so that the mesh is not subdivided more than the original.

  8. When the holes are filled to your satisfaction press Tool: Adaptive Skin: Make Adaptive Skin.

  9. Switch back to the original mesh and select the subtool without the bit you’ve been working on. In the Tool: Geometry submenu press InsertMesh and pick the new ‘Skin’ tool created at (8).

  10. Now export the mesh as an OBJ. Then select the PolyMesh3D (Star) tool and in the Tool:Import submenu press the Mrg button. Re-import the OBJ exported in (9), so that the two parts are merged together.

HTH,

Attachments

superA01.jpg

superA02.jpg

Sorry I’ve just seen your answer to this thread.:o

For some reason I didn’t get an email notitification.

THANK YOU! It’s very kind of you to spend this effort helping me out. :smiley:

Marcus, Thank you very much from me too ! :slight_smile: