ZBrushCentral

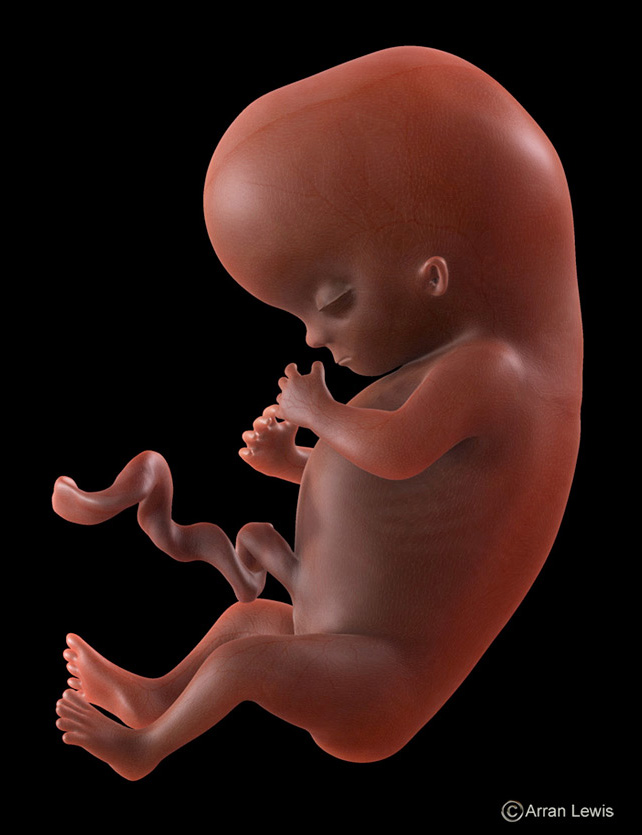
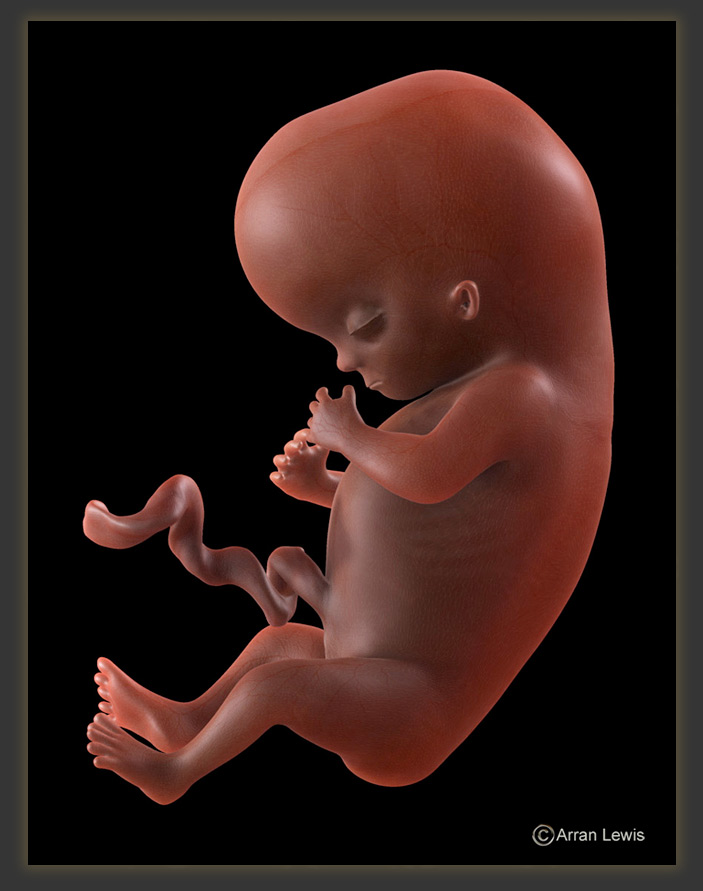
fetus render test

Like many others I am having a lot of fun with Zbrush4, and so far its primarily the BPR and Materials that I have had a chance to really get stuck into, although as always there is still much to learn. This is a mock model for rendering test purposes and to see what I can get from different textures. Within this image I have attempted to get the look of small goose pimples and hairs, but very very faintly. Comments are welcome, although please note this is not a complete model as many details are lacking. I am really loving the sss :slight_smile:

testfetus12.jpg

Attachments

testfetus12.jpg

I’d like to know more about your sss settings, material layers, lighting. Also have you tried the SSS shader on a polypainted model?

Nice work! …are the veins painted or texture?

BTW
anyone figure out a better way to shorten and pronounce “Sub Surface Scattering” instead of hissing? “SSS”
…can we just refer to it as “3S” pronounced "thres"or somthing? :wink:

Nice WIP…

SSS looking good. I like the overall job.

looks really good, some really nice subtle details like the ribcage and the sss works great.

Hi, and thanks for having an interest in the image. I still have some more tests to see if I can achieve a greater look of translucency as per this Photo.
[[attach=209887]fetal_12_week_fetus_s5.jpg[/attach]]fetal_12_week_fetus_s5.jpg

womball: this is a SSS on a polypainted model, and transferred to a texture map. You can see the texture detail and SSS separated here.

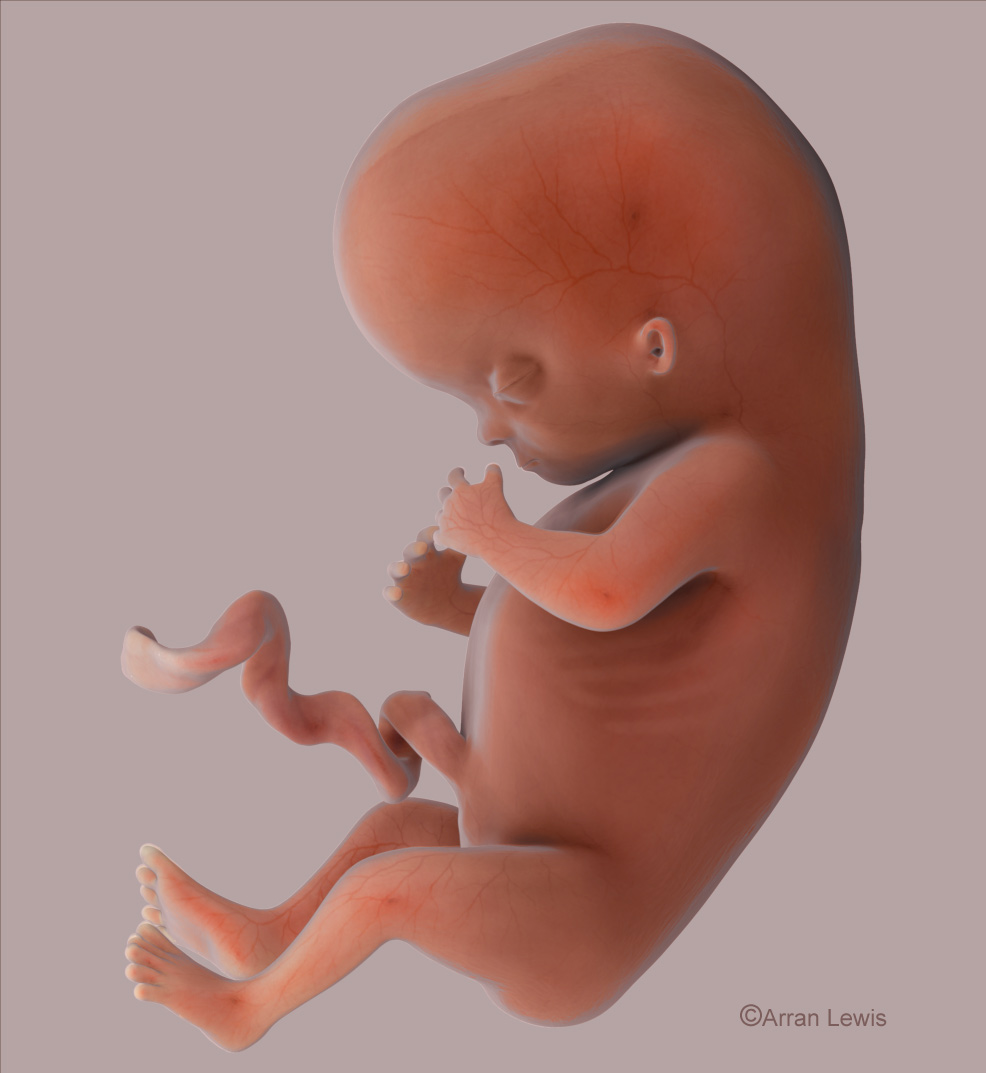
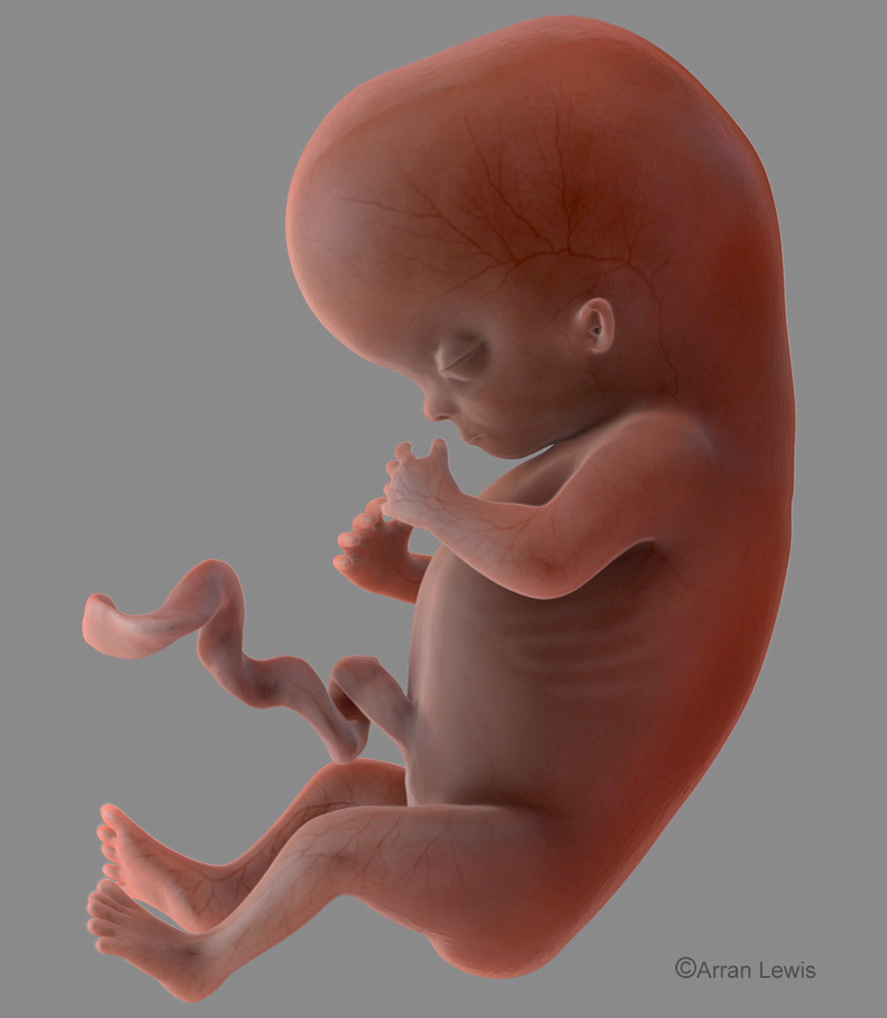
Sadicus: The veins are painted on, based on research and are an attempt to see how realistic the transparency of the skin could look, revealing the underlying circulatory.

Giri_Babu, thanks, I will do more with it at some point but Ii have a busy schedule at the moment, so glad you like it at this stage.

Matb: thanks, I am glad you made a comment about the rib cage as its has had to be very subtle and along with the circulatory give the impression of the skin translucency.

If you look closely you can see what looks like a skin pattern and maybe fine hairs. This is a 12 week Fetus and would not normally have such details as these, although this is a simple test to see if this kind of subtle detail can be achieved. Thanks for your comments.
[[attach=209888]forweb.jpg[/attach]]

Thats looking great! Do you get a lot of shadows with the sss material? how did you get around this or is it comped?

I decided that one way to get the look of a semi transparent skin was to experiment with a second model as a separate subtool set up as a transparent layer. This second tool has no texture map, but uses the same shader. It was inflated by .5 and a little noise added.

DivideandRender: I feel like I have a lot of control over shadows in ZBrush and just play with the lighting’s set up, angles and types of light also within the render set up I utilize the BPR shadow adjustments to soften/harden etc, and am trying to learn a way of playing between the AO and the shadow to get the best effects. I still feel like there is so much more to get out of the rendering within Z. These images are straight out of ZBrush at the moment.

[[attach=209897]Transfetus.jpg[/attach]]Transfetus.jpg

This is the last one for a while. I think I have got somewhere with this incredible new rendering set up from the good guys at pixologic. Once again they have made the new features so addictive that the learning curve rewards you as you go.
[testfetus12b.jpg]

Hi Arran, I am always pleased to see posts by artists who have been with us since the early days of ZBrush:) Thank you for you continued contributions to our community.

>>…the new features so addictive that the learning curve rewards you as you go…

I could not have said it better.

BPR Tip: The Combo of Res+Blur is an important item to set correctly. Since these values represent ‘pixels’, they are also simple to understand and use.

Example: if your document is 1000 pixel width and height and the Res is 1000, then it simply means that the shadow calculation will be one-to-one with the rendered image. Increasing the Res to 2000 will result in a 2x2 samples per pixels.

This is also true for the Blur value - or more accurately - the sampling radius. A value of 5 means that the sampling area will extend 5 pixels in each direction.

Please note that the impact of the sampling radius on the final render is highly dependent on the Res value.

Example: if you like the shadow softness when the Blur=5 and Res=2000 but would like to increase the accuracy of the shadow to 4000, then you will need to proportionally increase the Blur value to 10. You may, however, choose to increase the Res value without increasing the Blur value in order to get sharper shadow-boundary.

The above holds true for the other BPR sub-palettes.

Hope this helps:)
-Pixolator

Very nice renders!!!

I’m testing the new renderer too, the BPR tips of pixolator are precise, thanks man, but what is happening with the shadows settings in lights palette? I’m a bit confused here.
A precise tutorial for the new render engine is missing.

Thanks Pixolator for popping in on the thread and for the tip. I have spent the whole day glued to testing variations of BPR on a flat shader and a variety of others. I have to say that the BPR map outputs are very useful for observing the individual effects and what changes are actually occurring. I am getting some interesting results but nothing to share as of yet until I feel they are worth it.

[youtubehd]FwaBRqZldto&hd=1[/youtubehd]

This skull was made for a client for a book on the human body, with the original whole skull images within the book being produced from a skull supplied by Zygote. The skull you see here is made from scratch in regards to the topology, with the outer shape being taken from the Zygote skull and the disarticulation being built in accordance with reference such as skull replica samples, photos and anatomy Atlas’s. There is a lot more that I can show from the book, inclusive of the methods used to produce the models. I will be putting together a thread in November/December showing how ZBrush is an amazing software for producing anatomical models, as until then I am very busy with much more ZBrush anatomy.

The book is ‘The Complete Human Body’ by Dorling Kindersley

This thread explains how to post videos in HD on ZBC:

http://www.zbrushcentral.com/showthread.php?t=85640

I’ve updated your post so that the video appears in the thread.

Thanks Aurick

Skull 360 looks great, looking forward to the new thread on anatomical models :+1: :slight_smile: .

Wow!!! Aaron, your stuff is amazing! :+1:small_orange_diamond:+1:small_orange_diamond:+1:small_orange_diamond:+1:small_orange_diamond:+1:

hi
the skull animation is brilliant, how did you manage to get all the individual bones to fit together so well, did you separate the single mesh into different bones somehow, im always impressed at the level of accuracy you manage to get