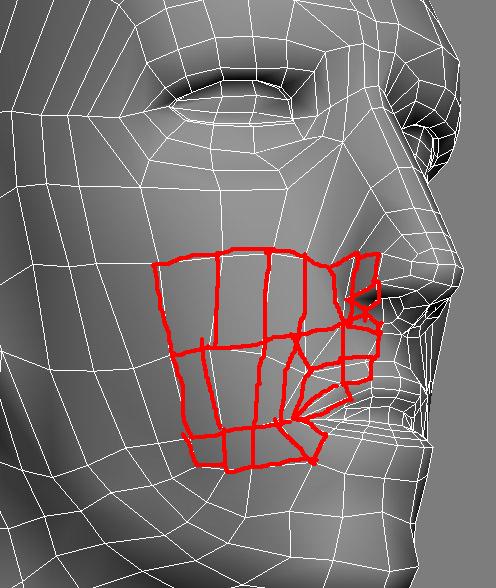
I’ve heard that using the Flatten tool helps greatly with that specific problem. Apparently, having a 5-pole verticie creates such a problem, and I see a few in there.
ok - i made that mesh…so i might go back and change the topology?!
cause flatten might help - but thats not going to be permanent.
after i use smooth its back in there…
Well, you said you made the mesh, so if you don’t mind doing so, you could go back into another program and fix those verts, and then sculpt it in ZBrush. I don’t know any other way to fix that problem, and 5 pole verts are a pain in the butt.
awesome work im a newbie with zbrush and im very inspired by your style. nice detail and design. if i may ask… what program do you use for your arcitecture design. great work!!!

 hi
hi
i used zbrush and max for that shape on the blue ground
and for the bone structure which was done with zspheres
the other architecural elements are blocked with sketchup
and detailed with max;
felix
hi,
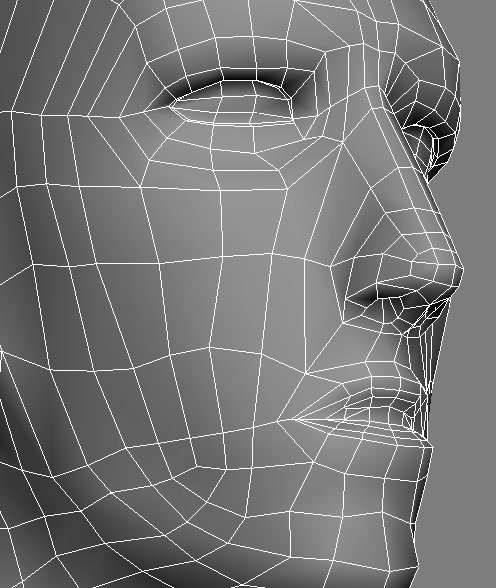
can someone please point out how i can improve the edgeflow?
ftw dude
Attachments
wow that was fast - thx mate
you can rop the 6 sided verts ****, but i dont think theres any way to lose all 5 sided ;/ It would require adding a lot of loop slices, and changing moset of the topology ;]
i tried to fix it - but i remember that i didnt invest alot of time
into the head…i will try to start from scratch with zspheres…
hi - just have a look
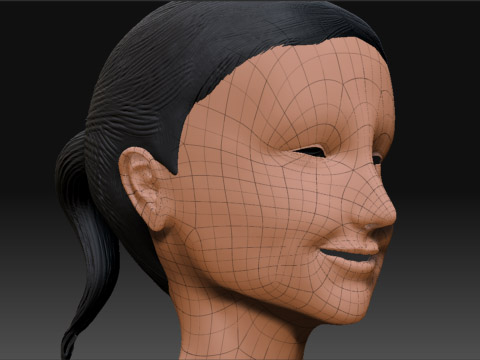
i have changed the head…it turned out to be a girl instead
but than i made that dark jumping somethin i messed up the
geometry with inflate. i like the resulting silhouette
Attachments

what is the material in the last pic? how rendered?
i have got a poblem:
lvl 6
layer at lvl 3 (for pose out of x)
i scaled the model 300 size xyz
unmasked all but the foot seems
to be effected by transpose.
i use alot of smooth and lyer
brush at lvl 6 - i also have applied
a layer with a 50 inflate

hi the render was done in vray
The foot is partially masked, somehow or another. Sometimes you might inadvertently clip a part of your mesh with some unintended masking…sometimes weird stuff just happens.
In any event, it’s easy to fix. Just Undo, and then move the “Intensity” slider in the masking menu all the way to zero. Then it essentially becomes a “mask eraser”. Then draw a masking lasso around the affected area of the foot, and try again.
Don’t forget to move the intensity slider back up when you want to start masking normally again.
i decreased the model under >>deformation by ~100 to solve the problem
ok, thanks - i will look at that slider…mfg
hi
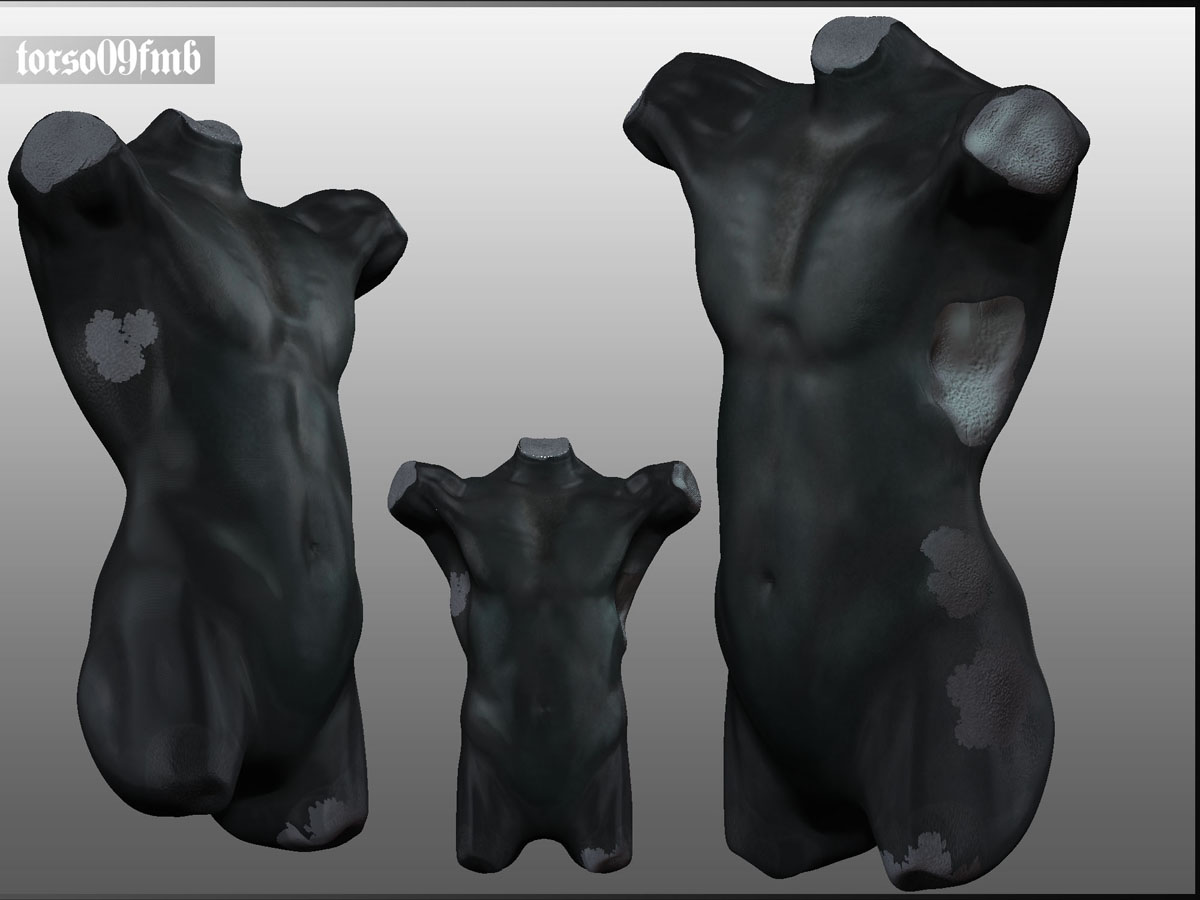
long time no post - how can i improve the form?
can i blend materials`?
Attachments
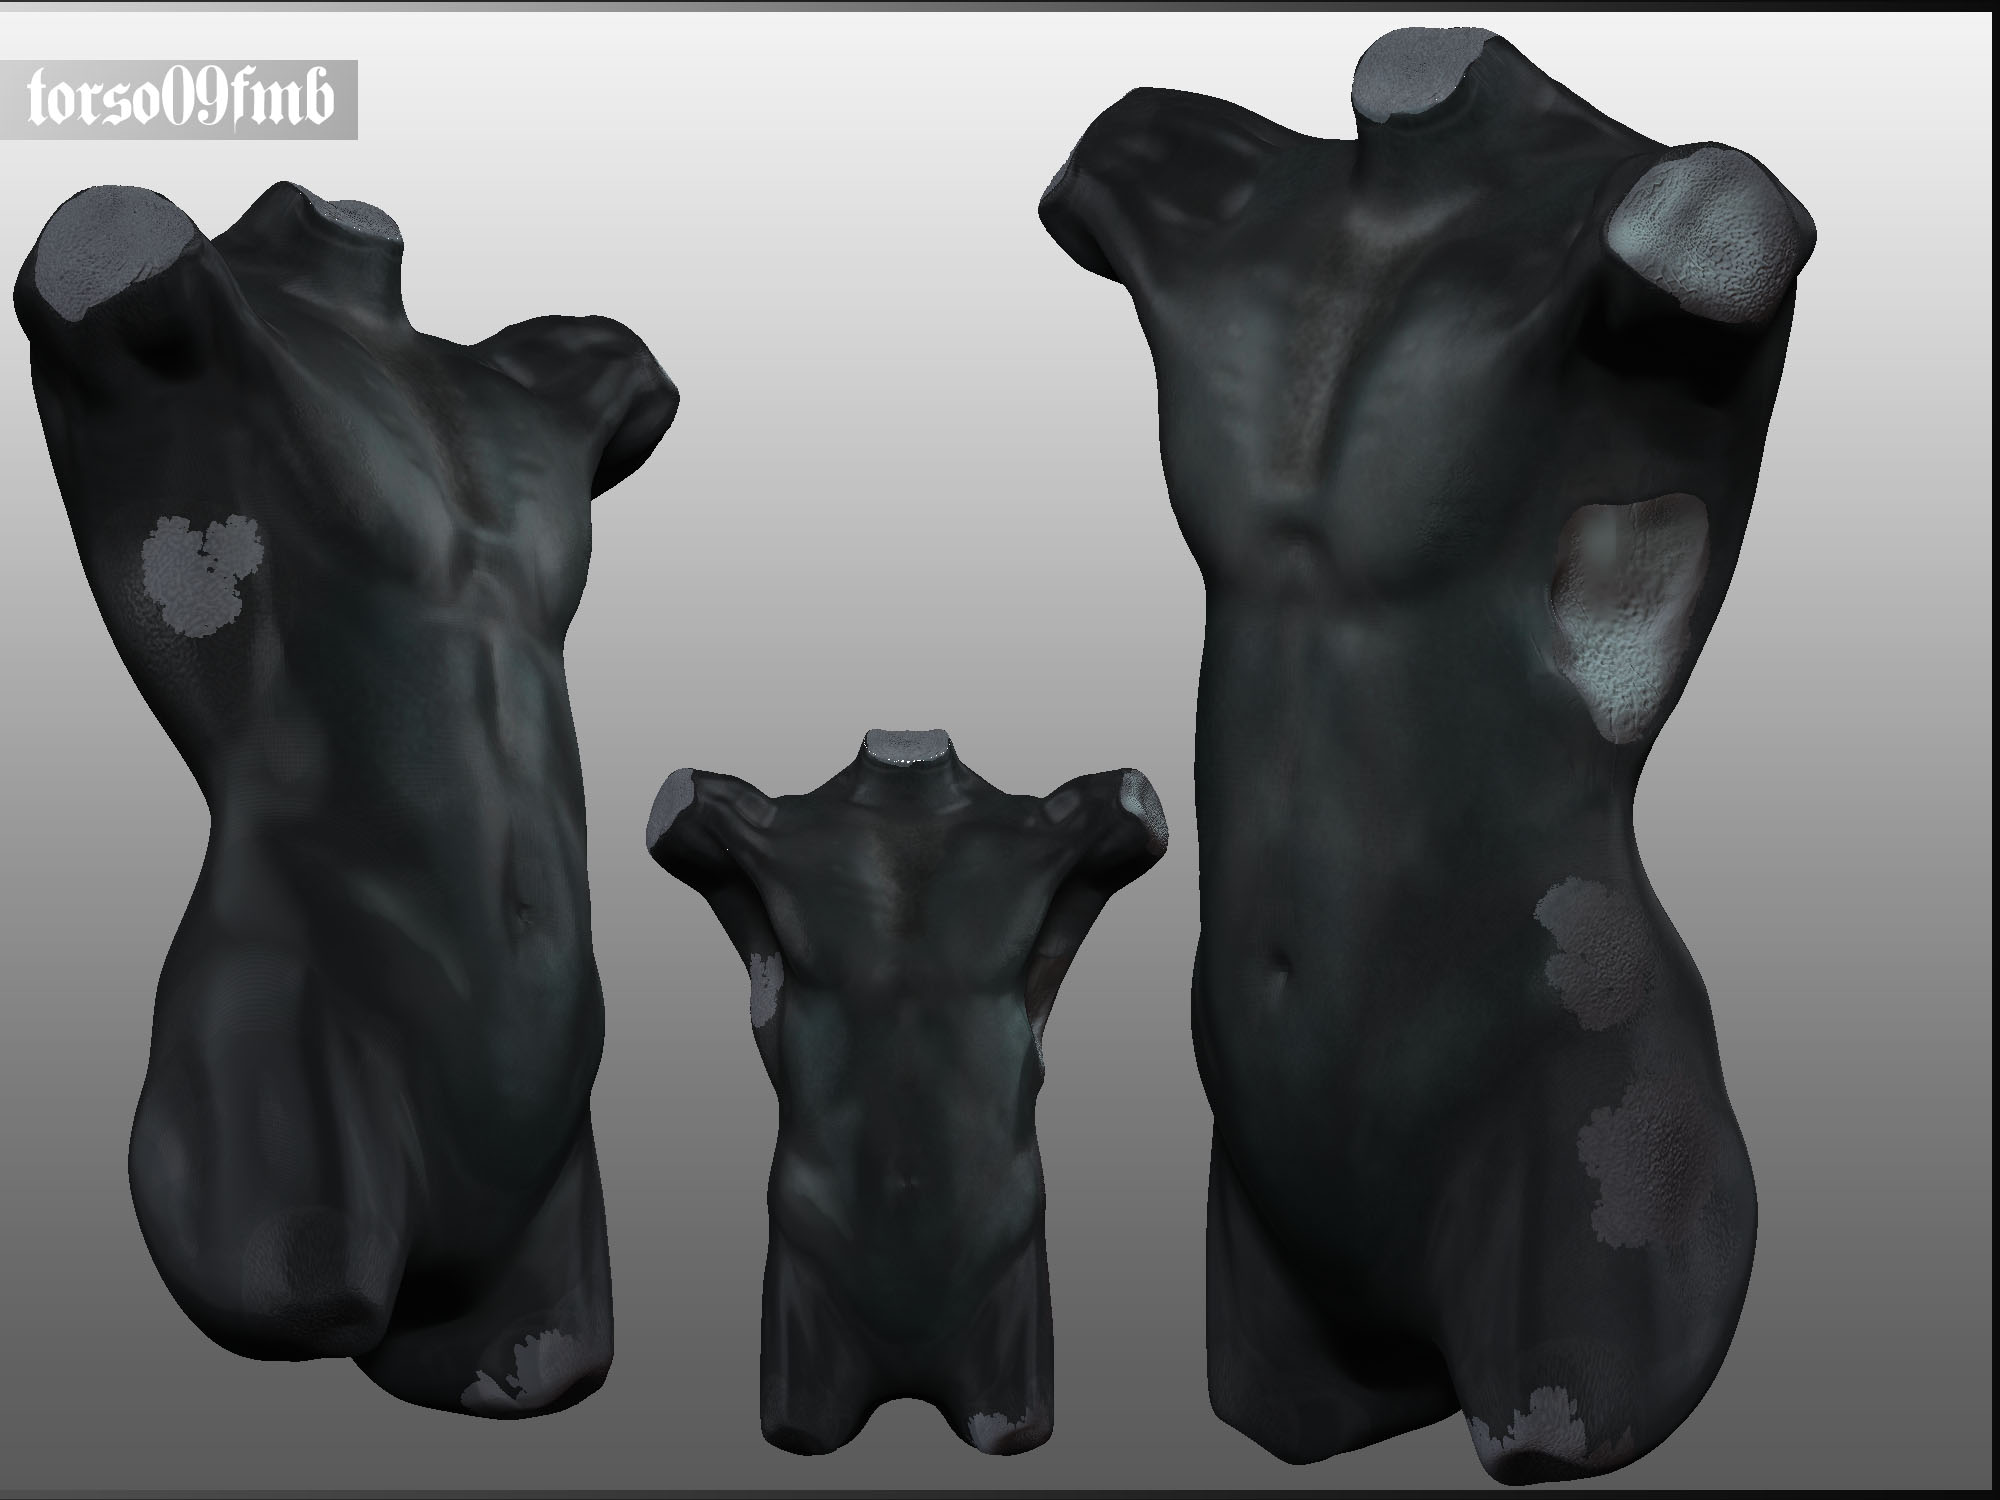
what are those spots? they confuse me a bit
the broken parts of the bust are less reflective…didn*t work out that well
i just found out that the standard brush is kind of
pinch-inflat-combo-brush…which is good. :eek:
my eyes are not…dunno
