ZBrushCentral

Exporting Normal + Texture, A bit off in Maya?

Hi,
I’ve been trying to export a normal map (used ZMapper) and a Texture (Color to Texture in ZBrush) and I get a problem… I am using Maya as my rendering software.

The normal map goes through fine but the texture sits right in some areas but in other areas it’s slightly off…?

I’ve exported the Normal map after importing the original mesh to the first subdivision level.
I’m using “Maya_ObjectSpace_BestQuality.zmp” in the ZMapper configuration.
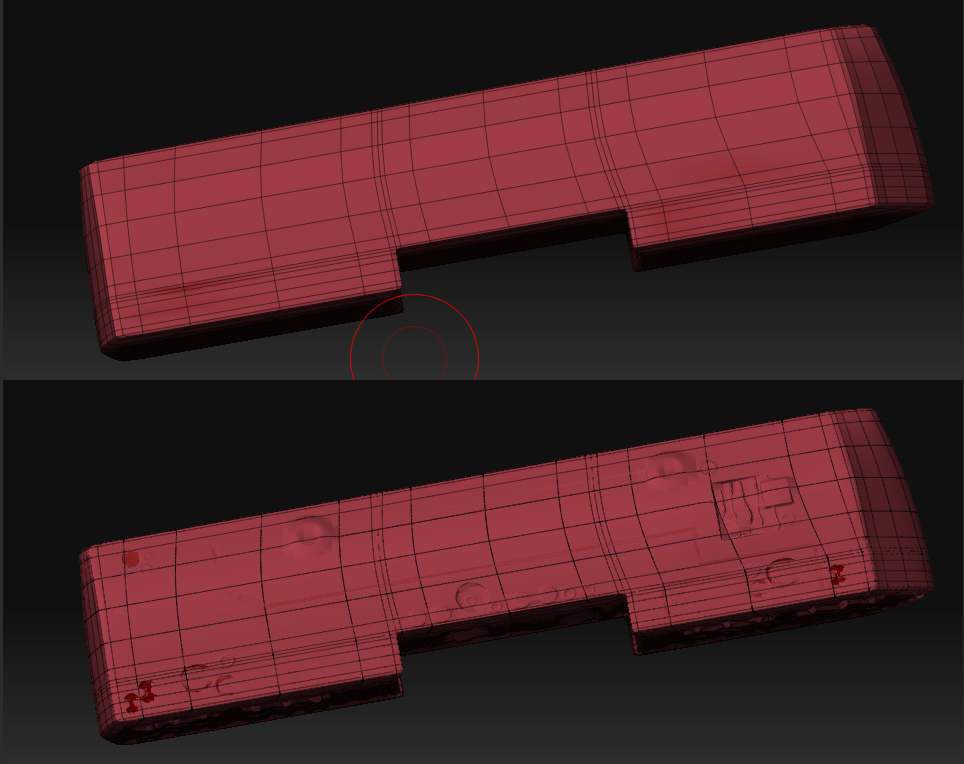
I’m guessing the texture could be slightly off because the original mesh is slightly bigger than what it becomes after subdividing it in ZBrush, but how can I fit the texture :confused:

Thank you !

the problem is because of the raycasting cage that is being used to calculate the normals, while the textures are using the actual locations of a pixel on the mesh.

as far as I know, only way to fix it, is to warp things a bit in PS.

I’m watching video tutorials about using normal maps and texture maps from ZBrush in Maya and it always matches just fine… no warping and no tweaking in Photoshop…
I believe I’m missing something or doing something wrong…
(And they do use the original mesh in the first subdivision level) when making a normal map).

Can’t figure out what I’m doing wrong :confused:

can you post up some images of the problem. UV’s, HI res, and Baking Cage. In all the tutorials they have more than enough geo to hold the form, and the texture in the same place…or damn near close enough.

and actually…if you go to the polypainting tutorial in the Zclassroom you can watch the texture “shift” a couple of pixels from a texture to a polypaint. Your UV’s matter in regards to how the texture is displayed, it also matters in how the normals are calculated. IF they aren’t layed out in a way that supports a trip to Zmapper as well as a col>txr then you’ll have that small shift between the two.

Sure, how can I see the baking cage? :slight_smile:

if you’re using Zmapper it uses the lowest (or lowest selected) mesh as a cage.

so wires of your low (shift F), then step up to your high (keep on polyframe) I want to see the correlation between your low and high.

Hmm well I don’t get it, the model has a UV layout which can’t change… every vertex, every edge is placed in a specific location… modifications I make either to the mesh or to its texture are being drawn over that UV layout… how can it be that there’s a difference between the texture and the normal map then?

Not sure what exactly you suggested, attached a pic in which the upper part is the original mesh in the first subdivision level (stored morph target) and in the bottom the object in the highest subdivision level.

Attachments

WireHolder.jpg