I personally hate trying to move from Zbrush into Maya. BUT!, Here is what I have learned.
A - you need to set approximations with the approximation editor. At rendertime Mental ray is going to subdivide your model according to your approximation settings. In my mind this makes normal maps and displacement maps almost pointless because Maya still has to render all the poly’s at render time anyways. But with the editor you can set how many times it will divide.
B- If you have an older version of Maya like I do (8.5). You will pull your hair-out trying to make these maps usable, and GOZ doesn’t work in older versions of Maya.
C- in order to make a displacement map work, your model needs to have enough mesh resolution to support the displacement.
D- your normals need to be facing the right direction.
E- Your displacement map needs to be the right file type and resolution. There is a plug-in in Maya 8.5 to support 32 bit floating tiffs.
F- Maya has 5 spots I can think of that you have to change settings before a displacement map looks decent. I don’t like it either. You have to edit the shader node, render settings (counts as 3), plug-ins, approximation editor, and I’m sure there are a-couple more I cant think of.
G- I hate doing these sorts of things in Maya. Its always a damned headache.
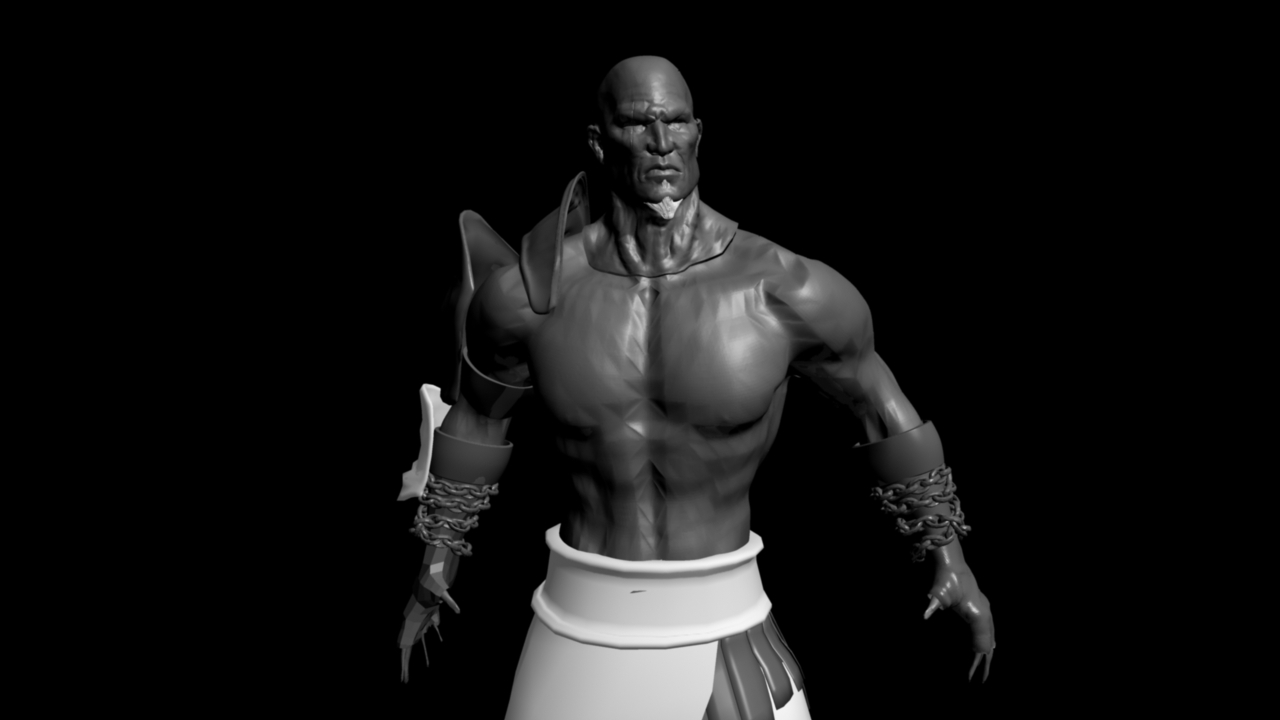
-Lastly- It looks to me that the normals on the body are flipped maybe, because the head looks fine.