ZBrushCentral

Displacement Map not Mapping Properly!

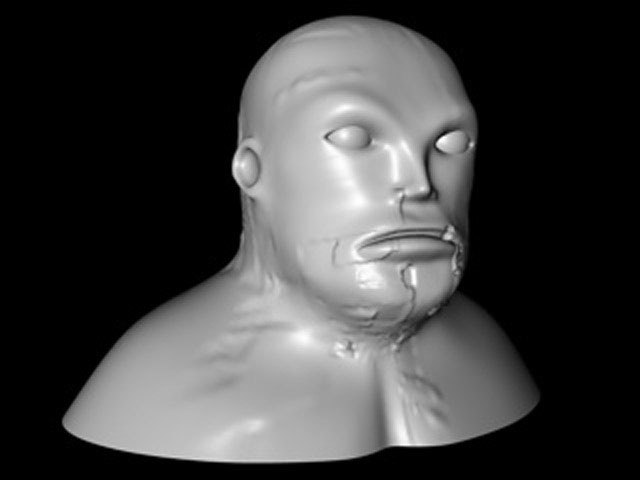
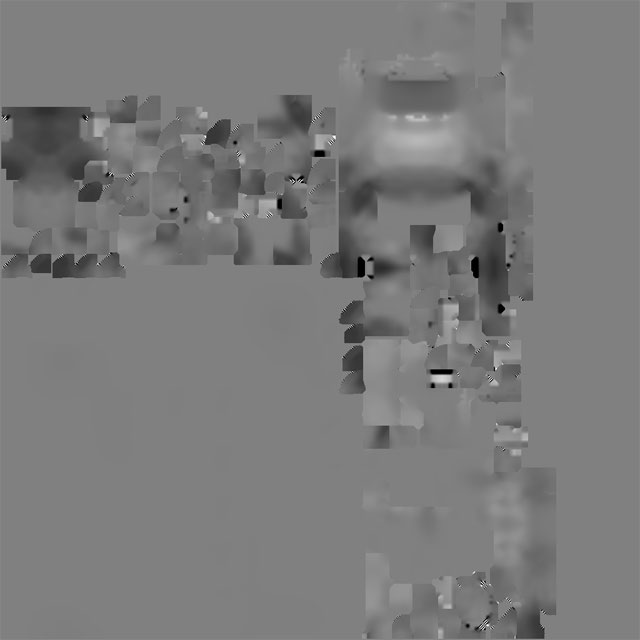
I have created a displacement map in ZB and flipped it up/down once as I was told to do (because Cinema 4D reads ZB textures upside down). I then exported my .obj from ZB. I then opened the .obj in Cinema 4D and applied the ZB displacement map to the displacement channel. I then added a HyperNurb in Cinema 4D.

Displacement Type: Intensity (Centered)
Map Strength: 100%
Map Height: 5m

Can someone offer any suggestions as to why my displacement map does not map properly and why the displacement is so weak. The sculpt in ZB was quite bumpy?

Thanks :wink:

Attachments

face.jpg

head_disp_map.jpg

Try applying the map in the Color channel rather than Displacement. This will help you see how it’s wrapping onto the model. From there, you should be able to adjust the settings to position the map correctly. Once it’s positioned right, you can then use it in the Displacement channel.

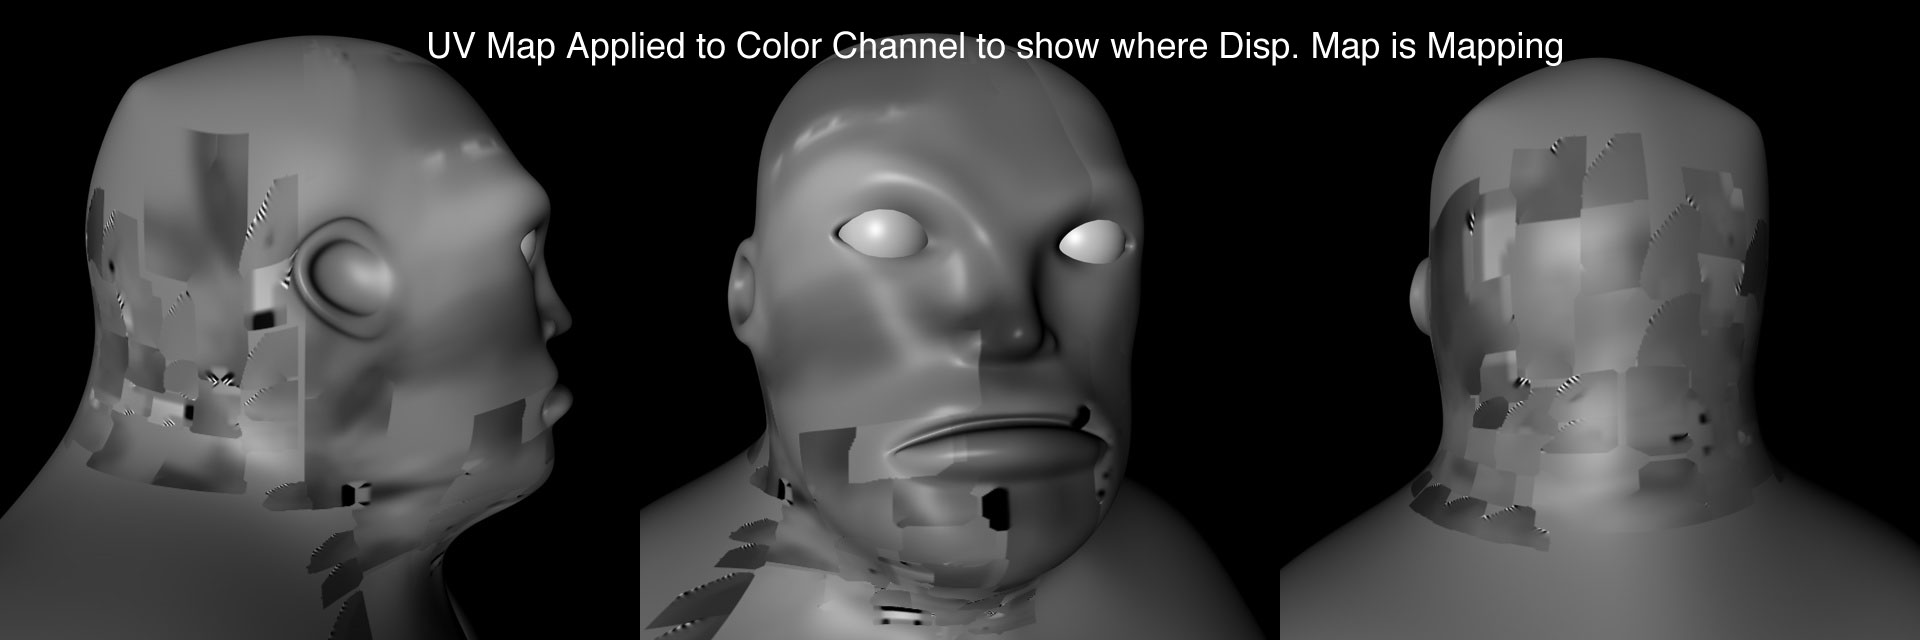
Thanks Aurick. Here’s the displacement map applied to the color channel of the model. I can’t tell anything from the way it’s mapping like which way is up as it looks like a jumbled mess. Is there a way to tell what direction I need to rotate the maps by looking at these images?

I really appreciate your help! :wink:

Attachments

heads_low.jpg

OK, I have decided to abandon the head for now and try this on something simpler like a sphere.

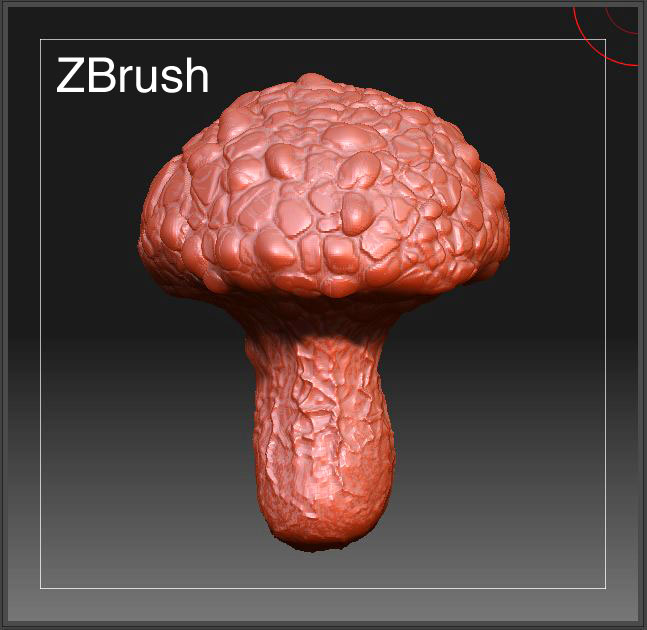
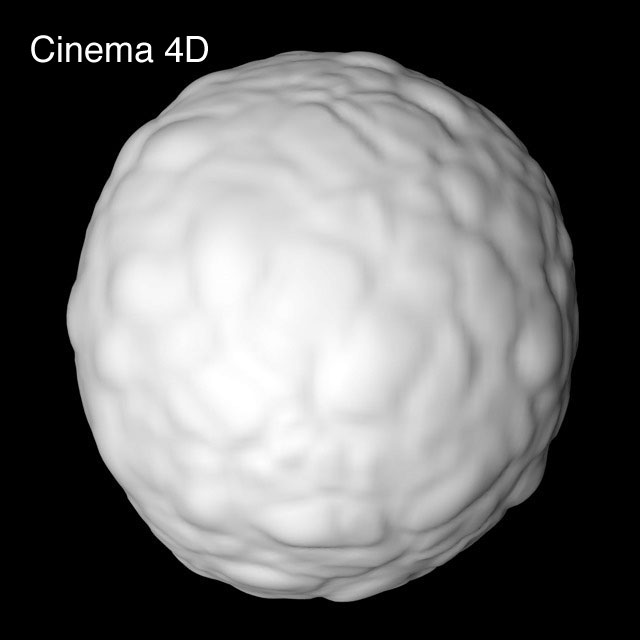
I created a sphere in Cinema 4D and sculpted it in ZBrush. The first image is the sculpt in ZB and the second is with the displacement map applied to it in Cinema 4D. The second Cinema 4D image should look like the first ZB sculpt but it’s not even close.

So after trying this again on a simple sphere I still can’t get this to work, so I decided to post my steps in hope that someone here will be able to see where I am going wrong. Also if someone has a fool-proof method that they use I would really appreciate it. :slight_smile:

Cinema4D

  1. Created a sphere (hexahedron sphere) object in Cinema 4D and added a material to it
  2. made it editable and then exported it using RipTide (I used the (default) settings in RipTide)
  3. Opened (ZBrush >Preferences > Import/Export) and deselected all of the import/export options.

ZBrush
4) Imported the sphere into ZBrush using the (Tool > Import) and 5) Created a “morph target”
6) Divided the mesh and sculpted it.
7) Set the sub-d level back to 1
8) Turned off the morph target
9) Opened the “Texture” palette and create a map 2048 x 2048
10) Opened the (Tool > Texture) and selected AUV mapping.
11) Exported the .obj file and saved the tool.
12) Created the "displacement map and retrieved it from the “Alpha” window.(size 2048 x 2048)
13) Flipped the displacement map up/down once.
14) Exported the displacement map as a .tif file.

Cinema 4D
15) loaded the .obj model I exported from ZBrush
16) In the material I selected the displacement channel and loaded the displacement map.
17) Created an HyperNurb object and made the .obj model a “child” of the HN.
18) rendered the file.

Attachments

sphere_sculpt_crop.jpg

sphere_disp.jpg

  1. Divided the mesh and sculpted it.
  2. Set the sub-d level back to 1
  3. Turned off the morph target

Could the problem be that I am exporting the .obj form ZB tool late. I mean if I am exporting the mesh “After” I turn off the Morph Target, then I am exporting a totally round sphere and not the “mushroom shape” (see above image)

but,

if I export the .obj “right before” I turn off the Morph Target, and while it is at sub-d level of 1, then the .obj would still have the “mushroom” shape. and therefore the resulting shape in Cinema 4D would not be “round” like my rendered file (see above image).

Someone please Help!
Thanks

I’m confused. Are you trying to use displacement maps to turn the sphere into a mushroom? That doesn’t work well. Displacement maps will give the best results if your rendered shape is already similar to the cage shape.

Aurick, no sorry I didn’t explain myself very well. I have created a low poly mesh in Cinema 4D and then I have exported it and sculpted it in ZB. I then exported it from ZB as an .obj but when I open it back in Cinema 4D the mesh has holes in it even after using the "RipTide Plug-in.

Is there a proper workflow going from Cinema 4D to ZBrush to Cinema 4D? The one on the website here is geared towards ZB 2 and not ZB 3.

I am making my UV map in ZB and am having a hard time getting my displacement map to work in Cinema 4D. If someone knows of a method that works I would really like to hear it as i have been trying this for weeks and I can’t get it. :confused:

Thanks

What I am trying to do is this. I created a head and a pair of eyes in Cinema 4D. I am trying to take the head and eyes into ZBrush where I will sculpt the head, then export the “displacement” map and then create my UV’s in ZBrush and then export the .obj back to Cinema 4D. The .obj I export from ZBrush will be considerably changed from the original that’s why I need to export it from ZBrush to Cinema 4D. I also need to export the .obj from ZBrush so the UV information is retained when it’s back in Cinema 4D.

So from what I understand here’s what I need to add to my workflow so this works

  1. “Selection Tags” - I need to add “Selection Tags” to all of my Cinema 4D objects first before exporting? (This is so Zbrush can make “polygroups” from these selection tags so my objects separate easily in ZBrush) Is this step necessary?

  2. RipTide “Group Tags” - I need to add RipTide “Group Tags” to all of my Cinema 4D objects first before exporting?

  3. I need to export my model from ZBrush with GRP (Group) turned off. Where do I turn this off?

  4. Before you import into ZBrush, make sure you have the (Preferences > Import/Export > Import PolyGroups) option Enabled. Where is this?

  5. Make sure that you have the (Preferences > Import/Export > Import Mat As Groups) option Disabled (you can only get groups or materials as PolyGroups). Where is this?

  6. My model impoerted into ZBrush with a few “holes”. What do I do in Cinema 4D to prevent this as the mesh was really clean in Cinema 4D.

Is there anything else I need to do so my model will export out of ZBrush nicely and my displacement and UV’s work in Cinema 4D?

Thanks

:smiley:

One thing to check right away: Are you using ZBrush 3.1 or are you still on 3.0? The fact that you can’t find the Import Mat as Groups option leads me to believe you may be on 3.0.

Aurick, yes, I’m using ZB 3.1 :slight_smile:
Thanks

I read Keith Young’s Guide, Cinema 4D to ZBrush to Cinema 4D (http://skinprops.com/guide/C4D2ZB.htm) which was very helpful and answered a lot of my questions, but I have a few questions and then I am going to give this a try.

Keith Young "As far as I recall off-hand (and based on the way I worded the guide), ZBrush only ever exports “Groups”. It refers to these groups as “PolyGroups”. It does not re-export any “Material Zones” (“usemtl” records in the .obj file). So ultimately, it only ever cares about it’s PolyGroups, which can be used to hide/un-hide parts of the model (re-read that last sentence until it sinks in).

When you Import a .obj file into ZBrush, you have two mutually-exclusive options for creating those PolyGroups…

  1. By default, it will treat any Group records as PolyGroups.
  2. If you have the “Import Mat As Groups” option enabled, it will use Material Zones as PolyGroups instead.

…so those are your two choices to work with as PolyGroups inside ZBrush, but when you export from ZBrush, you can only ever get Groups (if I’m not mistaken/misremembering).

Q1) After reading the Cinema4D /Riptide/ZBrush Import/Export Guide, it appears it is best to add 2 tags (“Selection” tags and “RipTide” Group tags) to my objects before exporting them from Cinema 4D? Is this correct?

Q2) If I add the (“Selection” tags and “RipTide” Group tags) to my objects in Cinema 4D, then “Export” my objects from Cinema 4D and use “Tool > Import” in ZBrush, then when I create the UV map in ZBrush and “Export” the .obj from ZBrush the “Point” order should stay intact and the .obj should reimport back to Cinema 4D correctly. Is this correct?

Q3)I need to export my model from ZBrush with “GRP (Group)” turned off.
Where in ZBrush do I turn this off?

Q4) Again from the Cinema4D /Riptide/ZBrush Import/Export Guide, - “Any .obj files exported from ZBrush only retain a limited subset of the information that may have been in the .obj file exported from C4D. Because of the above, if you export a .obj file from ZBrush, you can only get back one (useful) set of polygon selections. (Material Zones or Groups or Regions)” So if I have added the (“Selection” tags and “RipTide” Group tags) to my objects before exporting them from Cinema 4D, then won’t I get back more than one set of useful polygons? For e.g. if I have modeled a head and teeth in Cinema 4D and then apply the (“Selection” tags and “RipTide” Group tags) to my objects before exporting the head and teeth, then when I export from ZBrush as an .obj, then the .obj should reimport back into Cinema properly shouldn’t it?

Q5)If you want to have your material zones available as PolyGroups in ZBrush, then:
-Make sure that the Riptide “Export Materials” option is Enabled
-Before you import into ZBrush, make sure that you have the “Preferences -> Importexport -> Import Mat As Groups” option Enabled. Note that this will override the “Preferences -> Importexport -> Import PolyGroups” option (you can only get Groups or Material Zones as ZBrush PolyGroups). Where do I find the “Preferences > Import/Export > Import Mat as Group” option?

Q6) If I use the (“Selection” tags and “RipTide” Group tags), then the transition of the .obj between Cinema 4D and ZBrush will go a lot smoother? Is this Correct?

Q7) When setting up my objects (head and teeth) in Cinema 4D to export I just left the head and teeth as separate objects and then exported as an .obj. Is this the correct way to do this?

If I have missed any crucial steps in the process of setting up my Cinema 4D objects for export then please let me know. Thanks. :slight_smile: I apologize for all of the questions, but if this works I wil be very happy :smiley:

PS. Someone here said if I turn off all of ZBrushes Import/Export preferences, then I won’t have the same cross platform problems between ZBrush & Cinema 4D. Is this true?