ZBrushCentral

displacement map help

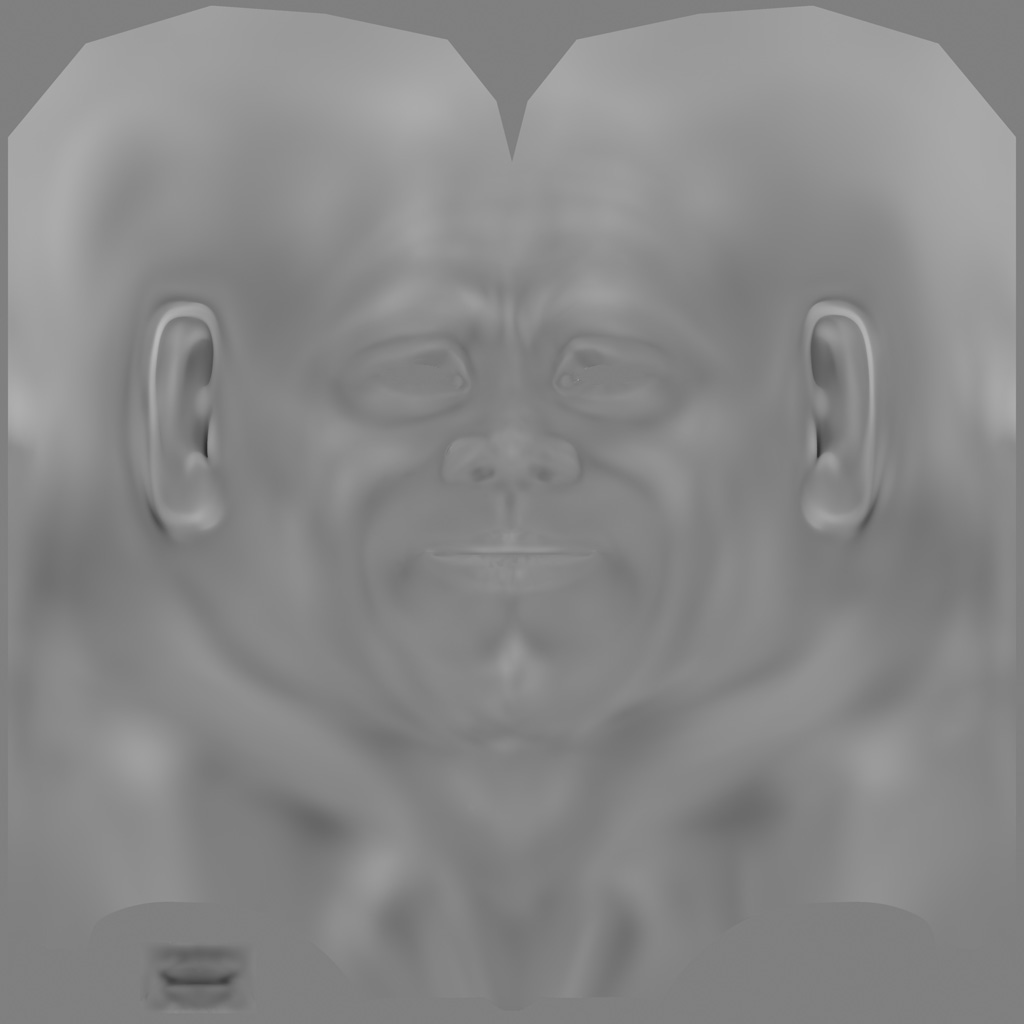
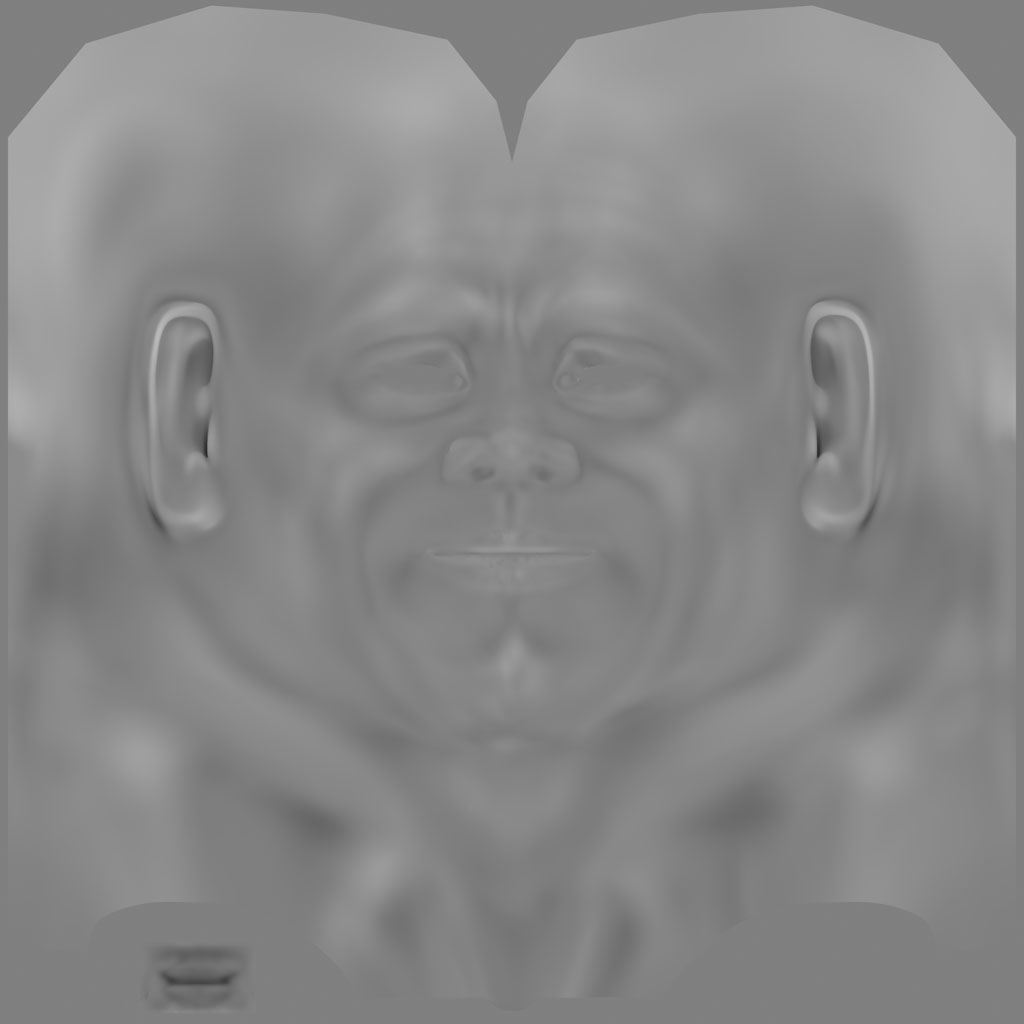
its been a while since i’ve created a displacement map (zb 2.0 i think). anyway, the last time i did it there wasn’t the multi displacement zplugin. i’m kind of unsure what to expect here as there doesn’t appear to be much documenation on what settings to use. when i use MultiDisplacement3, i get a very very faint looking displacement map (in either 16 or 32 bit modes). here’s a movie showing the settings i used as well as the resulting map in PS:
http://screencast.com/t/E5SSNQmnqdZ

i went back to the displacement menu in zb (the “old” way which i’m used to) and generated a displacement map and the results are a lot more like what i remember, but it appears that some polygons in the eye cavities go crazy and stretch off into infinity. here’s a movie showing my settings and the resulting displacement map:
http://screencast.com/t/rSu3XCFF

so i guess my questions are:

  1. is there a set of docs on how to use MultiDisplacement3?
  2. why is the displacement map generated by MultiDisplacement3 so different than the “standard” displacement tools in ZB3?
  3. anyone know why those polygons in the eye cavities shot off into nowhere?

thanks in advance!

Have you read the documentation concerning displacement maps (including the section on MD3) at http://www.pixologic.com/docs/index.php/TOC?

Regarding the points that shoot off into space, it would help if you could show a screen shot of your UV’s. But odds are good that those points are very close to the edge of the map. Too close, in fact. Not all apps register the 0,0 point exactly the same. Points that are too close to the edge of the map can end up being read as being on the other side, which results in the sort of thing you show.

PS: Screen shots will usually get you much better response from people than linking to movies. The less people have to go someplace else and the more they can see when they initially view your post, the more likely it will be that someone will think, “That happened to me!” or “I know how to deal with this!” and reply to you.

hi aurick,

thanks on the tip with the documentation! somehow i never came across that link in my searches here on the forum.

concerning the uvs, i’ll post those later tonight, but the eye cavity is no where near the edge of the uv space.

as far as movies, i see your point. i just like movies because you can show more of your workflow than with still shots and with the links i provide, the viewer doesn’t have to navigate to a new page. it should just open a new window for the movie. good tip though, i’ll start posting more screen shots instead.

i’ll give that documenation a read and post my results in the next night or two. thanks again!

ok, so i read the online docs, and they don’t really say all that much about MD3 that isn’t covered in the tool tips to be honest. i used the default D16 preset in MultiDisplacement3 and got the very faint displacement map shown here:
d16_dispmap_capture.jpg

my steps for creating the displacement maps seen above were
GENERAL:

  1. bring in base mesh (with uvs)
  2. sculpt detail
  3. exported base mesh to make minor mesh adjustments
  4. reimported adjusted mesh to subdiv level 1
  5. set to lowest subdiv level

MD3:

  1. Set MapMaxSize to 4096
  2. Set MapSizeAdjust to 0
  3. Set DpSubPix to 1
  4. in Export Options select D16
    everything else default.

‘STANDARD’ ZB3 DISPLACEMENT TOOLS:

  1. Set DPRes to 4096
  2. Enable Adaptive button
  3. Enable SmoothUV button
  4. Enable Mode button
    everything else default.

any and all help would be appreciated! thanks!

Attachments

josh_disp_4096_oldsystem.jpg

josh_uvs.jpg

Try using ZMapper real quick. It has a morph UV unwrap feature that’s really handy for tracking down this sort of thing. As the mesh morphs between 3D and unwrapped 2D you can quickly spot the problem points. From there you should be able to fix them in your UV editor.

Hi aurick, i tried the Zmapper morph to uv tool and it seems to morph from 3d to 2d without any faces stretching out into space. here’s a screen shot of the 2d map in zmapper:

morph_uv.jpg

as you can see, it doesn’t display any of the errors as the displacement map i made before and it looks just like my uvs above.

i also took a movie of it if you want to see the entire morph sequence…at no point during the morph do i see any polygons stretch off into space:
http://screencast.com/t/pnJykjmMn6R

thanks!

Could this have to do with the verts for the eye merging to a single point? I’ve had similar problems in the past and am having trouble remembering what the culprit was…

Any thoughts?

hey adam, that seemed to be the issue. once i deleted the polygons closing the eye sockets off, the displacement map looks good. not only that, but DM3 which was creating very faint displacement maps before, now creates “normal” looking ones:

DM3:
josh_low_no_eyes_04_19_091001+D16.jpg

i guess the question is…why? the mouth cavity is closed off in this model, but those polygons don’t stretch off into space. also, why would deleting those polygons cause DM3 to produce a darker, more ‘normal’ displacement map?

mayhaps aurick has an answer…

thanks!

Attachments

josh_low_no_eyes_04_19_09+D16.jpg