Hi. I’m quite new to Zbrush and am trying to create a displacement map for use in Maya. I thought I would begin by creating a simple wall for a scene, and sculpt the details in Zbrush.
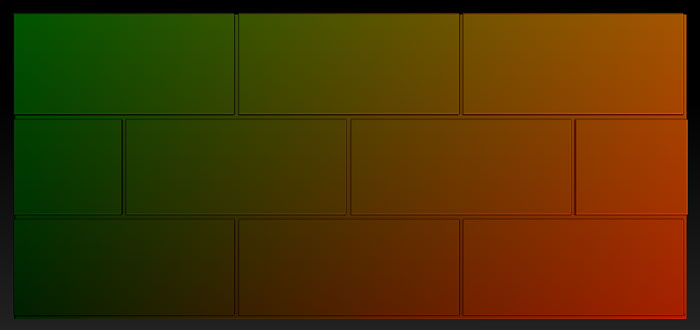
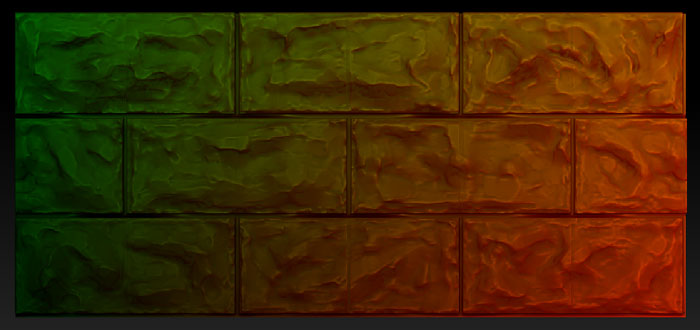
My problem is with the displacement map generated. I have some screenshots below to give more info.
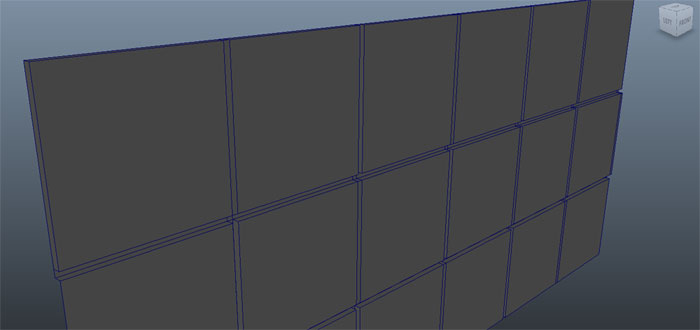
Here is the model in Maya:
My process:
- Create maya model
- Unwrap UV’s.
- Export .OBJ to zbrush.
- Store Morph target.
- Create layer, Subdivide, sculpt.
- Go back to SubDiv 1 level.
- Switch Morph target.
- Displacement Map settings as, Flip V, DSubpix 2.
- Create and export displacement map.
The result is what you see above. I am sure there are things I have done wrong, perhaps the base mesh itself. I think that the uneven/wonky displacement map result is directly related to the SubDiv 1 level mesh after scuplting, but I’m unsure why I am not getting a result that reflects the SubDiv 7 level sculpt, or why the displacement map itself looks so weak. When I display the displacement map on the mesh in Zbrush, it is much more detailed. Especially when I adjust its intensity.
Anyway, I thought the best place to inquire was here. Hope you can help.
Cheers.
Attachments