ZBrushCentral

displacement map gaps.

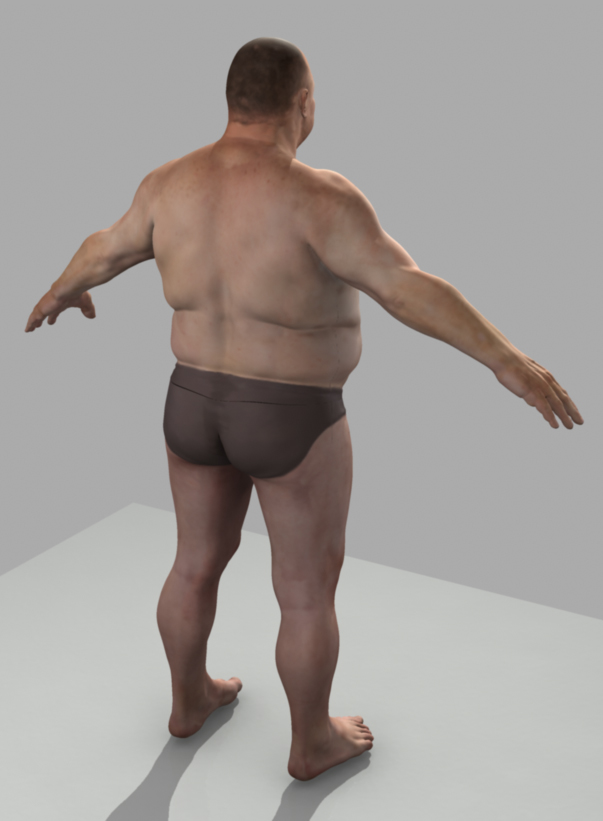
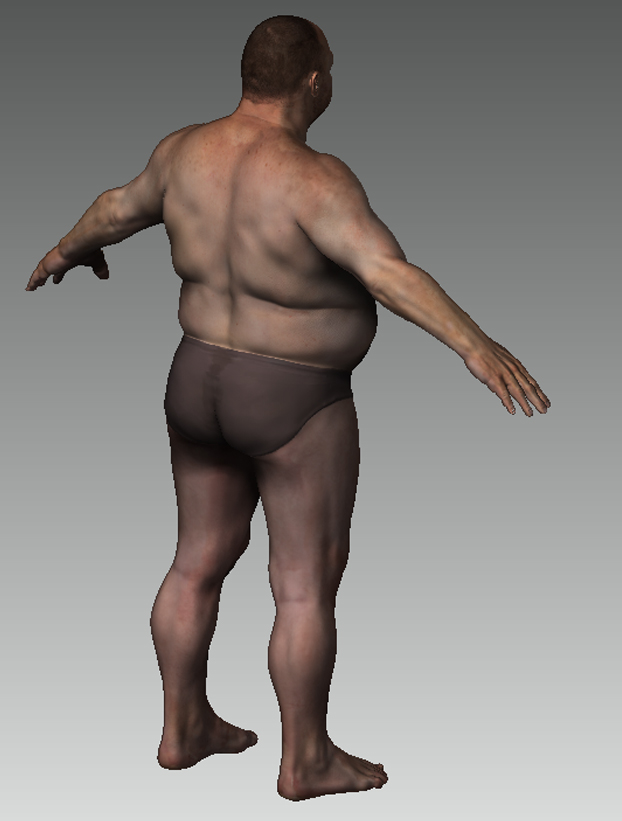
hi - i am currently working on a figure study - the model is comprised of 2 subtools - one for the body and another for the legs. the pictures below show the model in zbrush and when rendered by mental ray in maya - as you can see if you look at his butt in the mental ray image there are gaps between the displacement maps.

I have tried using subtool master to merge the two tools and then export and import the model using merge, but I always get a file import error as well as ram warnings. i have 3gb of ram and the model is 5 million polys when merged.

even without merging my model, i still don’t see why i should see gaps between the displacement maps when rendered in maya - especially as i don’t see any gaps in zbrush. is there a way to fix this? help!

giant20.JPG](javascript:zb_insimg(‘134419’,‘giant19.JPG’,1,0))

Attachments

giant19.JPG

What are the steps your following and settings you’re using to create the displacement map? Are you remembering to restore the base mesh prior to generation, or are you simply going to level 1 and creating your maps?

And no offense, but why do you have a map seem in such an obvious place? Wouldn’t it have made more sense to place the seem at the waistband of the underwear instead?

hi - thanks for your help aurick - i really appreciate it.

i’m not sure what you mean when you say ‘are you remembering to restore the base mesh prior to generation?’. basically to create a displacement map i am going down to the lowest subdivision and using the Create DispMap button under the Displacement tab, with adaptive on, intensity at 6 and the mode button switched on. i then take it into photoshop and switch the mode to rgb and flip the maps.

yeah - point taken about the seam - originally he was one piece and then i split him in two. he actually has a wrester’s outfit so it’s not the end of the world - i was just trying to figure out why it didn’t quite meet. thanks again. :slight_smile: