ZBrushCentral

displacement frustration

Hi to all displacement users,
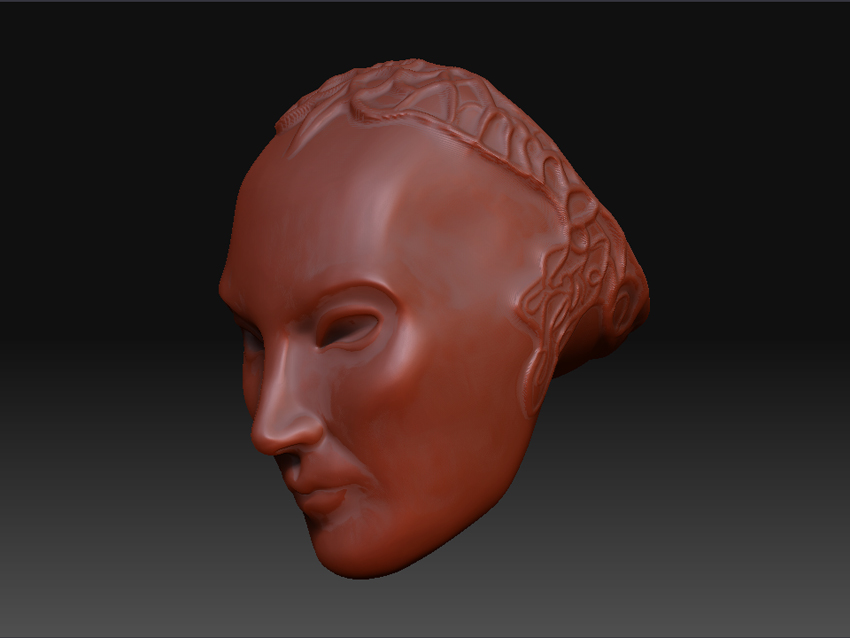
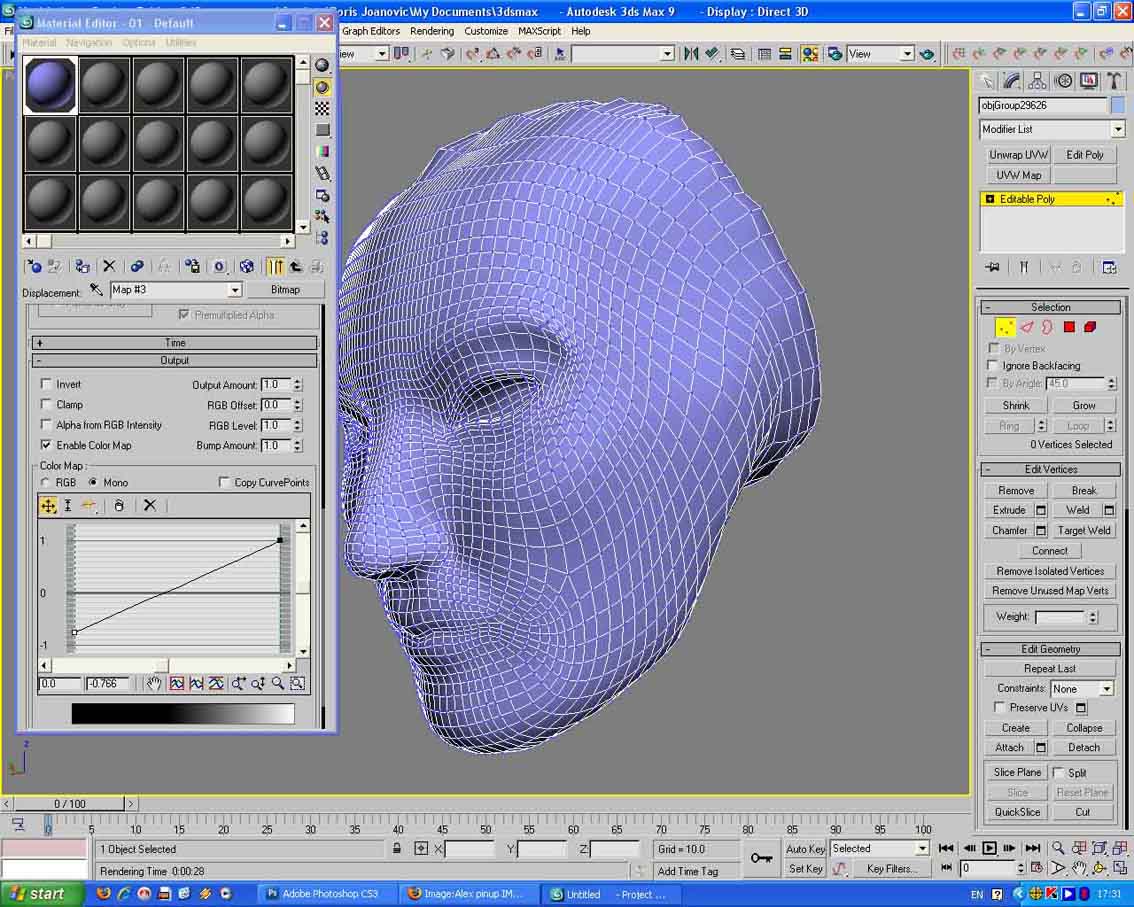
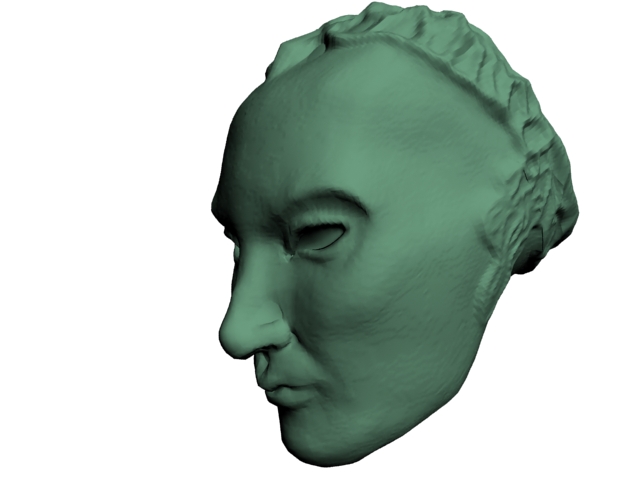
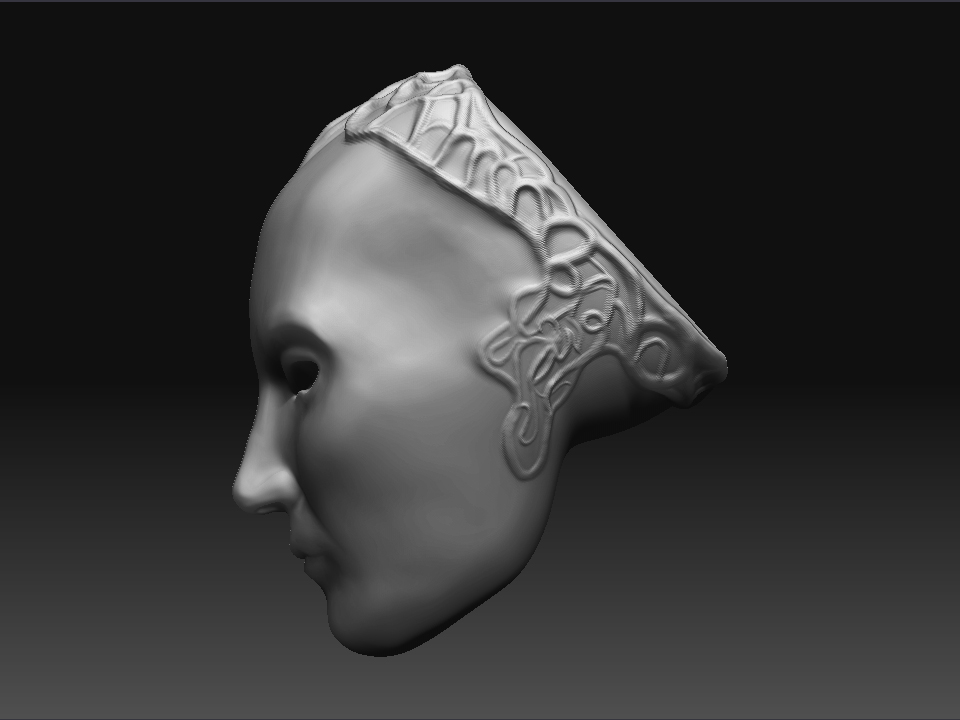
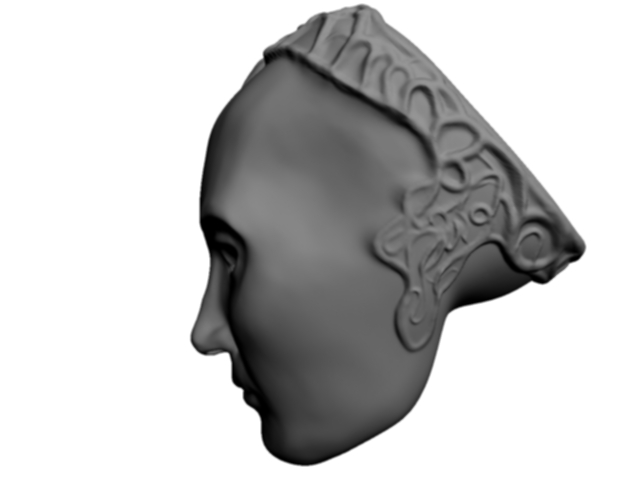
I really need help with this. No mater what I do, final resault is vorse than bad. Like in many tutorials, I have created model in ZB, then displacement map size 4096, and this looks fine. Then in 3D Max using V-ray or any other render or any method working with displacements, it always looks unusable. Please can any one help me, I am attaching pictures of ZB model, of render from 3D max and printscreen.

Thx

Attachments

head_zb.jpg

head-max.jpg

head-max.jpg

Sorry,
this is actualy render

Attachments

head-max.jpg

Have you exported your level 1 geometry to use as your base mesh in max?
Also, if you turn off ‘enable colour map’ in your material and set ‘RGB Offset’ to
-0.5.

What level are you taking your displacemnet map from in ZB3? As far as I am aware it creates the Disp Map from the level above that which you have selected

Hi rossco1111,
I have used both level 1 and level 2 geometry to use as my base mesh in max. Enable color map was on in max and RGB offset was -0.5. But when I have let ZB to create UVWs and new displacement on to those new uvws, and rendering in Mental ray, result was much much better, still not 100& happy with it. Problem is, when I want to have more contrast on ornaments around head, then smooth parts looks rough, and if I smooth it, then ornaments are not very clear. I was hoping that final render will look like model sculpted in ZB, but it is not, and this is making me so frustrated.

do you have a meshsmooth or turbosmooth on the mesh?

You will need a turbo/meshsmooth with 3-4 iterations at render time for the disp map to work properly…

Hi,

this is how far I am now, first pic is ZB and second is render, much much better, but still not best resault

Attachments

face4.jpg

face2.jpg